NUTELLA & MARSCAPONE FRENCH TOAST

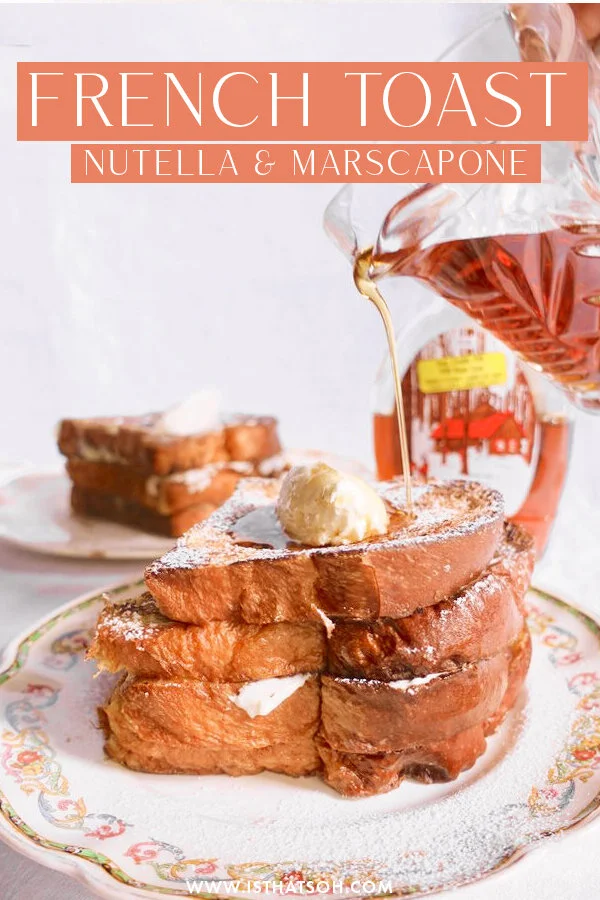
Usually a savory over sweet person, this has to be the most decadent french toast I have ever had, not to mention the most beautiful. I honestly think you don’t even need the maple syrup because of how sweet it is already - its dessert for breakfast, lets call a spade a spade. LOL But damn was it good and so worthy of a post on the blog so here you go! Don’t blame me if you get a cavity! LOL

INGREDIENTS:

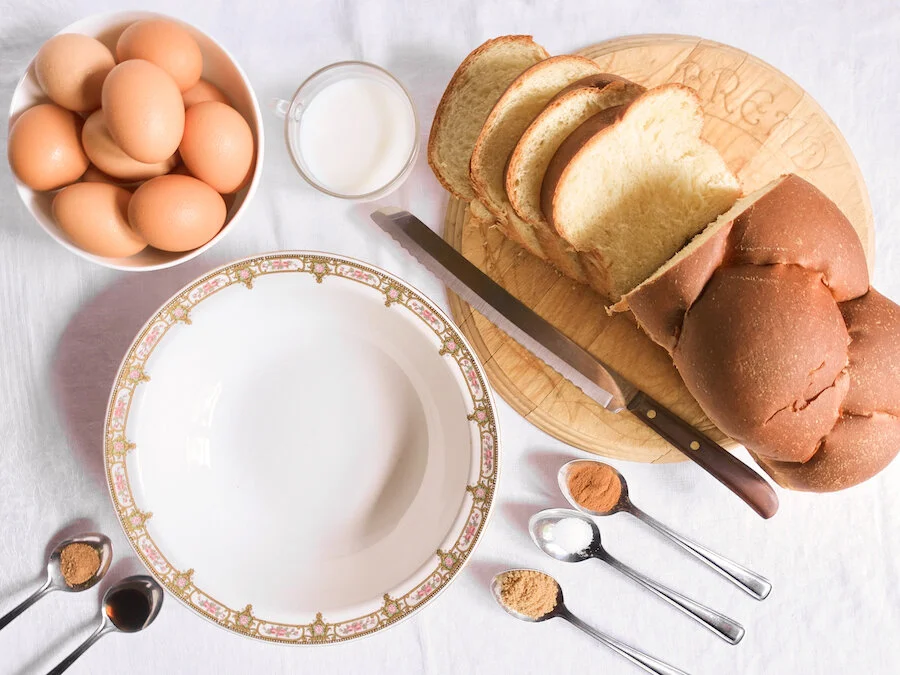
-French Toast For Two -

6 Pieces of Chellah Bread Slicked in 1’ Thick Pieces
6 Eggs
1 SP of Cinnamon
1/4 Cup of Brown Sugar
1/2 TSP of Vanilla Extract
1/4 TSP of Nutmeg
Pinch of Salt
Butter for the pan
1 Jar of Nutella
I Jar of Marscapone
Icing Sugar for dusting

-Additional Toppings -

Maple Syrup

DIRECTIONS:

Whisk eggs, cinnamon, brown sugar, vanilla extract, nutmeg and salt in a bowl until fully incorporated.

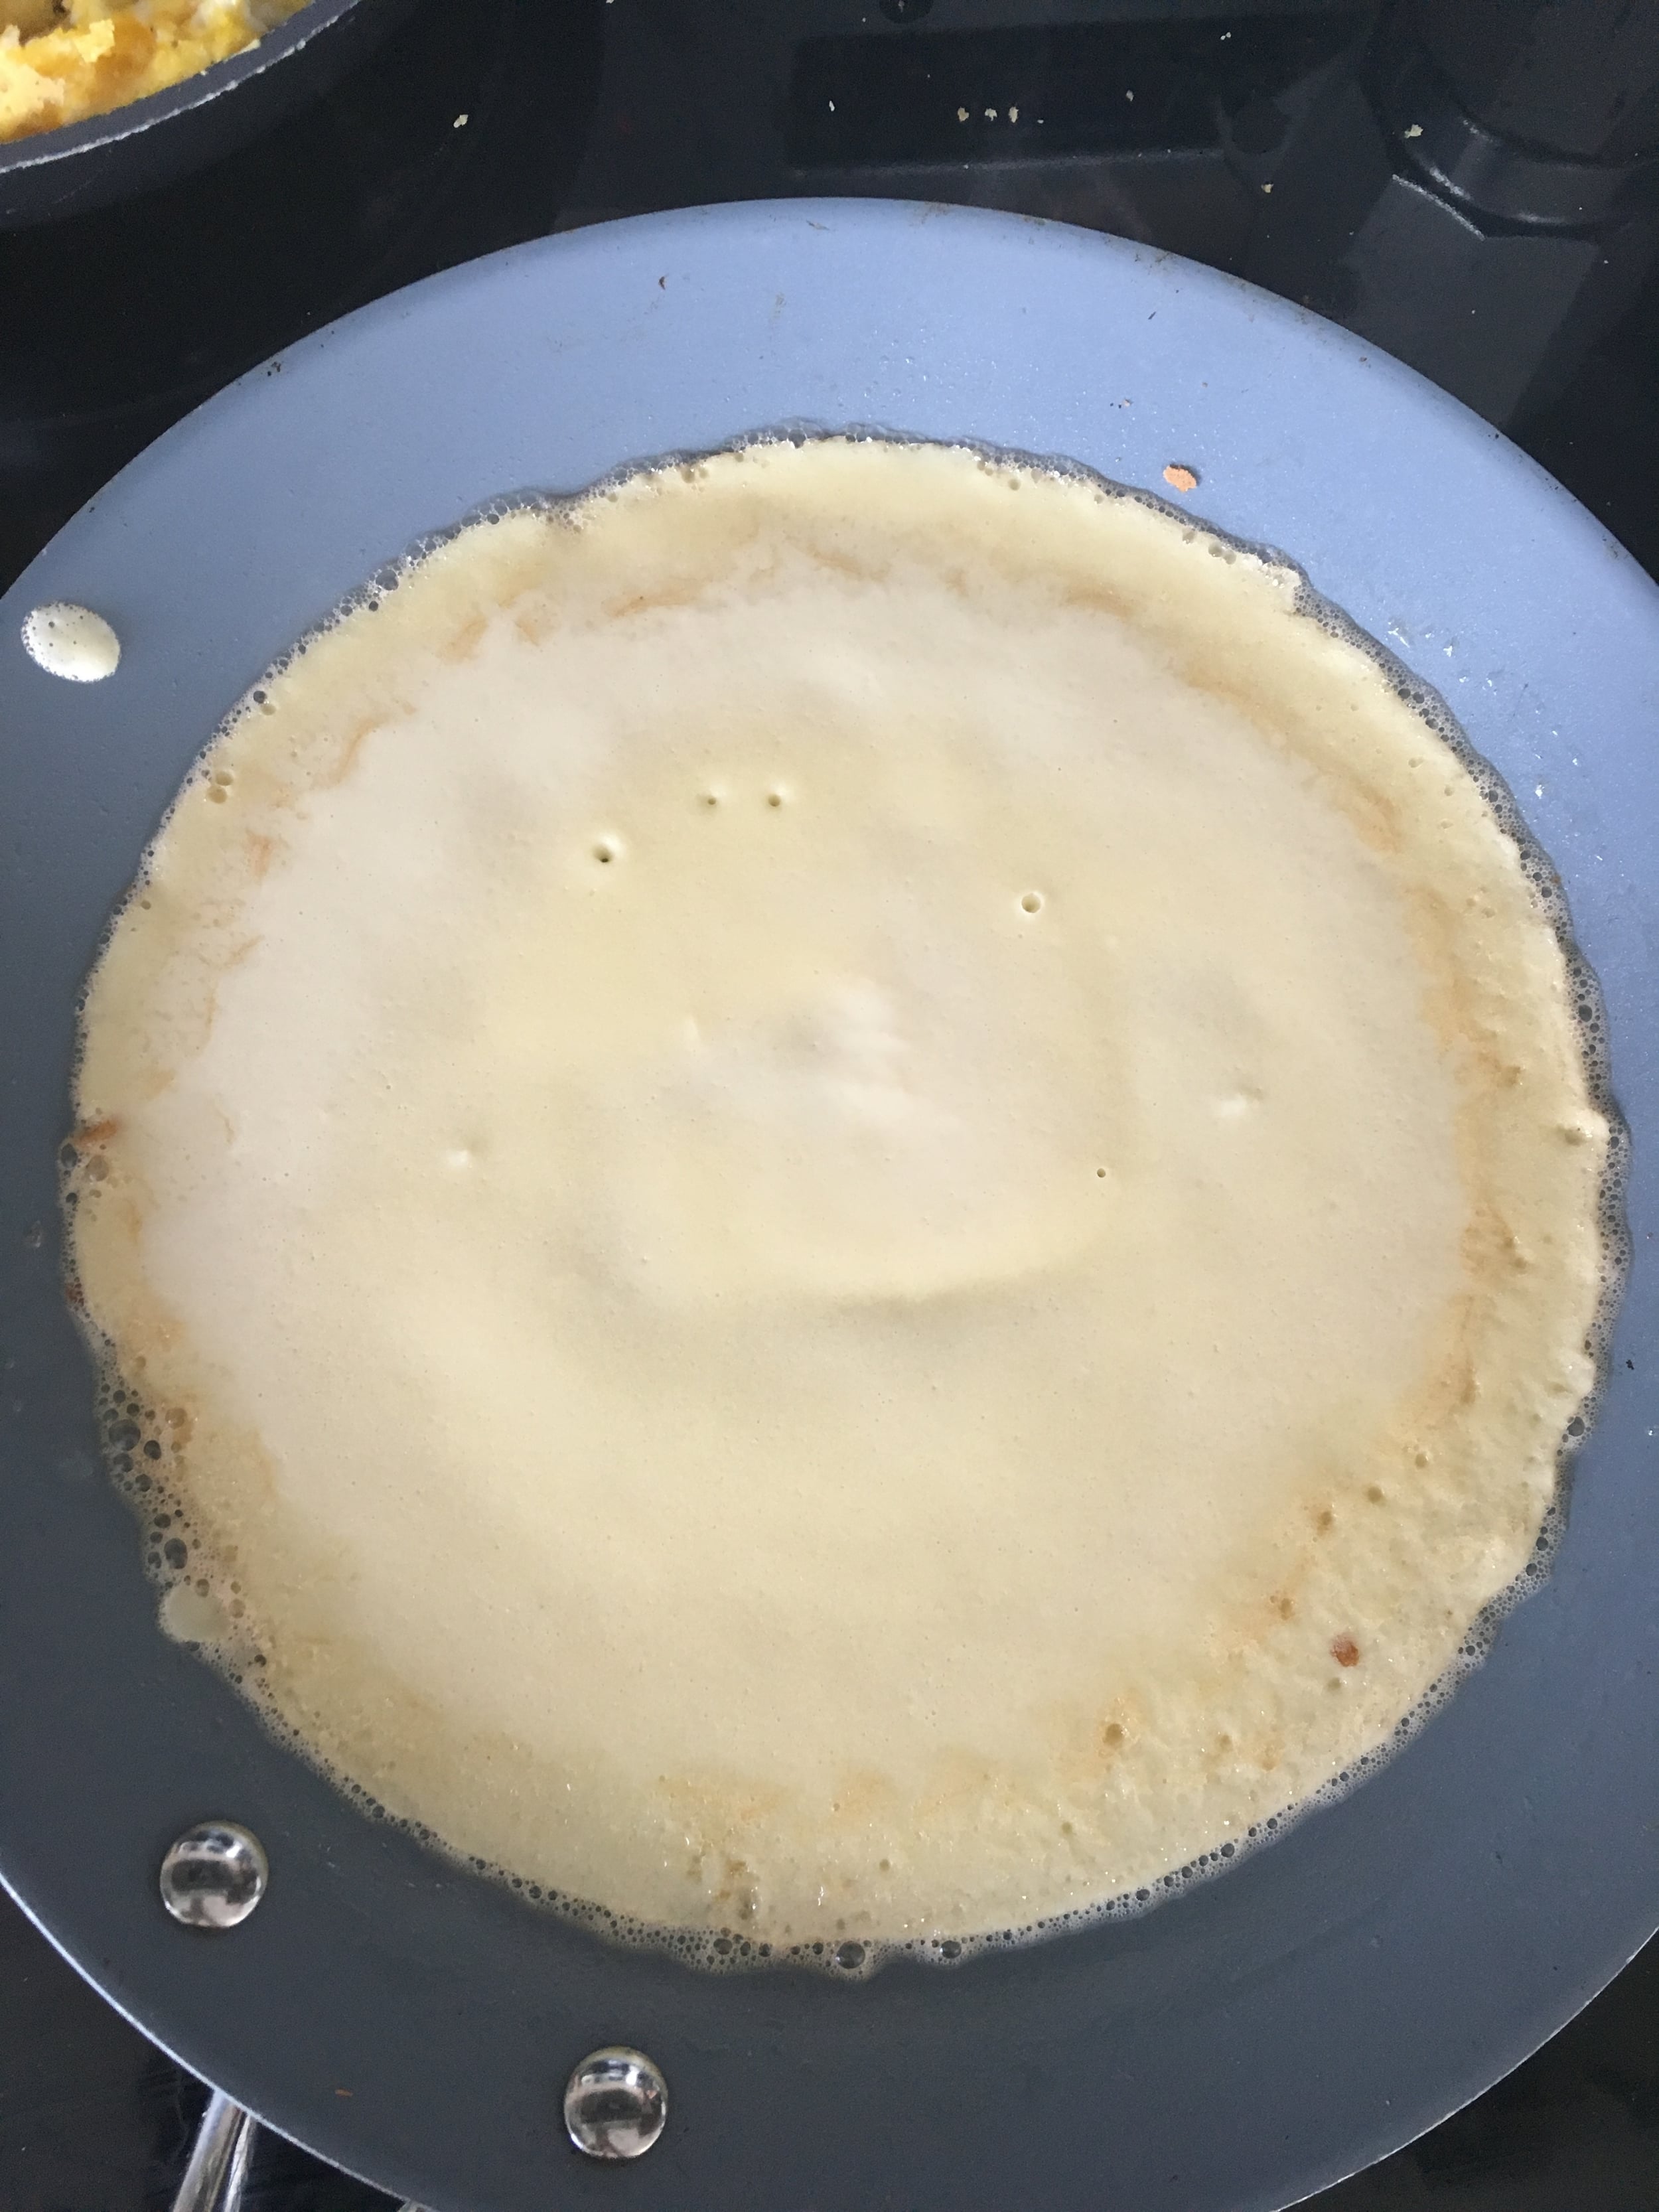
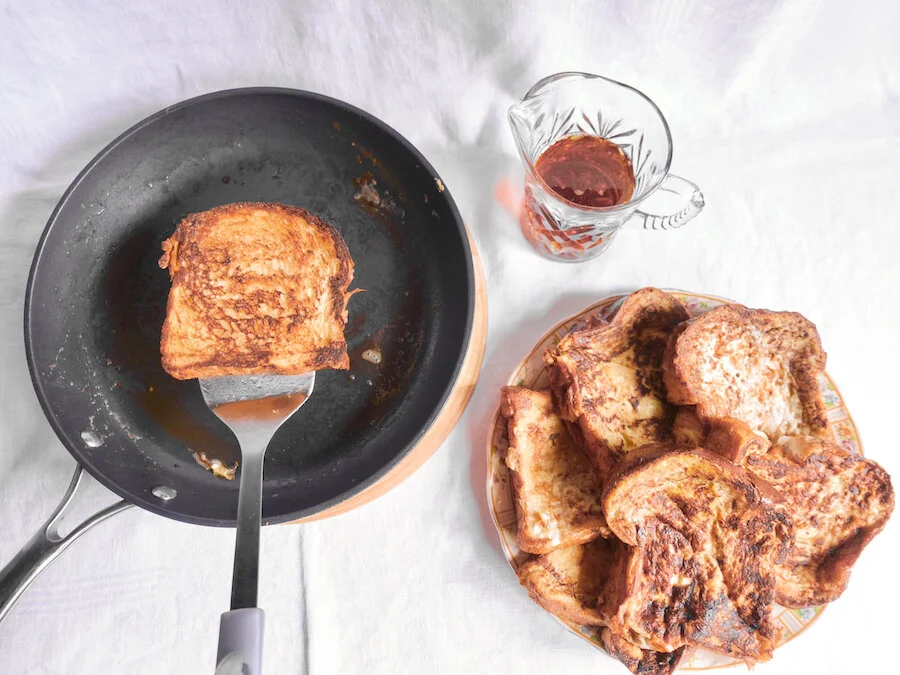
Heat pan on high and add butter. While butter is melting take a piece of bread and soak it in egg mixture, 4 seconds each side. Place in pan with melted butter and allow to cook until golden brown- flip and repeat to other side

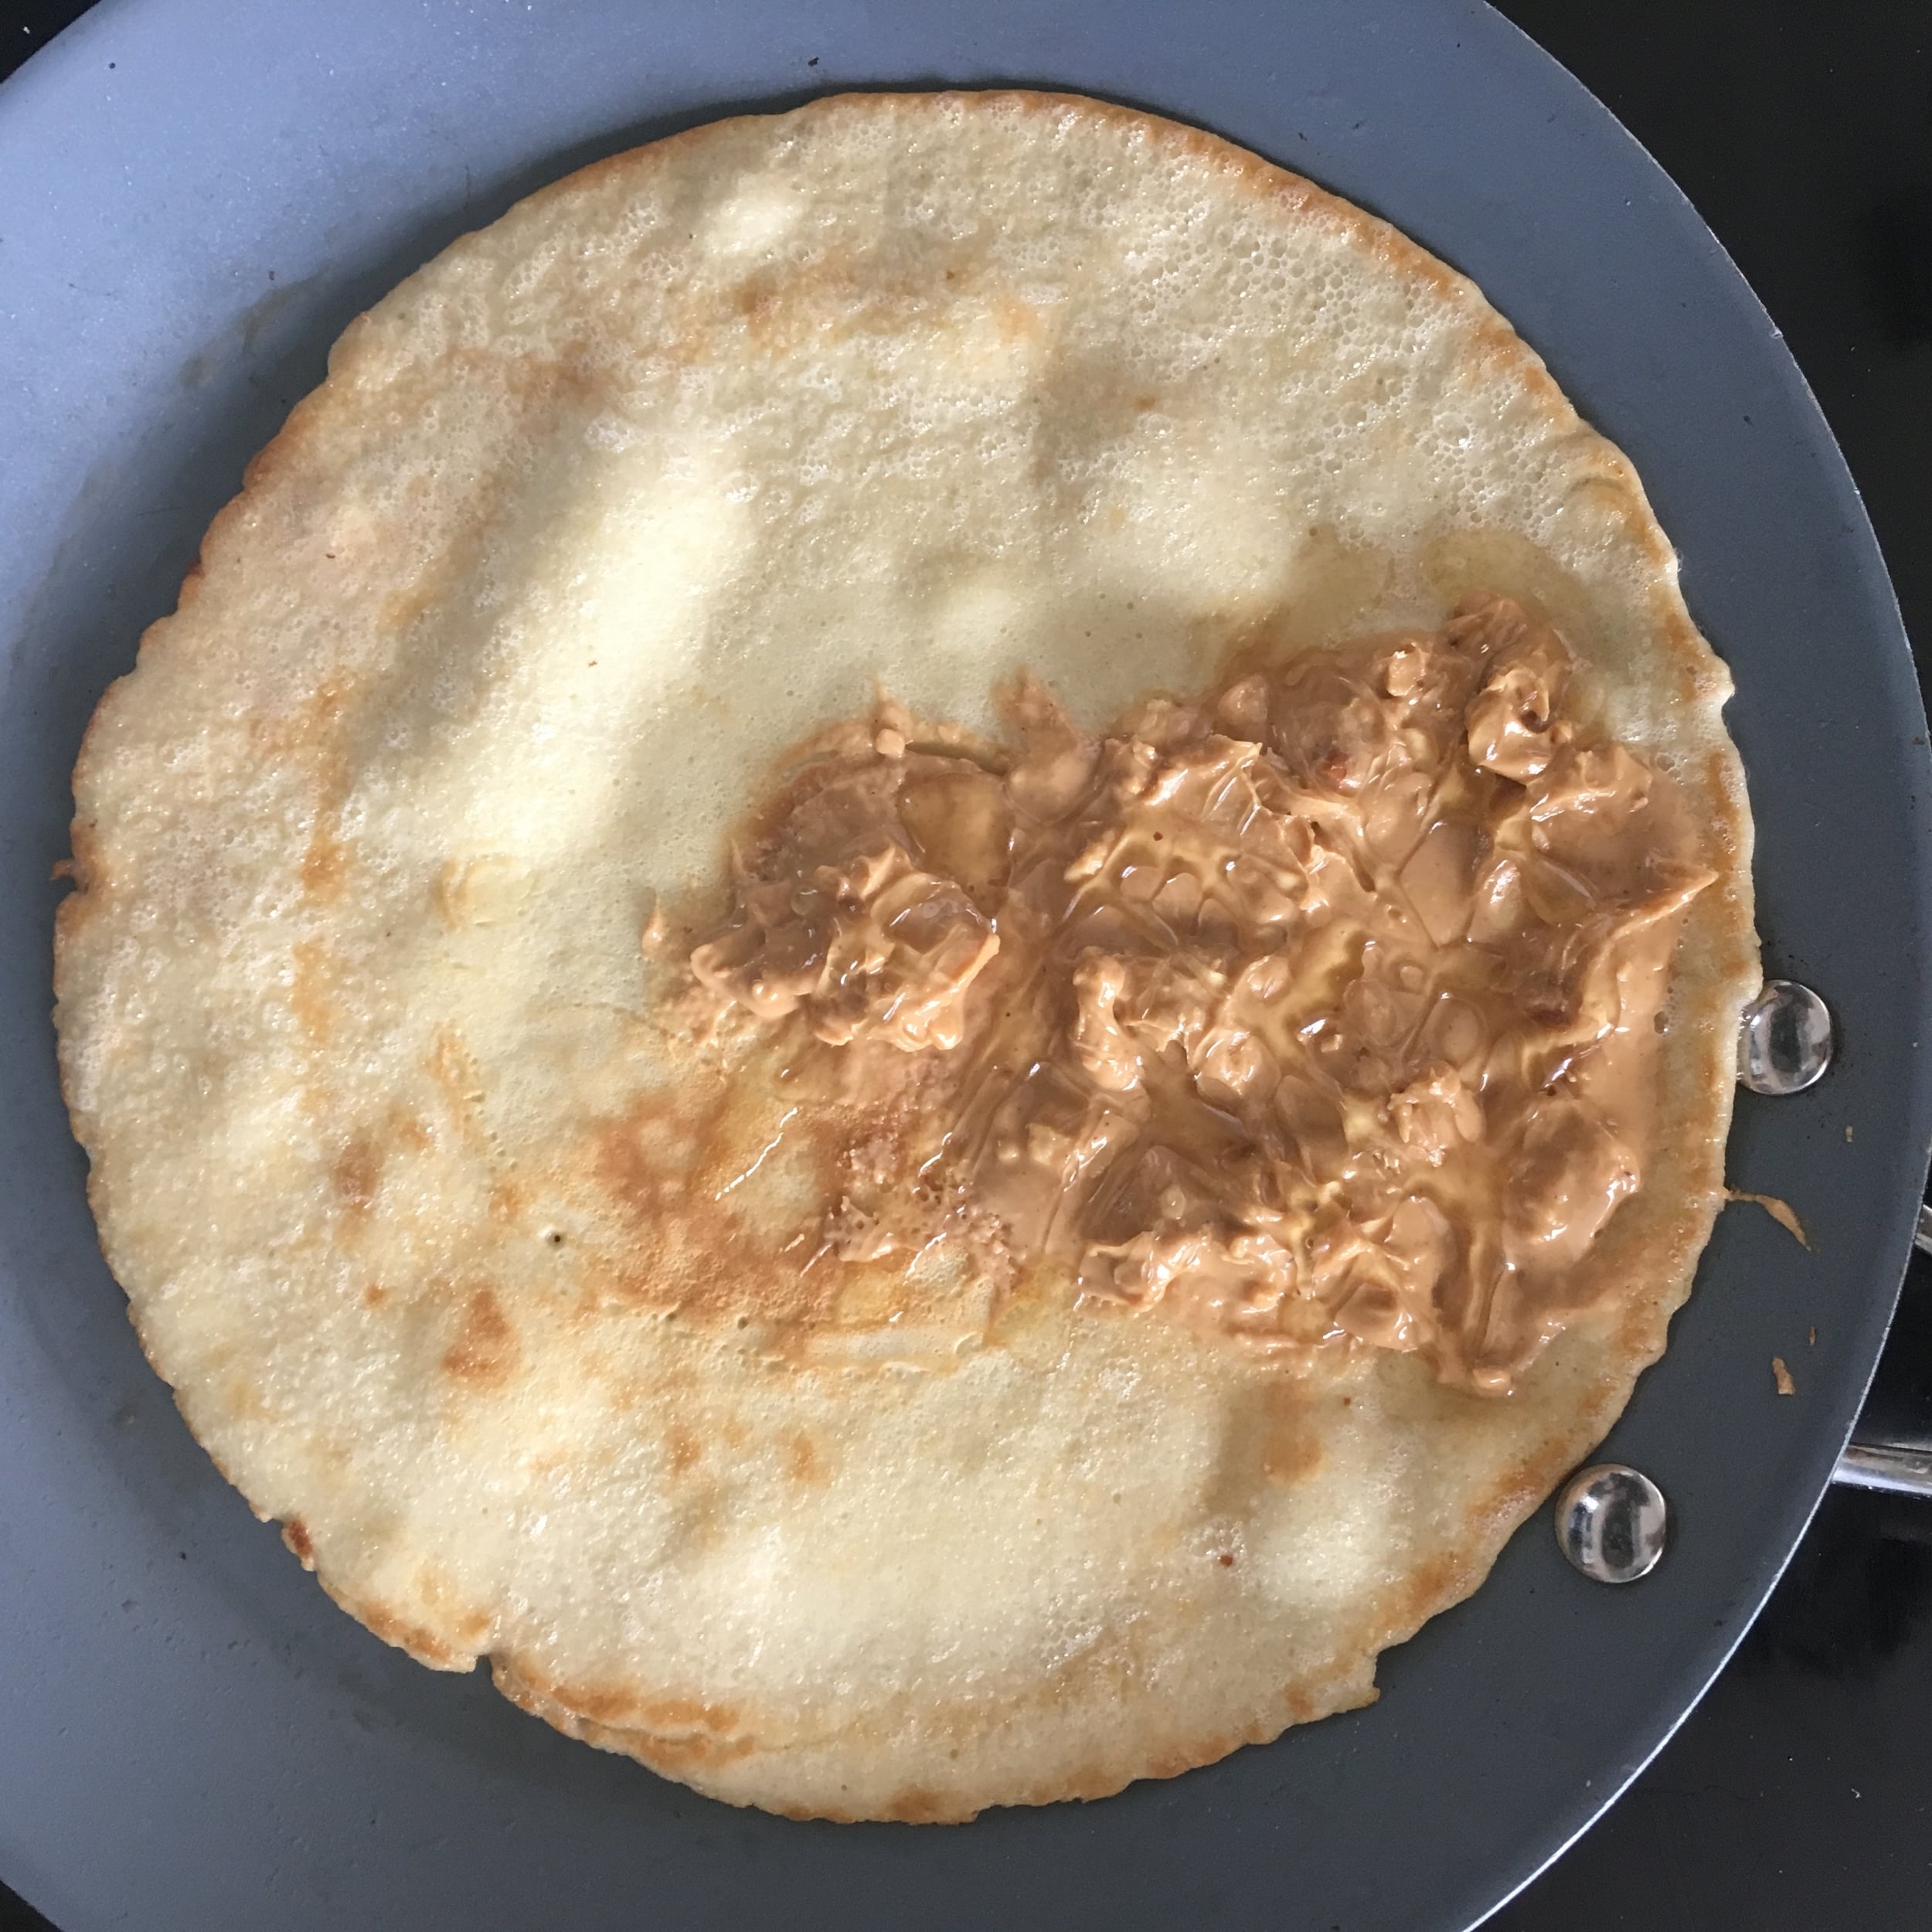
When all the toast is ready spread a thin layer of Nutella between the first and second layer. Then spread a thin layer or marscapone between the second and third layer. Spread a thin layer of Nutella between the third and fourth layer.

Dust the stack of french toast with icing sugar using a sifter before adding maple syrup and eating.

ENJOY!!!


I hope you enjoyed this recipe as much as I do. If you have any comments please leave them below and I'll be happy to answer them as soon as I can! Bon Appetite!!!


PIN THIS POST

CRISPY KOREAN BIBIMBAP CAULIFLOWER RICE BOWL WITH BBQ CHICKEN & SPRING VEGGIES

Traditionally cooked in a stone bowl, Bibimbap is a Korean rice dish that literally translates to ‘mixed rice with meat and assorted vegetables. Ever since I first discovered Korean rice bows I’ve been a huge fan and the hot Bibimbap sauce dressing really pulls the pickled veggies in perfectly with the crispy rice and fresh veggies. In the effort to make this recipe more low carb, I substituted the traditional use of sticky rice for cauliflower rice and although it didn’t crisp up quite the same way as normal sticky rice, it was still a beautiful substitute that maintained the integrity of the dish and still held the flavors together. To add a little extra protein Adam also cooked up these wonderful juicy chicken thighs on the BBQ which made for the perfect addition to this otherwise largely veggie based dish. If you are looking for something new, spicy, and wonderful to try, I highly recommend this Bibimbap recipe!

BIBIMBAP INGREDIENTS:

- Serves 4 People -

- BBQ Chicken Thighs and Marinade -
16 Chicken Thighs Boneless and Skinless (3-4 Per Person)
1 CUP of Low Sodium Soya Sauce
1 TBSP of Grated Ginger
4-6 Sprigs of Green Onion
4-6 cloves of Garlic - chopped or grated
Cracked Black Pepper
1-2 TSP of Cayenne Pepper - as per your spice level

- Crispy Cauliflower Rice Bowl -
Frozen Cauliflower Rice (you will want about 200grams per Person)
1.5 CUPS of Snow Peas - Chopped
6 Sprigs of Green Onion
3-4- slices of Ginger
3 Persian Cucumbers
1 TSP of Kosher Salt
3 TBSP of Rice Vinegar
4 TBSP of Vegetable Oil - split into 2 parts
2 TSP of Sesame Seed Oil
1 CUP of Frozen Peas
1 TBSP of Butter
4 Eggs
Bean Sprouts

- Korean Style Hot Bibimbap Sauce Recipe -
2 TBSP of Siracha
2.5 TBSP of Low Sodium Soya Sauce
2 TSP of Honey
4 TSP of Sesame Seed Oil
2 TSP of Rice Vinegar


CHECK OUT THESE OTHER ASIAN INSPIRED RECIPES


DIRECTIONS:

Throw the chicken along with all the marinade ingredients into a bowl and make sure the thighs are coated nicely. Allow chicken to marinate for min 30 minutes while chopping your veggies or overnight in the fridge.

Chop Persian cucumber in thin slices and place in a bowl. Add Kosher salt and massage into the cucumber. Dress with rice vinegar (make sure they are well coated and soaking in a little bath, and set aside allowing them to pickle while we move on to the other veggies.

Chop the snow peas on a diagonal in 1/4 inch pieces.

Chop the top (furthest from the stem) of the green onion on the diagonal until you have 1/4 CUP (set aside for garnish) and cut the remaining amount width-wise in thin slices as per normal.

In a large skillet, add in 3 TBSP of vegetable oil and 2 TSP of sesame oil and allow to heat up on medium. Once ready, add in your green onions (remember to save some for garnish) and ginger stirring constantly, and allow to fry for 3-4 minutes.

Once green onion and ginger are ready, add cauliflower rice into the skillet and mix until well incorporated before pressing the cauliflower down into the bottom of the skillet evenly and allowing it to cook on medium for the next 15 minutes.

During this time you can BBQ the chicken on medium-high heat, 10 minutes each side or until cooked through.

While the chicken and cauliflower are cooking make your Korean hot sauce by combining all the ingredients in a bowl and mixing thoroughly.

When cauliflower gets close to the 15-minute mark, give it a toss to allow crispy brown bits to mix and pat down again to form an even layer, allow to cook for an additional 5 -10 minutes until it is crispy. *Cauliflower rice will never get fully crispy because it holds a lot of water but it will get a little crispy

During these last few minutes fry up 4 eggs in a skillet using butter to coat the pan.

In a separate skillet, add 2 TBSP of vegetable oil and allow to heat up on medium heat. Add in the snow peas and frozen peas and allow them to fry ever so slightly before adding in 1/4 Cup of water, covering, and allowing to steam for 3-4 minutes.

When ready to plate, start with your cauliflower rice, add one friend egg to the middle, arrange bbq Chicken, bean sprouts, pickled Persian cucumber, and snow pea/pea mixture around the edge. Drizzle Korean hot sauce on top, garnish with extra green onion and serve!

Enjoy!


FOLLOW ME ON INSTAGRAM @ISTHATSOH


If you like this Korean bibimbap recipe or have any comments/questions about how to make bibimbap, feel free to leave them in the comment section below!


PIN THIS POST

SPICY COCONUT CHICKEN THIGHS

One of the first recipes we made up at the cottage this year was this delicious spicy coconut chicken thigh recipe! Everyone was craving something Asian and this chicken dish ended up being not just KETO but super easy to make! Further, the flavors of this dish were amazing, totally satisfying everyone’s cravings. I ended up serving the dish on a bed of riced cauliflower and alongside my Asparagus Stir Fry with A Touch Of Citrus dish, and the pairing got a thumbs up from everyone at the table so we will definitely be making this meal again. If you are looking for a SUPER easy recipe to try that will spice up your next meal, I highly recommend this one!

Enjoy!

INGREDIENTS:

- Serves 4 people

1/3 CUP of Freshly Grated Ginger
3 Cloves of Garlic - Minced
3/4 CUP of Coconut Milk
1/4 CUP of Curry Paste - Hot Chili Paste can be used as a substitute
1/4 CUP of Fresh Lime Juice
2 TBSP of Brown Sugar or use a Keto Substitute Like Sukrin Gold Brown Sugar Alternative
1 3/4 TSP of Kosher Salt
2 TBSP of Vegetable Oil
2 LBS of Skinless, Boneless Chicken Thighs

-Optional Base and Toppings-

Riced Cauliflower
Cilantro - for Garnish
Green Onions - chopped finely for Garnish

DIRECTIONS:

In a bowl add in the freshly grated ginger, garlic, coconut milk, curry paste, lime juice, sugar, salt, and vegetable oil, and whisk until well incorporated. Add chicken in and make sure it is well coated in sauce.
Let marinate for a minimum of 15 minutes. If you are preparing the chicken ahead of time, store it in the fridge.

When ready to cook, remove chicken from marinade and drain excess drip back into the bowl. Transfer chicken to a baking sheet covered in parchment paper and broil on high for 7-8 minutes before flipping the chicken and allowing it to broil on high for another 7-8 minutes on the other side or until it appears crispy.

Pour the excess marinade drippings you drained off the chicken into a small saucepan and bring to a boil. Once it starts to boil, reduce heat and allow it to similar on medium-low heat, stirring occasionally until its thickens - about 2-3 minutes.

Once the chicken is cooked, remove from oven, add sauce on top and serve!

Enjoy!


If you like this recipe or have any comments/questions, feel free to leave them in the comment section below!


PIN THIS POST

SPICY COCONUT CHICKEN THIGHS.jpg

ITALIAN CROSTATA RECIPE - MEMORIES FROM ITALY

Having recently received a package of Bonne Maman jams (best surprise ever!) I decided that I would put them to good use and make some delicious Italian breakfast tarts known as Crostatas. If you ever find that you have lots of jam in your fridge and you are looking for ways to use them up this is a great idea. The recipe is really easy and forgiving, and can be a fun activity to do with kids. Although Italians typically serve this tart with breakfast it can easily transition to an after dinner dessert with the help of a scoop of ice cream. Buon appetito!!

INGREDIENTS:

2 Cups of flour
1/2 Cup of granulated sugar
1/2 Teaspoon of baking powder
1 Egg + 1 Egg yoke (throw out whites for just one egg)
1/2 Cup of butter (softened!)
3/4 Cup of jam of your choice

DIRECTIONS:

Using a large bowl add in your flour, sugar, and baking powder - whisk until fully incorporated together.

Make a well and add in your eggs and butter, and start to incorporate it all together. I like to start with my whisk and then move to using my hands as it gets more clumpy.

Kneed the clumps together until they form a dough (this may take some time but the butter will eventually spread and help form the dough).

Once dough is formed wrap in plastic wrap and place in fridge for 30 minutes.

Preheat oven to 350 degrees

Take dough out of fridge after 30 minutes and roll out using a rolling pin to about 1/8 of an inch thickness.

Spread the dough out over your pie dish and get rid of any excess dough. You can kneed the excess dough together again and roll it out again to create strips of dough which are equal in thickness to decorate the top of the crostata with a lattice later if you want.

Add in your jam and spread out evenly. You want just enough jam where you don't see the crust below.

Add your decorative stripes of dough to the top now. I like to form a lattice but some people cut out shapes instead. You can turn down the edges of the pie to hold the lattice strips in place.

Place in oven for 30 - 35 minutes or until top is golden.

Once ready remove and let cool for 10 minutes before serving. Enjoy!


If you like this recipe or have any comments/questions, feel free to leave them in the comment section below!


PIN THIS POST


DELICIOUS CREPES

'Crepe' in French mean pancake and are often used for both breakfast and dessert. For example in the evenings you can serve them with Nutella and Strawberries for dessert after dinner or in the mornings as a savory low carb breakfast option with egg and vegetables. Try it for yourself using this recipe below. ENJOY

INGREDIENTS

1/2 Cup of Water
1/2 Cup of Milk
1 Cup of all Purpose Flour
1 TSP of Vanilla Extract
2 TSP of Sugar
2 Eggs
Butter

Suggested Fillings:

Savory -
Egg (cooked separately)
Smoke Salmon
Red Onion
Cream Cheese

Sweet -
Peanut Butter
Honey
Berries or Banana
Nutella

DIRECTION:

Add water, milk, flour, sugar and vanilla extract to a blender. In a small separate bowl crack the eggs and make sure there are no shells before adding it also to the blender.

Blend on low until nicely mixed together.

Heat a skillet on low-medium heat and add in butter. Once ready add blended batter to the skillet and move around so that it spreads out evenly.

The crepe will start to cook immediately. After about a minute when the bottom side is golden flip the crepe - use a spatula to aid you.

Once flipped add your contents to the crepe. Once crepe is finished cooking on the side facing down fold the crepe over itself, capturing the contents inside. Serve Hot.


I hope you enjoyed this recipe as much as I do. If you have any comments please leave them below and I'll be happy to answer them as soon as I can! Happy cooking!!!