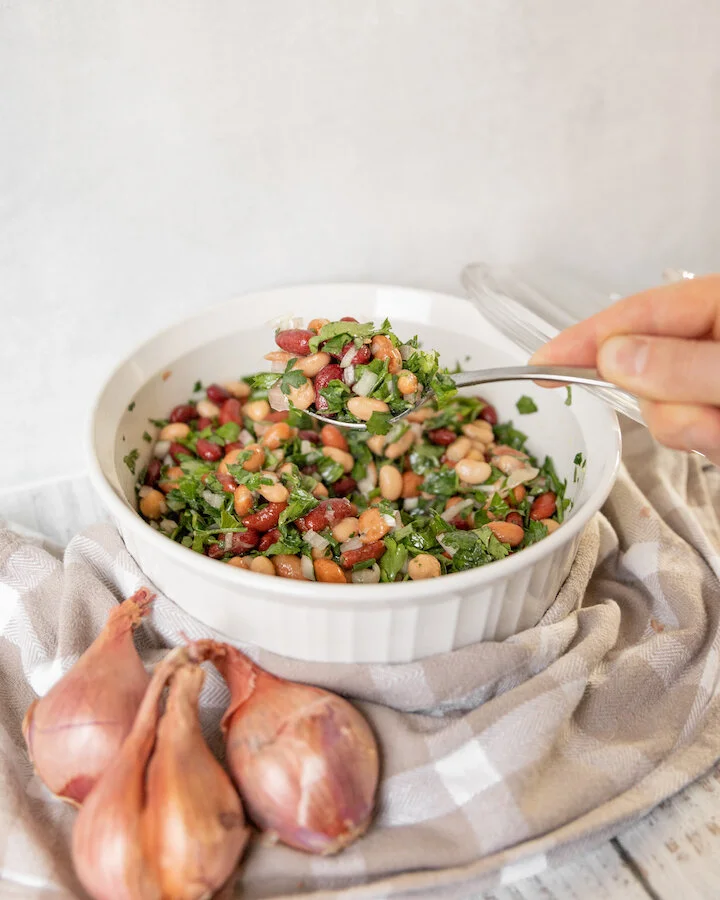
MEDITERRANEAN VEGAN BEAN SALAD!

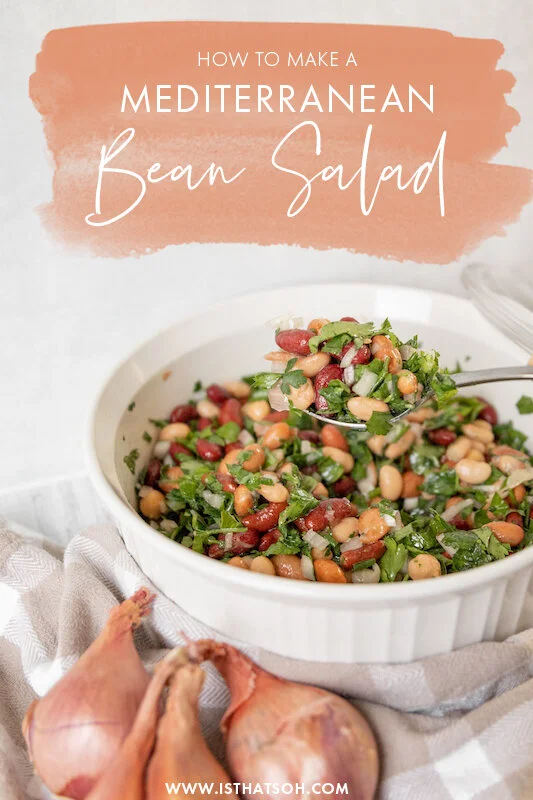
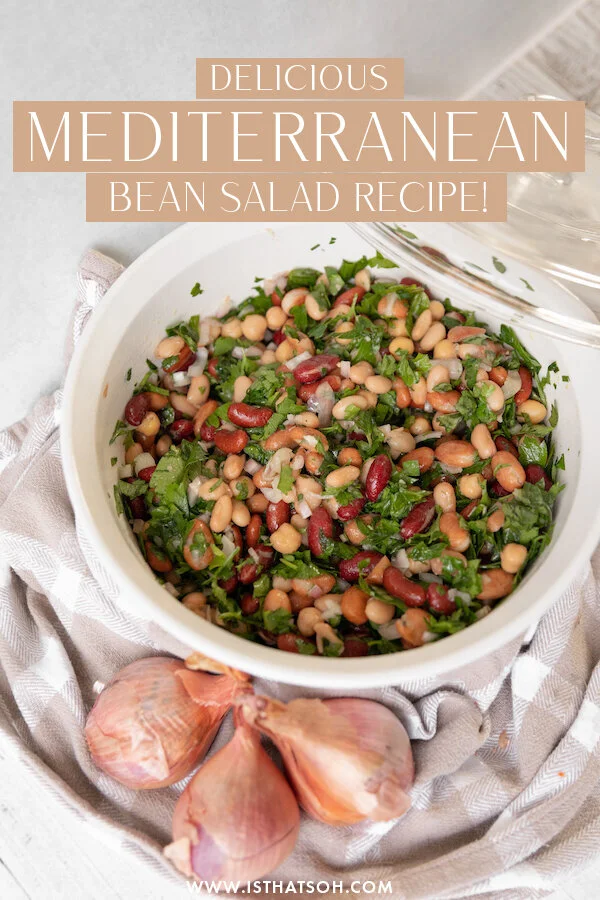
As someone who is always looking for ways to make ‘honouring my body’ easier, following a balanced diet such as the traditional Mediterranean diet makes doing so not only satisfying but undeniably more delicious! If you are looking for ways to add more protein to your diet without always gorging on meat, mix bean salad make a great substitute. Packed full of protein and carbs, this Mediterranean vegan bean salad will give you a boost of energy to help sustain you throughout the day. It has more nutritional value than a regular leafy green salad and keeps well for 3-4 days in the fridge, making it perfect for meal planning. It’s also very inexpensive to make and can be whipped up in less then 10 minutes! Regardless of your motivation, I know you’ll not only love the flavour, but feel good about eating it too!

Enjoy!

INGREDIENTS:

Serves 4-5

1 Shallot (finely chopped)
3TBSP of White Wine Vinegar
1/2 Cup of Parsley (roughly chopped)
1/4 Cup of Chives (roughly chopped)
1/4 Cup of Mint (roughly Chopped
Olive Oil
2 x 15 oz Mix Bean Medley
Salt and Pepper


LOOKING FOR VEGAN RECIPES? CHECK THESE OUT!


DIRECTIONS:

Add white wine vinegar to shallots and set aside for 5 minutes.

Next get a large bowl and add in your chopped parsley, chives and mint. Coat in olive oil. Add bean medley. Salt (generously) and pepper to taste.

Lastly add in your white wine vinegar shallots, toss and serve!


FOLLOW ME ON INSTAGRAM @ISTHATSOH


I hope you enjoy this vegan bean salad recipe as much as I do. If you have any comments please leave them below and I'll be happy to answer them as soon as I can! Happy cooking!!!

PIN THIS POST

CAULIFLOWER HASH BROWN EGG BITES

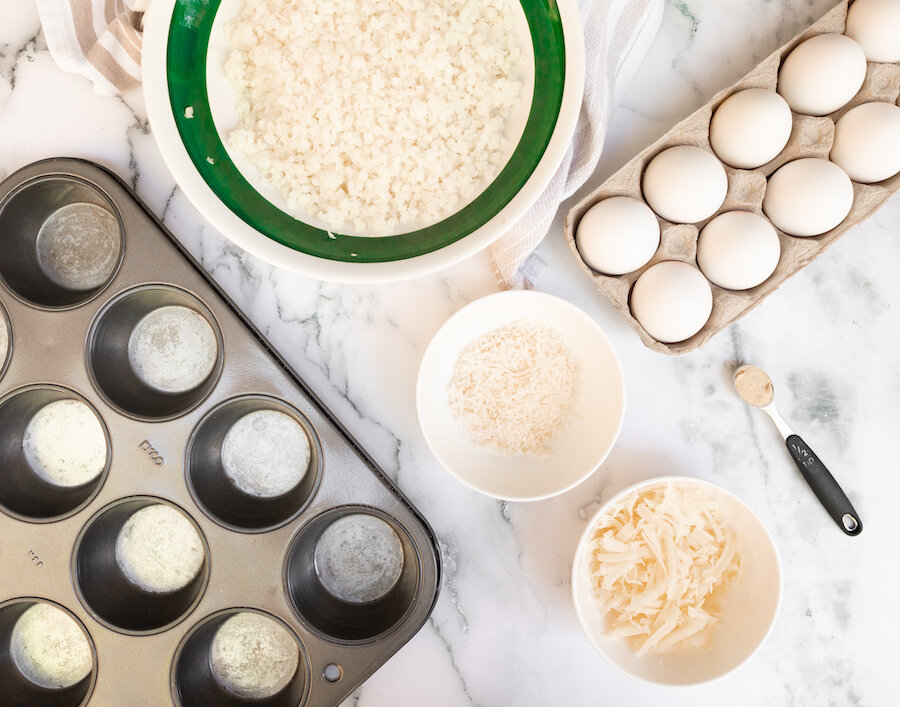
Always on the look out for a keto friendly recipe, these cauliflower hash brown egg bites are the perfect addition to your weekly breakfast line up. If you are looking for something to batch make that is not only low carb but also gluten free, you have to try this recipe. Not only are they delicious but you can add a variety of toppings to them like smoke salmon and chives or ham and tomato. Plus, they are packed full of protein so you can feel good about starting your day off on the right foot. Enjoy!

INGREDIENTS:

Makes 9 Cups

500 Grams of Frozen Riced Cauliflower - defrosted
1 Large Egg - whisked
1/2 CUP of Cheddar Cheese
1/2 Cup of Parmesan
1 TSP of Salt
1/2 TSP of Garlic Powder
Pepper to Taste
9 Eggs

Additional Toppings - Optional
Chili Pepper Flakes
Green Onion
Chives

DIRECTIONS:

Preheat oven to 350 and butter your muffin tray really well! If you don’t it will be hard to remove the cauliflower cups later.

In a large bowl, microwave your cauliflower for 8 minutes. Remove and let rest of 5 minutes before putting it a cheesecloth or tea towel to squeeze out as much liquid as possible. There is a lot of excess water in cauliflower so you will need to squeeze it really hard!

Next, in a large bowl, add in your whisked egg, cauliflower, cheddar cheese, parmesan, salt, and garlic powder and mix well using your hands.

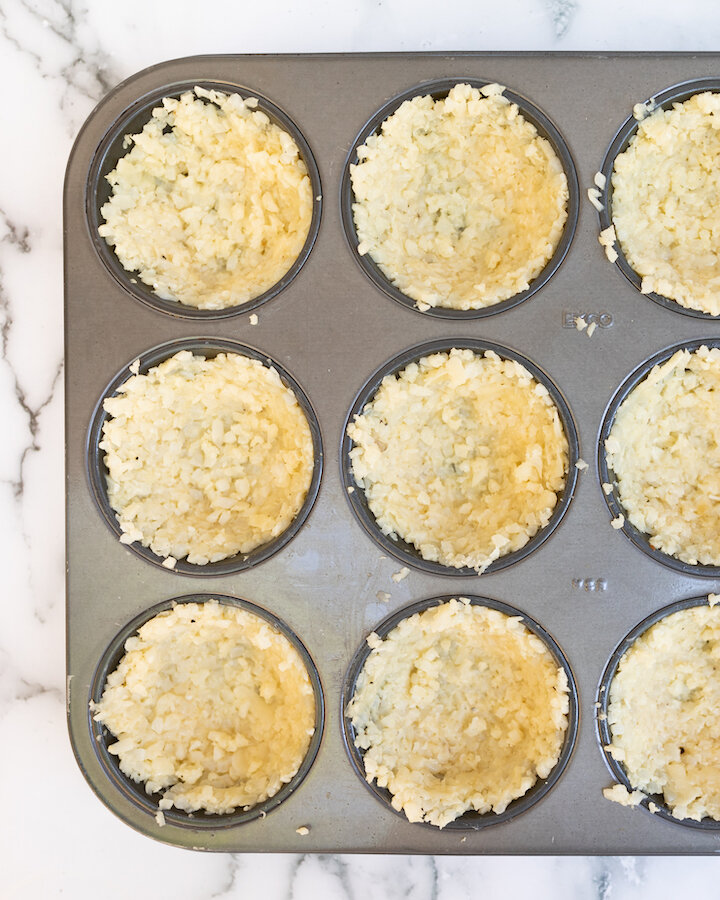
Take your cauliflower mixture and press it into your muffin tray to form your ‘cups’.

When ready, place muffin tray in the oven and bake for 15-20 until the cups are golden and edges are brown.

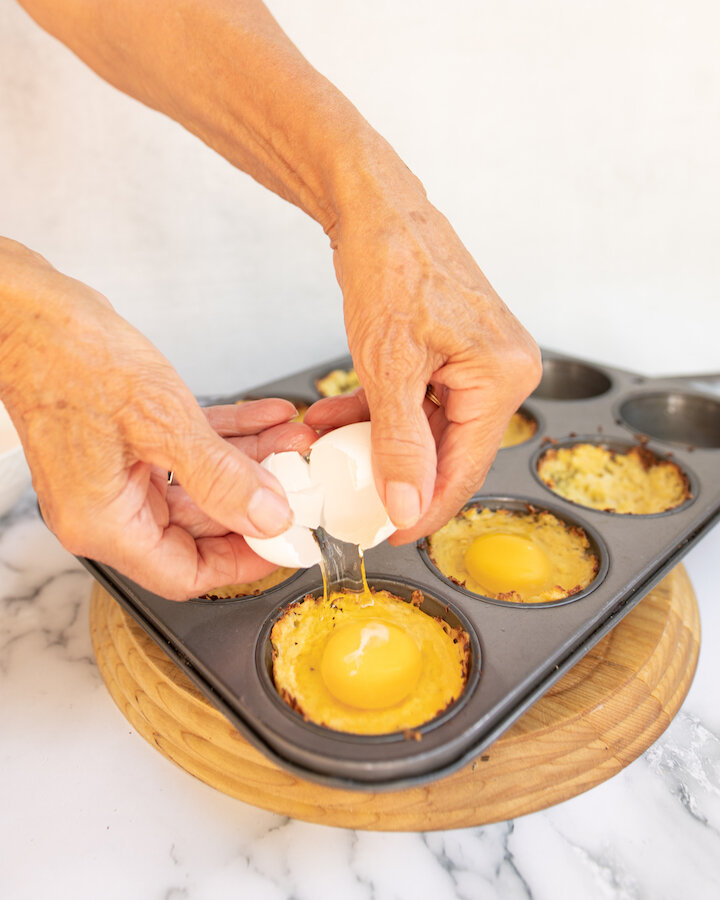
Remove from oven, add in one egg to each cup, sprinkle salt and pepper to taste on top before placing back into the oven for another 10-15 minutes or until whites are set.

When done, remove from oven and allow egg bites to sit for 5 minutes before taking a knife and sliding it around the edge of each muffin mold to help remove the egg bites from the tray.

Add your desired garnishes and serve.

Enjoy!


I hope you enjoyed this recipe as much as I do. If you have any comments please leave them below and I'll be happy to answer them as soon as I can! Happy cooking!!!

PIN THIS POST

ELOTE - MEXICAN STREET CORN

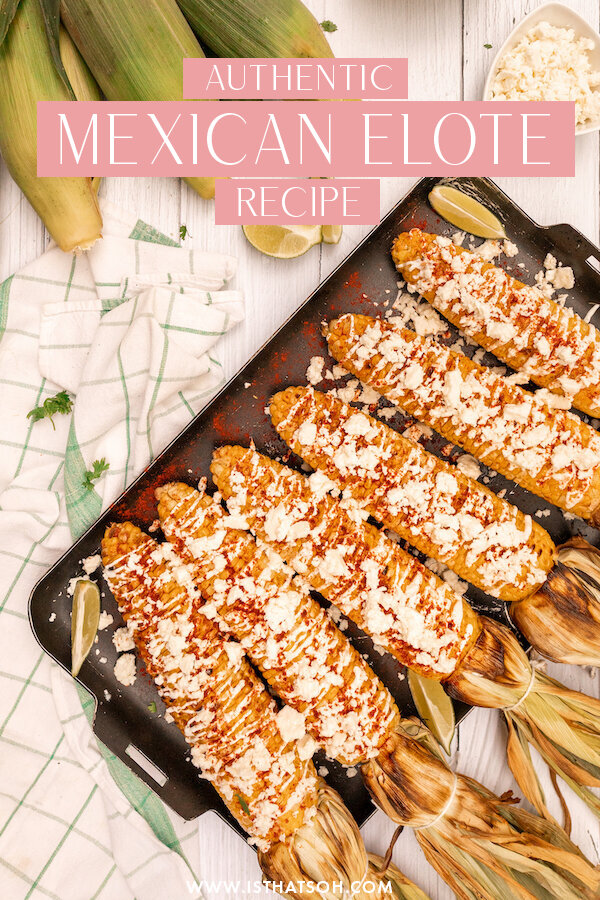
Elote or Mexican street corn is one of my favorite appetizers!! Whenever I go out for tacos I always have to order the Mexican street corn otherwise the dining experience isn't complete! The thing you might not realize is that it is so simple to make and you can do it so easily right at home. I made mine on the bbq this past week which I think was even better than boiling it because when you boil it you dilute the sugars in the kernels whereas if you bbq it, they get sealed in and the corn tastes extra sweet! Give it a go, you’ll be surprised just how delicious and easy it is to make.

INGREDIENTS:

Sweet Corn - Two per person is my usual estimate
Butchers Twine
2 TBSP of Vegetable Oil
Cream Fresh
Chipotle Chilli Seasoning Spice
Feta Cheese, Cotija Cheese or Queso Fresco
Lime Wedges - optional

DIRECTIONS:

Peel back the husk of corn and tie back with a piece of butchers twine

Coat corn in a light layer of oil and place on the bbq, turning frequently so that it becomes only slightly charred

When the corn is ready, drizzle with creme fresh, sprinkle with chipotle seasoning and garnish with cheese.

Serve warm with a slice of lime.

Enjoy!


I hope you enjoyed this recipe as much as I do. If you have any comments please leave them below and I'll be happy to answer them as soon as I can! Happy cooking!!!

PIN THIS POST

'CHICKEN' NUGGETS - VEGETARIAN

As a kid I loved chicken nuggets!!! They were legit my favorite meal as a child. I recently have been trying to eat healthier, but still have cravings for my beloved chicken nuggets. So when I came across this recipe I thought it was a happy compromise. If you are looking into becoming vegetarian or vegan and want to transition yourself into the lifestyle this is a good recipe for you. It is also pretty easy to make gluten-free as you only have to change the panko bread crumbs to a gluten free option like rice or corn crumbs. Either way I hope you enjoy this recipe as much as I did.

VIDEO POSTED BELOW

INGREDIENT:

1 (15oz) Can of Chickpeas (Drained and Washed)
2 Eggs (or Vegan Egg Substitute) - One will be used for the breading
1 Cup of Chickpea Flour - 1/2 Cup will be used for the breading
1 TSP of Salt
1/2 TSP Onion Powder
1/2 TSP Garlic Powder
1 TBSP of Poultry Seasoning
1 Cup of Bread Crumbs or Rice/Corn Crumbs for GF option

DIRECTIONS:

Place chickpeas in a food processor and pulse until no large chunks remain. Once finished place chickpeas in a bowl and add one egg and mix together.

Add 1/2 Cup of chickpea flour to bowl along with salt, onion powder and garlic powder. Mix until fully incorporated.*

Form nuggets and place on a baking sheet covered in parchment paper.

Once finished place baking tray in the fridge for 20 minutes to that the nuggets maintain form.

When ready remove nuggets from fridge and preheat over to 375 degrees.

Beat your last egg (this is your egg wash). Mix your poultry seasoning with the remaining flour in a bowl. Add breadcrumbs (or gluten free option) to another bowl. Dip each nugget into the flour, followed by the egg wash and lastly the bread crumbs and place back on the parchment paper.

Once oven is ready place baking tray with nuggets in the oven to cook for 20 minutes flipping the nuggets over half way through.

ENJOY!!!

*If you find that the nuggets are really wet and hard to form you can add an extra TBSP of chickpea flour.

I hope you enjoyed this recipe as much as I do. If you have any comments please leave them below and I'll be happy to answer them as soon as I can! Bon Appetite!!!

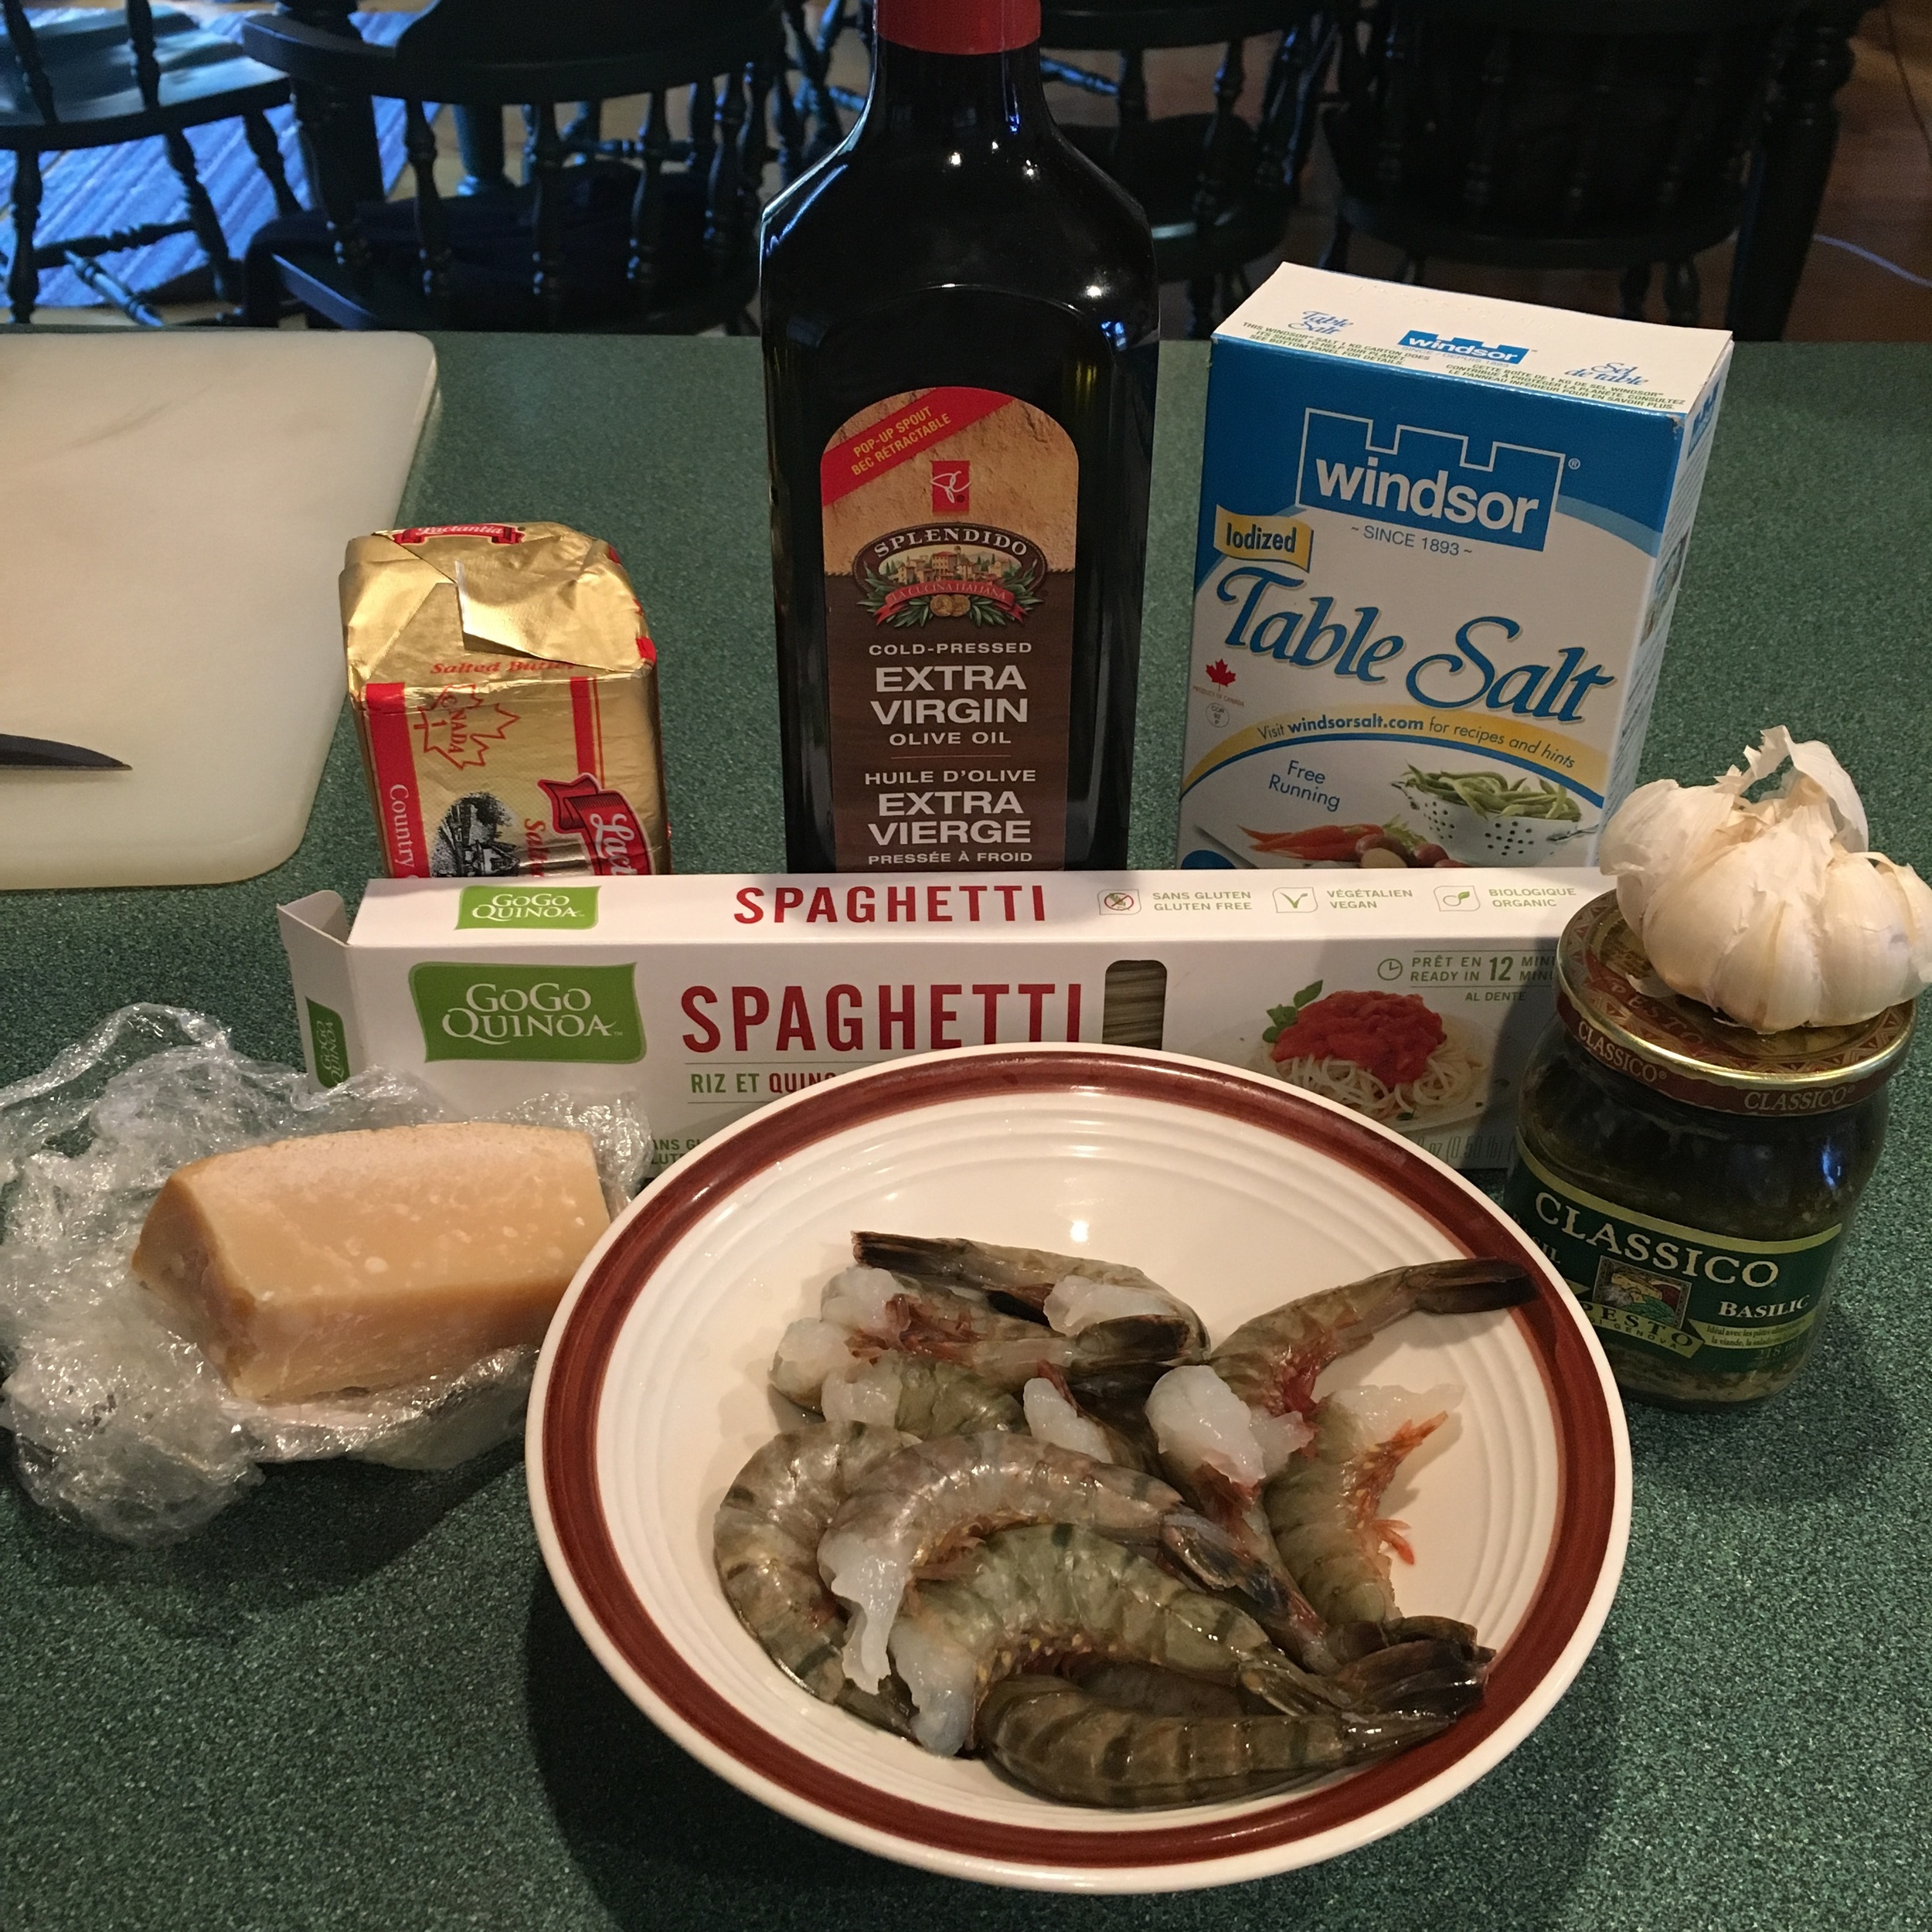
PESTO SHRIMP WITH GLUTEN FREE PASTA

I love me some pasta and this is one of my easiest recipes. If you are hungry or dealing with some 'hangry' company/kids this is the fastest and easiest meal to get on the table. The longest part of this recipe is waiting for the water to boil, after that it's done in 10 minutes. I'm not celiac but I like using gluten free pasta whenever I can. In this case I used qunioa pasta (my fav gluten free kind of noodle) because it is easier to digest plus its a complex carb (1 part protein to 2 part carbs) making your noodles that much healthier for you. I also find that taste and texture wise it's the closest to regular aldente wheat pasta from a box. Enjoy! 

Serves 2 Adults

INGREDIENTS:

2-3 TBSP of Olive Oil
2 TBSP of Butter
1 Clove of Garlic (minced)
1 Shallot (Finely chopped)
15-20 Shrimp (de-vained and shell removed)
Pre-made Pesto*
Quinoa Pasta
Salt to taste
Parmesan Cheese (garnish)

*make sure it's gluten free

DIRECTIONS:

Bring a pot of water to a boil add 1-2 TSP of salt and your quinoa pasta. You have to stir quinoa pasta for the first two minutes so that it doesn't stick together. Continue to cook for another 8-10 minutes for aldente.

Add olive oil and butter to a skillet and allow to heat up on medium heat before adding in your garlic and shallots.

Once shallots become transparent add in your shrimp and pesto. Mix and allow the shrimp to cook until pink.

Once pasta is aldente remove 3-4 TBSP of water from the pot and set aside. Drain the remaining pasta water and add the pasta into the skillet with the shrimp and pesto. Mix well so that the pasta is well coated.

If you need a little more liquid to cook the pasta a little more add in the pasta water you set aside now. This will also help remove anything stuck to the bottom of the skillet.

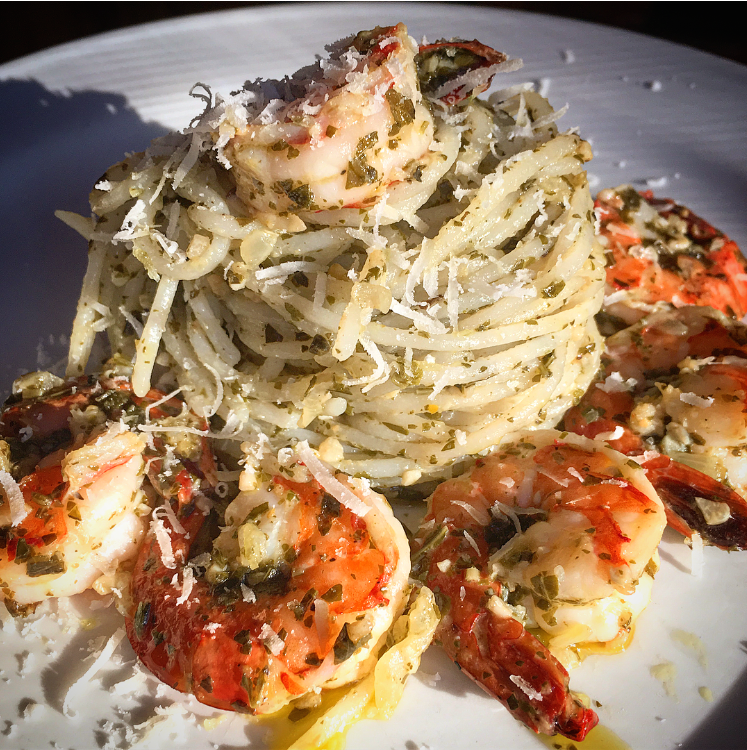
Twirl pasta and plate. Add shrimps from the skillet and garnish is pesto sauce and freshly grated Parmesan cheese.


I hope you enjoyed this recipe as much as I do. If you have any comments please leave them below and I'll be happy to answer them as soon as I can! Bon Appetite!!!