PAD GRA PROW - EASY THAI STREET FOOD RECIPE!

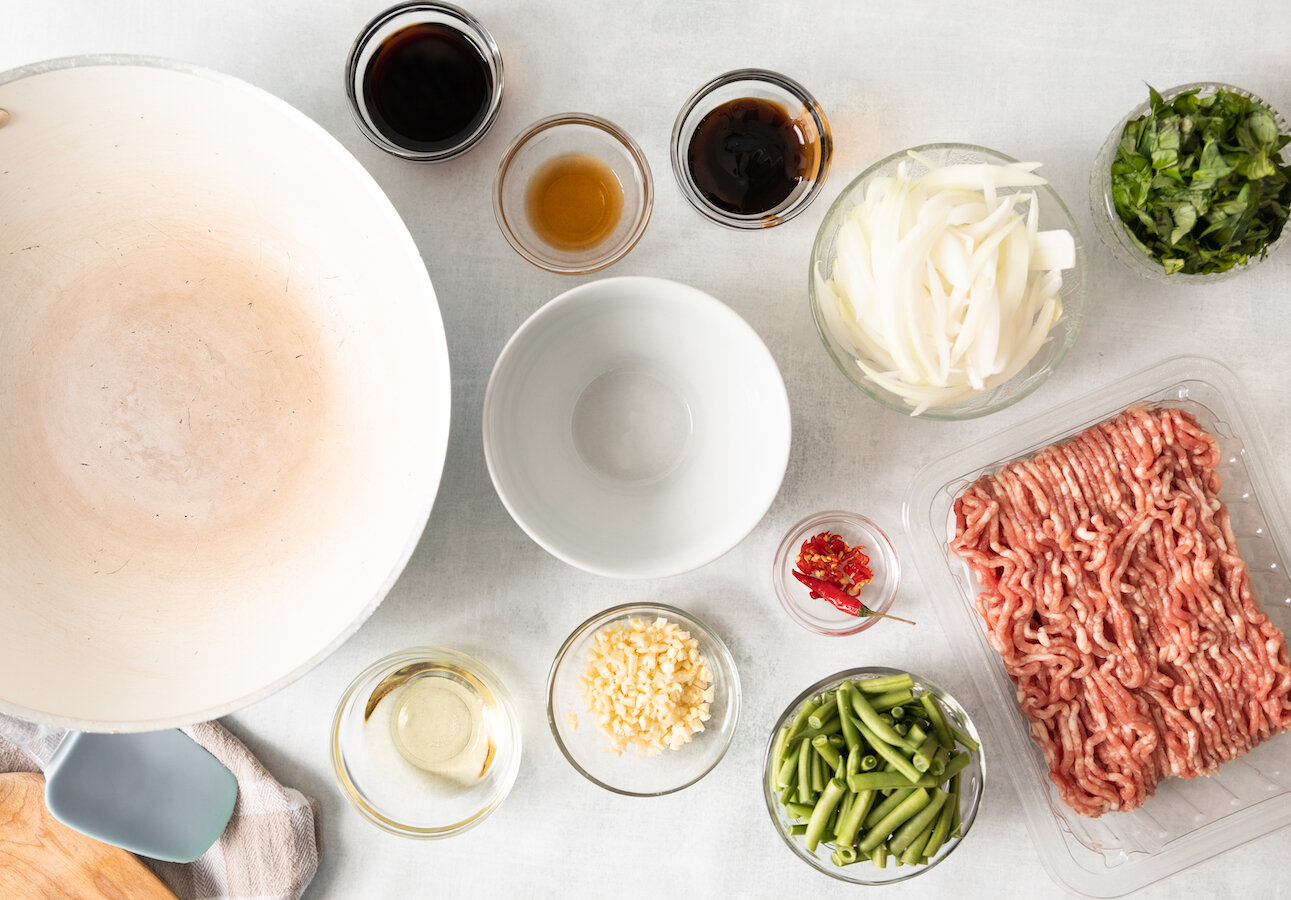
Since I am always and forever dreaming of travel, I thought I’d share a new recipe and popular street food dish today from a country on my bucket list, Thailand. Pad Gra Prow (sometimes also seen spelled Pad Gra Pow or Pad Kra Prow) is a flavourful, ground pork dish that is served on top of a bed of steamed Jasmin rice and topped with a sunny-side-up egg. Not only is it super simple to make but it will have you asking for second helpings! Don’t like pork? That’s okay! Tofu makes a great vegetarian substitute for pork or even ground chicken. Alternatively, if you are looking for a low-carb option you can also substitute the rice for a lettuce wrap which adds an extra refreshing element to this already delicious dish. No matter what your preference, this recipe will have you daydreaming of traveling to Thailand one day soon too.

INGREDIENTS:

Yields 2-3 Servings

2 CUPS of Steamed Jasmin Rice
4 TBSP of Vegetable Oil divided - 1 TBSP and 3 TBSP
1 TBSP of Oyster Sauce
1 TBSP of Soy Sauce
1.5 TSP of Fish Sauce
2 TBSP Garlic - minced
1/2 TSP of Thai chili - minced
1 LB or 450g of Ground Pork - you can substitute for chicken or tofu but squeeze out all the water if you use tofu
1 Cup of French Beans - cut in 1” pieces
1/2 a White Onion - cut in 1/4 inch strips
2 Eggs
1 Cup of Thai Holy Basil - roughly chopped - if you can’t find Thai Holy Basil you can use regular Italian Basil instead
Salt and Pepper


MORE MOUTHWATERING ASIAN RECIPES


DIRECTIONS:

Cook rice and set aside.

While rice is cooking, add the oyster sauce, soy sauce and, fish sauce to a bowl and mix thoroughly, set aside

Next, in a wok heat up your vegetable oil and add in your garlic and chili. Cook until fragrant.

Once fragrant, add in your ground pork (or substitute with chicken or crumbled tofu) and allow to cook completely. Salt and pepper as desired.

Next, add in veggies (onion and beans) and continue to cook for about 2 minutes.

During this time/, fry eggs sunny side up in a skillet with a little bit of vegetable oil until whites are cooked but yolk is still runny, set aside.

Once pork/veggies are done, add the sauce mixture you made earlier to the wok and stir until well incorporated.

Next, stir in basil until wilted

Lastly, plate the pad gra prow on top of a bed of rice adding the fried egg on top and garnish with a piece of fresh basil.

Additionally, you can add a lime wedge on the side as well as a few extra small pieces of chili in a tablespoon of fish sauce when serving.

Enjoy!


FOLLOW ME ON INSTAGRAM @ISTHATSOH


I hope you enjoyed this recipe as much as I do. If you have any comments please leave them below and I'll be happy to answer them as soon as I can! Happy cooking!!!


PIN THIS POST

CLOUD BREAD *GLUTEN FREE & KETO FRIENDLY*

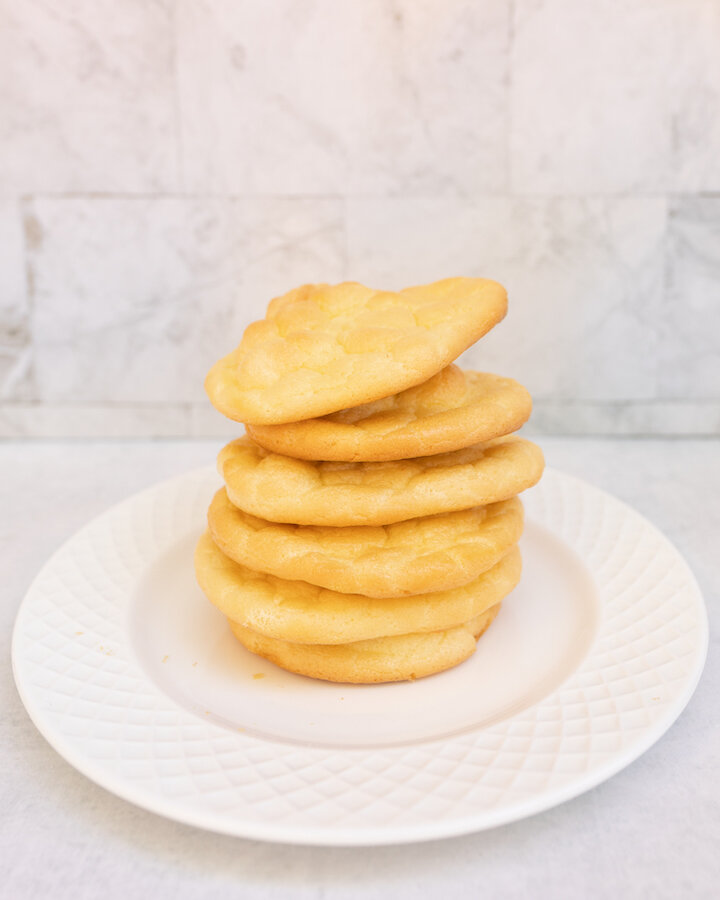
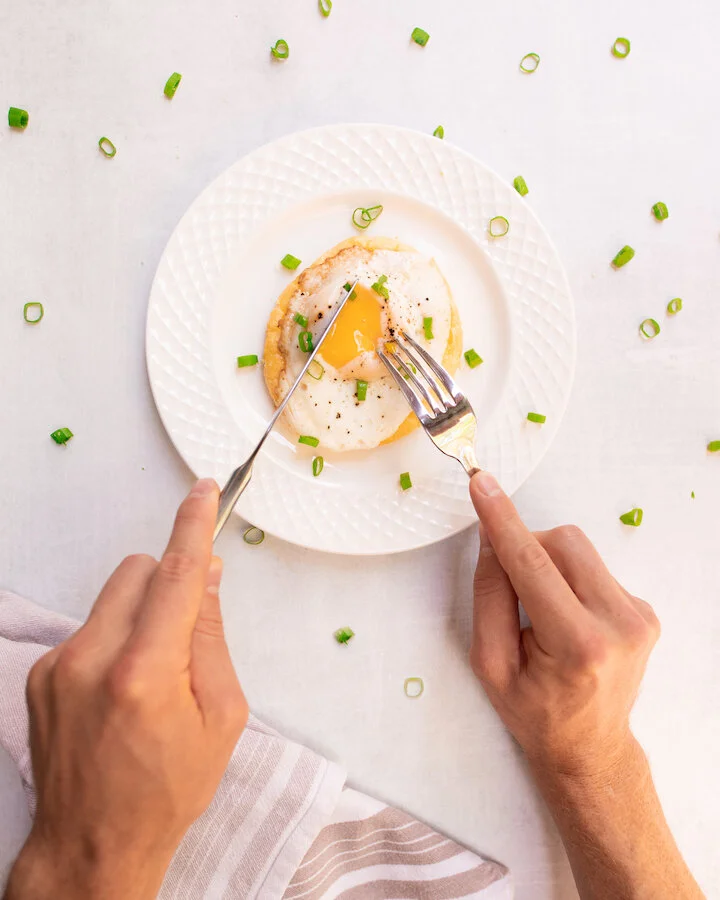
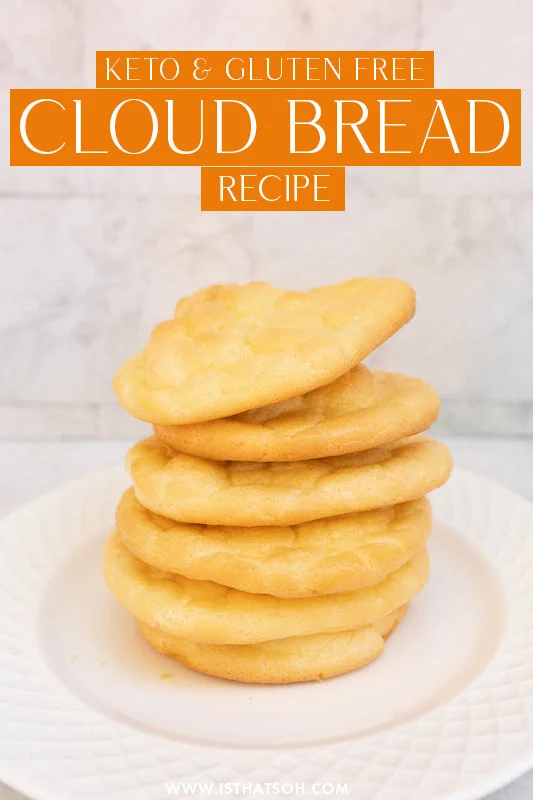
I know what you are thinking… Cloud bread? What is cloud bread? Well, it is a super fluffy, soft, delicious bread made from three ingredients! I first came across a cloud bread recipe while on TikTok and the fluffiness and name instantly caught my eye. Not only is it super easy and quick to make but keto-friendly, gluten-free, and so versatile - you can use it as a base for a pizza, or for your eggs at breakfast, etc. Best of all, it’s so delicious and I know you are going to love it just as much as I do! If you are wondering how to make cloud break and want an easy cloud bread recipe that is keto-friendly, check mine out below!

Enjoy!

CLOUD BREAD INGREDIENTS:

Makes 6-8 Pieces

3 Eggs - room temperature
3 TBSP of Cream Cheese - room temperature
1/4 TSP of Cream of Tartar


CHECK OUT THESE OTHER EASY KETO RECIPES


HOW TO MAKE CLOUD BREAD - DIRECTIONS:

Preheat oven to 300 and line a baking sheet with parchment paper.

In two medium-size bowl, separate the eggs, putting the yolk in one bowl and the whites in another.

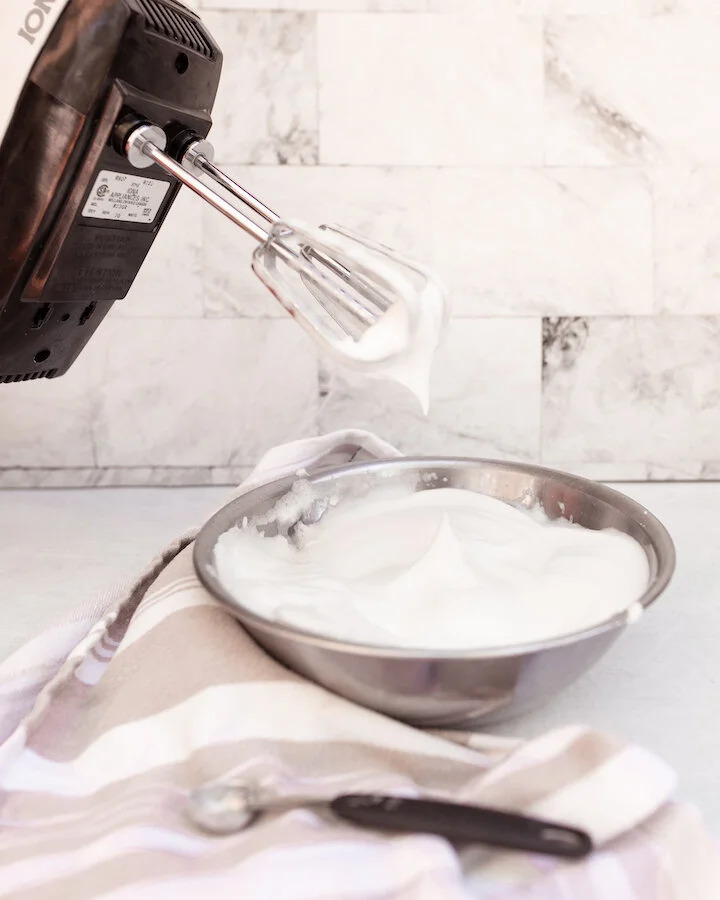
Using a hand mixer, beat the egg whites on a low-medium speed until bubbles start to form before adding in the cream of tartar. When ready, turn the speed up to high on the hand mixer and continuing to whip egg whites until stiff peaks start to form.

Next, in the bowl with the yolks, add in the cream cheese and beat until blended and smooth.

Next, fold the bowl with your egg whites into the bowl with the yolks and cream cheese. Try not to over mix because you will deflate your cloud bread.

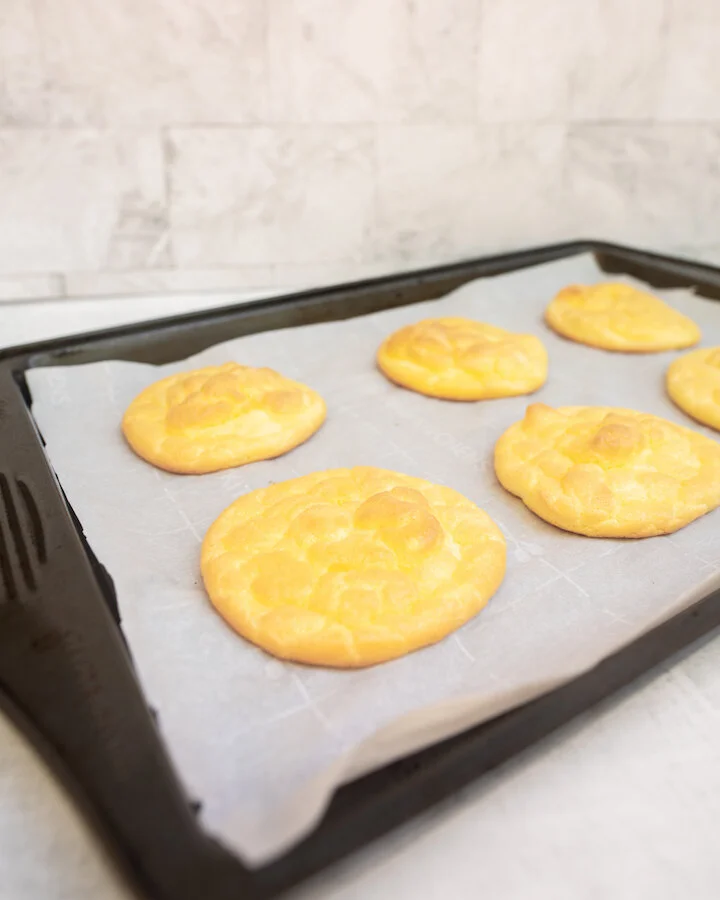
When ready, scoop a dollop of the batter using a large spoon onto your baking sheet and bake for 20-30 until medium golden brown.


FOLLOW ME ON INSTAGRAM @ISTHATSOH

Gallery Block
This is an example. To display your Instagram posts, double-click here to add an account or select an existing connected account. Learn more

I hope you enjoyed this TikTok cloud bread recipe as much as I do. If you have any comments please leave them below and I'll be happy to answer them as soon as I can! Happy cooking!!!


PIN THIS POST

CAULIFLOWER HASH BROWN EGG BITES

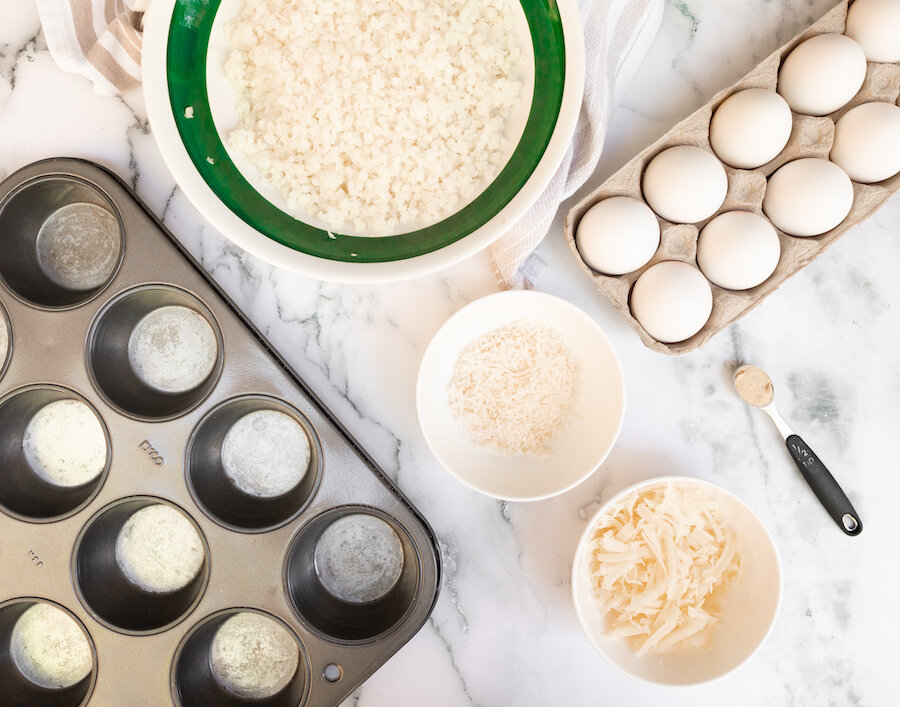
Always on the look out for a keto friendly recipe, these cauliflower hash brown egg bites are the perfect addition to your weekly breakfast line up. If you are looking for something to batch make that is not only low carb but also gluten free, you have to try this recipe. Not only are they delicious but you can add a variety of toppings to them like smoke salmon and chives or ham and tomato. Plus, they are packed full of protein so you can feel good about starting your day off on the right foot. Enjoy!

INGREDIENTS:

Makes 9 Cups

500 Grams of Frozen Riced Cauliflower - defrosted
1 Large Egg - whisked
1/2 CUP of Cheddar Cheese
1/2 Cup of Parmesan
1 TSP of Salt
1/2 TSP of Garlic Powder
Pepper to Taste
9 Eggs

Additional Toppings - Optional
Chili Pepper Flakes
Green Onion
Chives

DIRECTIONS:

Preheat oven to 350 and butter your muffin tray really well! If you don’t it will be hard to remove the cauliflower cups later.

In a large bowl, microwave your cauliflower for 8 minutes. Remove and let rest of 5 minutes before putting it a cheesecloth or tea towel to squeeze out as much liquid as possible. There is a lot of excess water in cauliflower so you will need to squeeze it really hard!

Next, in a large bowl, add in your whisked egg, cauliflower, cheddar cheese, parmesan, salt, and garlic powder and mix well using your hands.

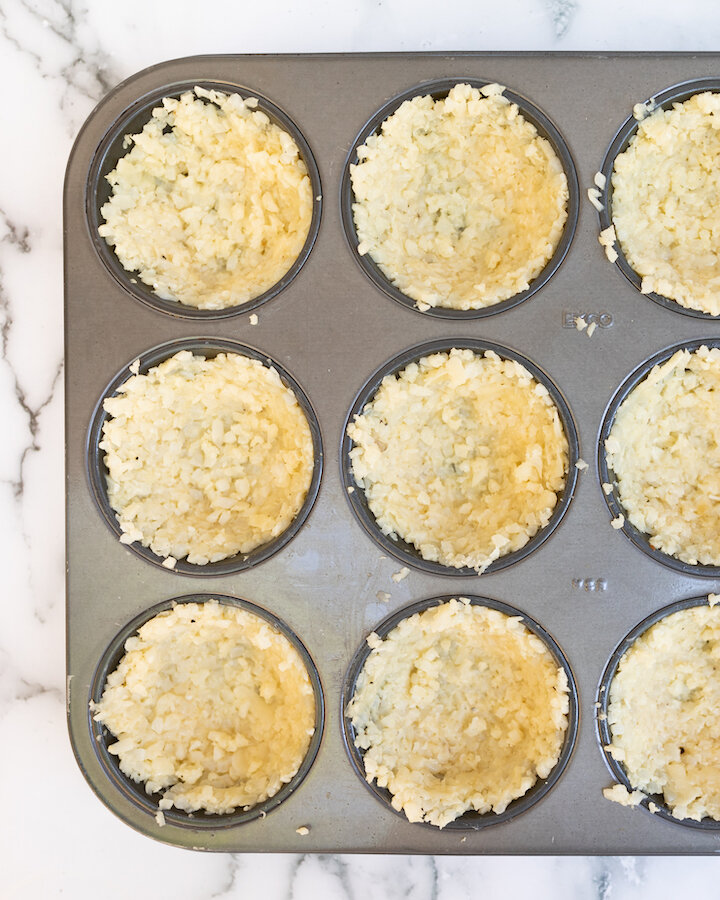
Take your cauliflower mixture and press it into your muffin tray to form your ‘cups’.

When ready, place muffin tray in the oven and bake for 15-20 until the cups are golden and edges are brown.

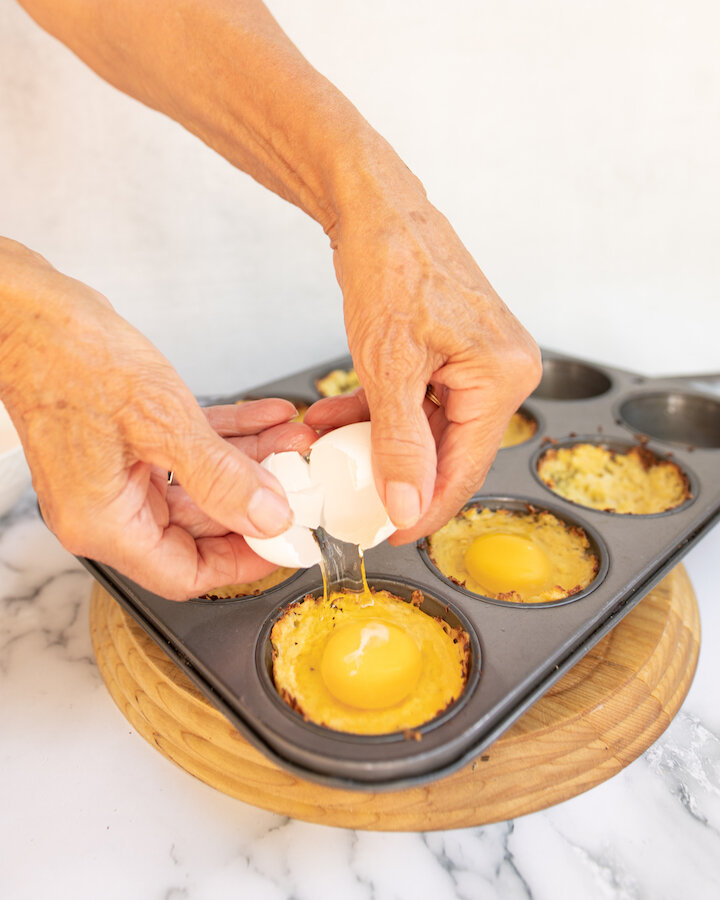
Remove from oven, add in one egg to each cup, sprinkle salt and pepper to taste on top before placing back into the oven for another 10-15 minutes or until whites are set.

When done, remove from oven and allow egg bites to sit for 5 minutes before taking a knife and sliding it around the edge of each muffin mold to help remove the egg bites from the tray.

Add your desired garnishes and serve.

Enjoy!


I hope you enjoyed this recipe as much as I do. If you have any comments please leave them below and I'll be happy to answer them as soon as I can! Happy cooking!!!


PIN THIS POST

CAULIFLOWER EGG FRIED RICE (LOW CARB & KETO)

Always on the lookout for a low carb option to make with my next meal, this cauliflower egg fried rice is my new favorite recipe. It’s so easy to make, is great for batch meal planning, and only takes a few minutes to prepare. If you are looking for a tasty low carb, keto, gluten-free recipe that is packed full of flavor and taste just like the traditional egg fried rice, you got to try this recipe!

Enjoy!

INGREDIENTS:

- Makes 4 Servings -

2 TBSP of Vegetable Oil
3 Scallions - Chopped
4 Garlic Cloves - Minced
1'“ of Fresh Ginger - Minced
1 CUP of Frozen Peas
1 500 gram Pack of Frozen Cauliflower Rice
4 TBSP Low Sodium Soya Sauce
2 TBSP Sesame Oil
3 Eggs - lightly beaten
Salt and Pepper to Taste

DIRECTIONS:

Heat up vegetable oil in a large skillet on high. When hot, throw in your chopped scallions and minced garlic and ginger. Allow to cook for 3-4 minutes before adding in your frozen peas.

When peas begin to turn bright green (about 4-5 minutes) add in your frozen cauliflower rice and mi thoroughly until well incorporated and there are no big chunks. Allow water to evaporate by continuing to cook for 5-7 minutes.

Next, add in your soya sauce and sesame oil, Mix until all the rice is coated before pushing the rice to one side fo the skillet.

On the empty side oft he skillet, add in your egg. Salt and pepper to taste. Fry it up, scrambling as it goes. Once cooked mix in with the rice and remove from heat.

Enjoy!


If you like this recipe or have any comments/questions, feel free to leave them in the comment section below!


PIN THIS POST

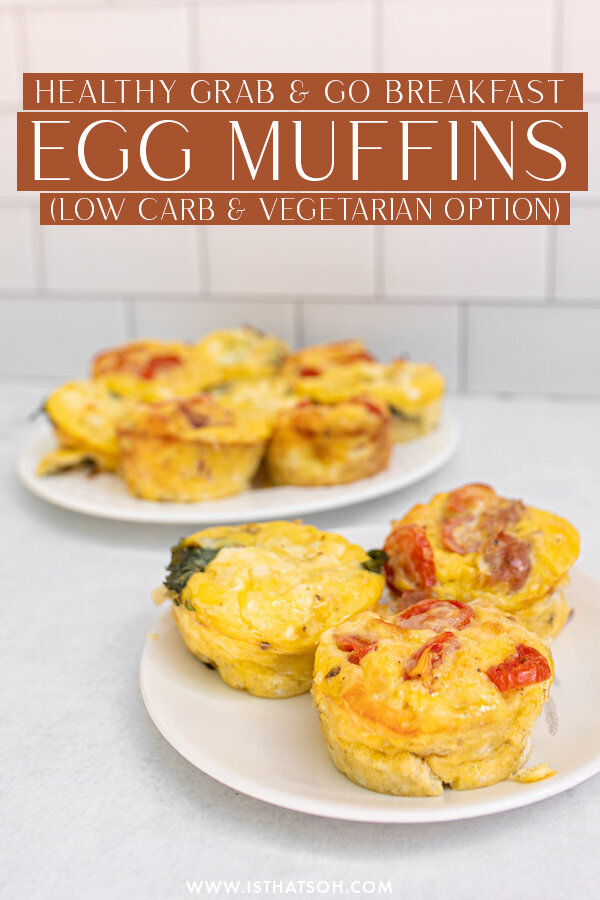
HEALTHY GRAB AND GO BREAKFAST EGG MUFFINS 2 WAYS - LOW CARB & VEGETARIAN OPTION

As someone who thrives on being a busy body, I often forget to eat or worse, go after items high in carbs and sugar as a way to sustain my energy and curb my cravings. Knowing this, I decided to make some delicious, healthy, grab and go egg bites that I can batch make and store in the fridge for easy access throughout the week. This has totally helped me choose better snacking foods and its super easy to just warm up quickly in the microwave before I head out the door. I love them in the morning or after a workout and they are packed full of protein and veggies so you can have two or three completely guilt free!

Hope you like them!

INGREDIENTS:

- Makes 12 Servings -

Butter to Greece Baking Sheet
!2 Large Eggs
1 Small Sweet Onion - chopped roughly
Salt and Pepper To Taste

- For 6 Muffins Italian Style -
1/4 Cup of Freshly Grated Mozerella
5-6 Cherry Tomatoes, Sliced
3-4 Strips of Prosciutto

- For 6 Muffins Greek Vegetarian Style -
1/4 Cup of Grated Halloumi
1/4 Cup of Crumbled Feta Cheese
A handful of Freshly Washed Spinach

DIRECTIONS:

Preheat oven to 350.

Greece baking tray wel.

Mix eggs, onion, salt and pepper in a large bowl and whip together.

Pour mixture into baking tray till each muffin cup is 1/2 way full.

Add in ingredients for both the Italian and Greek style.

Bake for 25-30 minutes until the tops brown slightly.

Remove and let sit for 10 minutes before trying to remove them from the tray.

Enjoy!

P.s You can store these eggs muffins in the fridge for 3-4 days in a ziplock bag or sealed container and warm up in the microwave for an easy grab and go snack!!

If you like this recipe or have any comments/questions, feel free to leave them in the comment section below!

PIN THIS POST