PIRI PIRI CHICKEN WITH ROASTED VEGGIES - A PORTUGESE CHICKEN RECIPE

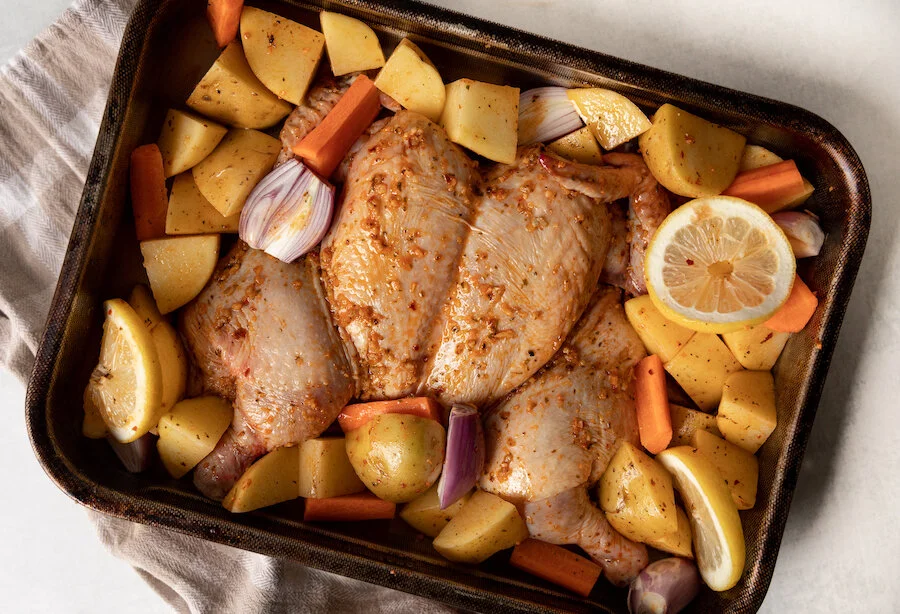
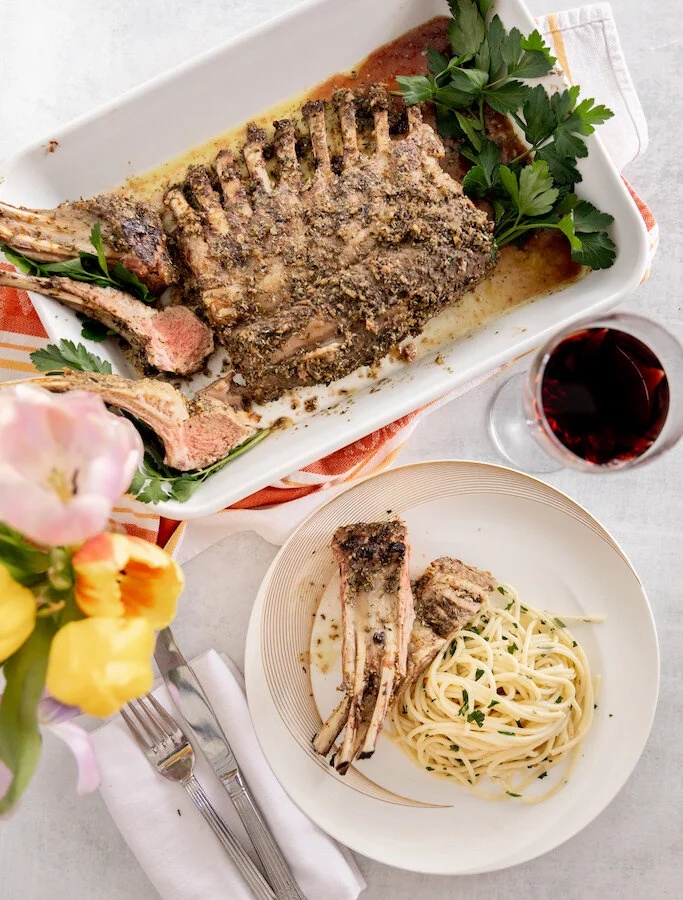
If you’re looking for something healthy and easy to make for dinner tonight that will transport you to the beautiful country of Portugal, may I suggest trying this easy Piri Piri chicken with roasted veggies? Best marinated a day in advance, this Portuguese chicken recipe doesn’t take long to make and always comes out super juicy. I love how the vegetable roast alongside the Piri Piri chicken in the excess fat to perfection until their exterior is crunchy and their insides are soft. Since Piri Piri sauce can be a little spicy and very juicy make sure to pair the chicken and veggies with a simple side like a helping of rice for a well-rounded authentic Portuguese chicken dinner.

Want to try making your own Piri Piri Mix at home? Check out Chef Mireille’s Piri Piri Spice Blend Recipe!

* Please Note - Some links in this post may be affiliate links *

INGREDIENTS:

Serves 2 people

- Piri Piri Chicken Glaze -
4 TBSP of Olive Oil
3 Garlic Cloves - pressed
2 TBSP of Piri Piri Spice Mix - For premade I like the clubhouse Piri Piri spice mix or the Farm Boy Mix however you can also check out Chef Mireille’s Piri Piri Spice Blend Recipe and make it at home!
2 TBSP of Lemon Juice
1 TSP of Lime Zest
Salt and Pepper
Whole Chicken - butterflied (mine was about 3.5 lbs) or you can use chicken thighs or quarters

- Roasted Veggies -
2-3 Yukon Potatoes - washed and cut in large pieces. I like to put my cut potato pieces in water while I prep all my ingredients so they don’t oxidize and turn colour. Drain water before use.
2 TBSP of Olive Oil
2 TSP of Piri Piri Spice Mix
Salt and Pepper
1 Large Carrot - chopped roughly
2-3 Shallots - chopped roughly
3 Lemon Slices or Wedges

- Garnish -
Parsley

- Fun Tools -
Meat thermometer


LOOKING FOR A MAIN DISH? CHECK OUT THESE OTHER RECIPES!


DIRECTIONS:

The first thing to do is marinate the chicken, preferably for a minimum of 4 hours or better yet overnight. In order to do so you must create the glaze.

Heat up the olive oil for your chicken glaze in a sauce pan and add in pressed garlic. Once they become fragrant (about 2 minutes) add in your Piri Piri spice mix, lemon juice, lemon zest, salt and pepper. Stir and set aside to cool.

Wash and dry your chicken before coating it with the glaze. Make sure to coat both sides of the chicken well before covering with plastic wrap and storing in the fridge. Alternatively, you can also do this in a zip lock bag if you can find one big enough.

When you are ready to start cooking, preheat oven to 375F on convection roast (if you don’t have the setting, roast or bake is fine) and remove your chicken from the fridge. Place chicken and all the glaze in the middle of a sheet or roasting pan.

Next, toss your potatoes in olive oil, Piri Piri mix, and salt and pepper until evenly coated. Place potatoes in the sheet pan surrounding the chicken along with roughly chopped carrots and shallots. Garnish with lemon slices before roasting in the oven for 45-55 minutes on the middle rack or until tender.

If you have a meat thermometer the minimum for chicken is 165. You can use it to check if the chicken is done or you can check manually by cutting into it to see if it’s pink inside. If the chicken is done and the potatoes are not, feel free to take the chicken out of the sheet pan and cover it with aluminum foil to keep warm before placing the veggies back in the oven until they become tender.

When potatoes are ready, add chicken back in and serve!

Enjoy!


FOLLOW ME ON INSTAGRAM @ISTHATSOH


I hope you enjoyed this Piri Piri Chicken Portugues chicken recipe as much as I do. If you have any comments please leave them below and I'll be happy to answer them as soon as I can! Happy cooking!!!


PIN THIS POST

KOREAN PICKLED RADISH RECIPE

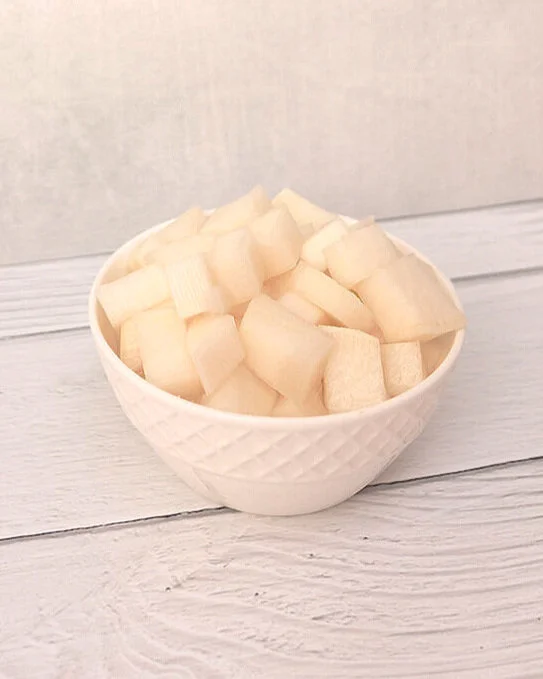
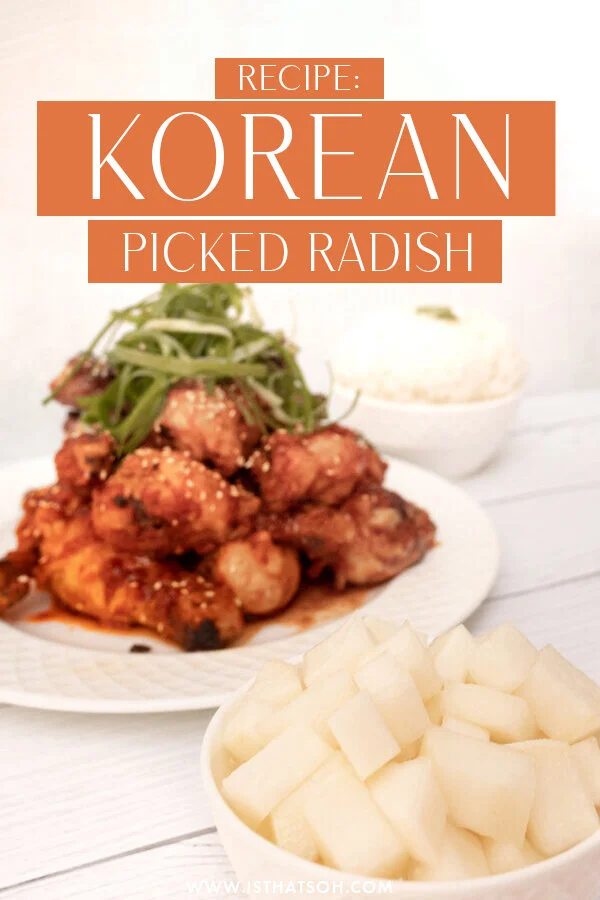
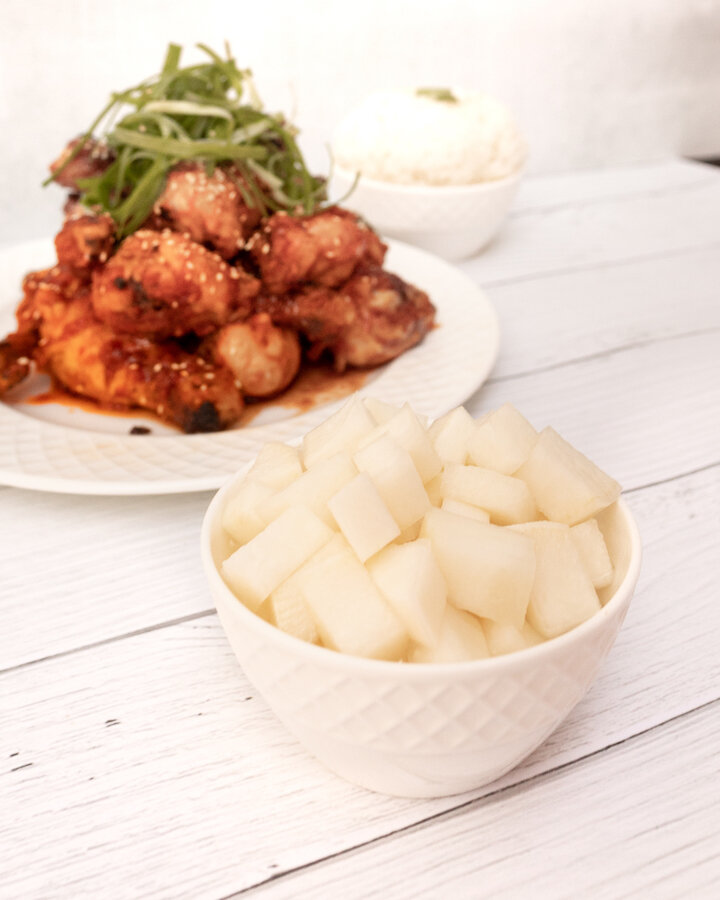
I am sure by now you can tell that I have recently developed a slight obsession with Korean food. Now having been introduced to Yangnyeom chicken by my boyfriend’s brother’s Korean girlfriend and already having a previous love for Bibimbap, I now wanted to start sharing recipes for some little side dishes that you often see being served with Korean food like this one, a simple Korean pickled radish dish. Unlike regular radish, Korean radish is massive in size and white on the outside as well as the inside. Usually served pickled along with other small side dishes, I find Korean pickled radish to be refreshing, almost like a palette cleanser that goes well with spicy dishes. Pickled korean radish can also be stored easily in the fridge for up to two weeks and made in batches which makes it easy to pull out during mealtime. We recently made Korean pickled radish to go with our Yangnyeom chicken dinner the other week and it was the best compliment for the dish! I think you will feel the same way also! Hope you like it!


INGREDIENTS:

- Pickled Korean Radish -

1 lbs of Korean Radish, peeled and cubbed
1/3 CUP of Sugar
1/3 CUP & 1 TBSP of White Vinegar
3/4 CUP of Water
1 TSP of Kosher Salt


CHECK OUT THESE OTHER ASIAN INSPIRED RECIPES!


DIRECTIONS:

Combine sugar, vinegar, salt, and water in a large glass pickling jar and give it a stir so that it can mix well.

Next, add in your cubed radish, seal with a lid, and place in the fridge.

Allow to ‘pickle’ for a minimum of 2 hours before serving.

Korean pickled radish can be stored in the fridge for up to two weeks.

P.S. This recipe is usually served and pairs really well with Korean Fried Chicken (pictured below).


FOLLOW ME ON INSTAGRAM @ISTHATSOH

Gallery Block
This is an example. To display your Instagram posts, double-click here to add an account or select an existing connected account. Learn more

I hope you enjoyed this pickled Korean radish recipe as much as I do. If you have any comments please leave them below and I'll be happy to answer them as soon as I can! Happy cooking!!!

PIN THIS POST

HEALTHY-ISH SPICY KOREAN 'FRIED' CHICKEN (YANGNYEOM)

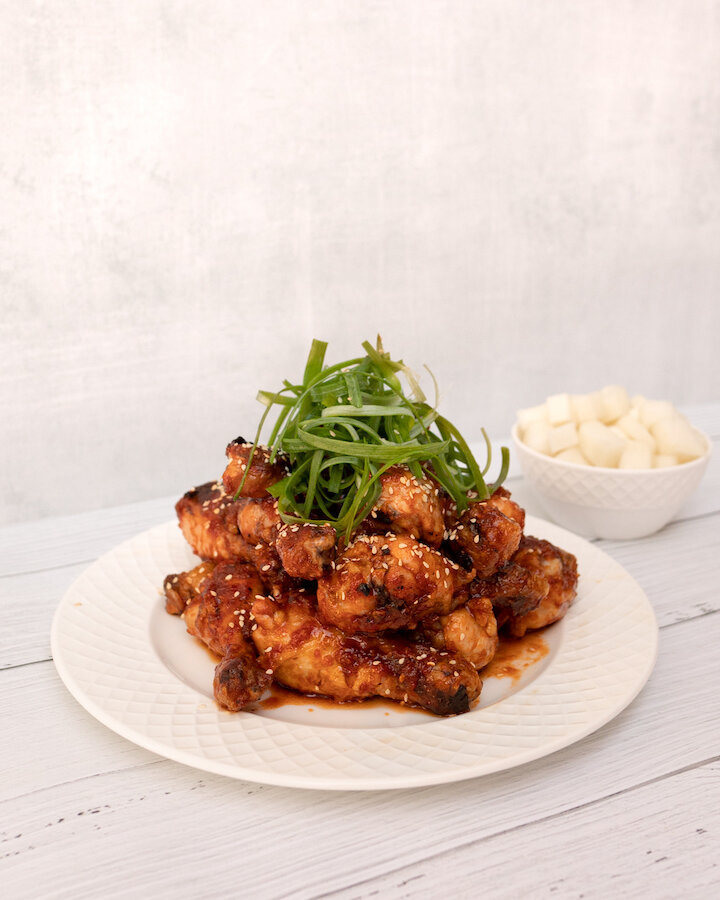
Yangnyeom (or Yum Yum chicken as we like to call it), is a fried Korean chicken recipe, usually served breaded, and coated in a red, spicy, Korean fried chicken sticky red sauce. My boyfriend’s brother’s Korean girlfriend recently made this fried Korean chicken for the family and we all loved the sweet-salty-spicy flavors. Since we are all health-conscious, slight changes were made to the typical traditional recipe (no flour, frying in oil, and less sugar) but the results were just as tasty. If you feel like making something unique and easy for dinner, I highly recommend giving this recipe a go. It pairs beautifully with Korean pickled radish, a bowl of sticky rice, and of course, a nice cold beer!

Enjoy!

INGREDIENTS:

- BBQ Chicken Marinade -
3 LBS of Drumsticks
Vegetable OIl (enough to coat chicken)

- Korean Sauce -
2 TBSP of Rice Vinegar
2 TSP Ginger (minced or grated)
3 TBSP of Ketchup
2 TBSP of Honey
2 TBSP of Brown Sugar
2 TBSP of Soya Sauce
2 TBSP of Garlic (minced or grated)
1 TBSP of Sesame Oil
2-2.5 TBSP of Hot Chilli Paste (Gochujang) *depending on how hot you want

- Garnish -
Roasted Sesame Seeds
Green Onions, finely shredded


CHECK OUT THESE OTHER ASIAN STYLE RECIPES


DIRECTIONS:

Coat the chicken in vegetable oil and bbq till they are cooked through.

In a deep saucepan or wok create your Korean Chicken Sauce and heat up over low to medium heat, stir well. Once it starts to bubble, reduce heat, add in your bbq chicken and toss until well coated in sauce.

Remove chicken from heat and garnish with roasted sesame seeds and green onion before serving.

Enjoy!

P.S. This recipe is usually served and pairs really well with Korean pickled radish (pictured below)!


FOLLOW ME ON INSTAGRAM @ISTHATSOH


I hope you enjoyed this spicy Korean chicken recipe as much as I do. If you have any comments please leave them below and I'll be happy to answer them as soon as I can! Happy cooking!!!

PIN THIS POST

CRISPY KOREAN BIBIMBAP CAULIFLOWER RICE BOWL WITH BBQ CHICKEN & SPRING VEGGIES

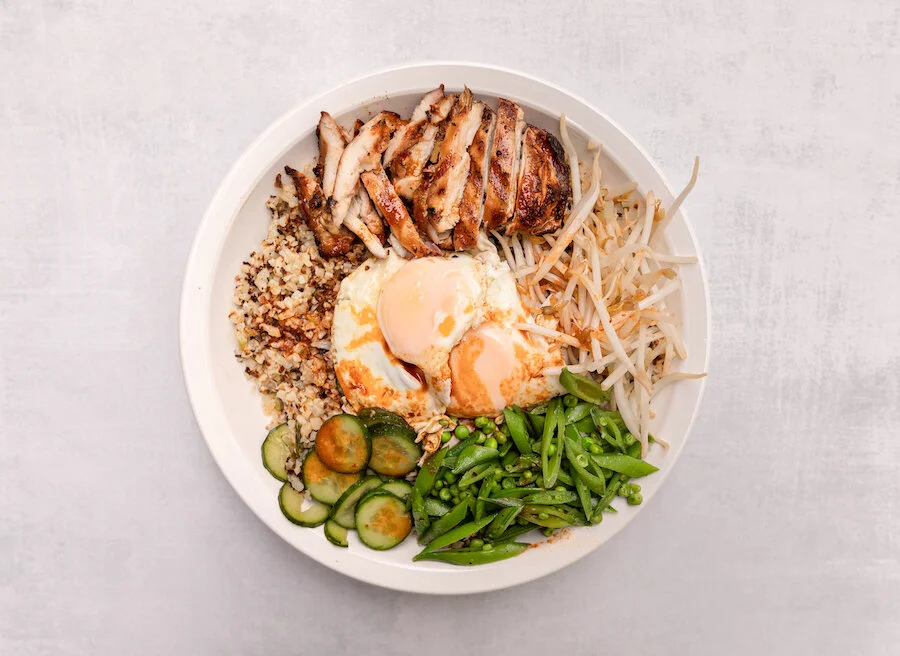
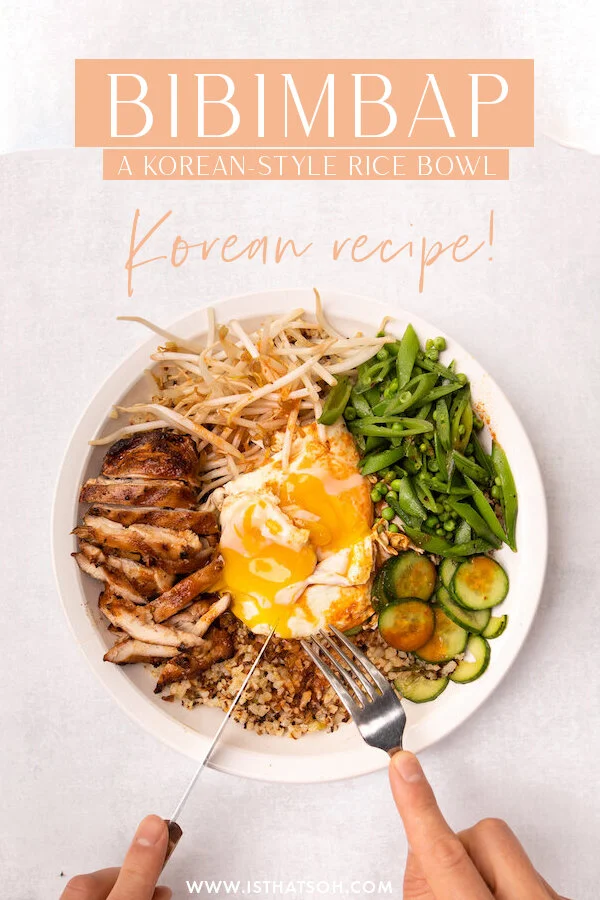
Traditionally cooked in a stone bowl, Bibimbap is a Korean rice dish that literally translates to ‘mixed rice with meat and assorted vegetables. Ever since I first discovered Korean rice bows I’ve been a huge fan and the hot Bibimbap sauce dressing really pulls the pickled veggies in perfectly with the crispy rice and fresh veggies. In the effort to make this recipe more low carb, I substituted the traditional use of sticky rice for cauliflower rice and although it didn’t crisp up quite the same way as normal sticky rice, it was still a beautiful substitute that maintained the integrity of the dish and still held the flavors together. To add a little extra protein Adam also cooked up these wonderful juicy chicken thighs on the BBQ which made for the perfect addition to this otherwise largely veggie based dish. If you are looking for something new, spicy, and wonderful to try, I highly recommend this Bibimbap recipe!

BIBIMBAP INGREDIENTS:

- Serves 4 People -

- BBQ Chicken Thighs and Marinade -
16 Chicken Thighs Boneless and Skinless (3-4 Per Person)
1 CUP of Low Sodium Soya Sauce
1 TBSP of Grated Ginger
4-6 Sprigs of Green Onion
4-6 cloves of Garlic - chopped or grated
Cracked Black Pepper
1-2 TSP of Cayenne Pepper - as per your spice level

- Crispy Cauliflower Rice Bowl -
Frozen Cauliflower Rice (you will want about 200grams per Person)
1.5 CUPS of Snow Peas - Chopped
6 Sprigs of Green Onion
3-4- slices of Ginger
3 Persian Cucumbers
1 TSP of Kosher Salt
3 TBSP of Rice Vinegar
4 TBSP of Vegetable Oil - split into 2 parts
2 TSP of Sesame Seed Oil
1 CUP of Frozen Peas
1 TBSP of Butter
4 Eggs
Bean Sprouts

- Korean Style Hot Bibimbap Sauce Recipe -
2 TBSP of Siracha
2.5 TBSP of Low Sodium Soya Sauce
2 TSP of Honey
4 TSP of Sesame Seed Oil
2 TSP of Rice Vinegar


CHECK OUT THESE OTHER ASIAN INSPIRED RECIPES


DIRECTIONS:

Throw the chicken along with all the marinade ingredients into a bowl and make sure the thighs are coated nicely. Allow chicken to marinate for min 30 minutes while chopping your veggies or overnight in the fridge.

Chop Persian cucumber in thin slices and place in a bowl. Add Kosher salt and massage into the cucumber. Dress with rice vinegar (make sure they are well coated and soaking in a little bath, and set aside allowing them to pickle while we move on to the other veggies.

Chop the snow peas on a diagonal in 1/4 inch pieces.

Chop the top (furthest from the stem) of the green onion on the diagonal until you have 1/4 CUP (set aside for garnish) and cut the remaining amount width-wise in thin slices as per normal.

In a large skillet, add in 3 TBSP of vegetable oil and 2 TSP of sesame oil and allow to heat up on medium. Once ready, add in your green onions (remember to save some for garnish) and ginger stirring constantly, and allow to fry for 3-4 minutes.

Once green onion and ginger are ready, add cauliflower rice into the skillet and mix until well incorporated before pressing the cauliflower down into the bottom of the skillet evenly and allowing it to cook on medium for the next 15 minutes.

During this time you can BBQ the chicken on medium-high heat, 10 minutes each side or until cooked through.

While the chicken and cauliflower are cooking make your Korean hot sauce by combining all the ingredients in a bowl and mixing thoroughly.

When cauliflower gets close to the 15-minute mark, give it a toss to allow crispy brown bits to mix and pat down again to form an even layer, allow to cook for an additional 5 -10 minutes until it is crispy. *Cauliflower rice will never get fully crispy because it holds a lot of water but it will get a little crispy

During these last few minutes fry up 4 eggs in a skillet using butter to coat the pan.

In a separate skillet, add 2 TBSP of vegetable oil and allow to heat up on medium heat. Add in the snow peas and frozen peas and allow them to fry ever so slightly before adding in 1/4 Cup of water, covering, and allowing to steam for 3-4 minutes.

When ready to plate, start with your cauliflower rice, add one friend egg to the middle, arrange bbq Chicken, bean sprouts, pickled Persian cucumber, and snow pea/pea mixture around the edge. Drizzle Korean hot sauce on top, garnish with extra green onion and serve!

Enjoy!


FOLLOW ME ON INSTAGRAM @ISTHATSOH


If you like this Korean bibimbap recipe or have any comments/questions about how to make bibimbap, feel free to leave them in the comment section below!


PIN THIS POST

SPICY COCONUT CHICKEN THIGHS

One of the first recipes we made up at the cottage this year was this delicious spicy coconut chicken thigh recipe! Everyone was craving something Asian and this chicken dish ended up being not just KETO but super easy to make! Further, the flavors of this dish were amazing, totally satisfying everyone’s cravings. I ended up serving the dish on a bed of riced cauliflower and alongside my Asparagus Stir Fry with A Touch Of Citrus dish, and the pairing got a thumbs up from everyone at the table so we will definitely be making this meal again. If you are looking for a SUPER easy recipe to try that will spice up your next meal, I highly recommend this one!

Enjoy!

INGREDIENTS:

- Serves 4 people

1/3 CUP of Freshly Grated Ginger
3 Cloves of Garlic - Minced
3/4 CUP of Coconut Milk
1/4 CUP of Curry Paste - Hot Chili Paste can be used as a substitute
1/4 CUP of Fresh Lime Juice
2 TBSP of Brown Sugar or use a Keto Substitute Like Sukrin Gold Brown Sugar Alternative
1 3/4 TSP of Kosher Salt
2 TBSP of Vegetable Oil
2 LBS of Skinless, Boneless Chicken Thighs

-Optional Base and Toppings-

Riced Cauliflower
Cilantro - for Garnish
Green Onions - chopped finely for Garnish

DIRECTIONS:

In a bowl add in the freshly grated ginger, garlic, coconut milk, curry paste, lime juice, sugar, salt, and vegetable oil, and whisk until well incorporated. Add chicken in and make sure it is well coated in sauce.
Let marinate for a minimum of 15 minutes. If you are preparing the chicken ahead of time, store it in the fridge.

When ready to cook, remove chicken from marinade and drain excess drip back into the bowl. Transfer chicken to a baking sheet covered in parchment paper and broil on high for 7-8 minutes before flipping the chicken and allowing it to broil on high for another 7-8 minutes on the other side or until it appears crispy.

Pour the excess marinade drippings you drained off the chicken into a small saucepan and bring to a boil. Once it starts to boil, reduce heat and allow it to similar on medium-low heat, stirring occasionally until its thickens - about 2-3 minutes.

Once the chicken is cooked, remove from oven, add sauce on top and serve!

Enjoy!


If you like this recipe or have any comments/questions, feel free to leave them in the comment section below!


PIN THIS POST

SPICY COCONUT CHICKEN THIGHS.jpg