KOREAN PICKLED RADISH RECIPE

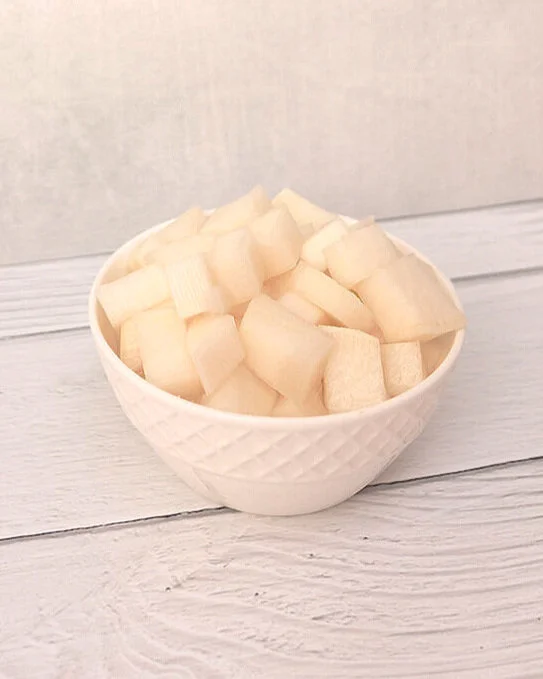
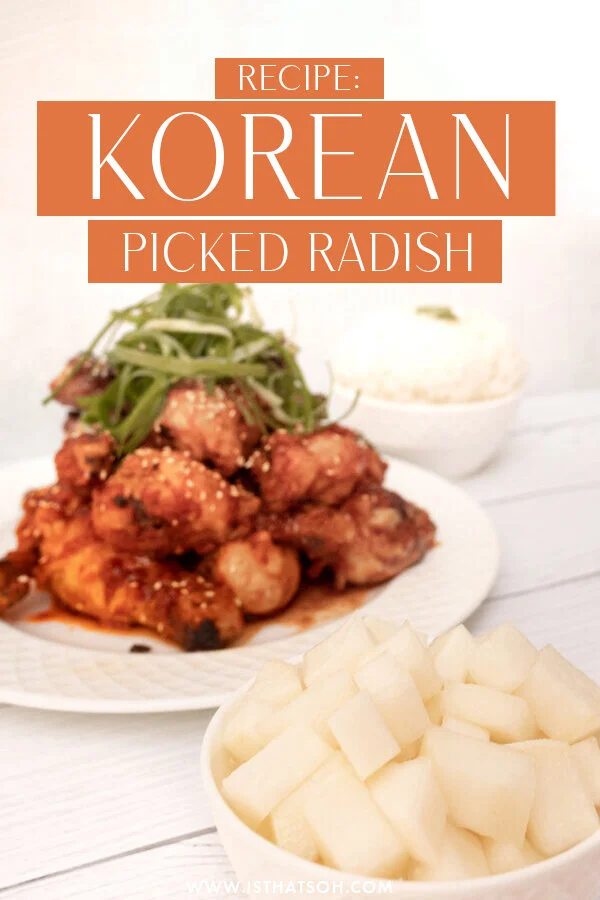
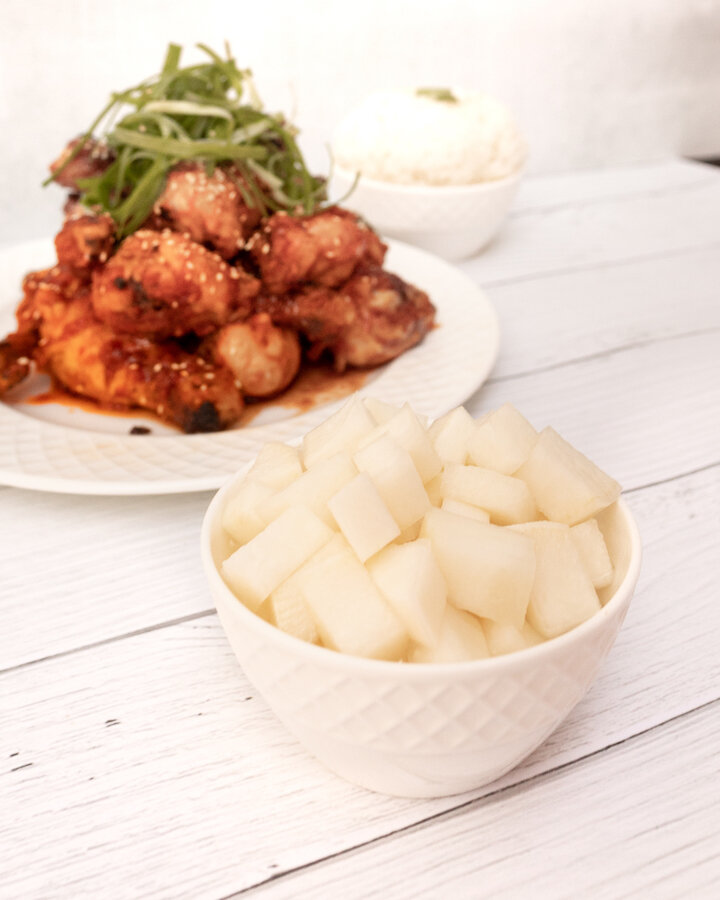
I am sure by now you can tell that I have recently developed a slight obsession with Korean food. Now having been introduced to Yangnyeom chicken by my boyfriend’s brother’s Korean girlfriend and already having a previous love for Bibimbap, I now wanted to start sharing recipes for some little side dishes that you often see being served with Korean food like this one, a simple Korean pickled radish dish. Unlike regular radish, Korean radish is massive in size and white on the outside as well as the inside. Usually served pickled along with other small side dishes, I find Korean pickled radish to be refreshing, almost like a palette cleanser that goes well with spicy dishes. Pickled korean radish can also be stored easily in the fridge for up to two weeks and made in batches which makes it easy to pull out during mealtime. We recently made Korean pickled radish to go with our Yangnyeom chicken dinner the other week and it was the best compliment for the dish! I think you will feel the same way also! Hope you like it!


INGREDIENTS:

- Pickled Korean Radish -

1 lbs of Korean Radish, peeled and cubbed
1/3 CUP of Sugar
1/3 CUP & 1 TBSP of White Vinegar
3/4 CUP of Water
1 TSP of Kosher Salt


CHECK OUT THESE OTHER ASIAN INSPIRED RECIPES!


DIRECTIONS:

Combine sugar, vinegar, salt, and water in a large glass pickling jar and give it a stir so that it can mix well.

Next, add in your cubed radish, seal with a lid, and place in the fridge.

Allow to ‘pickle’ for a minimum of 2 hours before serving.

Korean pickled radish can be stored in the fridge for up to two weeks.

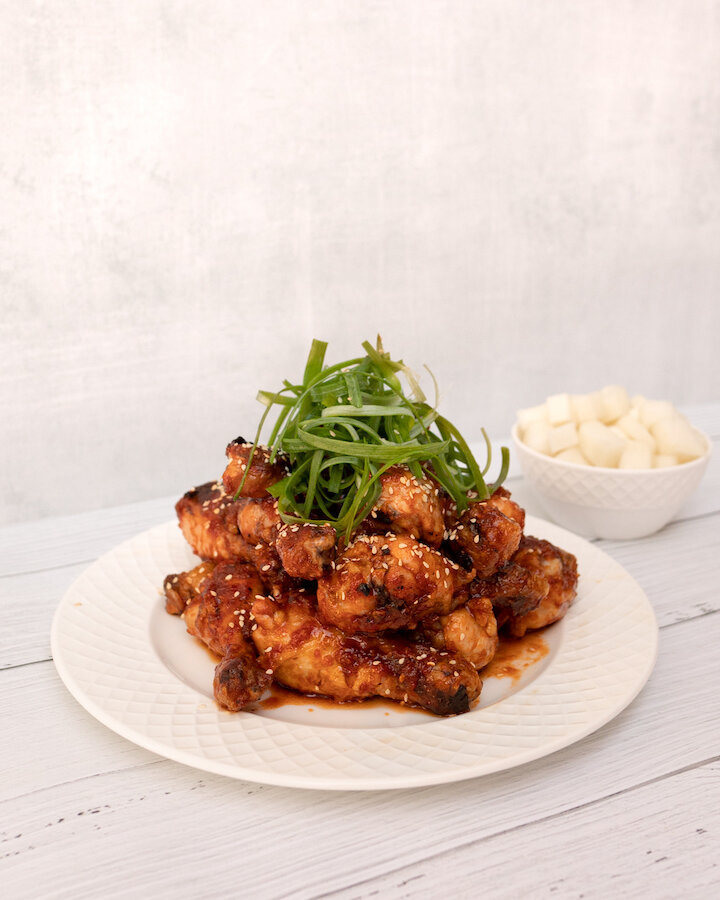
P.S. This recipe is usually served and pairs really well with Korean Fried Chicken (pictured below).


FOLLOW ME ON INSTAGRAM @ISTHATSOH

Gallery Block
This is an example. To display your Instagram posts, double-click here to add an account or select an existing connected account. Learn more

I hope you enjoyed this pickled Korean radish recipe as much as I do. If you have any comments please leave them below and I'll be happy to answer them as soon as I can! Happy cooking!!!

PIN THIS POST

HEALTHY-ISH SPICY KOREAN 'FRIED' CHICKEN (YANGNYEOM)

Yangnyeom (or Yum Yum chicken as we like to call it), is a fried Korean chicken recipe, usually served breaded, and coated in a red, spicy, Korean fried chicken sticky red sauce. My boyfriend’s brother’s Korean girlfriend recently made this fried Korean chicken for the family and we all loved the sweet-salty-spicy flavors. Since we are all health-conscious, slight changes were made to the typical traditional recipe (no flour, frying in oil, and less sugar) but the results were just as tasty. If you feel like making something unique and easy for dinner, I highly recommend giving this recipe a go. It pairs beautifully with Korean pickled radish, a bowl of sticky rice, and of course, a nice cold beer!

Enjoy!

INGREDIENTS:

- BBQ Chicken Marinade -
3 LBS of Drumsticks
Vegetable OIl (enough to coat chicken)

- Korean Sauce -
2 TBSP of Rice Vinegar
2 TSP Ginger (minced or grated)
3 TBSP of Ketchup
2 TBSP of Honey
2 TBSP of Brown Sugar
2 TBSP of Soya Sauce
2 TBSP of Garlic (minced or grated)
1 TBSP of Sesame Oil
2-2.5 TBSP of Hot Chilli Paste (Gochujang) *depending on how hot you want

- Garnish -
Roasted Sesame Seeds
Green Onions, finely shredded


CHECK OUT THESE OTHER ASIAN STYLE RECIPES


DIRECTIONS:

Coat the chicken in vegetable oil and bbq till they are cooked through.

In a deep saucepan or wok create your Korean Chicken Sauce and heat up over low to medium heat, stir well. Once it starts to bubble, reduce heat, add in your bbq chicken and toss until well coated in sauce.

Remove chicken from heat and garnish with roasted sesame seeds and green onion before serving.

Enjoy!

P.S. This recipe is usually served and pairs really well with Korean pickled radish (pictured below)!


FOLLOW ME ON INSTAGRAM @ISTHATSOH


I hope you enjoyed this spicy Korean chicken recipe as much as I do. If you have any comments please leave them below and I'll be happy to answer them as soon as I can! Happy cooking!!!


PIN THIS POST

KETO SAFFRON CHICKEN VEGETABLE SOUP

So being Persian I grew up having some amazing home cooked middle eastern meals. I would have to fight my brother and sister over the tahdig (the toasted crunchy bites at the bottom of the rice that would be caramelized together by the butter and saffron) because in our household it was a prize possession. Anything with saffron usually gets my seal of approval, which is why the other day when it was -15 in Toronto and I was craving soup I decided to make a KETO friendly chicken veg soup recipe with a Persian twist. The results - heavenly! This soup is so jammed packed with flavor and immune boosting nutrients you feel like you're getting a hug from the inside out. ENJOY!
INGREDIENTS:

1/2 Cup of Salted Butter
A Pinch of Saffron (ground)
2 S/M Sweet Onions (chopped finely)
5 Carrots (peeled and chopped)
3 Celery Stocks (chopped)
2L of Chicken Stock
1 Rotisserie Chicken (remove skin and shred chicken meat)
2-3 Cups of Fresh Spinach
Fresh Pepper to taste

DIRECTIONS:

Melt butter in a large soup pot on medium heat. Add in the freshly ground saffron and l let it turn the butter a golden color.

When the butter is hot, throw in your finely chopped onion and coat that in the saffron and butter. Let this cook down until the onions become translucent and soft - about 5 minutes.

When ready add in your chopped carrots and celery, tossing everything so it is all coated in saffron butter. Cover and let the excess water escape from the celery and carrots. Stir every 3-4 minutes so nothing burns and the butter is well distributed among all the vegetables.

Once  the vegetables have soften you can add in you chicken stock, stir and let come to a low simmer.

Next add in your shredded chicken and fresh spinach. Make sure to stir and submerge the spinach into the soup. Cover and let the soup continue to simmer on low heat for about 3-4 minutes to get that spinach soft and then keep stiring until it is submerged into the soup completely.

Add pepper to taste (you shouldn't need salt but if you want more you can add it now).

That's it! Enjoy!


If you like this recipe or have any comments/questions, feel free to leave them in the comment section below!


PIN THIS POST

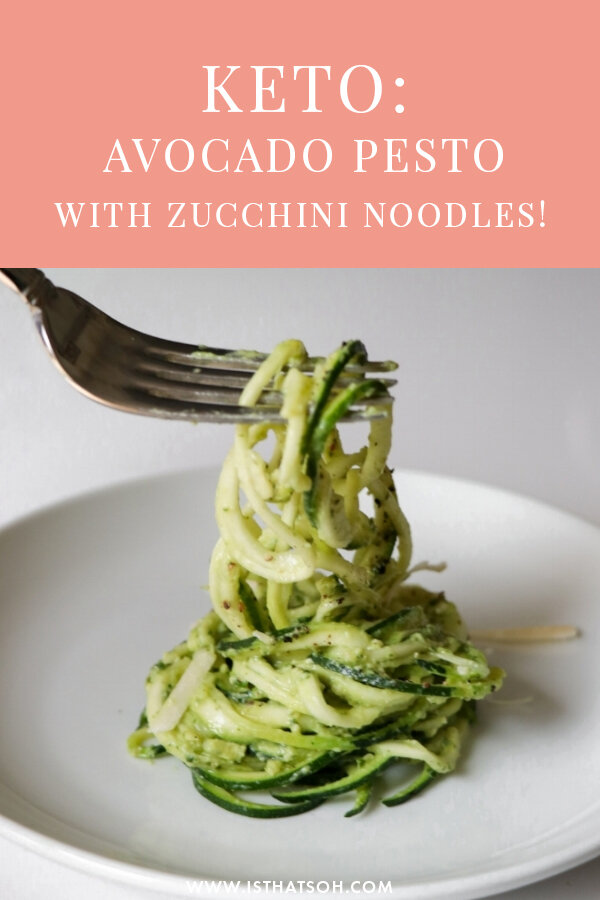
KETO CREAMY AVOCADO PESTO WITH ZUCCHINI NOODLES!

After Christmas, I starting to feel like I had really over done it this holiday season. With all the parties and dinners I was really starting to feel unhealthy. I knew I was in need of making some serious changes to my diet. Both my mom and my boyfriend have been eating KETO for awhile and both of them would sing me praises about their new KETO lifestyle. Both said that eating KETO for them has provided them with great energy, they don't ever feel hungry, and both have experience weight loss. My mom who suffers from bad inflammation not only had lots of energy and lost weight, but she also started to feel better and was able to move around more without feeling as much pain. Fast forward to now - I have been on KETO for a month and I have lost 5 lbs! I get to eat full fats like avocado, butter, and olive oil, and never feel drained of energy.

When I started on the diet I was looking for some recipes and realized there aren't that many out there there were actually healthy and KETO.  So here is a delicious recipe that I altered and made my own to help you get started. It can also easily be transitioned to a Vegan recipe by removing the cheese. ENJOY!

Good for 6 People

INGREDIENTS:

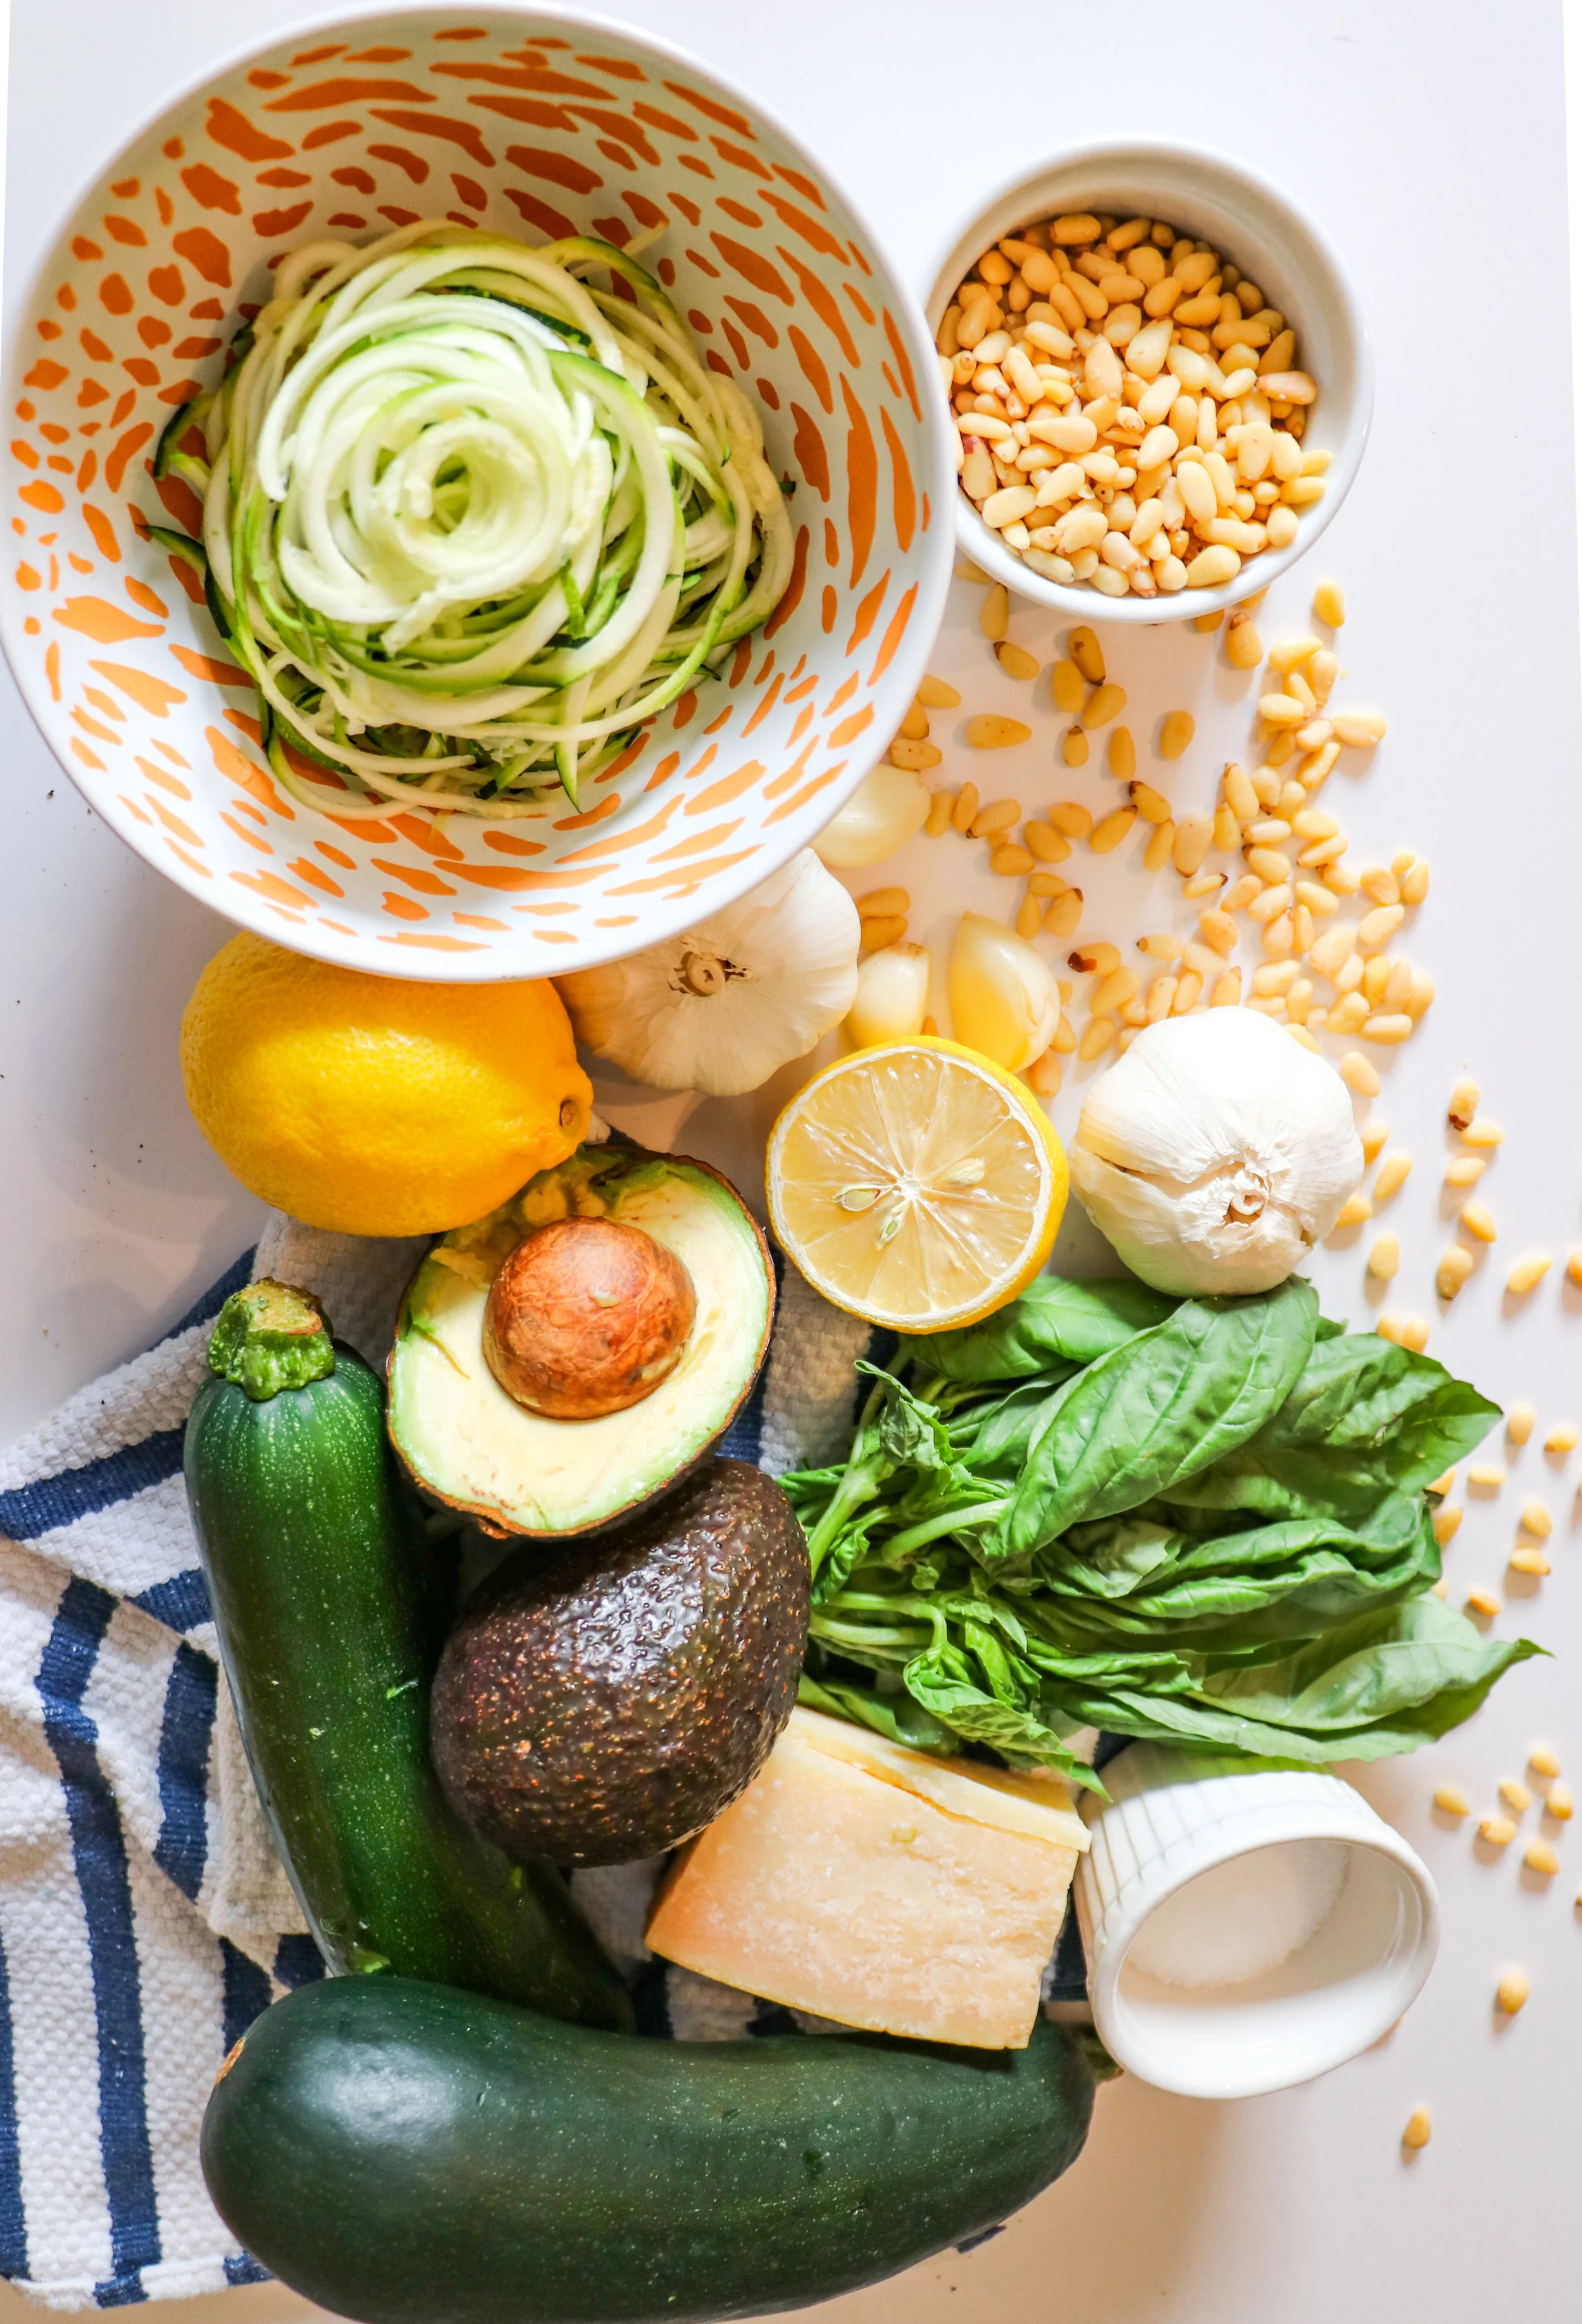
4 Zucchini Large - (1 zucchini can usually feed 1.5 people regular portion sizes)
1 TBSP of Olive Oil
1.5 Large Avocados
1 Cup of Fresh Basil Leaves (Washed and left on paper towel to dry)
2 Cloves of Garlic
1/3-1/4 Cup of Pine Nuts (depends on your palette)
2 TBSP of Lemon Juice
1 Cup of Grated Parmesan Cheese
3 TBSP of Olive Oil
Large Pinch of Sea Salt
Cracked Pepper

YOU WILL ALSO NEED:

-A Spiralizer
-A food processor

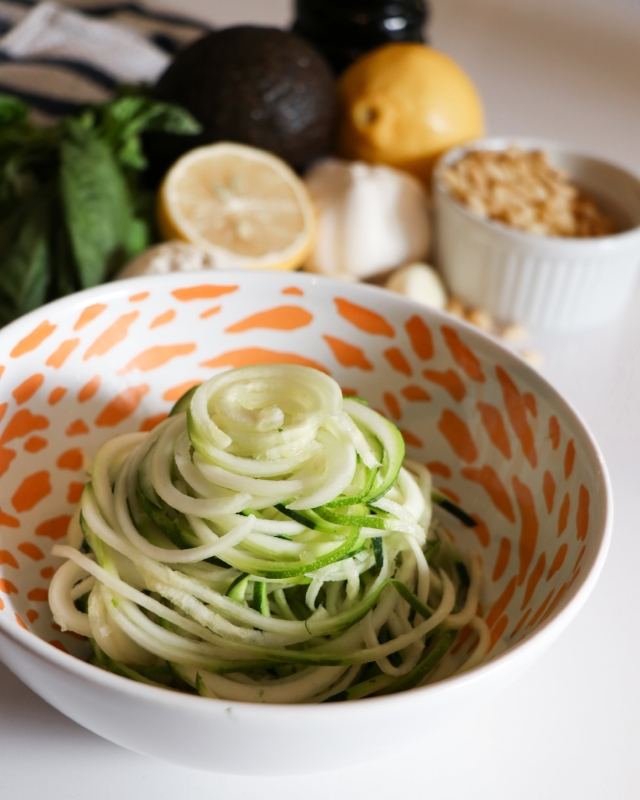
spiralized zucchini.jpg

DIRECTIONS:

Spiralize your zucchini and set aside on a piece of paper towel so that all the excess water/juice is absorbed.

In the food processor add in your avocado, basil, garlic, pine nuts, lemon juice and grated Parmesan. Pulse until basil is finely chopped and you have a creamy consistency. While the motor is still running add in your 3 TBSP of olive oil. When finished add a large pinch of salt and pepper to taste and mix in until well incorporated.

In a skillet add 1 TBSP of olive oil and let it heat up on medium heat. When ready add in your spiralized zucchini and let cook until soft (around 2-3 minutes).

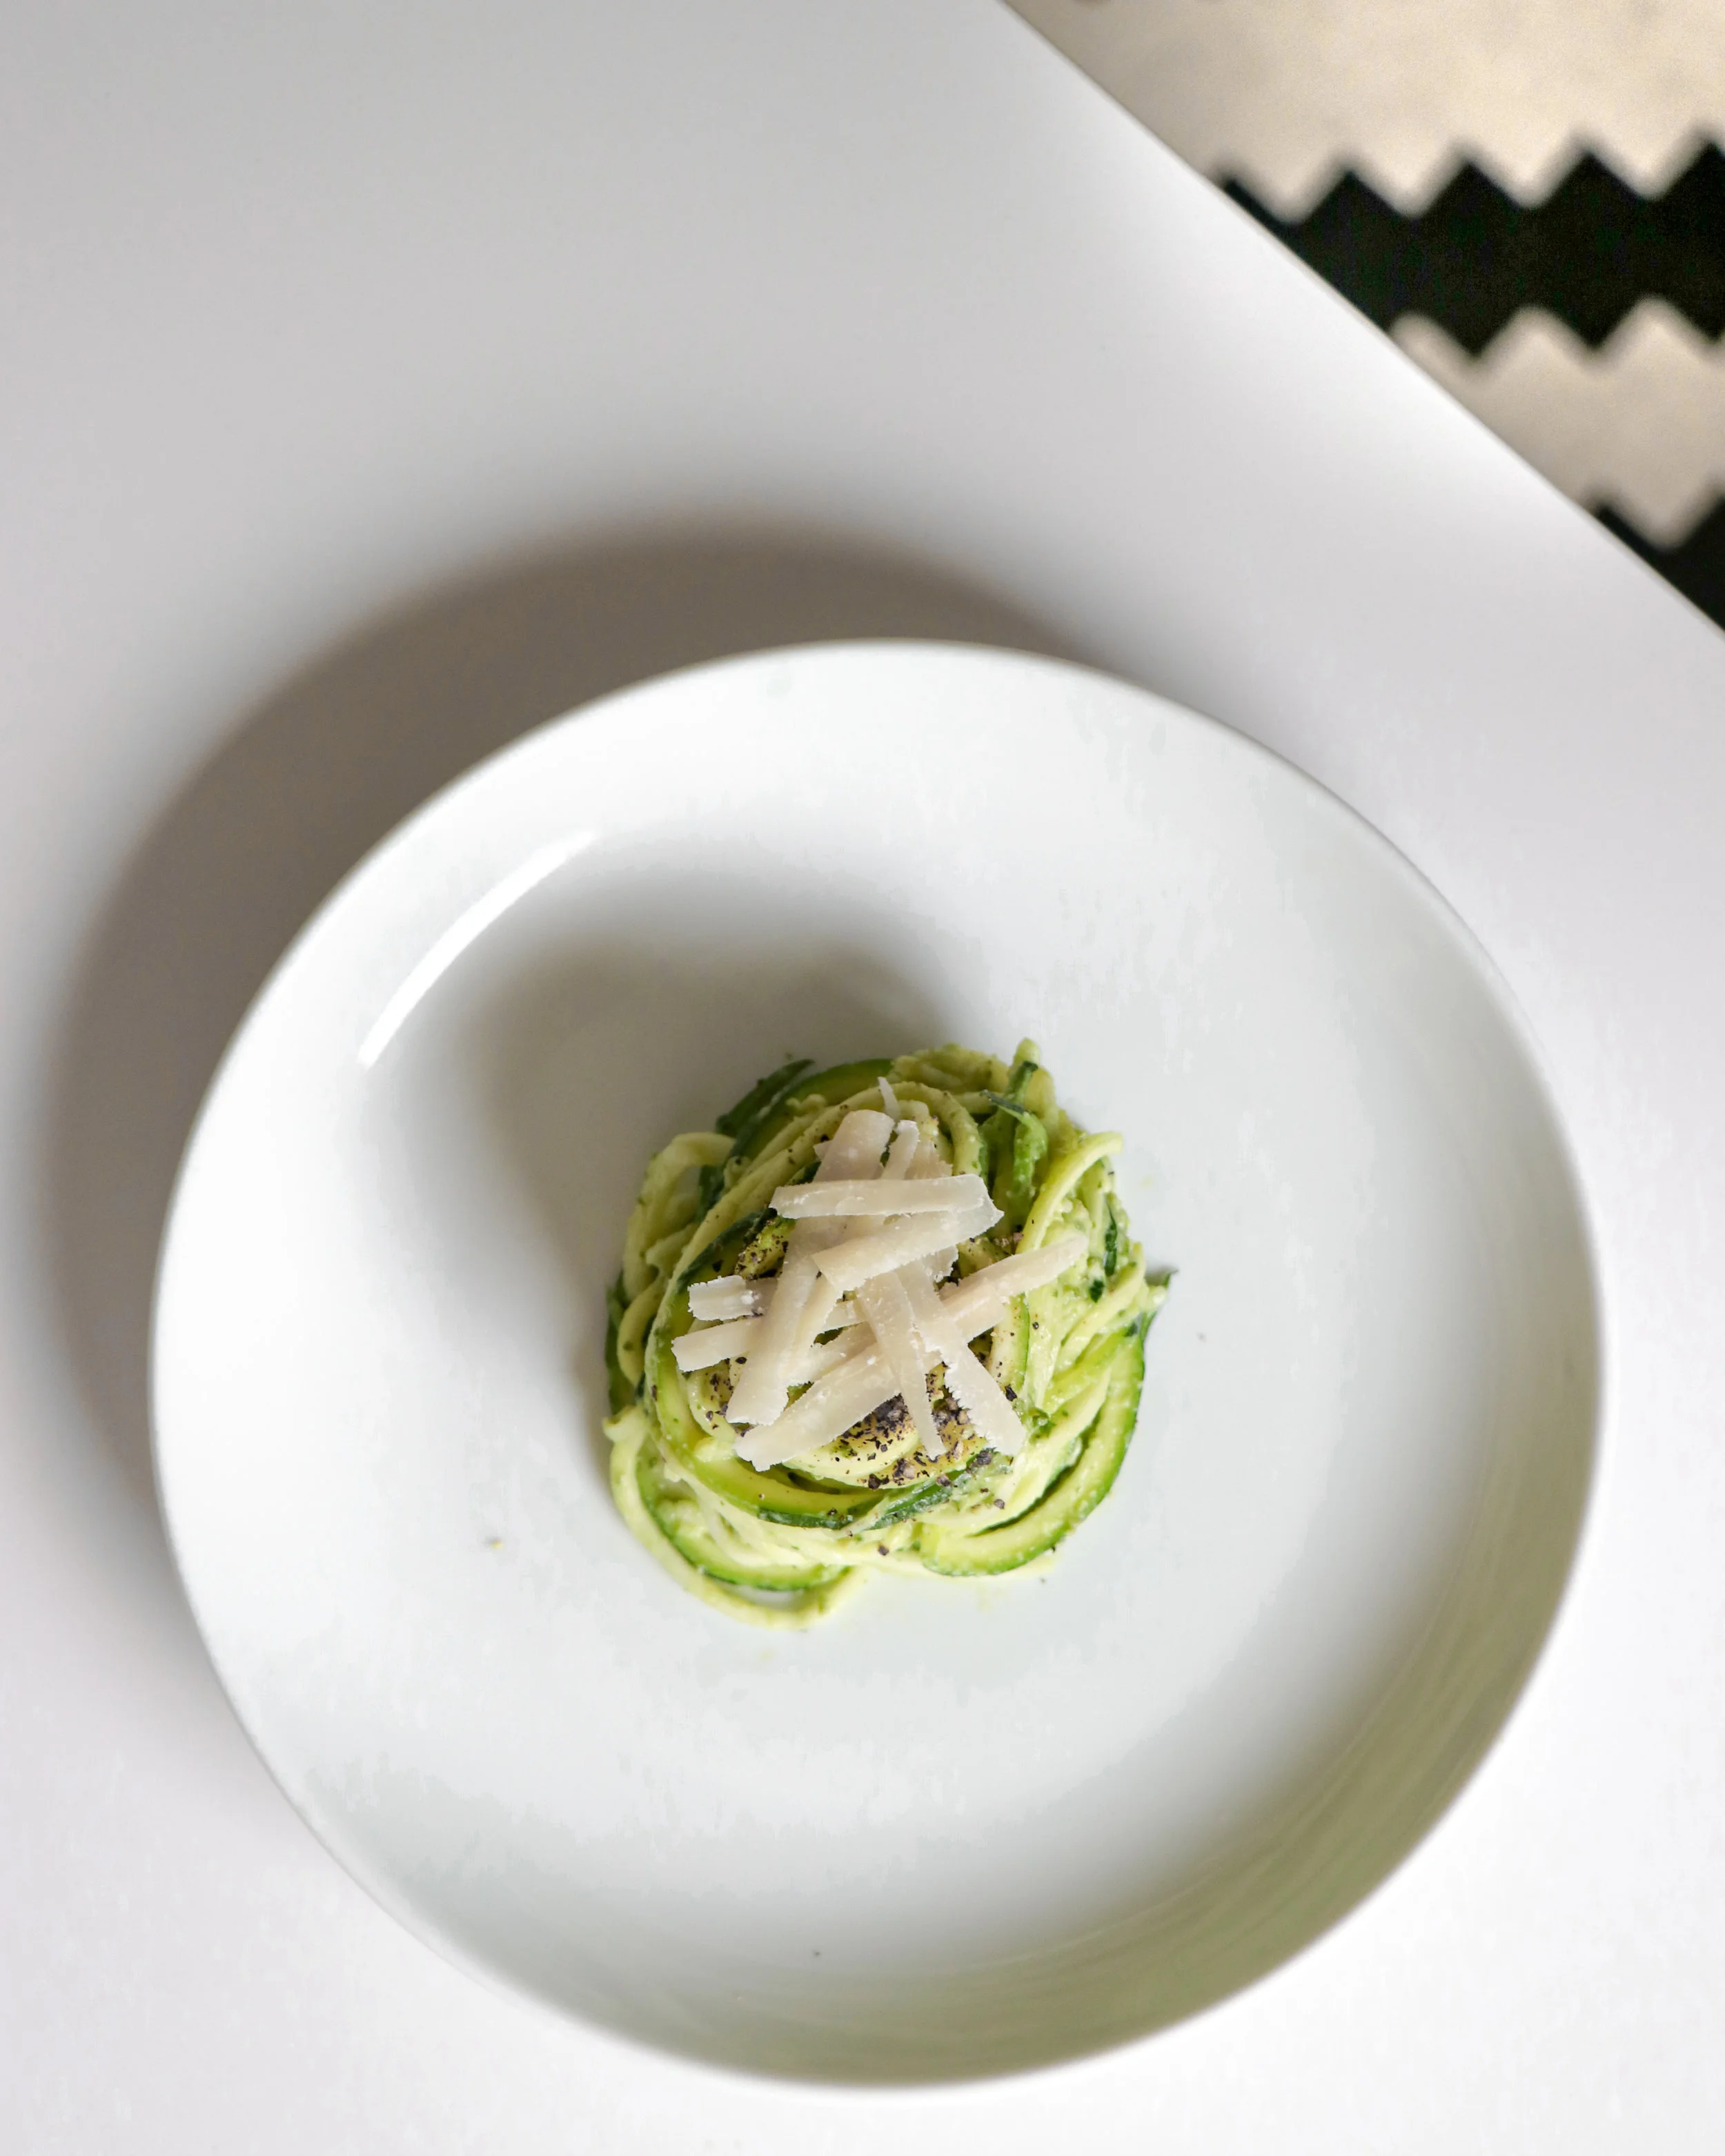
Once ready, move cooked zuchinni to a bowl and toss n the avocado pesto (there will be pesto left over don't feel like you have to use all of it). Garnish with Parmesan cheese and serve!

*This recipe can easily become vegan if you remove the cheese!

Enjoy!


If you like this recipe or have any comments/questions, feel free to leave them in the comment section below!


PIN THIS POST

PEEK-A-BOO SHORTBREAD LINZER COOKIES

The Best Shortbread Linzer Cookie Recipe

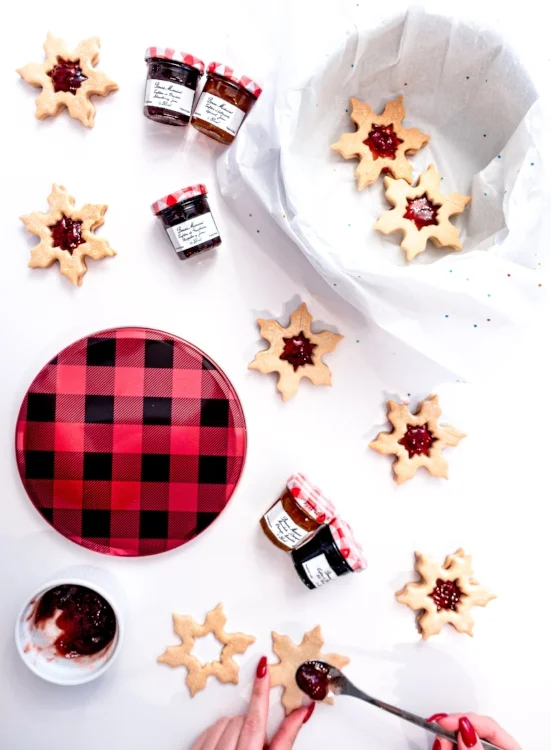
It's not always easy to keep up financially with the holidays. Although I love giving people gifts and putting a smile on my friends and family members faces, my thoughtful nature can get quiet expensive if I'm buying everyone gifts. That is why during the holidays I love to bake! Putting your efforts towards spreading holiday cheer through making something can often be the perfect gift to share with loved ones. One of my go - to holiday gifts this year are these super cute peek-a-boo shortbread snowflakes. I filled mine with my favourite jam, Bonne Maman but you can use Nutella, Dulce De Leche, or whatever filling you like! Enjoy!


FOLLOW ME ON INSTAGRAM @ISTHATSOH


Peek a boo jam filled shortbread snowflakes

INGREDIENTS FOR SHORTBREAD LINZER COOKIES:

1 CUP of unsalted softened butter
3/4 Cup of Icing Sugar
1/2 TSP of Vanilla Extract
1/4 TSP of Salt
2 Cups of All Purpose Flour
1/2 Cup of your favorite jam!

*you can dust the cookies with icing sugar at the end for extra effect!

STRAWBERRY JAM

LOOKING TO DO SOME HOLIDAY BAKING? CHECK OUT THESE OTHER FUN RECIPES!


HOW TO MAKE SHORTBREAD LINZER COOKIES:

In a mixer or by hand place softened butter, sugar, vanilla, and salt in a bowl and mix until well incorporated. 

Add in your all-purpose flour bit by bit till a dough starts to form. (TIP: If it is too sticky you can always add a little bit more flour at the end)

Once the dough is formed wrap in plastic wrap and place in the fridge for 20 minutes.

Once ready, preheat oven to 325 degrees.

Roll out dough between two pieces of wax paper! Use snowflake cut out to make your desired shape and place on a baking tray lined with a cookie sheet or wax paper. Half of these will become 'Peek-A-Boo' tops to the cookie (TIP: Once on the baking tray it is easier to make the smaller inside 'Peek-A-Boo' cut-outs using a smaller snowflake and extracting the inside cut out with a toothpick!)

When ready place in the oven for 20 minutes or until cookies become golden on the edges. Rotate the trays halfway (about 10 minutes).

Let cool before sandwiching a layer of jam between the bottom full shortbread cookie and the 'peek-a-boo' cut out top shortbread cookie!

Enjoy!


If you like this Shortbread Linzer Cookie recipe or have any comments/questions, feel free to leave them in the comment section below!


PIN THIS POST