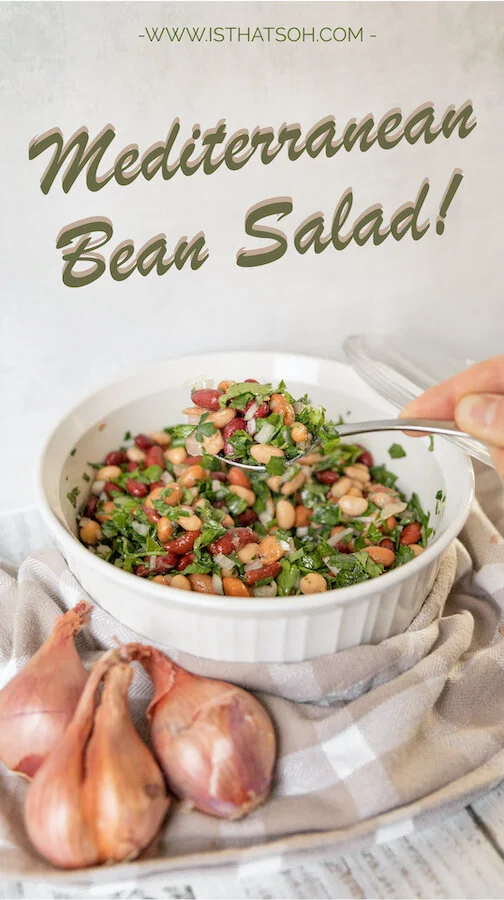
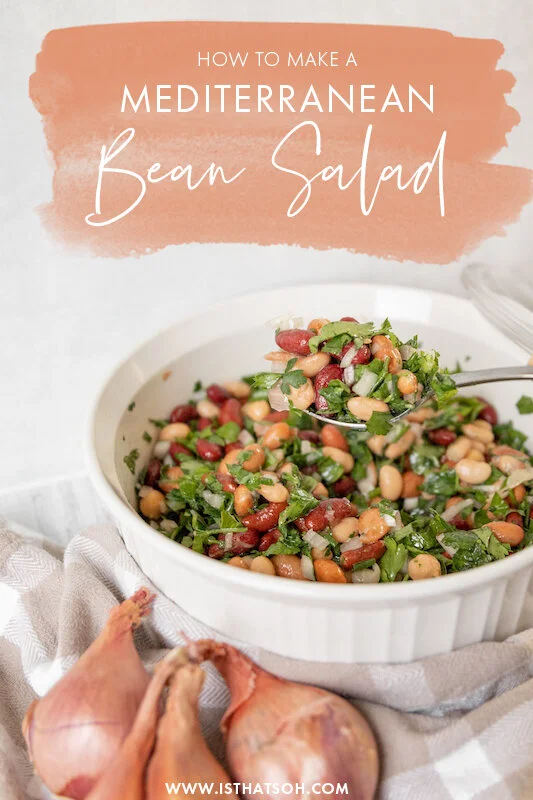
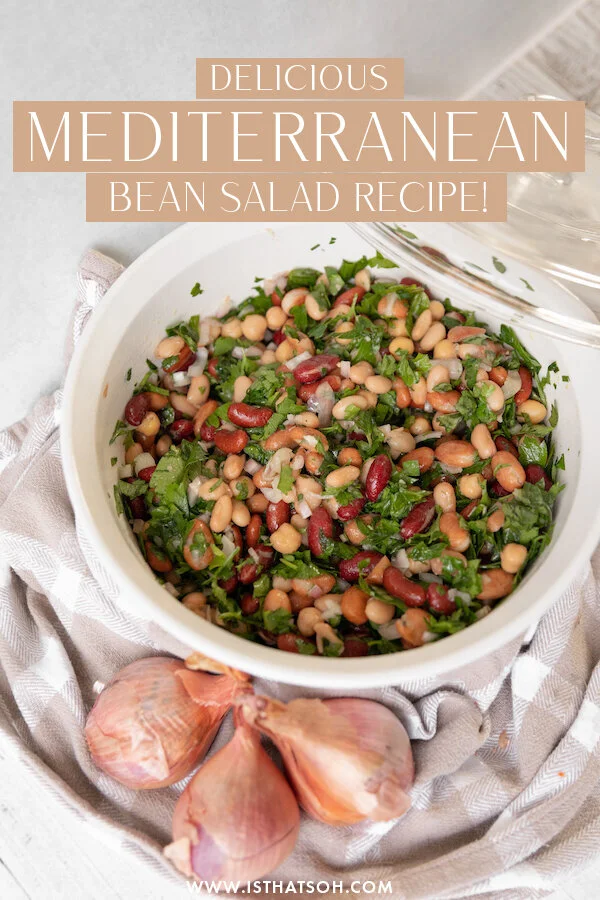
As someone who is always looking for ways to make ‘honouring my body’ easier, following a balanced diet such as the traditional Mediterranean diet makes doing so not only satisfying but undeniably more delicious! If you are looking for ways to add more protein to your diet without always gorging on meat, mix bean salad make a great substitute. Packed full of protein and carbs, this Mediterranean vegan bean salad will give you a boost of energy to help sustain you throughout the day. It has more nutritional value than a regular leafy green salad and keeps well for 3-4 days in the fridge, making it perfect for meal planning. It’s also very inexpensive to make and can be whipped up in less then 10 minutes! Regardless of your motivation, I know you’ll not only love the flavour, but feel good about eating it too!
Enjoy!
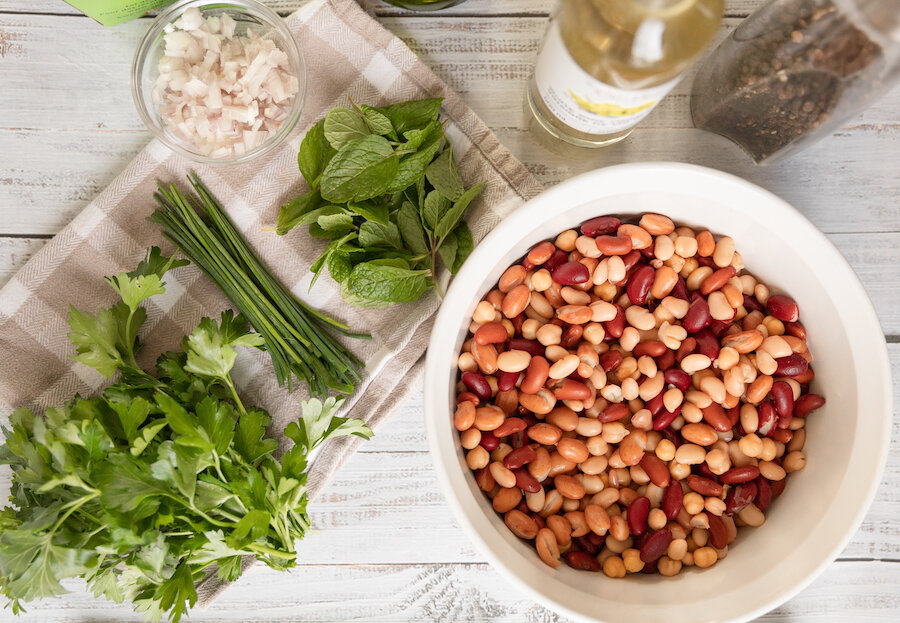
INGREDIENTS:
Serves 4-5
1 Shallot (finely chopped)
3TBSP of White Wine Vinegar
1/2 Cup of Parsley (roughly chopped)
1/4 Cup of Chives (roughly chopped)
1/4 Cup of Mint (roughly Chopped
Olive Oil
2 x 15 oz Mix Bean Medley
Salt and Pepper
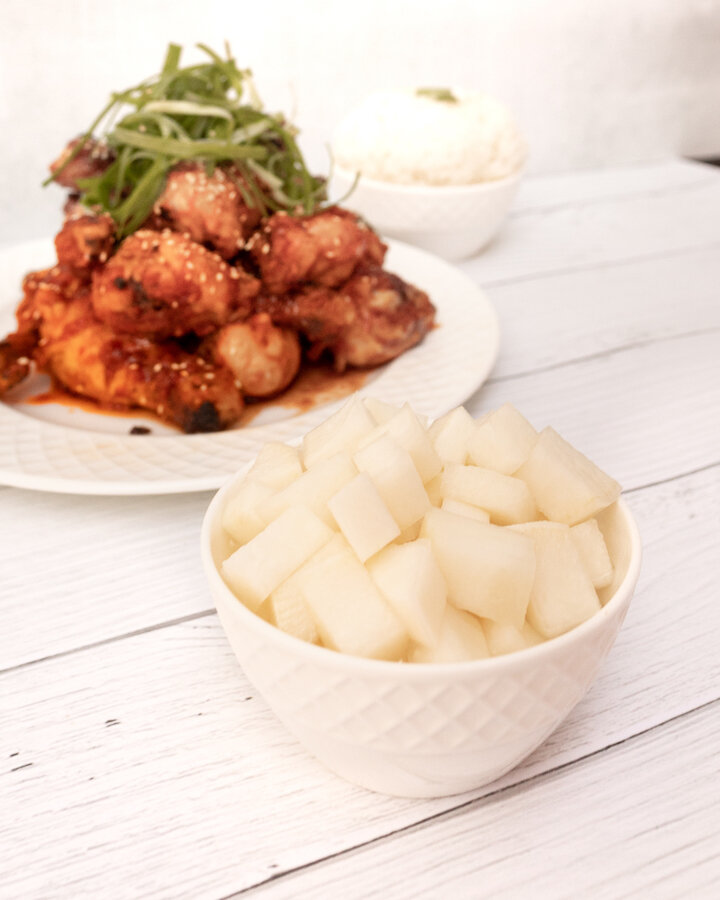
LOOKING FOR VEGAN RECIPES? CHECK THESE OUT!


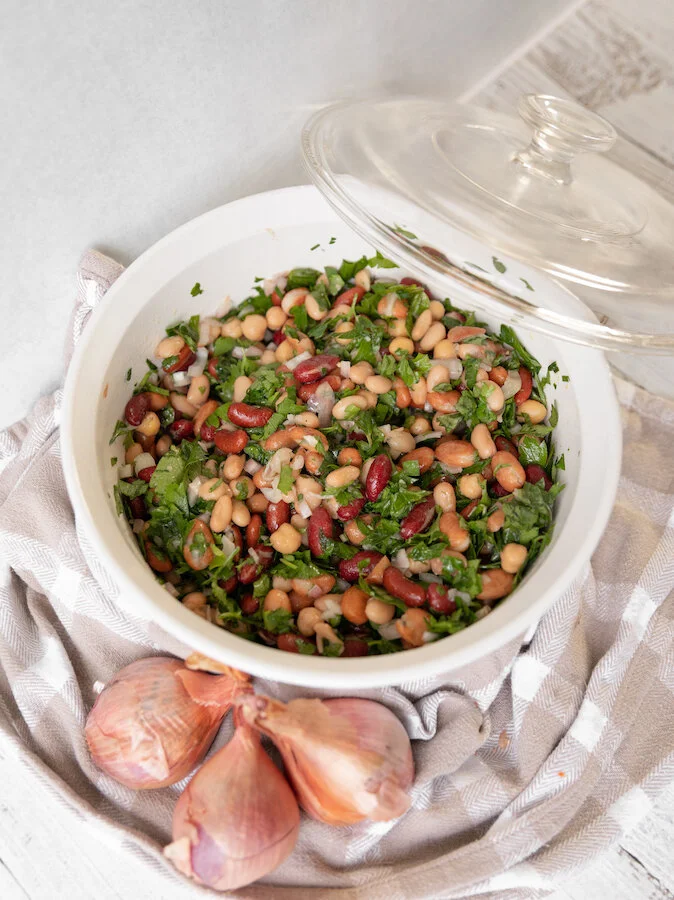
DIRECTIONS:
Add white wine vinegar to shallots and set aside for 5 minutes.
Next get a large bowl and add in your chopped parsley, chives and mint. Coat in olive oil. Add bean medley. Salt (generously) and pepper to taste.
Lastly add in your white wine vinegar shallots, toss and serve!
FOLLOW ME ON INSTAGRAM @ISTHATSOH


I hope you enjoy this vegan bean salad recipe as much as I do. If you have any comments please leave them below and I'll be happy to answer them as soon as I can! Happy cooking!!!