SPICY COCONUT CHICKEN THIGHS

One of the first recipes we made up at the cottage this year was this delicious spicy coconut chicken thigh recipe! Everyone was craving something Asian and this chicken dish ended up being not just KETO but super easy to make! Further, the flavors of this dish were amazing, totally satisfying everyone’s cravings. I ended up serving the dish on a bed of riced cauliflower and alongside my Asparagus Stir Fry with A Touch Of Citrus dish, and the pairing got a thumbs up from everyone at the table so we will definitely be making this meal again. If you are looking for a SUPER easy recipe to try that will spice up your next meal, I highly recommend this one!

Enjoy!

INGREDIENTS:

- Serves 4 people

1/3 CUP of Freshly Grated Ginger
3 Cloves of Garlic - Minced
3/4 CUP of Coconut Milk
1/4 CUP of Curry Paste - Hot Chili Paste can be used as a substitute
1/4 CUP of Fresh Lime Juice
2 TBSP of Brown Sugar or use a Keto Substitute Like Sukrin Gold Brown Sugar Alternative
1 3/4 TSP of Kosher Salt
2 TBSP of Vegetable Oil
2 LBS of Skinless, Boneless Chicken Thighs

-Optional Base and Toppings-

Riced Cauliflower
Cilantro - for Garnish
Green Onions - chopped finely for Garnish

DIRECTIONS:

In a bowl add in the freshly grated ginger, garlic, coconut milk, curry paste, lime juice, sugar, salt, and vegetable oil, and whisk until well incorporated. Add chicken in and make sure it is well coated in sauce.
Let marinate for a minimum of 15 minutes. If you are preparing the chicken ahead of time, store it in the fridge.

When ready to cook, remove chicken from marinade and drain excess drip back into the bowl. Transfer chicken to a baking sheet covered in parchment paper and broil on high for 7-8 minutes before flipping the chicken and allowing it to broil on high for another 7-8 minutes on the other side or until it appears crispy.

Pour the excess marinade drippings you drained off the chicken into a small saucepan and bring to a boil. Once it starts to boil, reduce heat and allow it to similar on medium-low heat, stirring occasionally until its thickens - about 2-3 minutes.

Once the chicken is cooked, remove from oven, add sauce on top and serve!

Enjoy!


If you like this recipe or have any comments/questions, feel free to leave them in the comment section below!


PIN THIS POST

SPICY COCONUT CHICKEN THIGHS.jpg

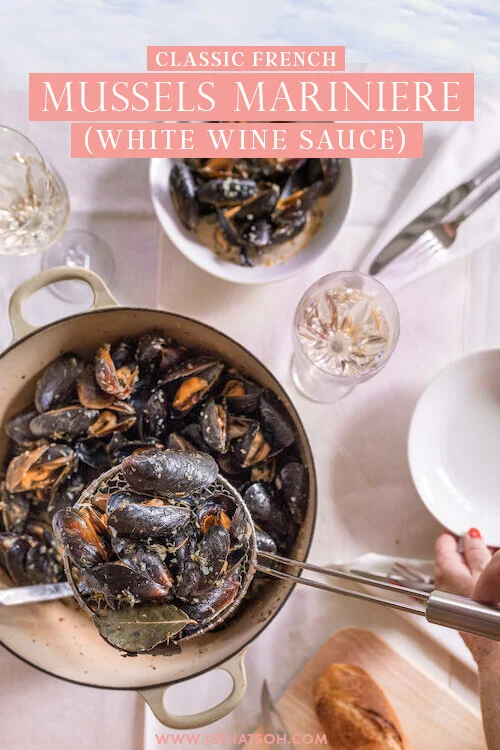
CLASSIC FRENCH MUSSELS MARINIERE (WHITE WINE SAUCE)

One of the best parts about being self isolate with my family is that we all like to eat!

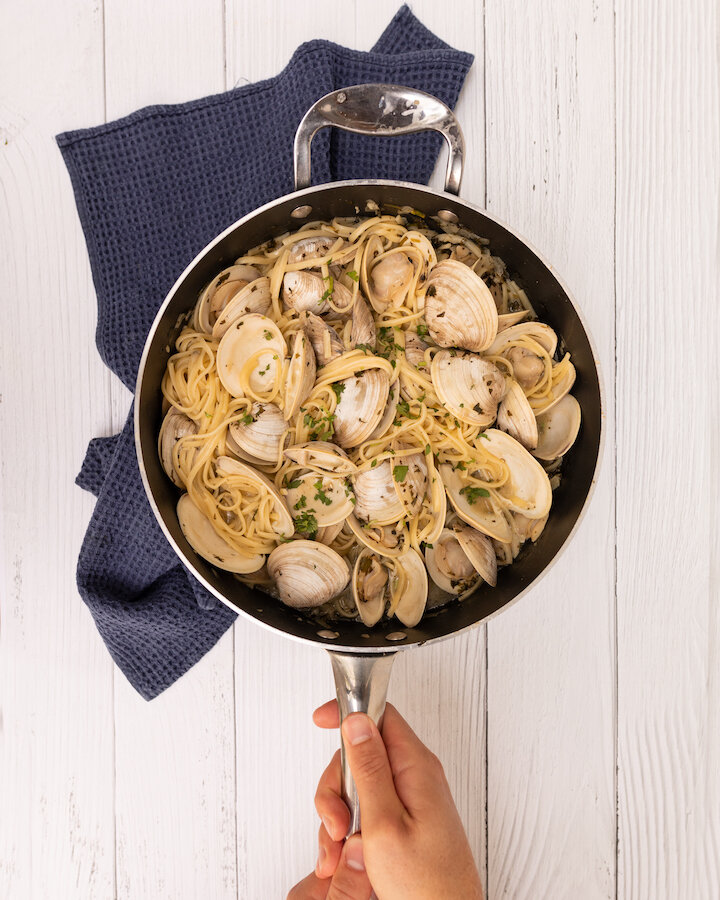
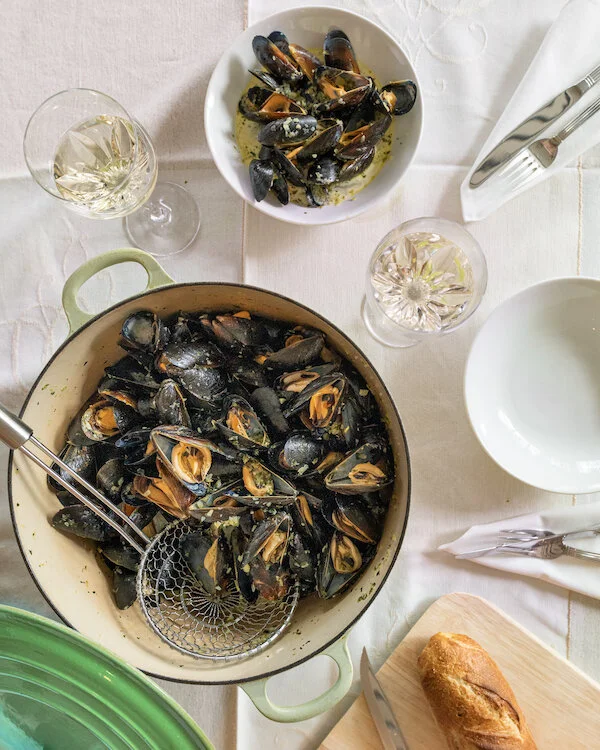
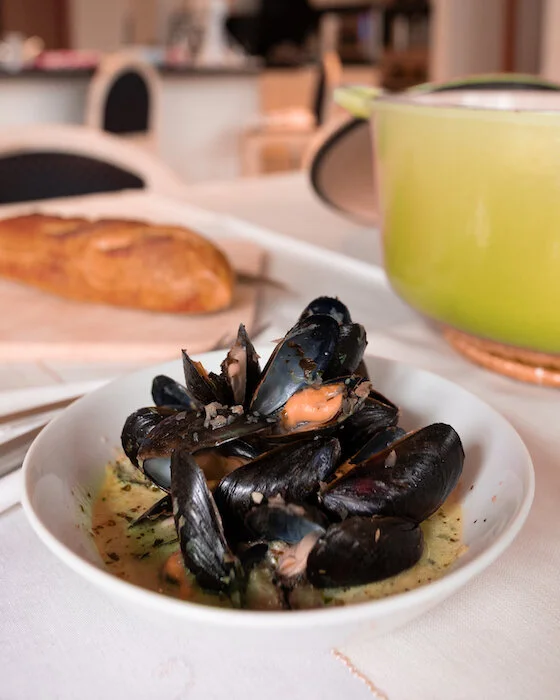
Every Friday we get together a little bit earlier and celebrate the end of the week with some nice seafood. Each week my mom has been busting out a new recipes, each better than the last. One recipe that topped the list was her classic french mussels in a white wine sauce, an easy crowd pleaser! If you have ever wondered how to cook mussels at home or are just looking for some new recipes for mussels to try, this one is easy and so delicious!

Enjoy!

INGREDIENTS:

Serves 2 People

-Seafood-
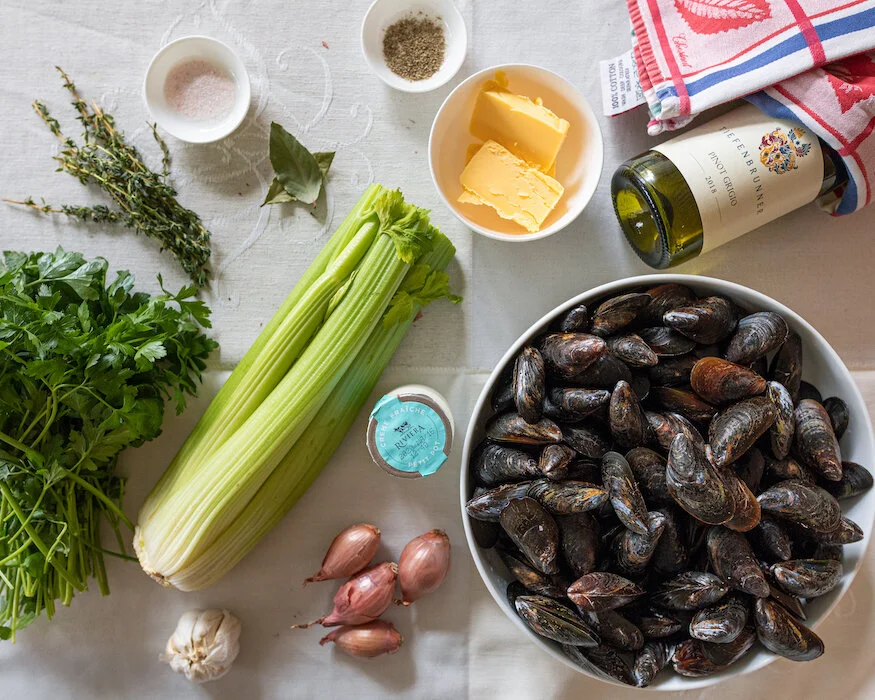
2.5 lbs of fresh mussels – rinse, scrub and de-beard. (I usually buy extra because I know that some are going to be bad)

How to buy, store, and prep fresh mussels:

When buying fresh mussels, make sure to smell them - they SHOULD NOT have a strong odor! You also want the shells to be shut. Since mussels are alive if you bang the shells or apply pressure and close them yourself, if they are indeed alive, they should shut or remain shut. If they open once again right away it means that they are weak/not fresh, so don’t buy those. Make sure to store your mussels in the fridge, they need air to breathe so don’t use a sealed container, instead place a damp cloth over them like a napkin or paper towel to provide further moisture. Before you are ready to use them make sure to rinse the shells, remove the beards or hairy bits, and scrub away any debris off the shells.

-White Wine Sauce-
2 TBSP of Unsalted Butter
1 Shallots - chopped finely
1 TBSP of Fresh Flat Parsley, chopped finely
1 cloves of garlic - minced
1 Stock of Celery, chopped finely
1 Bay Leaf
A few twigs of Fresh Thyme
1 Cup of Dry White Wine
Salt and Pepper to Taste
1 TBSP Double Creme

-Toppings-
Fresh Flat Parsley

-Extras-
French Baguette


LOVE SEAFOOD? CHECK OUT THESE OTHER SEAFOOD RECIPES!


HOW TO COOK MUSSELS:

how to cook mussels

Place a large pot on the stove and add in your butter. Allow butter to melt on medium heat. Once ready, add shallots and cook until translucent.

Add chopped parsley, celery, garlic, bay laves and thyme to the pot and mix. Allow the heat to bring out the aroma of the herbs (maybe 2-3 minutes).

Add the fresh mussels to the mixture and stir to coat the mussels with the herbs. Add the wine and raise temperature to high. When the wine starts to bubble, stir the mussels once again so that they become coated with wine.

After you have covered the mussels in white wine, lower the heat to medium/high and cover for 5-6 minutes but no more.

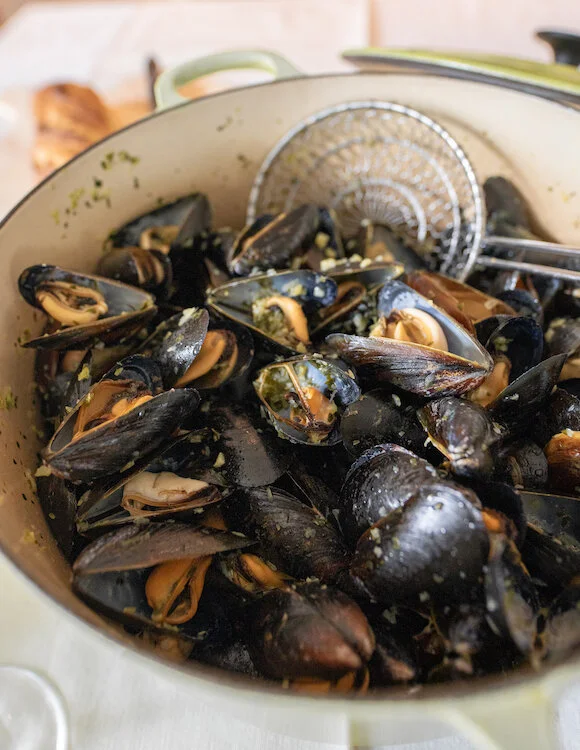
After 5-6 minutes, uncover and remove mussels from the pot but keep the juice in the pot. Taste sauce and adjust with salt and pepper if needed. Add the double cream to the sauce (it should make the sauce whiter) before stirring it in until well incorporated. Add the steamed mussels back into pot, stir and serving right away while hot.

Bon Appétit!!!


FOLLOW ME ON INSTAGRAM @ISTHATSOH!


If you like this recipe for mussels, learning how to cook mussels or have any comments/questions about this mussels in white wine cream sauce recipe, feel free to leave them in the comment section below!


PIN THIS POST

how to cook mussels in white wine sauce

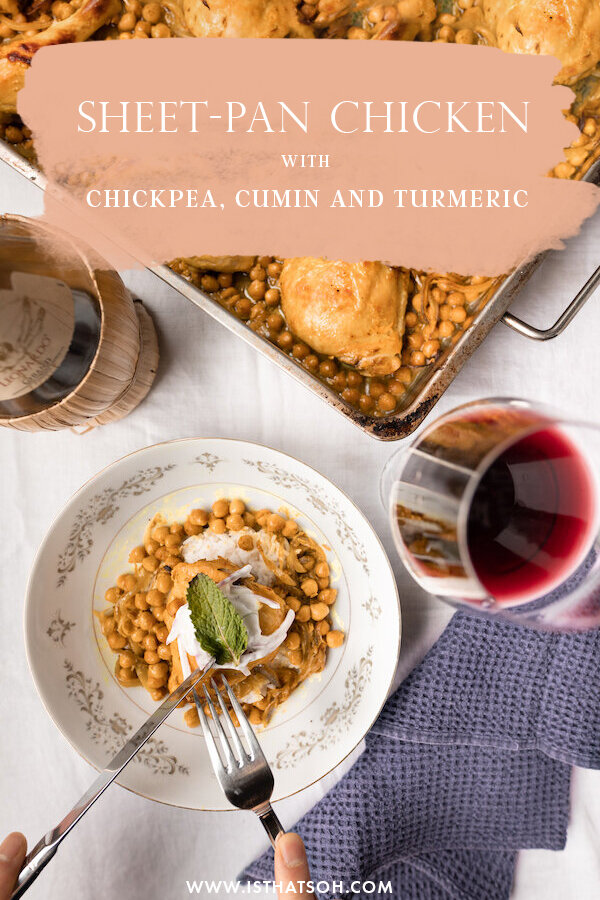
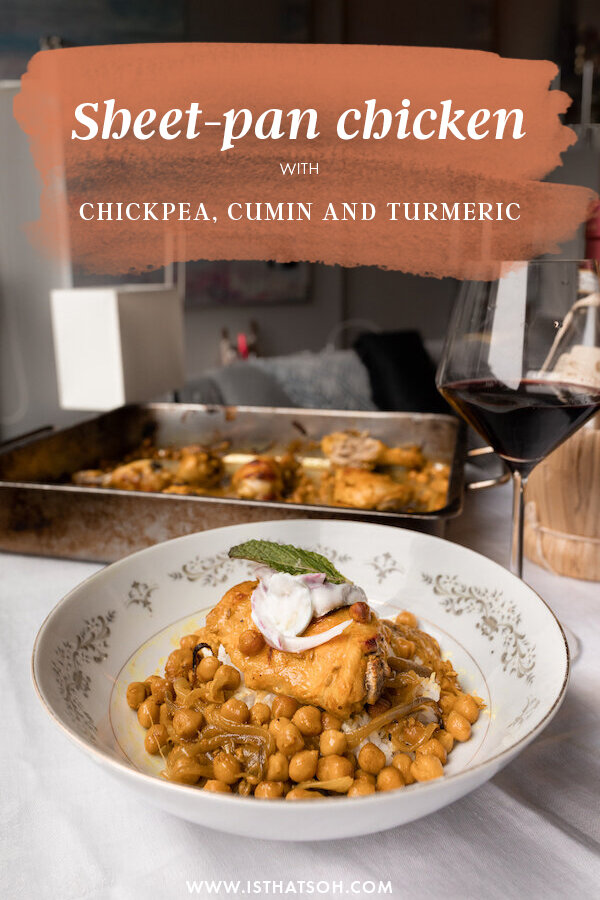
RECIPE REVIEW: SHEET-PAN CHICKEN WITH CHICKPEA, CUMIN AND TURMERIC

I was first introduced to this NY Times Sheet-Pan Chicken recipe during a dinner party with a girlfriend and couldn’t get enough. I ended up taking a copy of the recipe home eager to try it myself and not only was it so easy to remake, but it tasted just as good as the first time. I love the mix of flavors and spices, and how the yogurt breaks through the acidity. If you want to make it vegetarian and just leave out the meat, I’m sure it would be just as tasty! Either way, Adam told me I can definitely make it again so not only does this recipe get my approval, but it gets his too!

Score: 4.5/5

INGREDIENTS:

 Serves 4 People

-Chicken and Chickpea-
4 LBS of Chicken (I prefer to use dark meal like thighs) bone-in and skin-on.
Lemons for lemon juice - need to yield 5 TBSP total (2 for chicken, 2 to marinate slaw, and 1 for yogurt)
1.5 CUPS of full-fat Greek yogurt
2 TSP of Turmeric (1 TSP for chicken marinade, 1 TSP for seasoning later)
1 TBSP of Fennel Seed
1 TSP of Cumin (ground)
2 Cans of Chickpeas (drained and rinsed)
1 Large Red Onion - sliced thinly
1 Mini Cucumber - sliced thinly
Olive Oil
2 TBSP Water
Salt and pepper to taste

-Toppings-
Feta (optional)
Fresh Mint - torn into small pieces

DIRECTIONS:

 Season chicken using salt and pepper before creating a marinade using 3/4 CUP of yogurt, 2 TBSP of lemon juice, 1 TSP of Turmeric, and 2 TBSP of water. Add more salt and pepper if necessary, it should be slightly salty, this will reduce once cooked and combined with yogurt topping later.

Add seasoned chicken to marinade and make sure it is coated evenly - allow to sit for a minimum of 30 minutes at room temperature or overnight in the fridge.

Prior to cooking, adjust the oven rack to the top shelf and heat oven to 450!

Next combine chickpeas, fennel seed, cumin, and the remaining Turmeric in a bowl with half the red onion slices, drizzle with olive oil and season with salt and pepper before giving it a good toss to make sure it is covered evenly. Place on a rimmed baking sheet and push chickpeas to the outer edge to make room for chicken.

Scrape the excess marinade off the chicken and place it in the center of the baking sheet. Bake in the oven for about 45-50 minutes until skin is browned. You will need to toss chickpeas occasionally to make sure they become crispy and golden and don’t burn

While the chicken is cooking create a slaw by tossing the remaining onions in a bowl with the thinly sliced cucumber and add 2 TBSP of lemon juice. Season with salt and pepper and let sit in its juice.

Once the chicken is ready, remove from oven and allow to cool slightly. Add onion cucumber slaw, to remaining yogurt and top with 1 TSP of fresh lemon juice. Season with salt and pepper to your taste. Top chicken with yogurt and garnish with mint and feta.

Enjoy!

To check out the original recipe, click HERE!


If you like this recipe or have any comments/questions, feel free to leave them in the comment section below!


PIN THIS POST

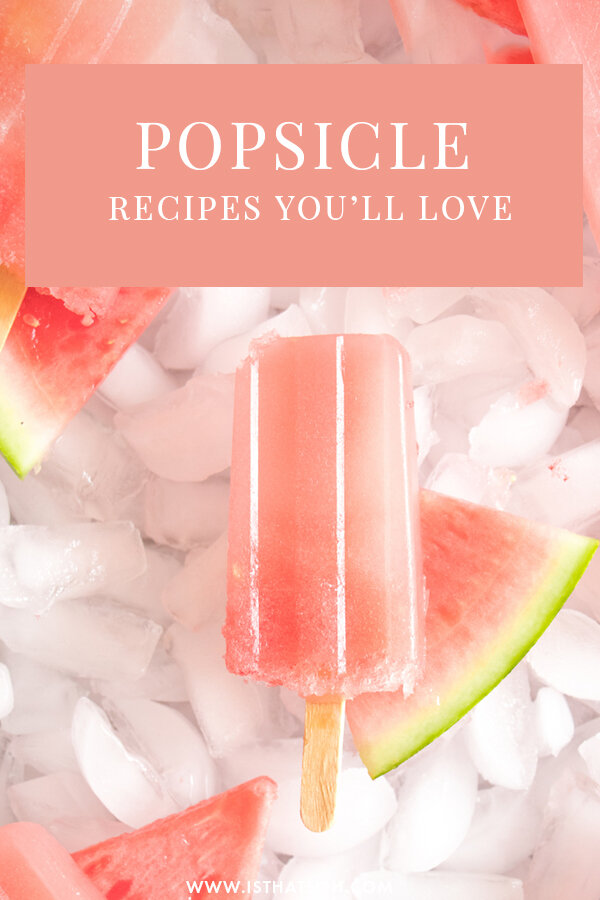
SUNRYPE SLIM BOOZY POPSICLE RECIPES #SPONSORED

It may only be spring, but my heart is already yearning for summer. I love longer days, warmer nights, and being able to gather with friends. Summer entertaining is one of my favourite things to do on weekends, and I always look for any excuse to host a get together. It’s also a great way to just relax and take 10 for yourself and to actually enjoy the moment, instead of being wrapped up in the hustle and bustle of everyday life.

One thing I typically do in the summer is keep some fun popsicles in my freezer. Not only because they make a great after work treat and are a great party ‘wow’ factor, but because they help me take 10 for myself and cool down on those hot and sweaty summer nights when there isn’t a breeze for miles. I can still picture myself last summer, happy as a clam licking my popsicle as it dripped down my hand like I was twelve - so perfectly refreshing. Who is to say popsicles have to be just for kids anyways? As a matter of fact, MY popsicles are just for Adults.

To add a little extra fun to my popsicles, I booze them up in a multitude of ways. There are obviously so many variations you can make, but I always like to make sure that the ingredients I use taste great and aren’t filled with sugar and artificial elements. That is why I love to use SunRype Slim beverages as the perfect popsicle base, as they don’t have any artificial colouring, flavours or contain any aspartame, plus they only contain 10 calories per serving (250ml), how great is that!.

Using SunRype Slim makes it easy for me to adjust the amount of sweetness I want so my popsicles fit my palette (and calorie intake) and still maintain natural flavours and ingredients. The best part - they are so easy to make to your liking and easy to find. You can try this recipe out using a variety of different flavors including SunRype Slim Blueberry Burst, Cranberry Twist, Lemon Drop Lemonade, Long Island Iced Tea and Tropical Mango– all found in the non-refrigerated juice aisle of your grocery store.

Not into popsicles? SunRype Slim 10 low calorie beverages are also perfect without alcohol as a refreshing glass over ice on a warm summer day!

Tips before we get started
*   Soaking your popsicle sticks before making your popsicles will help with any buoyancy issues and prevent them from popping out of the molds completely.
*   Soaking your fruit in alcohol before hand adds for an extra punch!
*   SunRype Slim contains only 10 calories per serving (250ml). To keep calories per popsicle even lower, you can always leave out the simple syrup and replace with more SunRype Slim!

What are you waiting for? Take 10whether you have just 10 seconds or 10 minutes - for yourself and relax with a delicious SunRype Slim popsicle now!


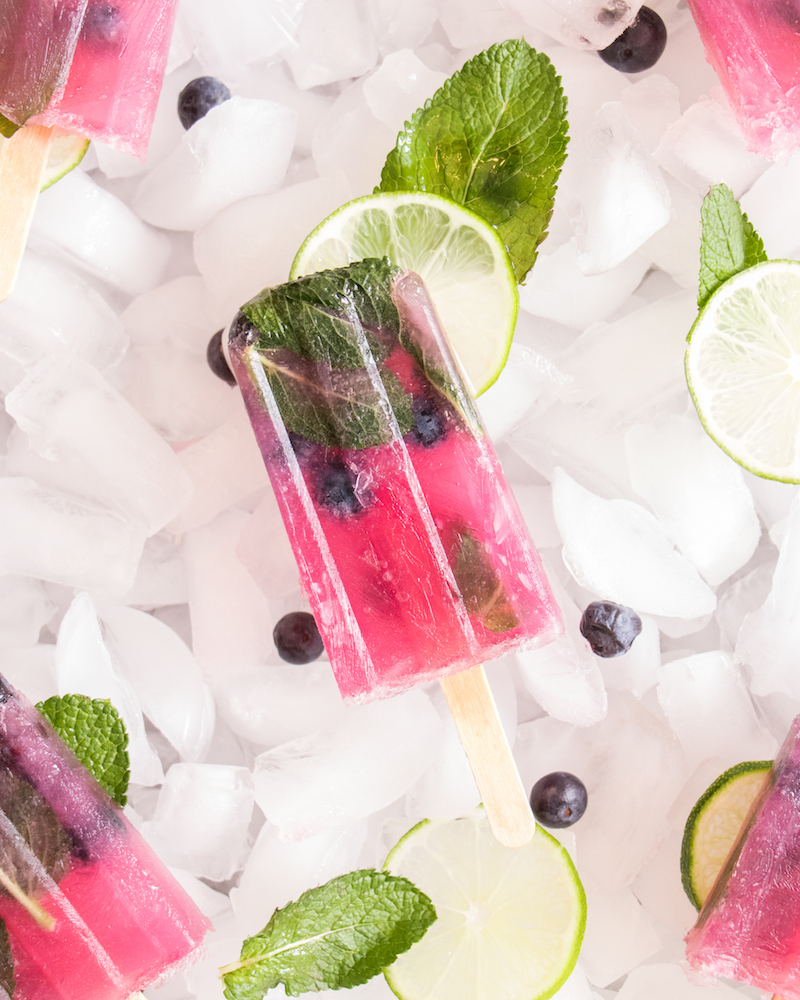
Blueberry Mojito Pops!

INGREDIENTS:

1/2 Cup of Sugar
1/2 Cup of Water
Mint
1 Bottle of SunRype Slim Blueberry Burst
3/4 Cup of Freshly Squeezed Lime Juice
1/2 oz Shot of Rum Per Popsicle
Blueberries

DIRECTIONS:

-    Make a simple syrup using equal parts sugar and water. Bring water to a boil and add in your sugar. You can also add in some mint to give your simple syrup extra flavour! Once sugar has completely dissolved, strain the mint from your simple syrup and let cool to room temperature. 

-    Fill 1/4 of each popsicle mold with SunRype Slim Blueberry Burst, then fill 1/4 of each popsicle mold with equal amounts of Lime Juice and Simple Syrup. Next add 1/2 Oz of Rum and some blueberries (maybe like 10 per mold). You can also add in some fresh mint leaves to each if you want. If there is still room in your molds, top it off with more SunRype Slim Blueberry Burst.

-    Add in your popsicle sticks and place popsicle molds in the freezer overnight for best results!

Spiked Peace Raspberry Ice Tea!

INGREDIENTS:

2 Peaches - sliced thin
1 Pint of Raspberries
1/2 Cup of Tequila
1/2 Cup of Vodka
1/2 Cup of White Rum
1/2 Cup of Sugar
1/2 Cup of Water
1 Bottle of SunRype Slim Long Island Ice Tea

DIRECTIONS:

-    Mix tequila, vodka, and white rum together in a bowl and add in your thin slices of peaches. Allow peaches and raspberries to soak up the alcohol overnight in the fridge.

-    Make a simple syrup using equal parts sugar and water. Bring water to a boil and add in your sugar. Once sugar has completely dissolved, let cool to room temperature. 

-    Place a couple of your alcohol soaked peaches and raspberries in each of the molds. Fill 1/2 of each mold with SunRype Slim Long Island Ice Tea. Fill the remainder with equal parts simple syrup and left over alcohol mix.

-    Add in your popsicle sticks and place popsicle molds in the freezer overnight for best results!


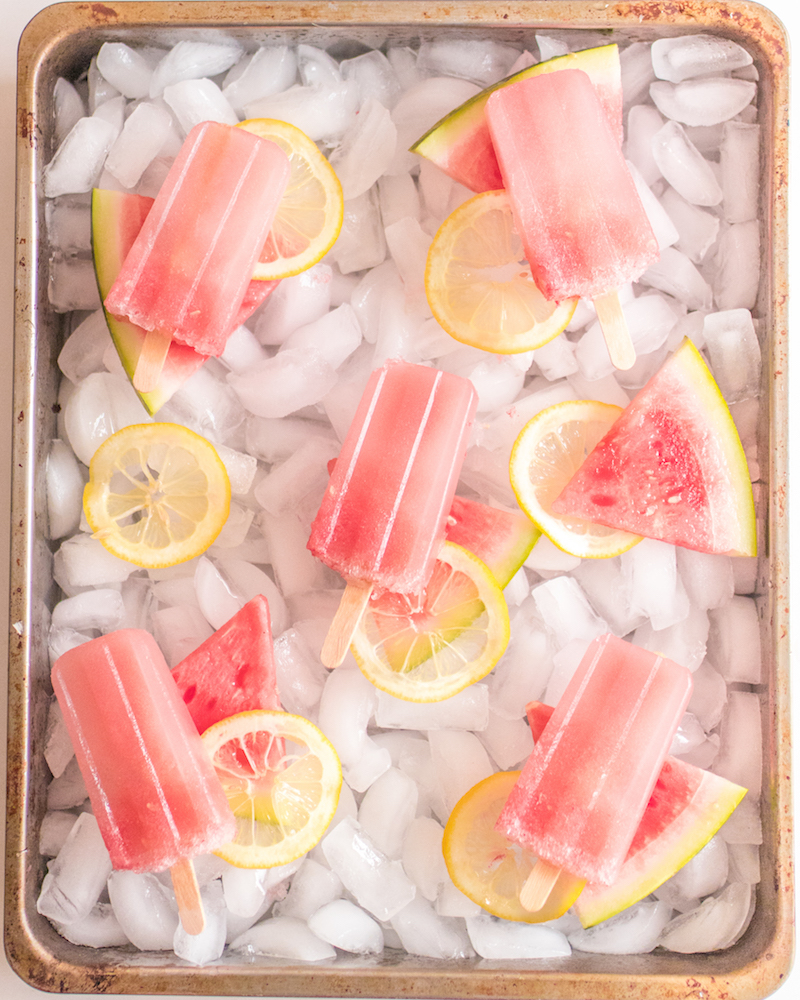
Watermelon Lemonade Prosecco Pops

INGREDIENTS:

1/2 a Seedless Watermelon (Cubed)
1 Bottle of SunRype Slim Lemon Drop Lemonade
1 Bottle of Prosecco
1 Lemon - to make thin lemon slices with

DIRECTIONS

-    Placed cubed watermelon in blender and liquefy.

-    Add 2-4 thin slices of lemon to each mold.

-    Fill 1/3 of each mold with watermelon juice, 1/3 with SunRype Lemon Drop Lemonade and 1/3 with Prosecco (pour Prosecco slowly as to not have the bubbles overflow).

-    Add in your popsicle sticks and place popsicle molds in the freezer overnight for best results!

Discover More With SunRype Slim10!

Disclaimer: This post has been generously sponsored by Sun-Rype, the opinions and language are my own and in no way do they reflect Sun-Rype


 PIN THIS POST

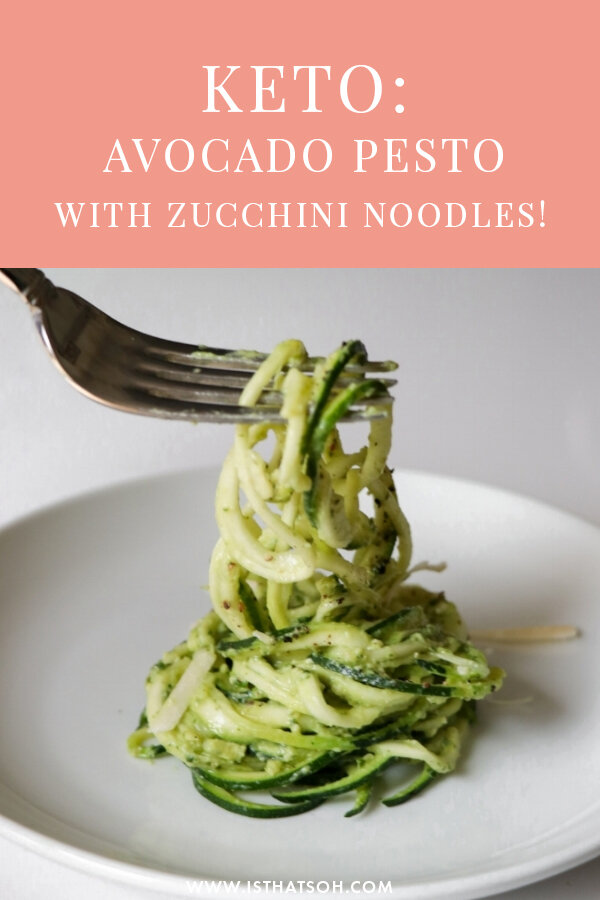
KETO CREAMY AVOCADO PESTO WITH ZUCCHINI NOODLES!

After Christmas, I starting to feel like I had really over done it this holiday season. With all the parties and dinners I was really starting to feel unhealthy. I knew I was in need of making some serious changes to my diet. Both my mom and my boyfriend have been eating KETO for awhile and both of them would sing me praises about their new KETO lifestyle. Both said that eating KETO for them has provided them with great energy, they don't ever feel hungry, and both have experience weight loss. My mom who suffers from bad inflammation not only had lots of energy and lost weight, but she also started to feel better and was able to move around more without feeling as much pain. Fast forward to now - I have been on KETO for a month and I have lost 5 lbs! I get to eat full fats like avocado, butter, and olive oil, and never feel drained of energy.

When I started on the diet I was looking for some recipes and realized there aren't that many out there there were actually healthy and KETO.  So here is a delicious recipe that I altered and made my own to help you get started. It can also easily be transitioned to a Vegan recipe by removing the cheese. ENJOY!

Good for 6 People

INGREDIENTS:

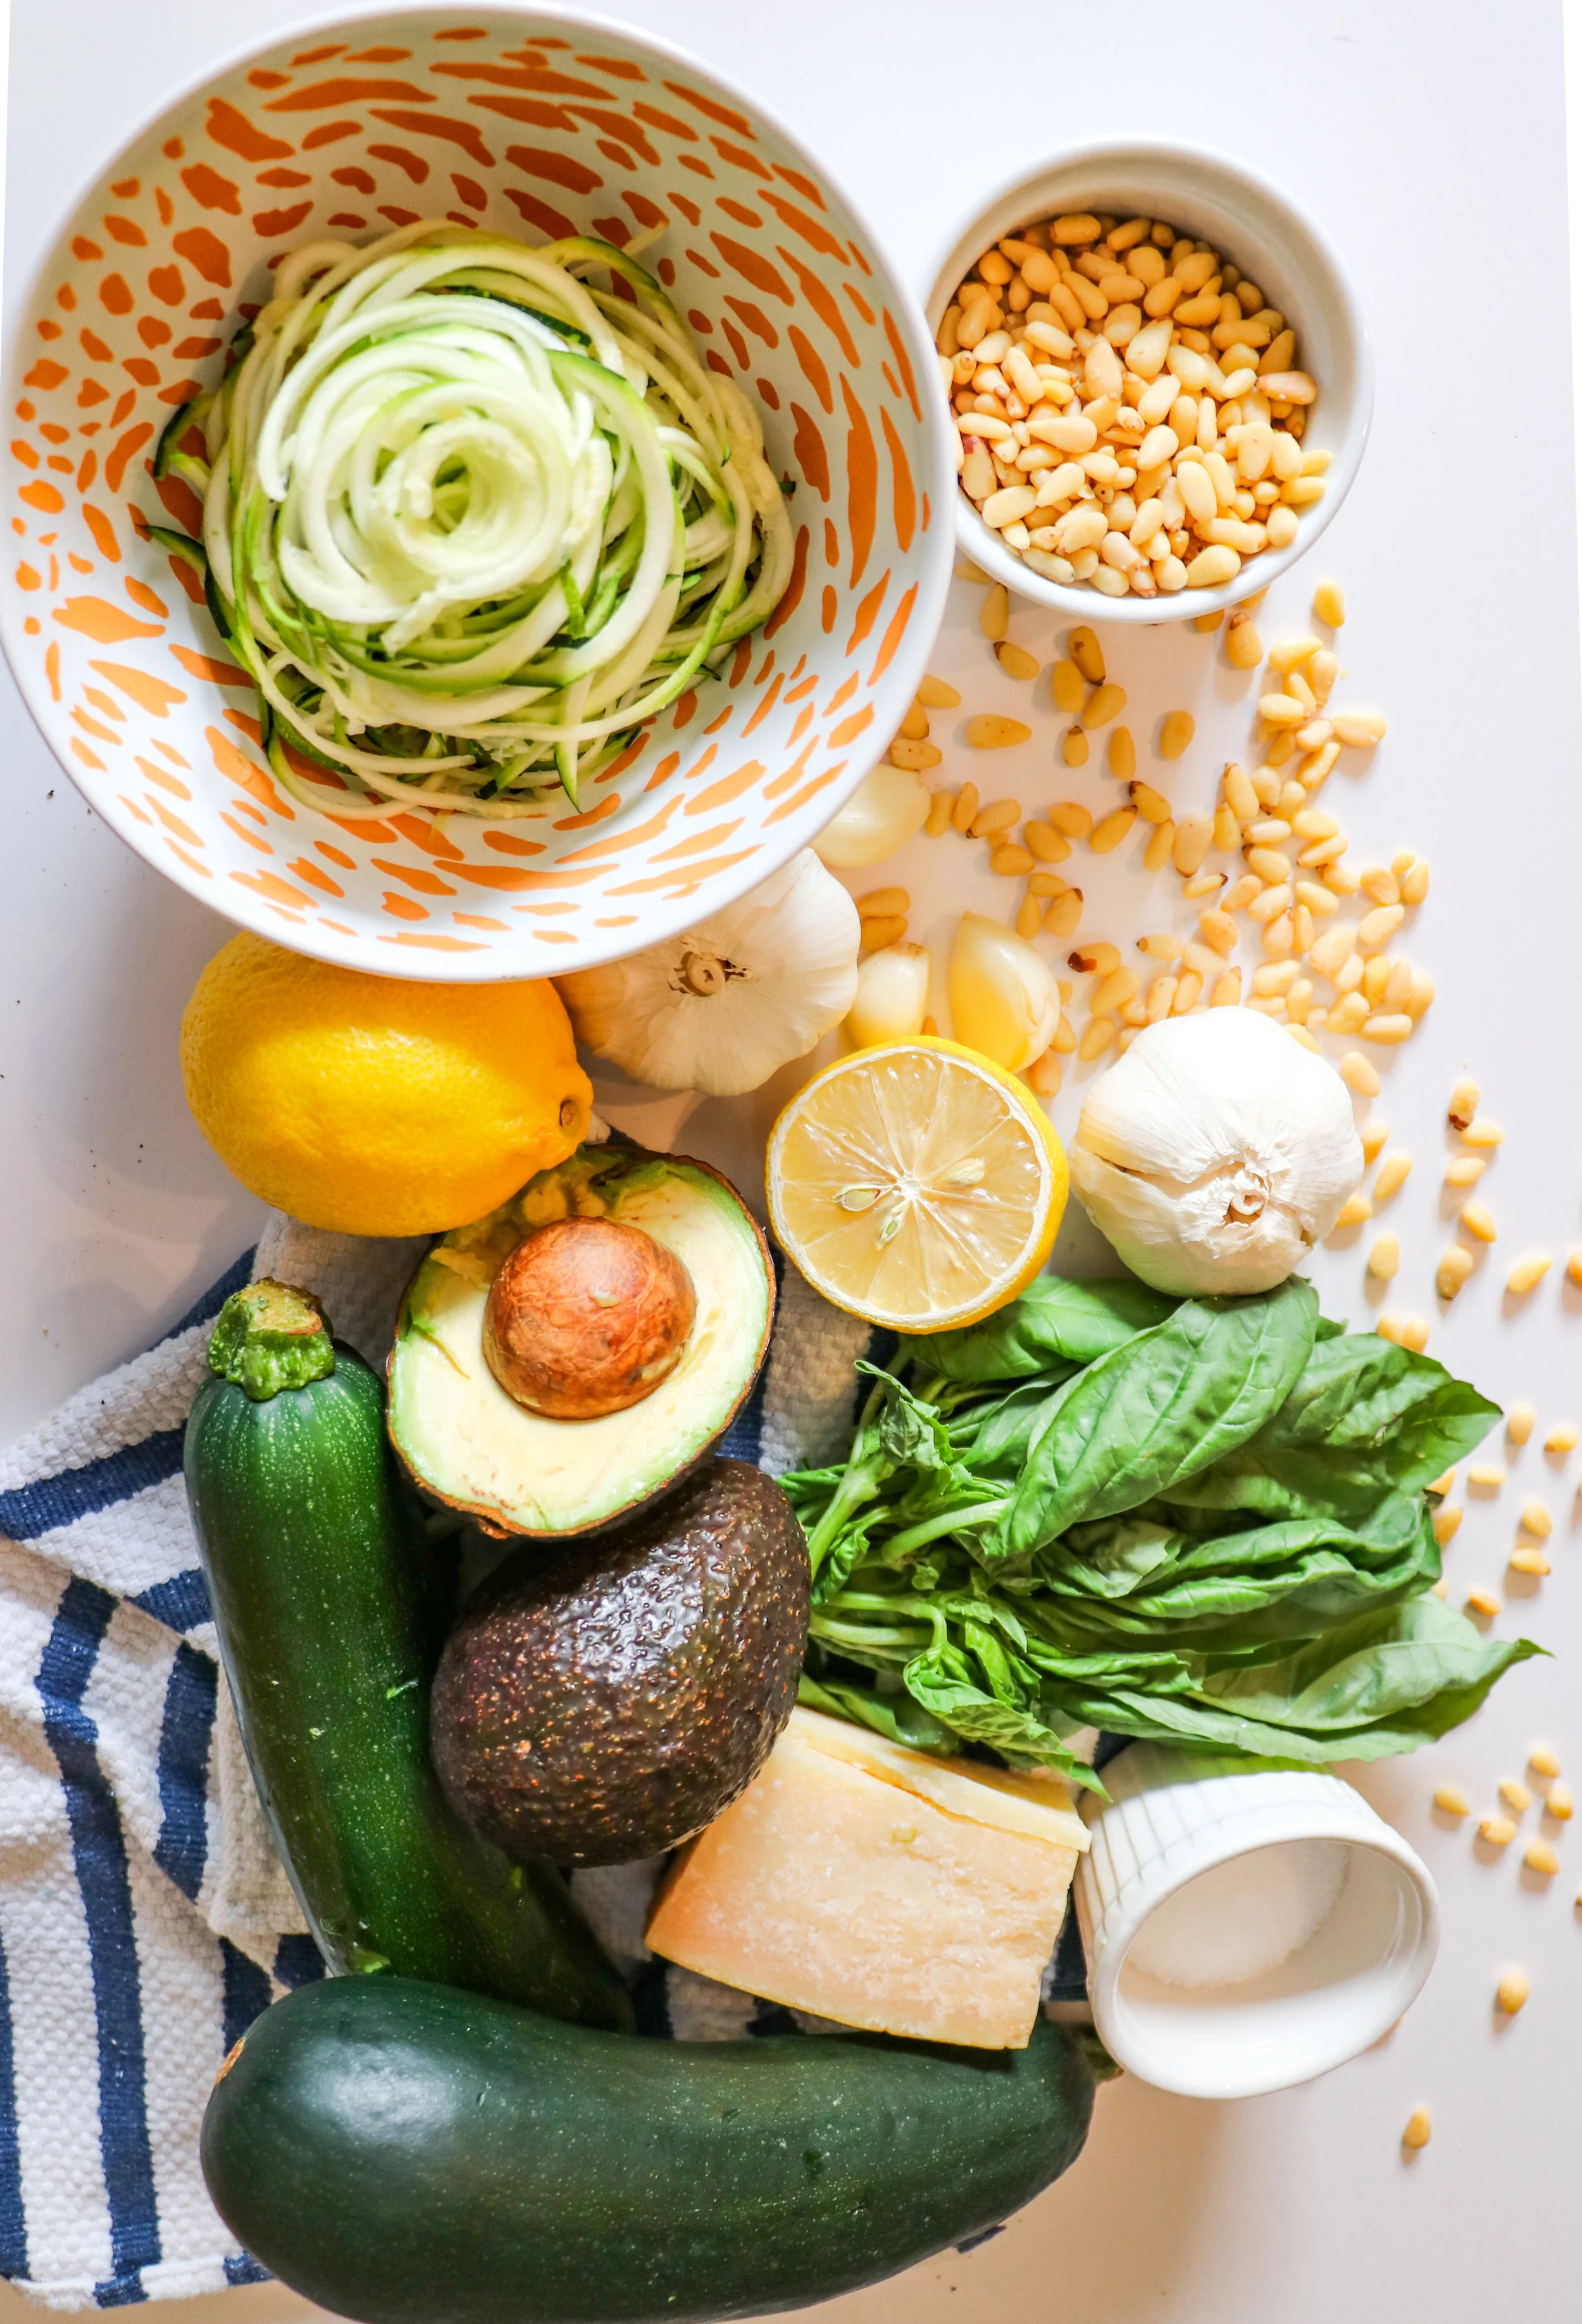
4 Zucchini Large - (1 zucchini can usually feed 1.5 people regular portion sizes)
1 TBSP of Olive Oil
1.5 Large Avocados
1 Cup of Fresh Basil Leaves (Washed and left on paper towel to dry)
2 Cloves of Garlic
1/3-1/4 Cup of Pine Nuts (depends on your palette)
2 TBSP of Lemon Juice
1 Cup of Grated Parmesan Cheese
3 TBSP of Olive Oil
Large Pinch of Sea Salt
Cracked Pepper

YOU WILL ALSO NEED:

-A Spiralizer
-A food processor

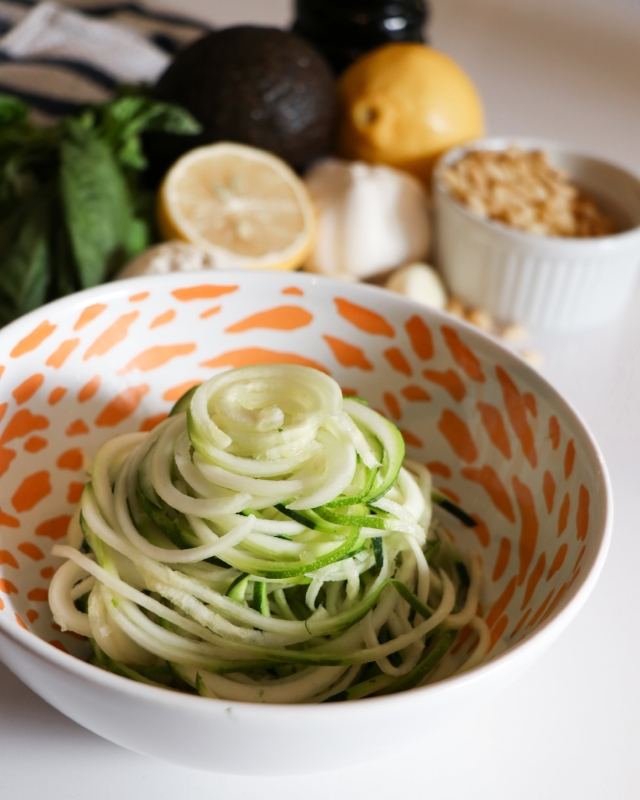
spiralized zucchini.jpg

DIRECTIONS:

Spiralize your zucchini and set aside on a piece of paper towel so that all the excess water/juice is absorbed.

In the food processor add in your avocado, basil, garlic, pine nuts, lemon juice and grated Parmesan. Pulse until basil is finely chopped and you have a creamy consistency. While the motor is still running add in your 3 TBSP of olive oil. When finished add a large pinch of salt and pepper to taste and mix in until well incorporated.

In a skillet add 1 TBSP of olive oil and let it heat up on medium heat. When ready add in your spiralized zucchini and let cook until soft (around 2-3 minutes).

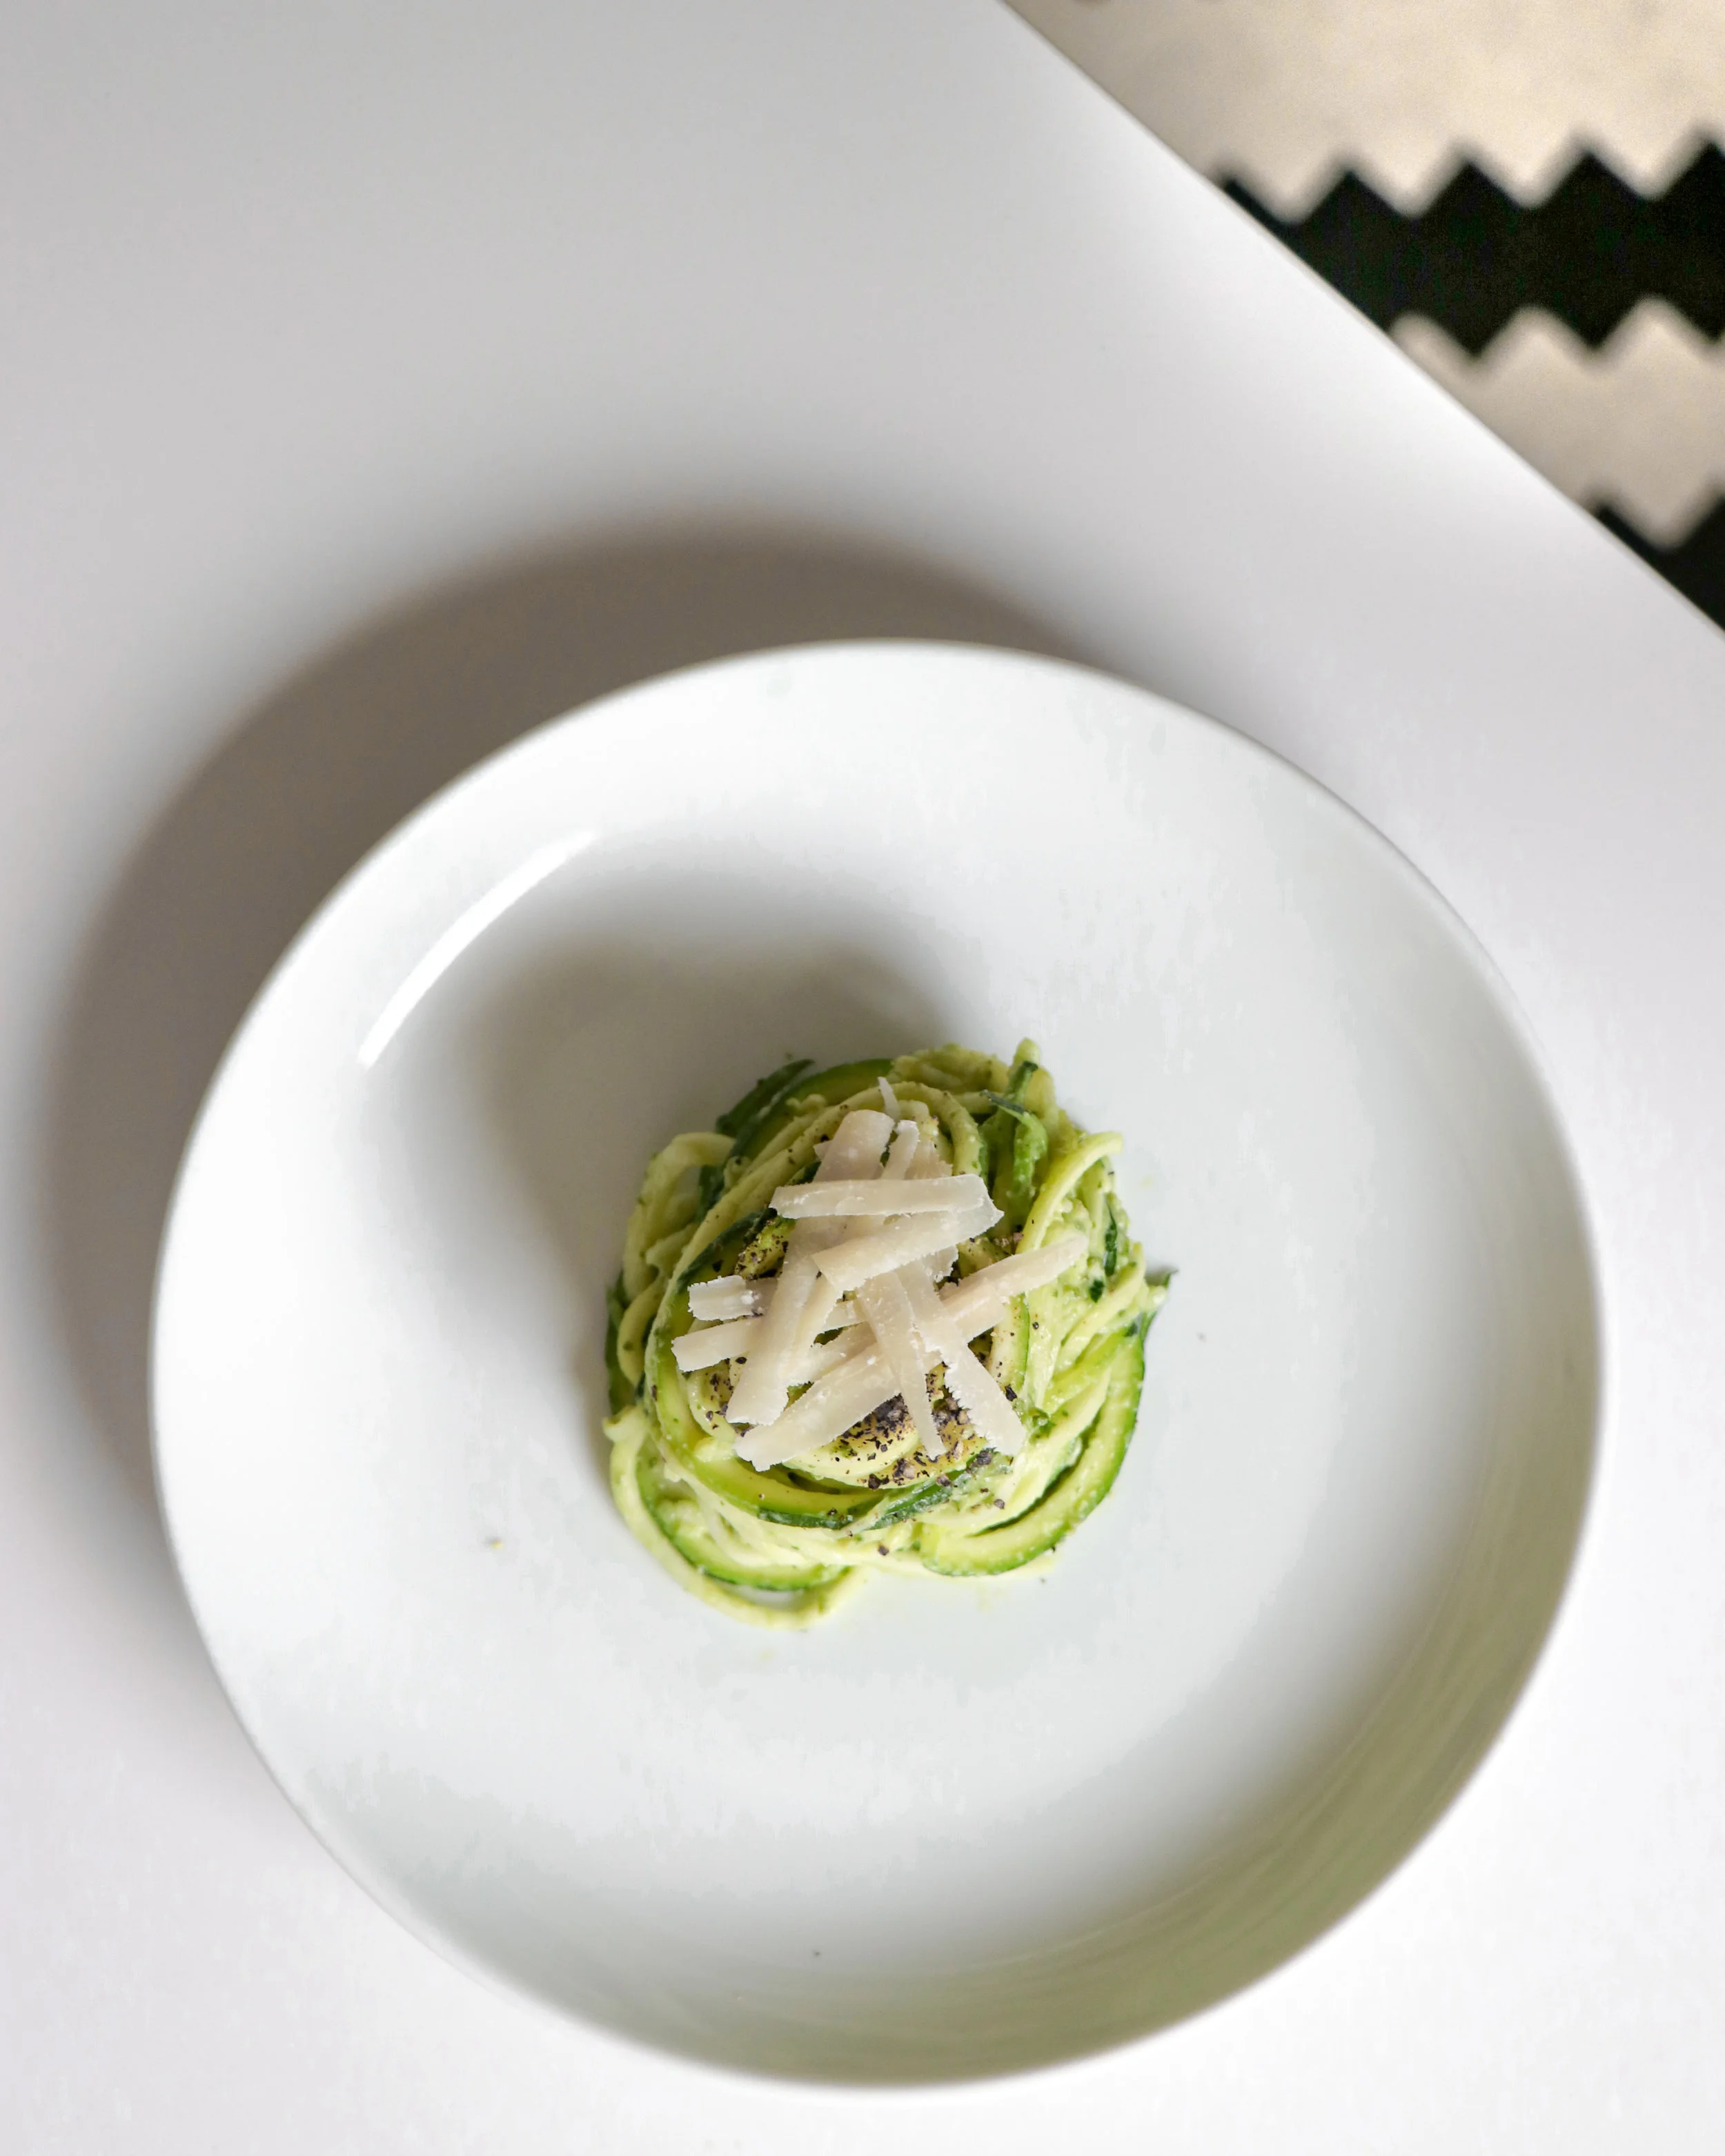
Once ready, move cooked zuchinni to a bowl and toss n the avocado pesto (there will be pesto left over don't feel like you have to use all of it). Garnish with Parmesan cheese and serve!

*This recipe can easily become vegan if you remove the cheese!

Enjoy!


If you like this recipe or have any comments/questions, feel free to leave them in the comment section below!


PIN THIS POST