PENNE ALLA VODKA - AN AUTHENTIC VODKA SAUCE RECIPE

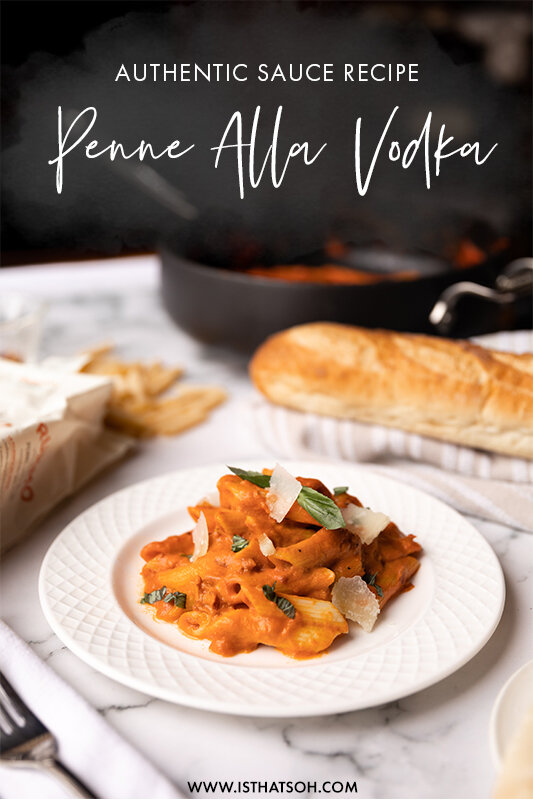
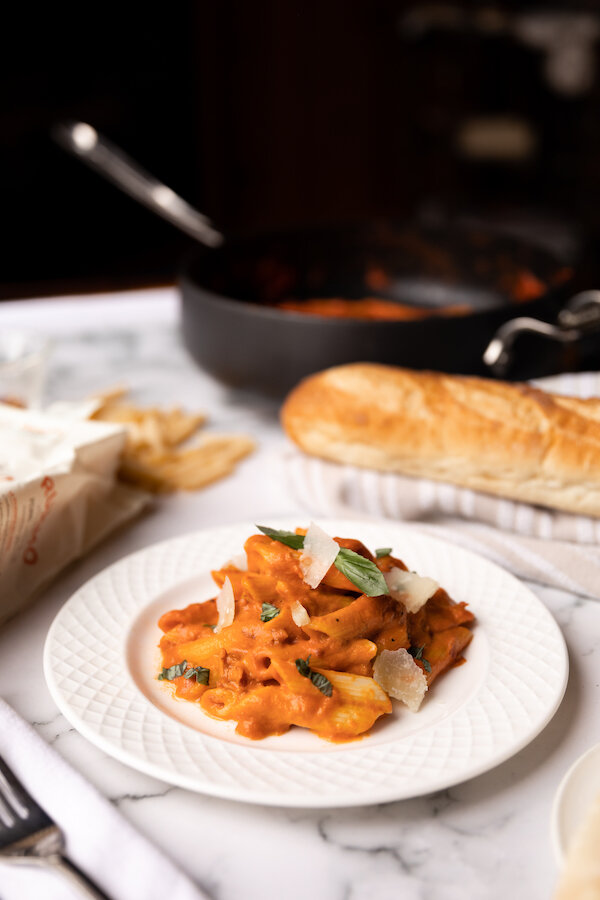
This authentic vodka sauce recipe is one of my all-time favorite pasta dishes and one of my most frequently asked for. People just love it, especially in the winter when the warmth and spiciness of this dish balance out the weather outside. Jam-packed full of carbs and comfort this dish definitely gives you the energy your body needs to stay warm all year round. All that aside though, it is a classic Italian vodka sauce recipe you can easily tweak to your desired spice level! First time cooking with vodka? Don’t worry, all alcohol in the vodka does evaporate during the cooking process while the vodka helps detach all the juicy pork flavor from the bottom of the skillet to ensure the most flavorful sauce you can possibly get! Enjoy!

INGREDIENTS:

SERVES 4-5
10 Min Prep, 50 min Cooking Time

1 Pack of Penne Pasta (Usually feeds 4-5)
1-1.5 650ml Bottles of Tomato Sauce (basic Pomodoro or tomato & basil)
1 TBSP of Butter (Salted
1 Cup of Vodka
200-300grams Of Pancetta or Black Forest Ham (chopped finely - almost minced)
1 TSP of Chili Flakes (optional)
1 Medium box of 35% Whipping cream
Parmesan Cheese (1 Cup Shaved and 1 Cup for garnish)
Salt and Pepper to Taste
Baguette (optional)


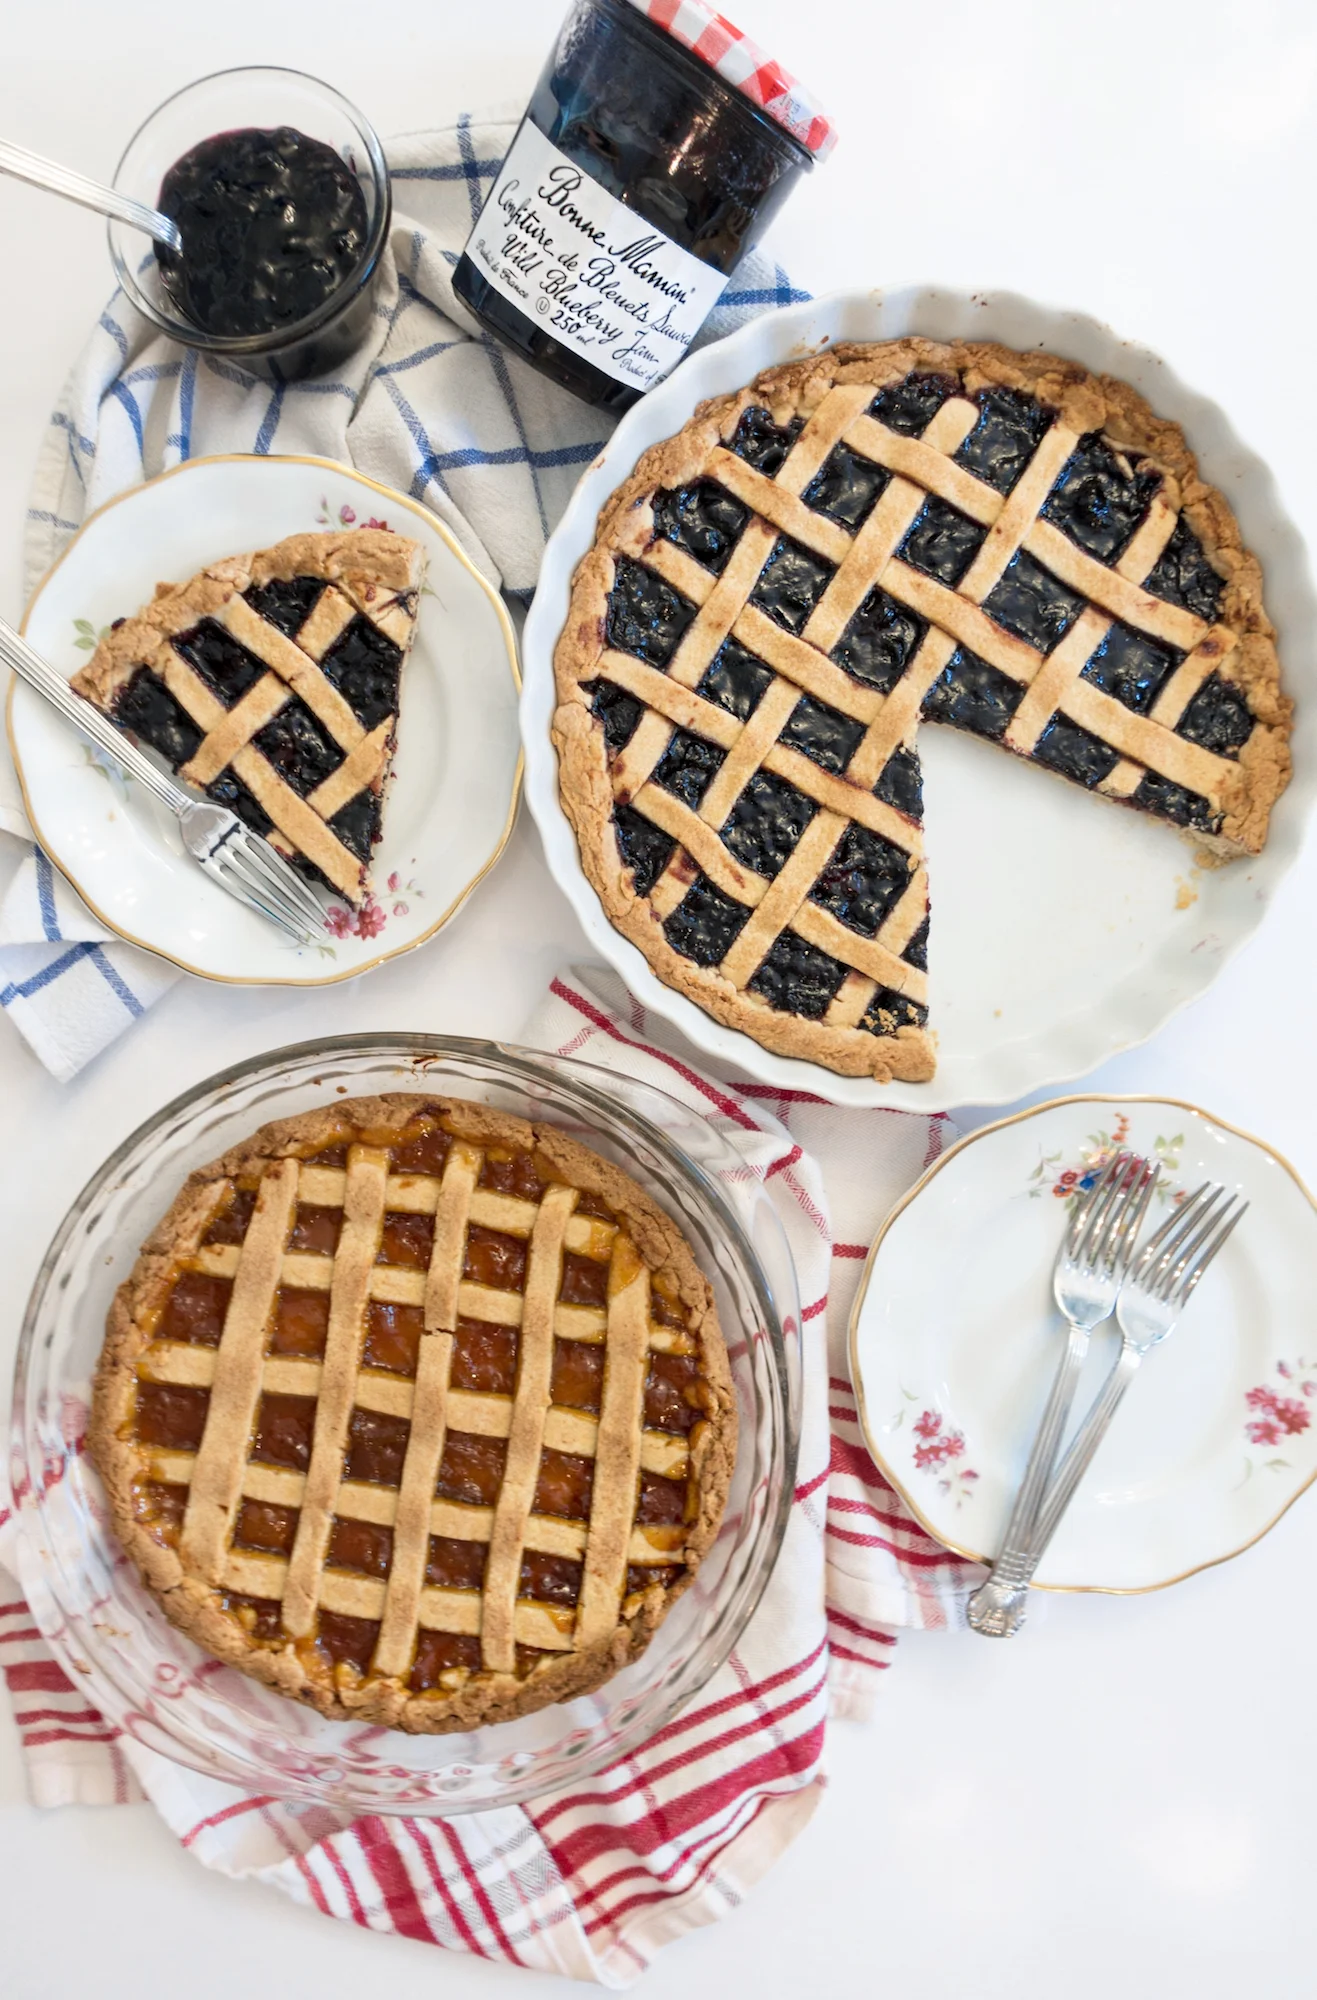
HERE ARE SOME OTHER PASTA RECIPES YOU MAY ALSO ENJOY!


DIRECTIONS:

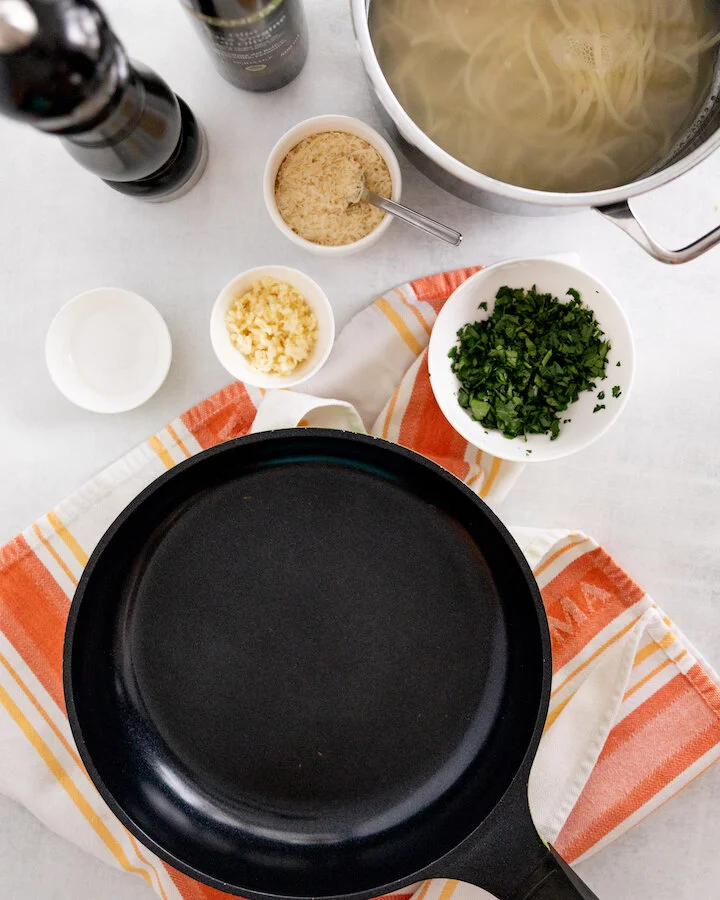
Melt the butter down in a deep skillet on medium heat. Once the butter is melted and hot add in the chunks of pancetta or minced ham, tossing it in the butter and allowing it to cook until it becomes crispy.

Once the pancetta or ham is crispy add in your cup of vodka. It will create some more heat and steam but don't worry all the alcohol will burn out. This helps all the flavor from the ham that stuck to the bottom of the skillet to be transferred back into the flavors of the sauce later. Scrape the bottom of the skillet with a wooden spoon to help them along. Let this cook down until there is only a little bit of moisture left. Take your time.

Next, add in the tomato sauce (whether homemade or bought from the store you want the most basic Pomodoro kind). This will add in a lot of liquid to your sauce so make sure you boil this down as well so that a lot of the water evaporates and you are left with a nice thick sauce. About 20-30 minutes.

If you want your sauce to be a little bit spicy add in your chili peppers now and let them cook into your sauce. Sprinkle and stir. You can also add in some Salt and Pepper now to your taste.

Next, add in your cream. First, about a 1/2 cup stirring the whole time than a 1/4 cup until you get the perfect red/orange color. You can taste it as you go to see if you want more cream. To help thicken the sauce up shave about a cup of parmesan down and add it into the sauce, stir it in. Let the water cook out of this while you start cooking the penne pasta in a pot. Some people also like to use a hand blender and blend the sauce at this point so that the small bits of pancetta/ham become undetectable and the sauce is extra smooth in texture.

Boil water for the pasta adding about 1-1.5 TBSP of salt to the water once it boils. Add in pasta and let it cook till it is al dente.

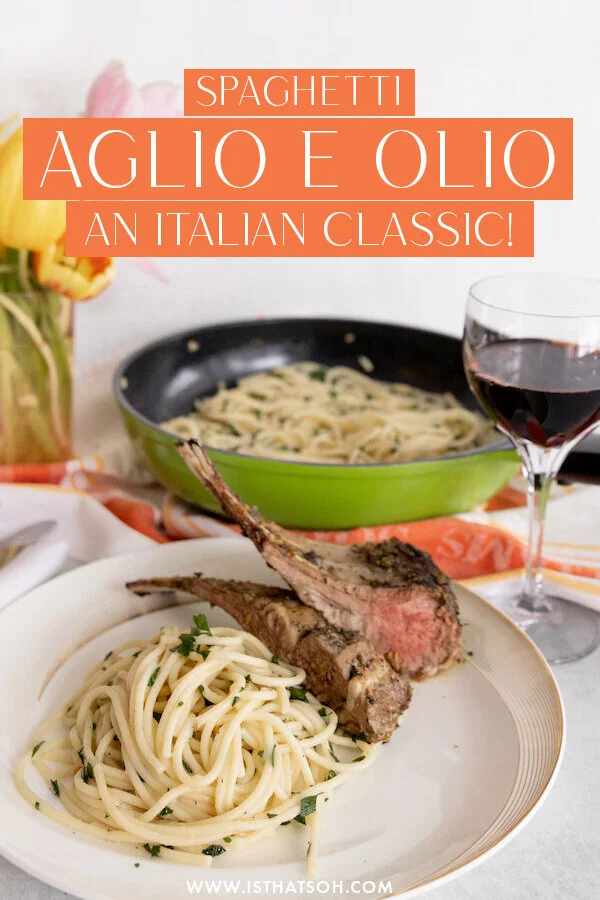
Now you should be ready to serve the sauce with the pasta. You can either mix it together or spoon some sauce on top of a plate of pasta. Garnish with more parmesan cheese and a slice of baguette.


FOLLOW ME ON INSTAGRAM @ISTHATSOH


I hope you enjoy this authentic penne alla vodka sauce recipe as much as I do! Please let me know your thoughts and comments below I’d love to hear from you! Happy cooking :)


PIN THIS POST

SHAMROCK MATCHA FUDGE

With spring now on the horizon I am looking forward to good weather and celebrating Easter and St. Patrick’s Day in March. To help me get in the festive spirit I decided to whip up some white chocolate fudge with a matcha dessert twist to help it not only turn green but become a perfect St. Patrick’s Day dessert. Although they are as delicious and can easily be cut into matcha squares, I decided to take the theme a little further using my little shamrock cookie cutter to achieve these adorable shamrock match fudge morsels. If you are a matcha lover or looking for new ways to use Matcha powder, you are going to love this St. Patrick’s Day Recipe. But don’t take my word for it, try for yourself. Enjoy!

* Please Note - Some links in this post may be affiliate links *

INGREDIENTS:

Apx 16 Shamrocks

3/4 CUP of Condensed Milk
1.5-2 TBSP of Powdered Matcha - depending on how strong you want the matcha flavour
14 oz White Chocolate
1/2 TSP of Salt
1 TSP of Vanilla Extract
1 TBSP of Matcha for decorative dusting at the end

You will also need:
1.5 Inch Shamrock Cookie Cutter
8x8 Baking Pan
Parchment Paper
A Fine Sifter
Spatula


OTHER NOTEWORTHY DESSERT RECIPES


DIRECTIONS:

Pour condensed milk into a bowl and sift in your matcha.

Using a double boiling method, stir the matcha into the condensed milk until it is well incorporated on a medium low heat.

Next, add in the white chocolate and continue to double boil until it has melted completely and is well mixed.

Next, add in your salt and vanilla, stir.

Pour mixture into lined baking pan and store at room temperature for 15 minutes before moving to the fridge for an additional 3 hours.

When fully cooled, cut out shamrock shapes using your cookie cutter and place on a non stick surface.

Sprinkle with more sifted matcha.

Store in fridge until you are ready to eat.

Enjoy!

These can be packaged and left in the freezer for a month.


FOLLOW ME ON INSTAGRAM @ISTHATSOH


I hope you enjoyed this recipe as much as I do. If you have any comments please leave them below and I'll be happy to answer them as soon as I can! Happy cooking!!!


PIN THIS POST

SPAGHETTI AGLIO E OLIO - A SIMPLE ITALIAN CLASSIC

Leave it to the Italians to create an incredibly flavourful pasta dish using only a few inexpensive ingredients! This absolute classic is one of my all-time favs and takes less than 10 minutes to whip up. In my household, we like to serve it alongside meat dishes like my mom’s coveted rack of lamb recipe or occasionally by itself with a few added shrimp on top! If you are looking for a quick, student-friendly pasta dish to whip up or something to add to a protein as a side, you can’t go wrong with a simple yet flavorful dish like this one!

* Please Note - Some links in this post may be affiliate links *

INGREDIENTS:

Serves 4 People

2 TBSP of Olive Oil
4 Cloves of Garlic - Minced
1 Pack of Spaghetti - cooked al dente
Italian Parsley - Roughly Chopped
Parmesan Cheese - Grated
Salt and Pepper

You can also add chilli flakes to make it a little spicy or a few shrimp!


CHECK OUT THESE OTHER DELICIOUS ITALIAN RECIPES


DIRECTIONS:

Bring water to a boil on the stove, salt, and cook your pasta.

When pasta is almost ready, heat up your olive oil on medium heat in a large skillet. When hot, add in your garlic and cook for 2-3 minutes. If you like a little spice, feel free to add in some chili peppers too.

Once garlic is fragrant, add in your cooked pasta, sprinkle on some grated parmesan, and some roughly chopped parsley.

Salt and pepper to taste and serve with more parmesan on the side.

Enjoy!


FOLLOW ME ON INSTAGRAM @ISTHATSOH


I hope you enjoyed this recipe as much as I do. If you have any comments please leave them below and I'll be happy to answer them as soon as I can! Happy cooking!!!


PIN THIS POST

CHOCOLATE RICE KRISPIE TREATS FOR VALENTINE'S DAY

If you are looking for a fun Valentine’s Day recipe that is not only adorable but easy and fun to make, I highly recommend trying this chocolate rice krispie treats recipe!

When it comes to the best rice krispie treats recipe this one takes the cake because they are so incredibly soft and chewy! Of course, the steps for this recipe are the same for regular rice krispie squares but I thought using a heart cookie cutter would be a great fit for Valentine’s Day. This recipe for chocolate rice krispies will have you reminiscing about childhood bake sales and exchanging Valentine’s day cards with friends. Speaking of exchanging, they are also super fun to decorate and make a great gift so my advice is to double the recipe and giving a few away! Enjoy!

* Please Note - Some links in this post may be affiliate links *

INGREDIENTS:

Makes Apx 12 Hearts

1/2 CUP of Unsalted Butter
5 Cups of Marshmallows - separated into two portions - 1 of 4 Cups and 1 of 1 Cup.
6 Cups of Rice Krispies Cereal
1.5 TSP of Vanilla Extract
2.5 CUPS of White Chocolate Wafers
Pink Food Colouring

You Will Also Need:
Heart-Shaped Cookie Cutter
Baking Tray
Wax Paper


CHECK OUT THESE OTHER FUN VALENTINE’S DAY RECIPES


DIRECTIONS:

In a large sauce pan melt the butter on medium heat.

Once melted add in 4 cups of marshmallows and reduce heat to low. Continue stirring until completely melted.

Next, remove melted marshmallow and butter mixture from heat and add to large bowl with the Rice Krispie cereal, remaining marshmallows and vanilla extract. Mix until well incorporated.

Using wax paper, line a baking tray and press the rice crispy into the baking tray creating an even thickness all round. Place the baking tray in the fridge for 20 min to cool before removing and cutting out heart shapes using a heart shaped cookie cutter. Place the hearts on a wax paper lined baking sheet. NOTE: You can take the remainder of the mixture that you were not able to use and press it into the heart shaped cookie cutter to create 1 or 2 more heart shapes so you don’t have to waste any of the precious mixture.

Using the ‘double boil’ method, melt the white chocolate wafers. Set 1/2 aside and add a ladybug size amount of pink food colouring to it. Stir well to turn the chocolate pink.

Dip each heart into either the white or pink chocolate until half the heart is submerged before placing it back on the baking sheet to dry. You can also use a fork or piping bag to create decorative patterns on top using alternating chocolate colours.

Store hearts in cool place until you are you are ready to enjoy.

chocolate rice crispy treats
)

FOLLOW ME ON INSTAGRAM @ISTHATSOH


I hope you enjoyed this chocolate rice krispie treats recipe as much as I do. If you have any comments or suggestions about how to make rice krispy treats please leave them below and I'll be happy to answer them as soon as I can! Happy baking!!!


PIN THIS POST

chocolate rice crispy treats

ROASTED POTATO TOWERS WITH THYME AND GOAT CHEESE!

When planning for a dinner party it’s important to make sure that whatever you are serving matches or has a progression. This recipe for roasted potato towers, although not complicated in terms of flavor profile, make a really appetizing side dish and pairs well with meats, pasta, and even some seafood dishes like scallops!

INGREDIENTS:

Makes 6 Servings

4-5 Yukon Potatoes - thinly sliced (about 1/8 inch thick)
7 TBSP Butter - melted
1 TBSP of Fresh Thyme - removed from stems
Coarse Salt and Cracked Pepper (to taste)
Goat Cheese

- Cooking Items-
Muffin Tin
Baking Tray
Aluminum Paper


CHECK OUT THESE OTHER DELICIOUS SIDE DISHES!


DIRECTIONS:

Preheat the over to 350 degrees.

Place the cut up potato slices into a large the bowl. Add the butter, thyme, salt, and pepper and mix together so the potatoes are well coated.

Take a muffin tray and butter the tray. In a circular motion start to stack the potatoes into tower form. TIP: Use the smaller pieces at the bottom of the muffin tray and the larger slices at the top.

Cover the tray with aluminum foil and bake in the oven for 30 minutes.

After 30 minutes take the cupcake tray out of the oven and turn the heat up to 450.

Next, we are going to flip the potato towers, aluminum foil and all, over onto a baking tray and remove the muffin tray. When you have successfully completed this step and fixed your towers so they stand up straight again (don’t worry it happens to all of us) place the tray back into the oven for an additional 15 minutes until they cook and become more crispy.

When they are nice and crispy take them out of the oven and add a dollop of goat cheese to the top (or if you want them to be really pretty pipe goat cheese onto them with an icing piper!), followed by a small piece of thyme for garnish.

Serve while hot!

Enjoy!


I hope you enjoyed this recipe as much as I do. If you have any comments please leave them below and I'll be happy to answer them as soon as I can! Happy cooking!!!


FOLLOW ME ON INSTAGRAM @ISTHATSOH


PIN THIS POST

Potato Towers.jpg