PENNE ALLA VODKA - AN AUTHENTIC VODKA SAUCE RECIPE

This authentic vodka sauce recipe is one of my all-time favorite pasta dishes and one of my most frequently asked for. People just love it, especially in the winter when the warmth and spiciness of this dish balance out the weather outside. Jam-packed full of carbs and comfort this dish definitely gives you the energy your body needs to stay warm all year round. All that aside though, it is a classic Italian vodka sauce recipe you can easily tweak to your desired spice level! First time cooking with vodka? Don’t worry, all alcohol in the vodka does evaporate during the cooking process while the vodka helps detach all the juicy pork flavor from the bottom of the skillet to ensure the most flavorful sauce you can possibly get! Enjoy!

INGREDIENTS:

SERVES 4-5
10 Min Prep, 50 min Cooking Time

1 Pack of Penne Pasta (Usually feeds 4-5)
1-1.5 650ml Bottles of Tomato Sauce (basic Pomodoro or tomato & basil)
1 TBSP of Butter (Salted
1 Cup of Vodka
200-300grams Of Pancetta or Black Forest Ham (chopped finely - almost minced)
1 TSP of Chili Flakes (optional)
1 Medium box of 35% Whipping cream
Parmesan Cheese (1 Cup Shaved and 1 Cup for garnish)
Salt and Pepper to Taste
Baguette (optional)


HERE ARE SOME OTHER PASTA RECIPES YOU MAY ALSO ENJOY!


DIRECTIONS:

Melt the butter down in a deep skillet on medium heat. Once the butter is melted and hot add in the chunks of pancetta or minced ham, tossing it in the butter and allowing it to cook until it becomes crispy.

Once the pancetta or ham is crispy add in your cup of vodka. It will create some more heat and steam but don't worry all the alcohol will burn out. This helps all the flavor from the ham that stuck to the bottom of the skillet to be transferred back into the flavors of the sauce later. Scrape the bottom of the skillet with a wooden spoon to help them along. Let this cook down until there is only a little bit of moisture left. Take your time.

Next, add in the tomato sauce (whether homemade or bought from the store you want the most basic Pomodoro kind). This will add in a lot of liquid to your sauce so make sure you boil this down as well so that a lot of the water evaporates and you are left with a nice thick sauce. About 20-30 minutes.

If you want your sauce to be a little bit spicy add in your chili peppers now and let them cook into your sauce. Sprinkle and stir. You can also add in some Salt and Pepper now to your taste.

Next, add in your cream. First, about a 1/2 cup stirring the whole time than a 1/4 cup until you get the perfect red/orange color. You can taste it as you go to see if you want more cream. To help thicken the sauce up shave about a cup of parmesan down and add it into the sauce, stir it in. Let the water cook out of this while you start cooking the penne pasta in a pot. Some people also like to use a hand blender and blend the sauce at this point so that the small bits of pancetta/ham become undetectable and the sauce is extra smooth in texture.

Boil water for the pasta adding about 1-1.5 TBSP of salt to the water once it boils. Add in pasta and let it cook till it is al dente.

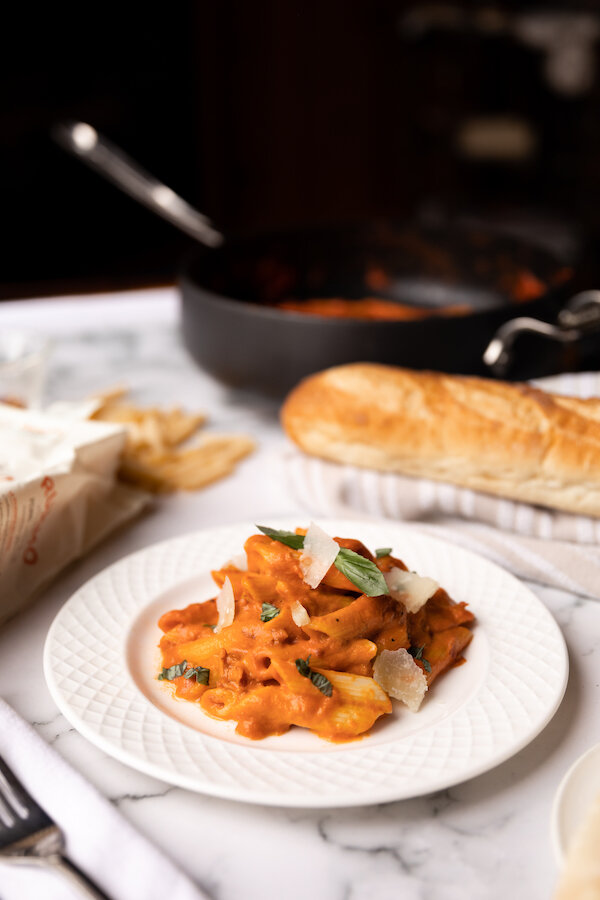
Now you should be ready to serve the sauce with the pasta. You can either mix it together or spoon some sauce on top of a plate of pasta. Garnish with more parmesan cheese and a slice of baguette.


FOLLOW ME ON INSTAGRAM @ISTHATSOH


I hope you enjoy this authentic penne alla vodka sauce recipe as much as I do! Please let me know your thoughts and comments below I’d love to hear from you! Happy cooking :)


PIN THIS POST

HOMEMADE PEROGIES FROM SCRATCH!

“Food is our common ground, a universal experience.” –James Beard

Life hasn’t been all sunshine and rainbows lately. I know this global pandemic raging over the world has taken away everyone’s ability to move freely and enjoy the comforts we once took for granted, dining out included. For me personally, I feel like I am in a constant state of limbo unsure of what the future may hold or when self-isolation and social distancing will end. Turning to comfort foods that both keeps my mind busy and nourish my soul has been a great escape from this new reality.

Perogies for me are one of those comfort foods that take time and patience to prepare but always manages to soothe the mind and soul. They are also great if you want to batch make something to keep in your fridge so you can enjoy them over the course of a week or want something relatively inexpensive to give to someone in need. During this time we must all be a little bit kinder to ourselves and to others, and giving someone a home-cooked meal is a great way to show you still care even when you can’t be there physically. Whatever your purpose for making them, I hope they bring you the same happiness and enjoyment as they have brought me. Stay well!

INGREDIENTS:

Serving: 6 People @ 5 Perogies Each,

- Cheese and Potato Perogies: Filling-
1 1/2 LBS of Russet Potatoes (typically around 2-3 potatoes should suffice) - peeled and chopped into 1-inch squares
2 TSP of Olive Oil
1/2 a CUP of Onion (diced)
1 Clove of Garlic (minced)
1/2 CUPS of Cream Cheese
1/2 TSP of Salt
Pepper to taste

- Dough For Perogies -
2 1/2 CUPS of All-Purpose Flour
1/2 TSP of salt
1/4 CUP of Sour Cream
1 Egg
2/3 CUP of water

-What To Serve With Perogies - Optional Toppings -
Bacon
Chives
Sourcream
Caramelized Onion


CRAVING COMFORT FOOD? CHECK OUT THESE OTHER RECIPES!


HOW TO MAKE PEROGIES:

First, we need to make the filling.

Put your cut up potatoes in a pot with lukewarm water, add salt and bring to a boil.

In a pan, drizzle a little bit of olive oil and allow it to heat up on medium. Once hot, add in your chopped onions and allow them to cook until they become translucent. This may take 3-5 minutes and you may want to reduce the heat to ensure they don’t burn.

Add in your garlic to the onions when they are close to being done (garlic cooks faster than onion).

Once the potatoes are ready, strain the water out and place the cooked potato back in the pot before starting to mashing them into a smooth texture. To help you make them creamier, add in your cream cheese.

When onions and garlic are ready, add them to the potato pot as well, mix until well incorporated, salt and pepper to taste, and set aside to cool down to room temperature.

Dough For Perogies

Next, we need to make the dough.

Add flour and salt into a large bowl and mix until well combined.

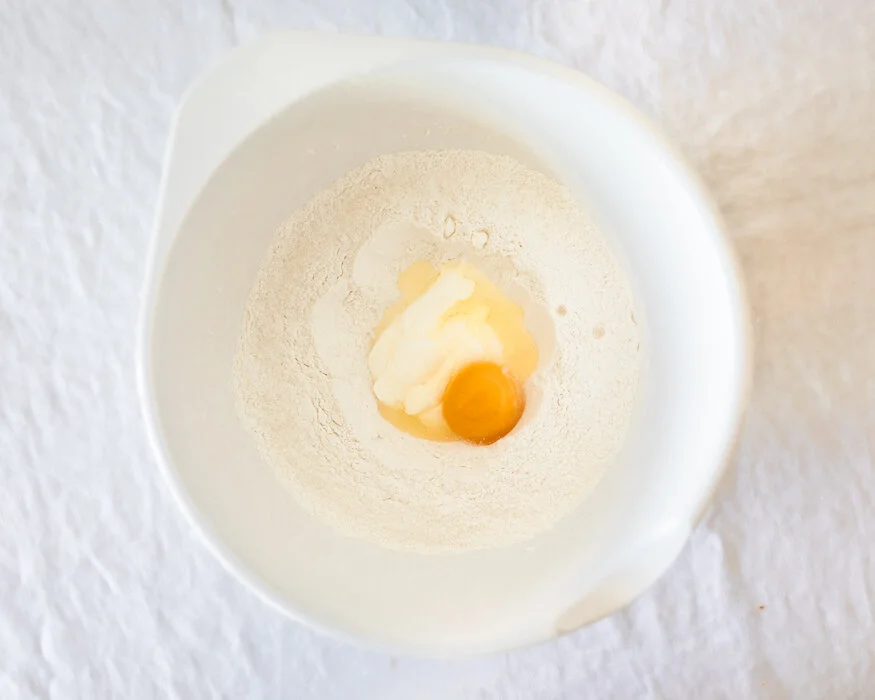
Make a well in the middle and add in your eggs, water, and sour cream. Using a fork or spoon start to mix it together starting from the inner circle and working your way toward the outer edges. You may need to eventually switch to using your hands.

Once the dough starts to form, use a countertop to knead it till it isn’t powdery and has a smooth texture. Place dough back in the bowl, cover with a cloth and let sit for 10 minutes.

After 10 minutes, flour a working station and roll out 1/3 of the dough till it is 1/8’ in thickness. Cut out circles using a circle cookie cutter with a 4’ diameter. You can also use a lip of a cup as a stencil and a pizza cutter if you don’t have a circle cookie cutter! Feel free to get creative! If you don’t have a 4’ wide diameter cup you can always roll out the dough a little thicker, use a 3’ wide diameter cup and then roll them out a little thinner after to spread out the dough wider. It doesn’t have to be perfect.

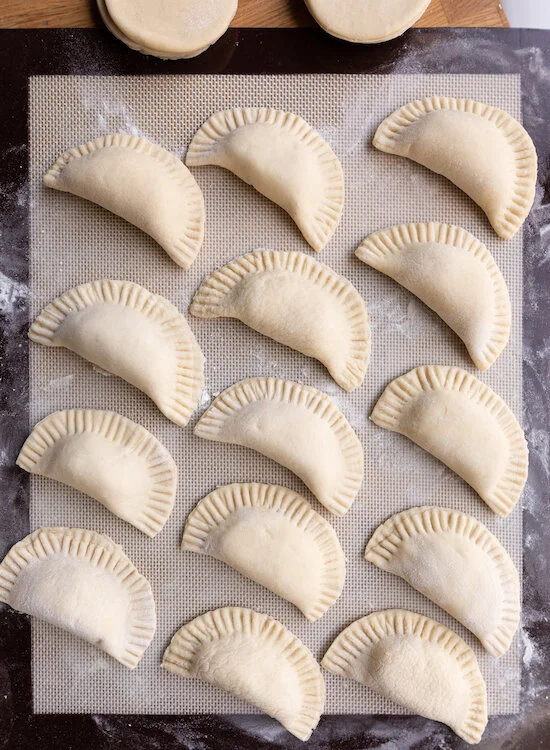
Set dough pancakes aside on a floured surface and cover with a cloth. Once you have a few cut out, fill the middle with about a tablespoon of the mashed potato filling and fold the dough over, pinching the sides to create a seal. If the seal doesn’t hold use a little water along the edge to help. Secure the seal by pressing the prongs of a fork along the dumpling edge and making indents into the dough.

How To Cook Perogies & How Long To Boil Perogies

Once you have a few complete, boil a pot of water. Once boiled, add salt and drop in 3-4 dumplings. You will need to stir the water at first so they don’t stick together. Eventually, after 3-5 minutes the Perogies, will float to the surface of the water, when that happens, allow them to cook for an additional 30-45 seconds before taking them out of the water and setting them aside on an oiled tray or casserole dish. As you add more cooked perogies to the oiled tray or casserole dish, make sure they are covered in olive oil to avoid them sticking to one another. You can store them like this for a few days in the fridge if you don’t want to eat them right away.

I like my perogies fried so typically I will heat up some butter in a pan on medium and once hot, place a few of these finished, pre boiled perogies in the plan flipping them as they become nicely browned. When ready, remove them from the pan, add a dollop of sour cream, chives, and bacon bits and serve!

Pierogies in Air Fryer

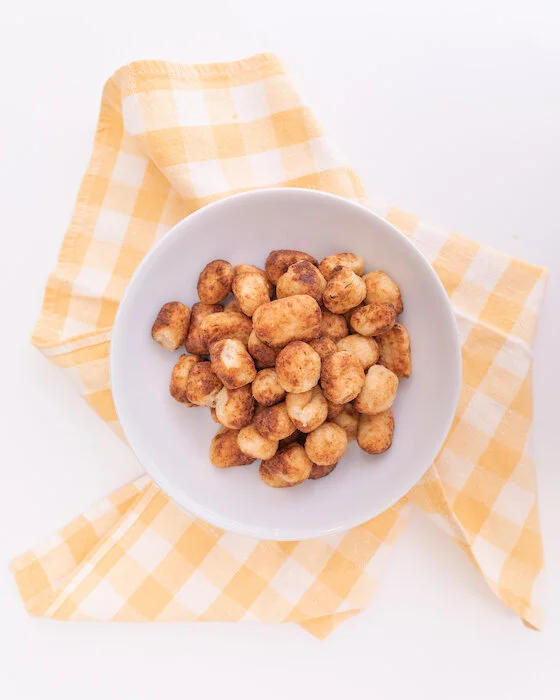
You can also air fry pierogies in an air fryer if you have one! It usually only takes 4-5 minutes to get them crispy and golden brown but I have found that each air fryer I have tried them with is a little different so just keep an eye on them. Typically 4-5 minutes though is good!

Enjoy!


FOLLOW ME ON INSTAGRAM @ISTHATSOH


If you like this recipe for perogies with bacon or have any comments/questions about how to make homemade perogies or suggestions as to what to serve with perogies, feel free to leave them in the comment section below!


PIN THIS POST

HOMEMADE PEROGIES FROM SCRATCH.jpg Perogies - how to make perogies, homemade perogies

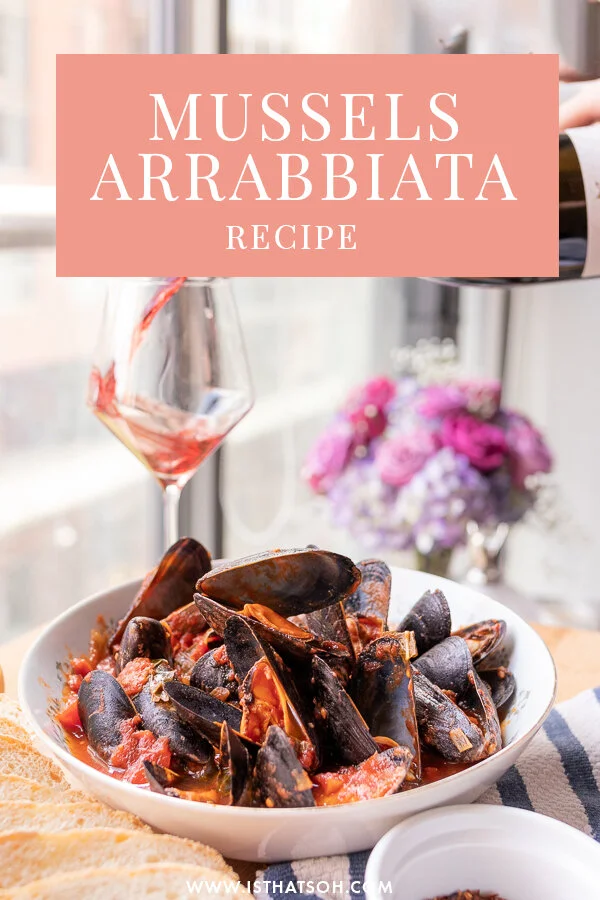
MUSSELS ARRABBIATA (SPICY TOMATO SAUCE)

One thing my brother-in-law and I have in common is our love for all-you-can eat mussels. When it comes to who can put down more bowls of mussels, I’ve got some stiff competition. Almost every time I go to visit him we always go to this restaurant that runs a ‘bottomless mussels’ special on Tuesdays and when they see us walk in they know, IT’S GOING DOWN!

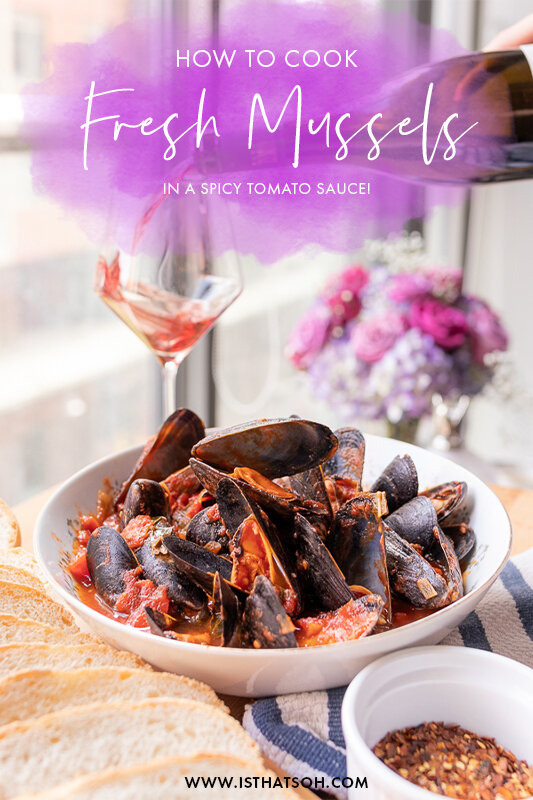
The last time I visited though, I suggested trying our hand at making mussels at home. At the time I had also been craving something with a spicy arrabbiata sauce and I thought the flavors would pair really nicely with mussels (very similar to mussels marinara). So why not hit two birds with one stone!? Dinner that night came together beautifully, and I loved how well my new mussel recipe turned out. Needless to say, there were ZERO leftovers and being a self-proclaimed ‘mussel connoisseur’ I’m definitely giving myself a pat-on-the-back for this one!

To all my seafood lovers out there, this one is for you!

Buon Appetito!

INGREDIENTS:

 Serves 2 People

-Seafood-
4 lbs of fresh mussels – rinse, scrub and debeard. (I usually buy extra because I know that some are going to be bad)

How to buy, store, and prep fresh mussels:

When buying fresh mussels, make sure to smell them - they SHOULD NOT have a strong odor! You also want the shells to be shut. Since mussels are alive if you bang the shells or apply pressure and close them yourself, if they are indeed alive, they should shut or remain shut. If they open once again right away it means that they are weak/not fresh, so don’t buy those. Make sure to store your mussels in the fridge, they need air to breathe so don’t use a sealed container, instead place a damp cloth over them like a napkin or paper towel to provide further moisture. Before you are ready to use them make sure to rinse the shells, remove the beards or hairy bits, and scrub away any debris off the shells.

-Arrabbiata Sauce-
3 tbsp of olive oil
1 small sweet onion - chopped finely
2 cloves of garlic - minced
1-2 dashes of hot chili flakes (as desired)
2 800g (28oz) cans of peeled tomatoes (Roma / San Marzano)
2 tbsp of fresh basil, chopped roughly
Salt and Pepper to Taste

-Toppings-
Fresh Italian Basil

-Extras-
Baguette


LOVE SEAFOOD? CHECK OUT THESE OTHER SEAFOOD RECIPES!


HOW TO MAKE MUSSELS ARRABIATA:


In a deep skillet or Dutch oven, add olive oil and let it heat up on low to medium heat.

Once hot add onion to skillet and let sweat for 3-5 minutes. Add garlic and continue to simmer, stirring occasionally.

Once onion and garlic are translucent add in your chili flakes and continue to cook, 1-2 minutes.

Next, add in your roughly chopped fresh basil and both cans of tomatoes. Chop up any large tomato bits.

Add salt and pepper and mix thoroughly before covering and simmer at a low temperature for 30 minutes, stirring periodically. After 15 minutes add more salt and pepper to desired taste, if needed, then cover and let the sauce continue to simmer.

Place mussels in the skillet or Dutch oven and mix until fully coated in the simmering sauce. Cover and allow mussels to open/cook for 3-5 more minutes

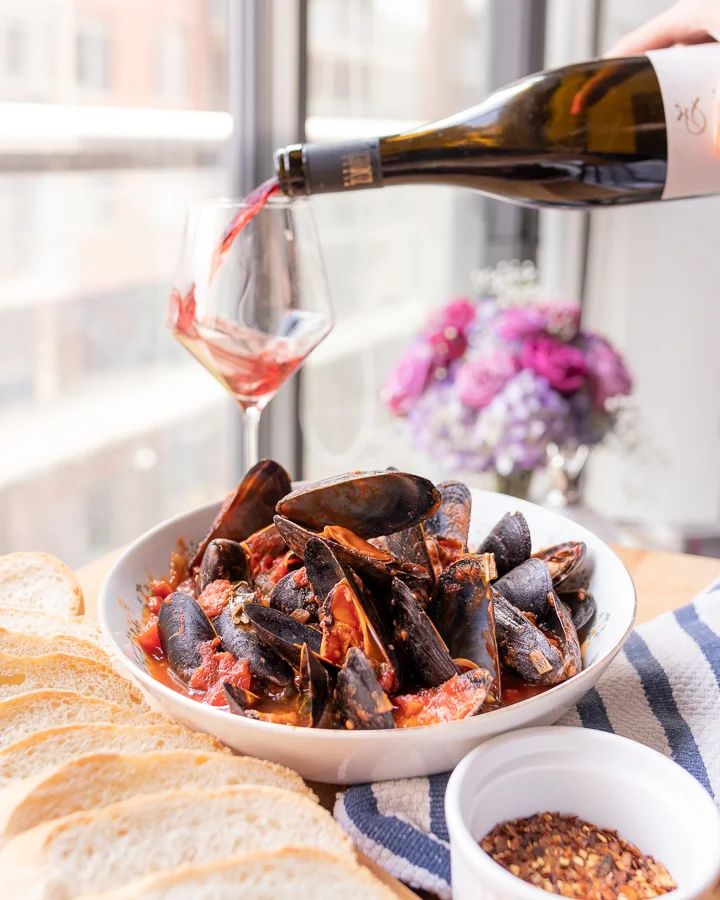
Once all the mussels appear to be open and cooked, place in a bowl, garnish with fresh basil and serve!

Enjoy!


FOLLOW ME ON INSTAGRAM @ISTHATSOH!


If you like this fresh mussels recipe or have any comments/questions about how to cook mussels, feel free to leave them in the comment section below!


PIN THIS POST

VEGAN PUMPKIN SOUP WITH @INSPIREDBYNICK!

Oh Hello There!

Welcome back to my blog!

I know it’s been a hot minute since I have posted anything on the ‘Food and Drink’ section of Soheila Online, but let me assure you that this was completely intentional. As I grow my brand I am also evolving and changing the direction of certain aspects of my blog. And although I love food (I mean, this girl loves to eat!) I wasn’t sure if recipe posts were where I wanted to concentrate my time and efforts. That doesn’t mean I won’t be sharing pretty food pictures with you anymore! It just means, instead of focusing my efforts on sharing my recipes, I want to share my food experiences with you in a different way - like through collaborations with my favourite food influencers!

So in the spirit of new beginnings I am back on the blog today to share a little festive autumn collaboration with my dear friend @Inspiredbynick! If you are guys are not familiar with Nick Joly he is a vegan food blogger based in Toronto that aims to promote healthier lifestyle habits and delicious vegan recipes. If you aren’t following him on Instagram already I definitely recommend you do!

@InspiredByNick and I at Downey’s Farm

@InspiredByNick and I at Downey’s Farm

Nick and I first met a couple months ago through our mutual friend Krystle (@dineandfash) and really hit it off. Since our first introduction over lunch at Cubano Restaurant I have been following Nick’s progress and really admire his positive attitude, health lifestyle habits, all round hustle, and drool-worthy vegan food pics! That is why a couple week ago I asked Nick if he wanted to collaborate with me on a little project I was planning for fall.

Usually not the biggest fan of letting go of summer, this year I wanted to embrace autumn by celebrating its cuteness in all its glory. For me this meant a little content creation road trip up to the pumpkin patch would need to happen, and I knew Nick would be the best partner in crime to collaborate with. So off we went to Downey’s farm in Caledon (a short 45 min drive from downtown Toronto).

Our plan for the collaboration was to go early, take a couple lifestyle photos, grab some picture perfect pumpkins, head back to Nick’s house to make a vegan recipe he had in mind, and style some Pinterest worthy photos. We were so prepared for our little road trip and for our food styling and pumpkin patch photos session that everything went off without a hitch. Nick had purchased mini pumpkins and ingredients ahead of time and I showed up with a red wagon (the perfect pumpkin patch photo prop) and a bag full of dollar store decorations for food styling. Together we took some super cute photos and created perfect autumn themed content. 

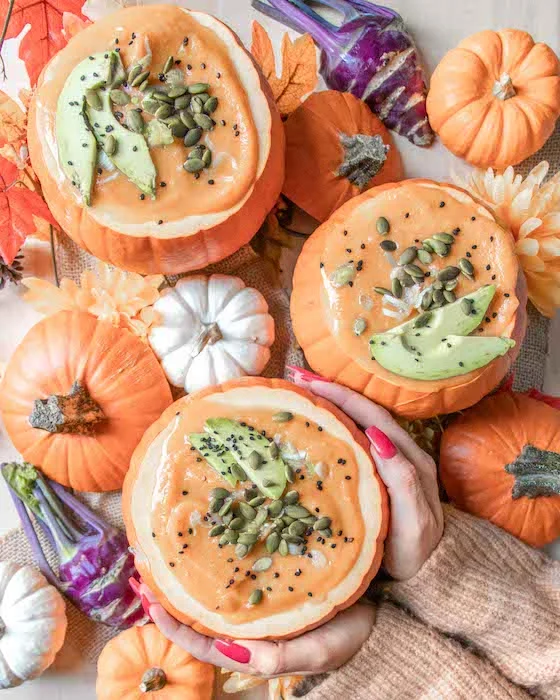
Nick of course being the master cook in this collaboration has shared the recipe to the Vegan Pumpkin Soup we (but really he - I just played with the dogs) made -> http://bit.ly/2CC1ATS on his blog while I get to share the cute pictures of us from the pumpkin patch with you here. Although I won’t be posting as many recipes anymore I really feel like there are so many talented foodies out there like Nick who’s Instagram could benefit a lot of people and instill more positive habits in everyone’s life - vegan or not. That is why I wanted to collaborate with Nick on my first post back and share his amazing platform with you as a way to find inspiration and positive reinforcement for your everyday life. Food after all is ment to be shared and Nick just does it so well!


I hope you enjoyed this recipe as much as I do. If you have any comments please leave them below and I'll be happy to answer them as soon as I can! Happy cooking!!!


PIN THIS POST

TASTE OF TORONTO RETURNS TO FORT YORK (JUNE 15-18)

Me last year at Taste of Toronto!

Me last year at Taste of Toronto!

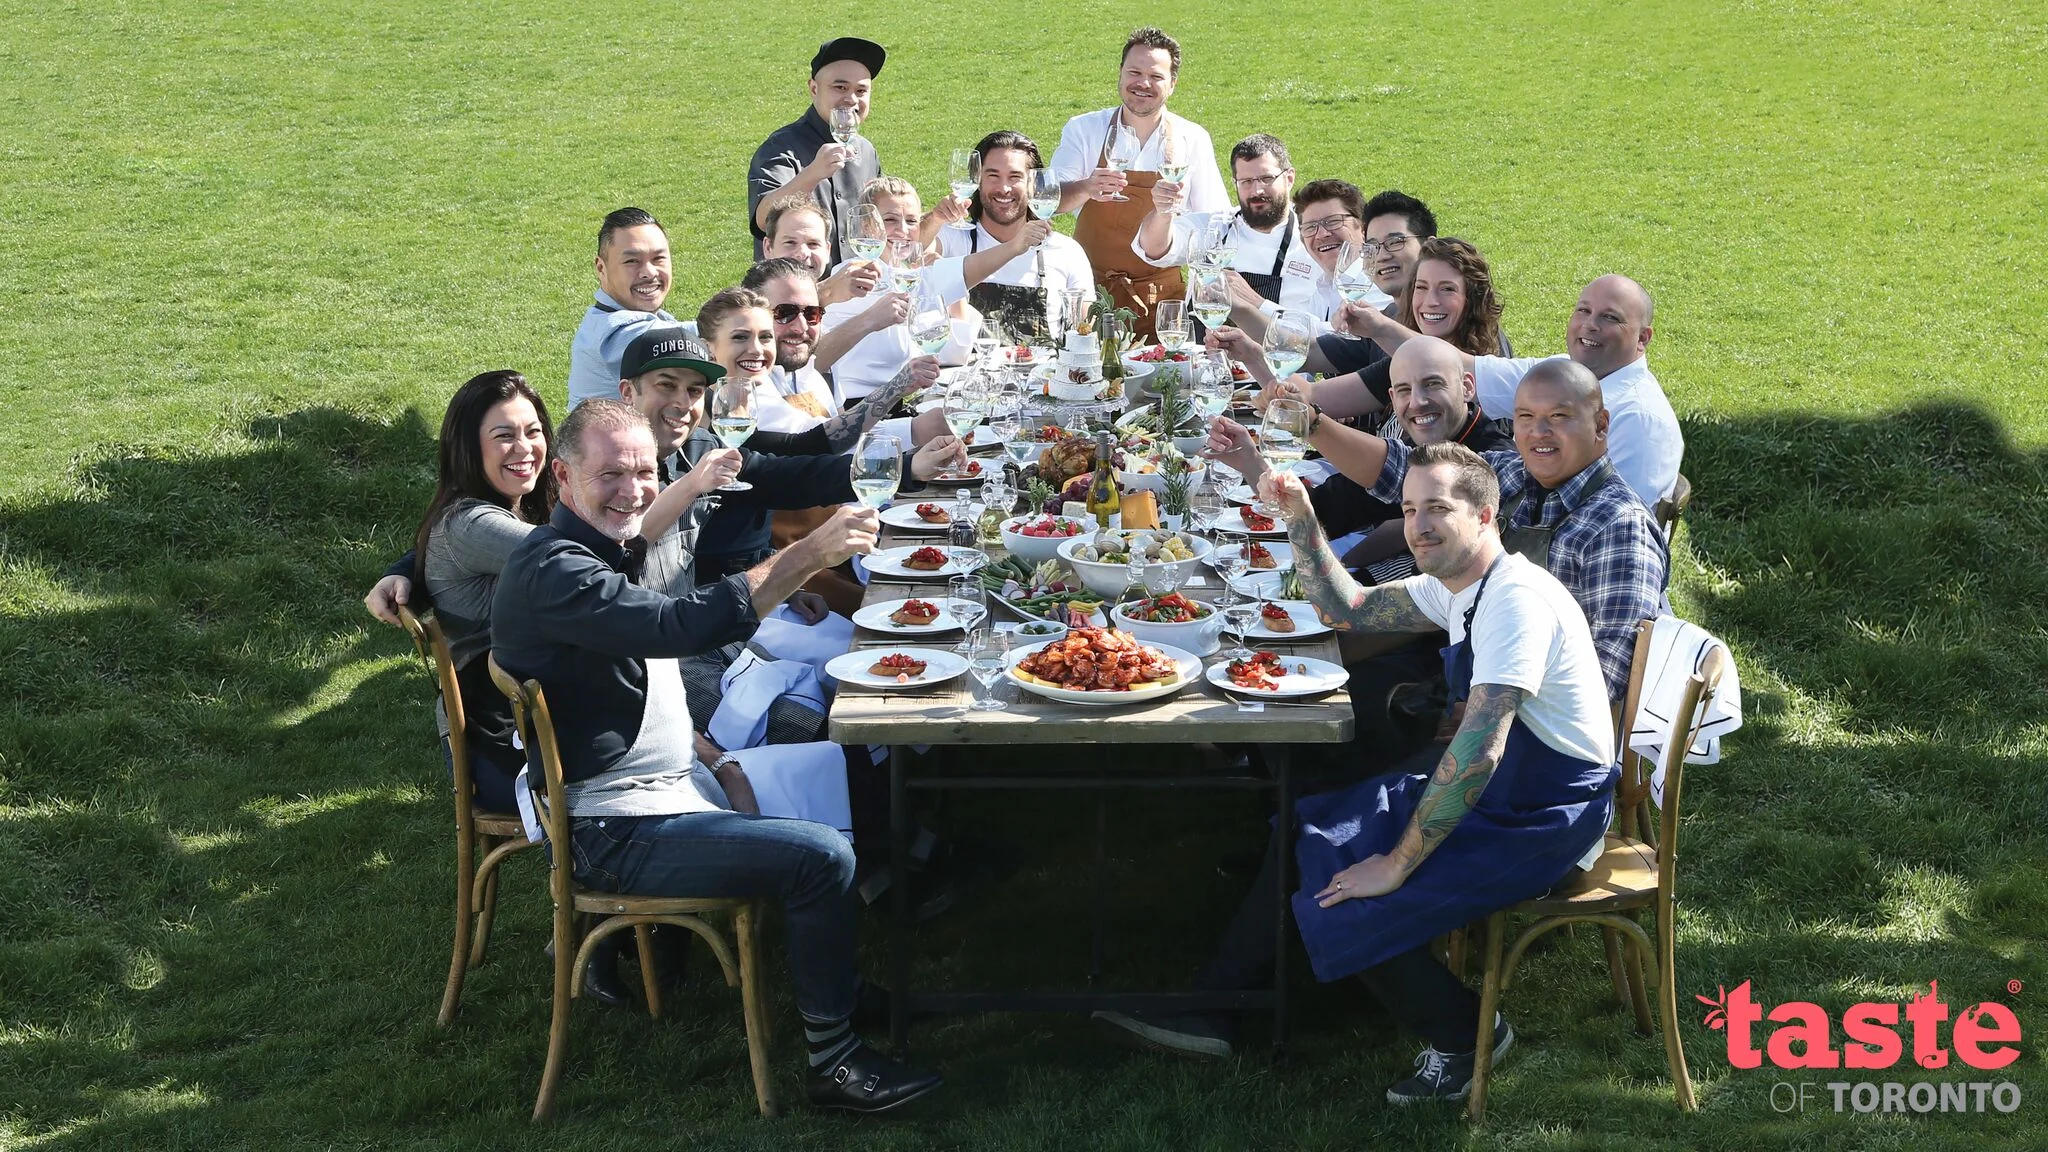
Toronto is officially buzzing with activities now that summer is here! With the warm weather comes numerous events and festivals in and around the city and so I wanted to share one of my favourite events of the summer with you, Taste of Toronto! Can you feel your inner foodie getting excited already!?

If you have never been to Taste of Toronto it is one of Toronto’s biggest annual food festivals and this year they are going all out for Canada’s 150! For the 4th edition of Taste of Toronto the festival will return to Garrison Common at Fort York and featuring only the best of the best of Toronto’s chef! New addition to this years line up include Momofuku Noodle Bar, Bar Buca, Cafe Boulud, and Bar Isabel! Just like last year you do need to buy entry tickets for this event and pay for food once on the premises but in addition to the 100 taster sized dishes from 25 of Toronto’s top restaurant chefs there will also be cooking demos, interactive masterclasses sponsored by Metro (I did this last year it was so much fun), intimate Q&A’s with master chefs, mixology classes, and food and drink samples from over 60 exhibitors! With 6 sessions to choose from and a limited number of tickets per session I implore you to plan ahead with this festival because they can easily sell out!

Chefs you can expect to see:

Rob Bragagnolo from Carver and Camp Food Hall - Remember my Carver video?
Elia Herrera from Los Colibris
Trevor Lui from Kampai Snack Bar
Victor Berry from Piano Piano
Ivana Racafrom Raca Cafe & Bar
David Lee from Nota Bene
Carl Heinrich from Richmond Station
Ted Corrado and Alexandra Feswick from The Drake Hotel
Sonia Mondino from Pray Tell
Mark McEwan from The McEwan Group

TASTE OF TORONTO

Sessions:

So there are 6 sessions as mentioned which means a general admission ticket is only good for the session you choose - here are the times for each session.

Thursday June 15th - 5:30pm - 10:00pm
Friday June 16th - 11:30am - 4:00pm, 5:30pm - 10:00pm
Saturday June 17th - 11:30am - 4:00pm, 5:30pm - 10:00pm
Sunday June 18th- 12:00pm - 5:00pm

Tickets:

I will include the price for general admission tickets below but if you buy in bulk or a weekend pass I do believe they get cheaper!

Thursday and Friday $17.00 each
Saturday and Sunday $21.00 each
Youth $10.00 each

CLICK HERE TO BUY TICKETS

****Please note that Cash will not be accepted to purchase food only Credit Cards and Debit Cards

So this year they are doing some things a little different. Last year they had these cards you had to fill up with ‘crowns’ which essentially would be used to purchase those tasty bites. This year things are changing and you will no longer need to get the card but instead pay at each vendor using your credit or debit cards (cash will not be accepted).

Are you as exited as I am? Im probably going to be there everyday so come say ‘HI!” if you spot me and cheers to the freakin' weekend!

The Calamari Po'Boy with a Black Sesame Bun from Mark McEwan at last years Taste of Toronto

The Calamari Po'Boy with a Black Sesame Bun from Mark McEwan at last years Taste of Toronto