ESPRESSO MARTINI'S - AN EASY COCKTAIL RECIPE FOR COFFEE LOVERS

Espresso Martini’s - An Easy Cocktail Recipe for Coffee Lovers

Last weekend my little at-home-bar got a BIG upgrade with the addition of a new Nespresso Vertuo Next Espresso Machine! I was so excited about my new addition that I couldn’t wait to shake up some coffee cocktails and since (N)espresso Martini are one of my all time faves, I thought I’d share a little tutorial with you!

Legend has it that the espresso martini originated in London, England when a young future supermodel walked into a famous Soho Brasserie in 1983 and asked bartender Dick Bradsell to make her something that would ‘wake her up and then fuck her up’. He mixed her a drink using vodka, coffee liqueur and a shot of espresso, and that is how the espresso martini came to be!

Today, espresso martini’s are very popular especially as a digestive after a big meal and although originally made with coffee liqueur, I have also seen menus showcasing espresso martini's with Baileys and even Tia Maria espresso martini’s! I prefer my espresso martini’s with Kahlua but no matter your preference, the steps are always the same so I thought I’d share this simple cocktail recipe with you along with a quick tutorial video I made below!

Enjoy!

* Please Note - Some links in this post may be affiliate links *

ESPRESSO MARTINI INGREDIENTS:

Makes 1 cocktail


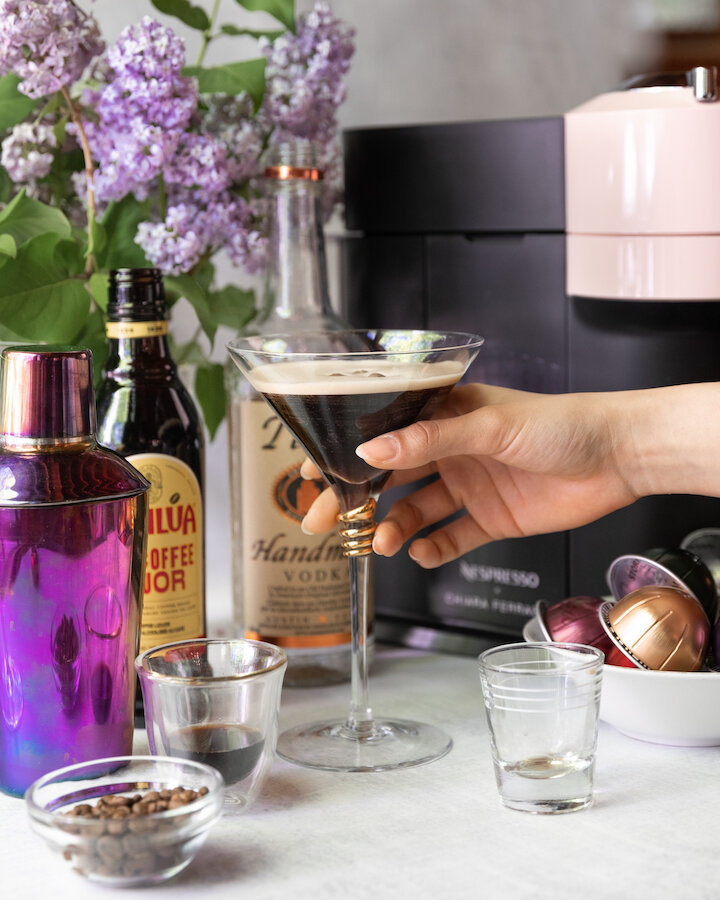
3/4 oz of Espresso (I used my Nespresso Vertuo Next machine)
3/4 oz of Kahlua Coffee Liquor (you can also use Baileys or Tia Maria if you don’t have Kahlua or want to try something different)
1.5 oz of Vodka
Ice
A few whole coffee beans for garnish

You will also need a cocktail shaker and espresso martini glasses!


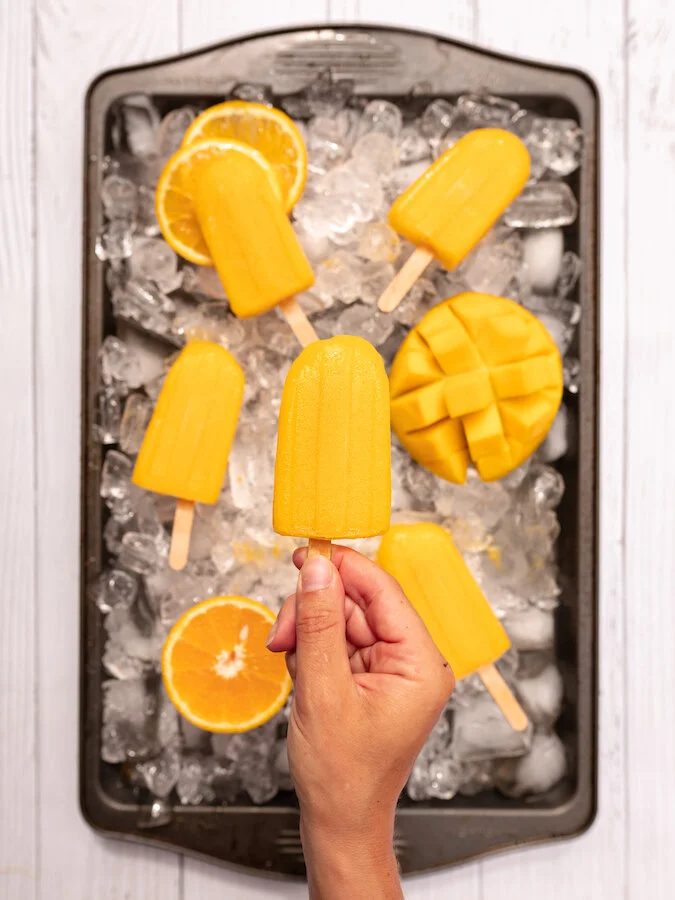
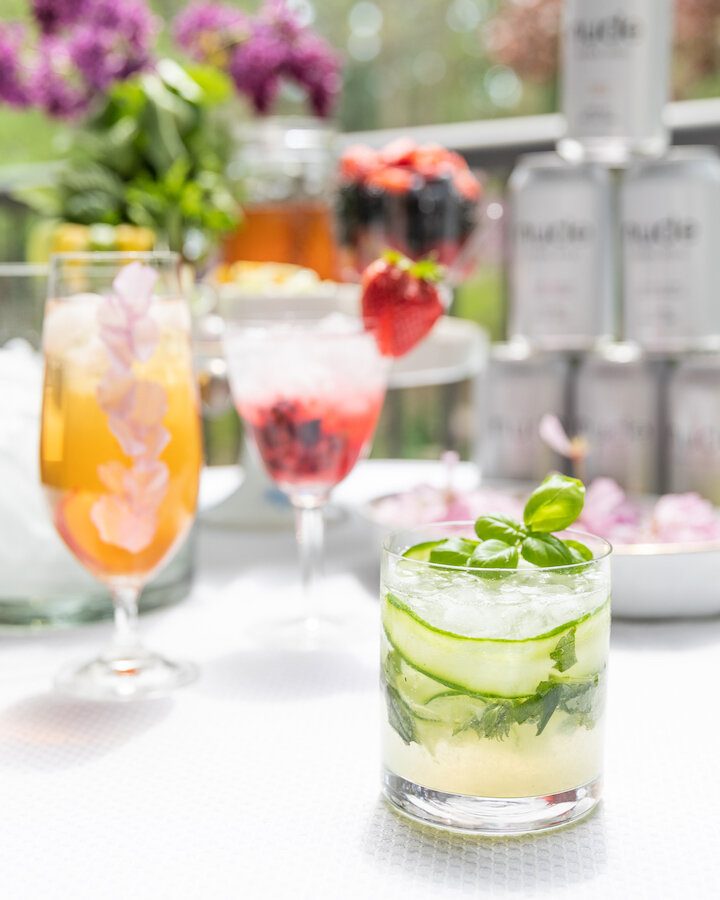
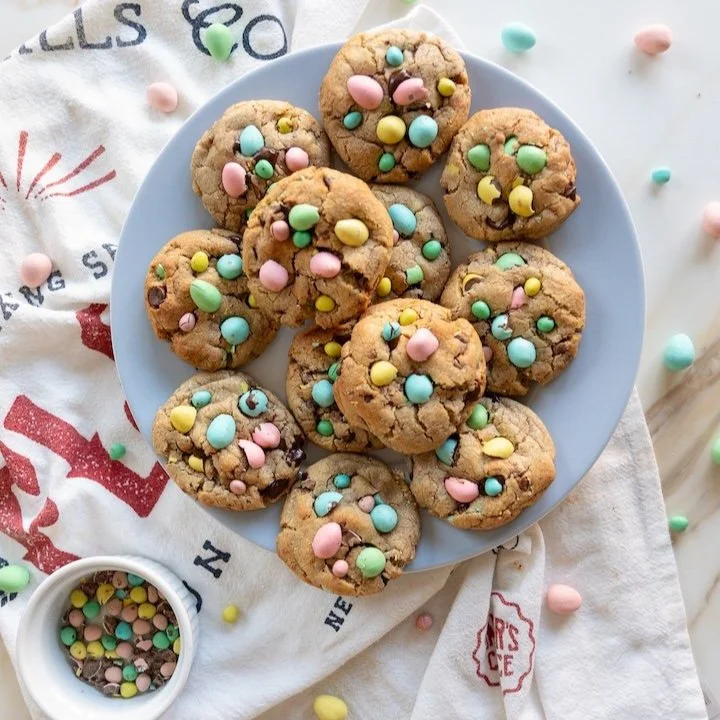
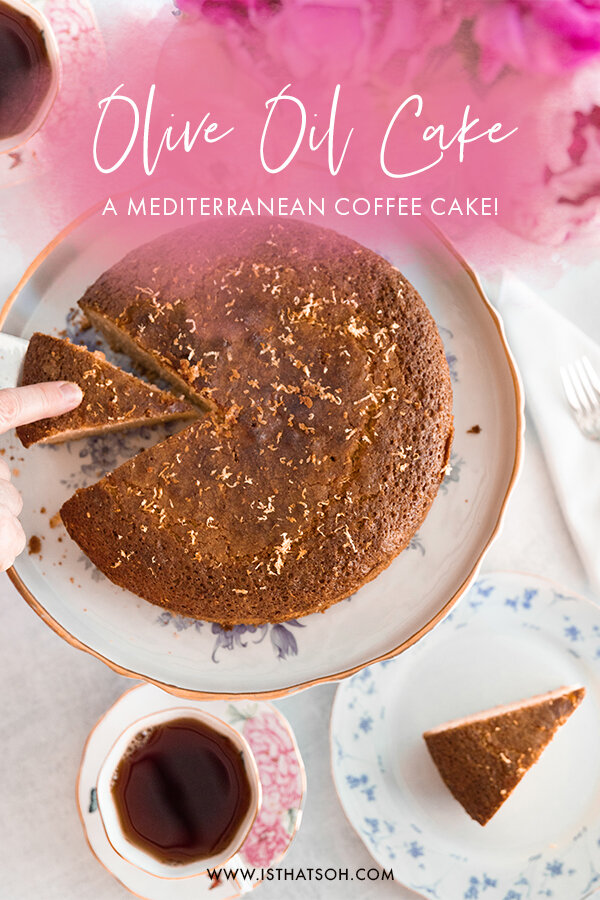
CHECK OUT THESE OTHER DRINK AND COCKTAIL RECIPES


HOW TO MAKE ESPRESSO MARTINI’S:


Making espresso martini’s is super easy!

First, add ice to a cocktail shaker followed by your espresso coffee, vodka, and liquor (Kahlua, Baileys or Tia Maria)

Place lid on cocktail shaker and shake well! The cocktail shaker should turn cold and the more you shake the thicker the foam will be for the cocktail!

Pour cocktail into a martini glass making sure to strain out the ice.

Garnish with a few whole coffee beans.


FOLLOW ME ON INSTAGRAM @ISTHATSOH


I hope you enjoyed this espresso martini recipe as much as I do. If you have any comments please leave them below and I'll be happy to answer them as soon as I can! Happy bartending!!!


PIN THIS POST

THREE SKINNY COCKTAILS USING NUDE BEVERAGES VODKA SELTZER!

Happy Victoria Day long weekend to all my fellow Canadians!

To help you kick off this weekends celebrations, I wanted to share three skinny cocktail recipes using Nude Beverages Vodka Seltzer.

If you are not familiar with Nude Beverages they are hard seltzer company from Britsh Columbia, Canada that uses clean alcohol bases along with all-natural flavors. All Nude Hard Seltzer beveraegs have 100 calories and 0 carbs per serving. In addition to Nude Vodka Soda, they also offer Nude Tequila Soda and Nude Gin Soda however only the Nude Vodka Soda (which comes in three flavours, Peach, Raspberry Lemon, Classic Lime, and Black Cheery) is currently available at the LCBO in Ontario.

I have been having a lot of fun experimenting with all the different flavours and making delicious vodka seltzer cocktails so that I can share it with you including a nude ice tea! Which vodka seltzer skinny cocktail would you make?

* Please Note - Although the video below was sponsored, this post was not! *

INGREDIENTS:

Skinny Cucumber Basil Gimlet
2-3 Mini Cucumbers - Shaved
A handful of fresh basil
Lime Juice (1/2 oz Per cocktail)
Nude Vodka Soda in the flavor ‘Classic Lime’

Mix Berry & Mint Caipiroska

A mix of muddled berries (blueberries, strawberries, blackberries and raspberries
A handful of fresh mint
Lime Juice (1/2 oz Per cocktail)
Nude Vodka Soda in the flavor ‘Raspberry Lemon’
Whole strawberry for garnish

Twisted Georgia Peach UnSweetened Ice Tea

Ice Tea (brew the night before for maximum flavour)
Nude Vodka Soda in the flavor ‘Peach’
Slices of Peach for garnish


CHECK OUT THESE OTHER COCKTAIL RECIPES


DIRECTIONS:

Skinny Cucumber Basil Gimlet Vodka Seltzer Skinny Cocktail

Add cucumber shaves, torn up fresh basil and 1/2 oz of Lime Juice to your glass and muddle together.

Next, decorate the Glass with more cucumber shavings

Add Ice (i used crushed ice which I made by putting ice in a plastic ziplock bag and hitting it with a meat mallet!)

Top it off with Nude Hard Seltzer using the Nude Vodka Soda in the flavor ‘Classic Lime’

Garnish with Basil

Mix Berry & Mint Caipiroska Vodka Seltzer Skinny Cocktail

Add one or two spooms of your berry smash to a glass (I literally just muddled a few different kinds of berries together), followed by 1/2 an Oz of lime juice and a few sprigs of fresh mint. Muddle together.

Add ice (I used crushed ice which I made by putting ice in a plastic ziplock bag and hitting it with a meat mallet!)

Top it off with Nude Hard Seltzer using the Nude Vodka Soda in the flavor ‘Raspberry Lemon’

Garnish with a strawberry

Twisted Georgia Peach UnSweetened Ice Tean Vodka Seltzer Skinny Cocktail

Add Ice Tea (I brewed mine the night before for maximum flavour)!

Add ice

Top it off with Nude Hard Seltzer using the Nude Vodka Soda in the flavor ‘Peach’

Garnish with a slice of peach!


FOLLOW ME ON INSTAGRAM @ISTHATSOH


I hope you enjoyed these three skinny cocktails using new beverages vodka seltzer as much as I do. If you have any comments about nude hard seltzer please leave them below and I'll be happy to answer them as soon as I can! Happy bartending!!!


PIN THIS POST

THE CAKE YOU DIDN'T KNOW YOU WERE MISSING - OLIVE OIL CAKE!

First of all, full disclosure - this Olive Oil Cake recipe was not an original recipe created by me but the joke about this cake with olive oil is that the direction for the original recipe are so confusing and convoluted that the first few times we made it, we did it wrong! LOL Has that ever happened to you? The even funnier bit of the story though was that everyone though the ‘wrong’ versions of this Olive Oil Cake was even better then the original/right version!!! They say baking is a science but in the case of this recipe, it only gets better the more you screw up! HAHA!

Anyways, the first time I heard of ‘olive oil cake’ I was not enthusiastic at all. The name to me is not appealing AT ALL and I was shooketh at just how amazing it actually. A staple in most Mediterranean kitchens, Olive Oil Cake is a light and airy cake, perfect for serving with tea or coffee as an afternoon snack. It isn’t overly sweet (even with the sugar topping) and when garnished with lemon zest (or any citrus works really) its delightful without being over powering. Also, since we used a bit of almond flour, the texture came out so moist! Perfect for dipping!

Anyways, I know you are going to just love this cake if you can just get past the name like I did so instead of doing a recipe review like I would normally with a recipe that is not mine, I have tweeked it so that the directions are much easier to follow AND so that you can have the benefits of our beautiful mistakes! Enjoy!

* Please Note - Some links in this post may be affiliate links *

INGREDIENTS:

Serves 8

- Spring Pan Prep -
2 TBSP of Olive Oil
2 TBSP of Sugar

- Cake Mix -

2 Cups of Cake Flour
1/3 Cup of Almond Flour
2 TSP of Baking Powder
1/2 TSP of Baking Soda
1/2 TSP of Kosher Salt

3 TBSP of Cointreau or other liquer like Grand Marnier, Amaretto or Sweet Vermouth
3 TBSP of Lemon Juice
2 TSP of Vanilla

3 Eggs
1 TBSP of Lemon Zest
1 Cup of Sugar

1.25 Cups of Olive Oil

- Extras -

2 TBSP of Sugar
2 TBSP of Olive Oil

- Optional Garnish -
1 TBSP of Lemon Zest

You will also need a hand mixer, 9 inch springform pan and parchment paper!


CHECK OUT THESE OTHER DESSERT RECIPES


DIRECTIONS:

Preheat oven to 400!

NOTE: After placing the cake in the oven reduce the heat to 350!

Prepare your spring form pan by coating it (sides too) with olive oil and lining the bottom with parchment paper. Coat parchment paper with more olive oil.

Sprinkle pan with sugar and coat evently, tap out any excess.

In a medium size bowl, mix the flour, almond flour, baking soda, baking powder, and salt in a bowl using a whisk. Eliminate any lumps that you see.

In another smaller bowl, mix together the cointreau, lemon juice, and vanilla.

In your largest bowl, beat eggs, lemon zest, and one cup of sugar together with a hand mixer at high speed until the mixture is very light/pale in colour - about 5 minutes

While still mixing on high speed, slowly stream in you olive oil until well incorporated and mixture thickens further.

Next, reduce your hand mixer speed to low and add in 1/3 of your flour mixture before alternating back and forth with 1/2 of the Cointreau mixture. You should start and end with the flour mixture!

Using a spatula, scrape the sides of bowl and fold in so everything is well incorporated before pouring the olive oil cake batter into the prepared pan.

Smooth the top out toward the edges from the middle before sprinkling the top with a little extra sugar! This is going to make it nice and golden brown.

Place pan in oven (remember to reduce the heat to 350!) and bake until golden brown - about 45 -50 minutes or until tester comes out clean.

Transfer cake to a wire rack to cool for 10 minutes before releasing the springform. You may want to run the edge of the pan with a knife to help loosen the cake from the sides of the pan

Poke holes on the top of the cake with a toothpick and drizzle 2 TBSP of olive oil into the cake and let it absorbe before serving.

OPTIONAL: You may want to sprinkle the top of the cake with extra lemon zest for garnish/decoration!

Enjoy!


FOLLOW ME ON INSTAGRAM @ISTHATSOH


I hope you enjoyed this olive oil cake recipe as much as I do. If you have any comments about this olive oil cake please leave them below and I'll be happy to answer them as soon as I can! Happy baking!!!


PIN THIS POST

TASTY CINNAMON ROLLS RECIPE!

Growing up I used to take the subway home from school and everytime the train would pass through one particular station, the smell of freshly baked, glazed cinnamon rolls would fill the car. I would have to practically hold myself down to stop me from getting off the train, running up the stairs and spending my allowance on one (soemthing I allowed myself to do on occasion). To this day, cinnamon rolls always remind me of simpler times and so I have begun to make them at home.

To me, the best traits of a tasty cinnamon roll is that it’s super fluffy, with an almost gooey center, has a flavourful cinnamon rich filling and of course, a decadent cream cheese icing. If this sounds good to you, you’re going to love this tasty cinnamon rolls recipe!

* Please Note - Some links in this post may be affiliate links *

INGREDIENTS:

Makes 9-12 Rolls
Time:
30 Min for Yeast to Activate, 1.5 Hours for Dough to Rise, 1 Hour for Rolls to Double, 35 Minutes for Cooking

Cinnamon Roll Dough
1 CUP of Warm Milk
1 TBSP of Vanilla Extract
2.5 TSP of Instant Dry Yeast
1/2 TSP of Salt
2 Eggs - at room temperature
1/3 CUP of Unsalted Butter - melted
1/2 a CUP of White Sugar
3.5 CUPS of All Purpose Flour
Pinch of Ground Nutmeg
1 TSP of Ground Cinnimon
Olive Oil - for greasing the bowl

Cinnimon Roll Filling

1 CUP of Brown Sugar
2 TBSP of Cinnamon
1/2 TSP of Nutmeg
1/3 CUP of Softened Unsalted Butter

Optional Topping While Baking

3/4 Cup of Heavy Cream

Cream Cheese Icing For Cinnamon Buns

4 OZ of Cream Cheese - softened
1/4 CUP of Unsalted Butter - softened
1 TSP of Vanilla
1/8 TSP of Salt
1.5 CUP of Powdered Sugar - sifted
2-4 TBSP of Half and Half (or Milk)


CHECK OUT THESE OTHER SWEET RECIPES


HOW TO MAKE CINNAMON BUNS:

Cinnamon Roll Dough

The first thing you need to do is make the cinnamon roll dough. In a mixing bowl, dissolve sugar in the warm milk before sprinkling in the yeast. Allow the yeast to proof until it rises, thickens and bubbles.

When ready whisk in eggs, vanilla, melted butter, and salt.

In a separate bowl, combine remaining dry ingredients - flour, cinnamon, and nutmeg - with sugar. Whisk until well incorporated.

Place mixing bowl with wet ingredients on your stand mixer and using a dough hook, gradually add the flour mixture to it about 1/2-1 CUP at a time.

Once a dough starts to form, remove mixture from the mixing bowl onto a floured surface and knead gently until a soft dough is formed that is no longer sticky.

Place the dough in a bowl greased with olive oil. Cover dough with a cloth or kitchen town and place somewhere warm where it will not be disturbed, to rise until it doubles in size (approximately 45 minutes to 1 hour).

Once dough has doubled in size, you are ready to preheat the oven to 350 degrees, grease a baking dish with butter ( around 9x9 inches), and prep your work surface with flour.

Cinnamon Roll Filling

Next, we need to make the cinnamon roll filling! In a bowl, combine the cinnamon, nutmeg, and sugar, and whisk together until well incorporated.

Roll out dough into a rectangular shape on floured surface until 1.4 inch thick.

Spread the butter out evenly on the surface of the dough before sprinkling the filling gernerously on top. Make sure to stay 1 inch away from one of the shorter edges of the rectangle.

When ready, start to gently roll the dough into a log starting from the opposite end of the unbuttered edge

Using a piece of unflavored and unscented dental floss cut rolls into 1.5 inch thick rolls.

Place rolls in your buttered baking dish allowing for room for them to expand further. When done, cover again with a cloth and place the rolls in a warm spot so they can again double in size.

Bake rolls for 7-10 minutes. Take out the roll and top each roll with a few tablespoons of heavy cream. This is optional but it does help them become super gooey and fluffy, so if you like fluffy cinnimon rolls I highly recommend doing this step! Return the rolls to the oven and continue to bake until they become a deep golden brown (approximately 25 minutes). If the rolls are getting a bit too brown at the 20 minute mark, I recommend covering them loosely with a sheet of foil and allowing them to continue to bake.

When done, remove baking dish from oven and allow to cool.

Cream Cheese Icing For Cinnimon Buns

While the rolls are cooling you can now work on the cream cheese icing for the cinnimon buns!

Whisk together cream cheese, butter, vanilla, 2 TBSP of half and half (or milk), and Salt in a bowl. Add in your powdered sugar bit by bit until fully incorporated. NOTE: You can use half and half (or milk) and confection sugar to adjust the frosting consistency to how you desire.

Spread the frosting over the warm tasty cinnamon rolls and serve! Keep rolls covered and refrigerated when storing.

Enjoy!


FOLLOW ME ON INSTAGRAM @ISTHATSOH


I hope you enjoyed this ‘tasty cinnamon rolls with cream cheese icing’ recipe as much as I do. If you have any comments please leave them below and I'll be happy to answer them as soon as I can! Happy baking!!!


PIN THIS POST

PERSIAN COOKING - KASHKE BADEMJAN RECIPE! VEGETARIAN EGGPLANT DIP

KASHKE BADEMJAN (pronounced Cash-kay Bad-em-jan) is a traditional Persian eggplant dip that accompanies meals and is always a favorite amongst my guest. Bademjan literally translates into eggplant in Farsi while Kashka refers to a type of middle eastern dairy. Usually served a little warm or room temperature, this Persian eggplant dip or side dish should always be accompanied by toasted pita or flatbread wedges. I recently made kashke bademjan for a dinner party I had at my sister’s house in Los Angeles and as you can guess, it was a total crowd pleaser. If you are a Vegetarian, love Persian food, or are just a big fan of eggplants then I highly recommend you try this kashke bademjan recipe!

KASHEK BADEMJAN can also easily be made GLUTEN FREE if you serve it on a gluten free pita equivalent or vegan if you do not add the yogurt.

For my dinner party, I made a serving of this for about 6 people. This recipe yields enough for each person to have a really nice size dollop! 

PS Don’t forget to watch the video at the bottom if you need extra help!

INGREDIENTS:

6 Chinese Eggplants or Italian Eggplant - cut lengthwise into 1/4 inch strips (if you can’t find Italian or Chinese eggplant you can use regular eggplant too)
1 Cup of Vegetable Oil - divided in 4TBSP portions
4-5 cloves of Garlic minced
1.5 Large White or Sweet Onion chopped
2/3 Cup of Water
1 TSP Salt
1 TSP Pepper
1/2 TSP Cayenne Pepper
1/2 Cup of Walnuts - chopped (I bought them already chopped at the store to avoid needing a food processor)
1 TBSP dried Mint leaves
1 Cup of Plain Greek Yogurt (optional)
Pita Bread


CHECK OUT THESE OTHER DELICIOUS RECIPES FOR SIDE DISHES!


DIRECTIONS:

Start off by adding about 4 TBSP of oil to your skillet. Heat up the oil at medium heat and then add a single layer of eggplant. Cover and let cook for about 6 minutes. Keep an eye on the eggplant so that they don't burn. Once they are browned flip to the other side and let cook for an additional 3-4 minutes or until they are brown as well. Remove cooked eggplant from skillet and onto a side dish. REPEAT until this step until all the eggplant is fried.

In the meantime get another skillet and add about 3 TBSP of oil to it. Let it heat up at medium heat for a minute and once the oil is hot add the chopped onions. Let the onion cook it they become a nice golden (caramelized) colour. This may take several minutes but stir often so they do not burn.

Once all the eggplant is finished and removed from the first skillet add the spices and the garlic to the skillet. Let the garlic cook for a minute making sure to stir it around and coat the bottom of the skillet. Also make sure that the temperature is still on medium so you do not burn the garlic. After a minute add back in the eggplant and mix together. Once mixed add in the water and cover. Let this simmer for about 15-20 minutes or until the eggplant becomes soft and the water evaporates. You may notice that there is a lot of oil that has seeped out the of eggplant, you can drain a spoonful or two out.

In the other skillet the onions should start to look nice and golden. Once the onion is ready remove it from the heat and add in the dried mint. Make sure to crush the dried mint with your hands as you add it in to release/activate the mint smell. Mix in the mint with the onions. *I would remove 2-3 TBSP of this to use as a garnish later.

If you didn’t buy walnuts already chopped, add you walnuts to your food processor and chop them till they are fine but still crunchy (do not over do it otherwise they will become a paste or nut butter)

When the eggplant is nice and tender remove it from the heat and add in the onion, mint and walnuts and stir. 

If you are Vegan you are finished.

If you want to continue with the dairy stir in the Greek yogurt until it is fully blended.

Transfer the mashed eggplant to a serving bowl, add the onion garnish you set aside earlier and serve at room temperature with toasted pita or flat bread.


FOLLOW ME ON INSTAGRAM @ISTHATSOH


Thanks for joining me today! I hope you enjoyed this Kashke Bademjan recipe as much as I do. If you have any questions or comments about this persian eggplant dip recipe, please feel free to leave them in the comments below and I will try and answer them as soon as I can!


PIN THIS POST!