CHOCOLATE RICE KRISPIE TREATS FOR VALENTINE'S DAY

If you are looking for a fun Valentine’s Day recipe that is not only adorable but easy and fun to make, I highly recommend trying this chocolate rice krispie treats recipe!

When it comes to the best rice krispie treats recipe this one takes the cake because they are so incredibly soft and chewy! Of course, the steps for this recipe are the same for regular rice krispie squares but I thought using a heart cookie cutter would be a great fit for Valentine’s Day. This recipe for chocolate rice krispies will have you reminiscing about childhood bake sales and exchanging Valentine’s day cards with friends. Speaking of exchanging, they are also super fun to decorate and make a great gift so my advice is to double the recipe and giving a few away! Enjoy!

* Please Note - Some links in this post may be affiliate links *

INGREDIENTS:

Makes Apx 12 Hearts

1/2 CUP of Unsalted Butter
5 Cups of Marshmallows - separated into two portions - 1 of 4 Cups and 1 of 1 Cup.
6 Cups of Rice Krispies Cereal
1.5 TSP of Vanilla Extract
2.5 CUPS of White Chocolate Wafers
Pink Food Colouring

You Will Also Need:
Heart-Shaped Cookie Cutter
Baking Tray
Wax Paper


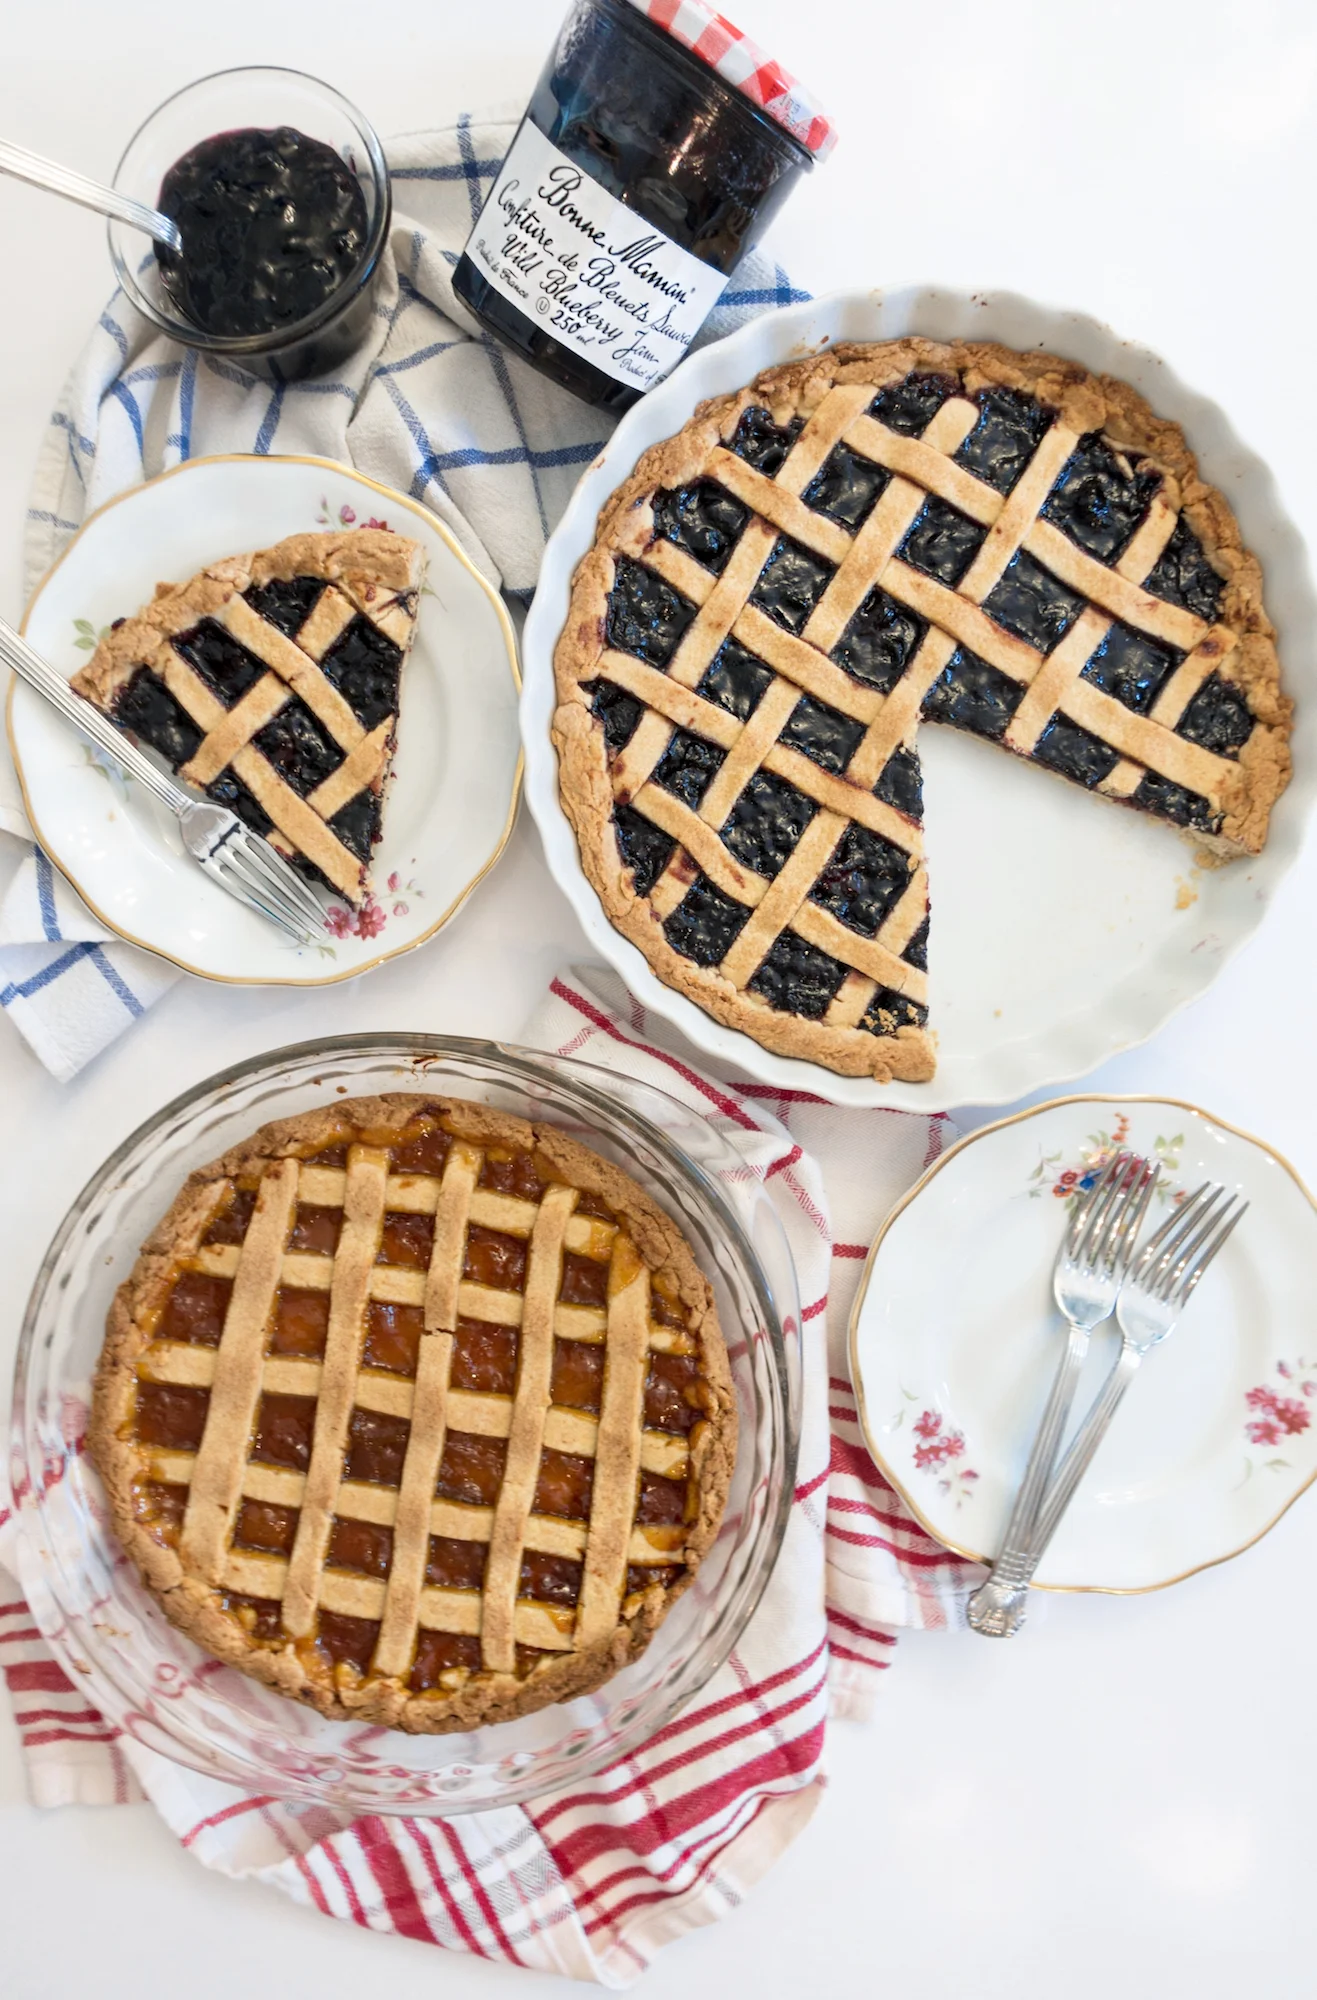
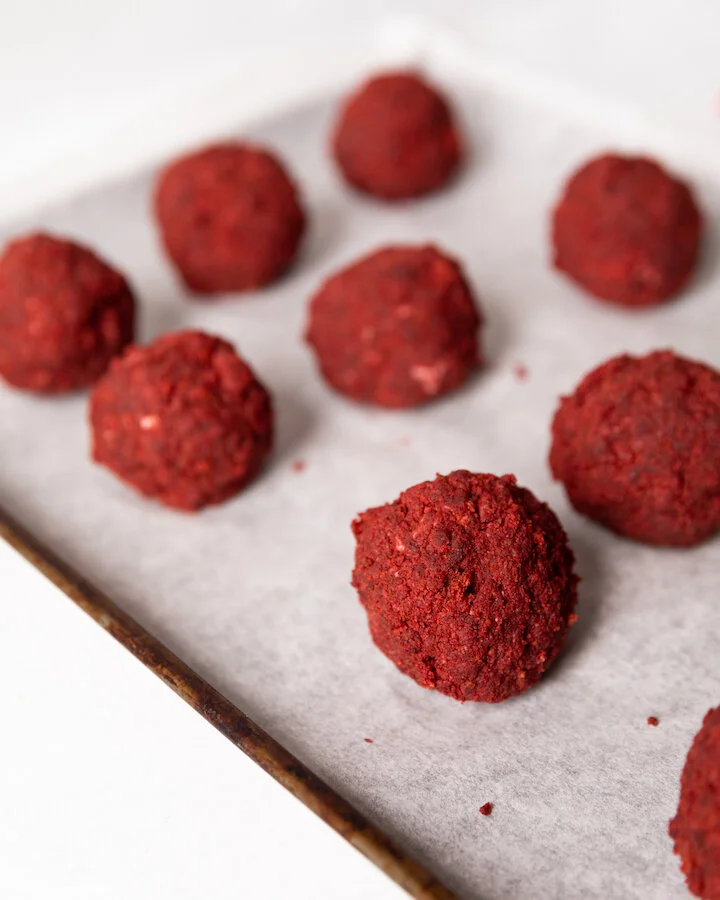
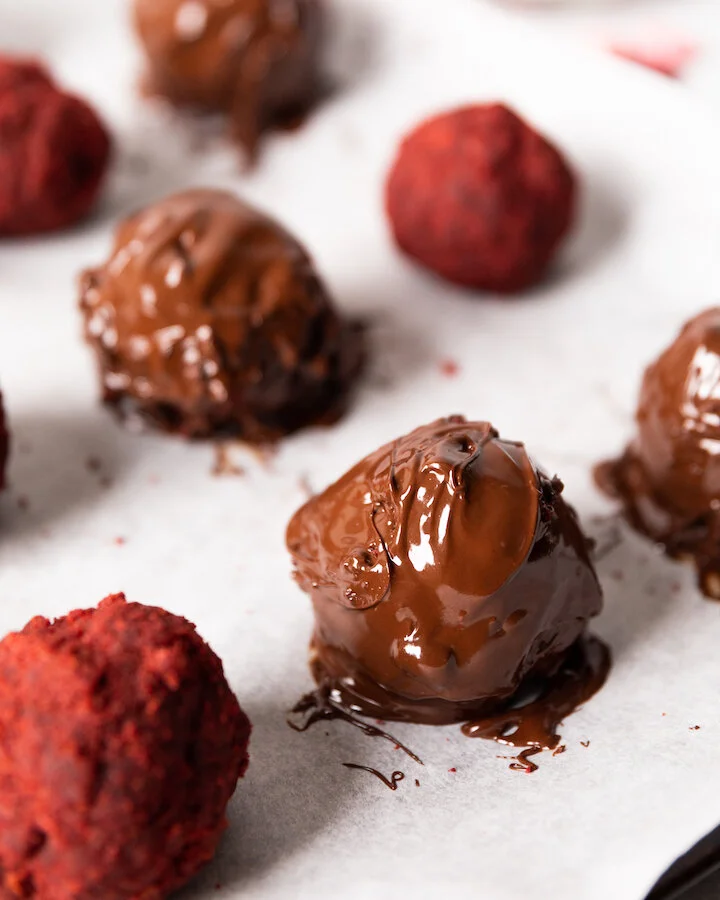
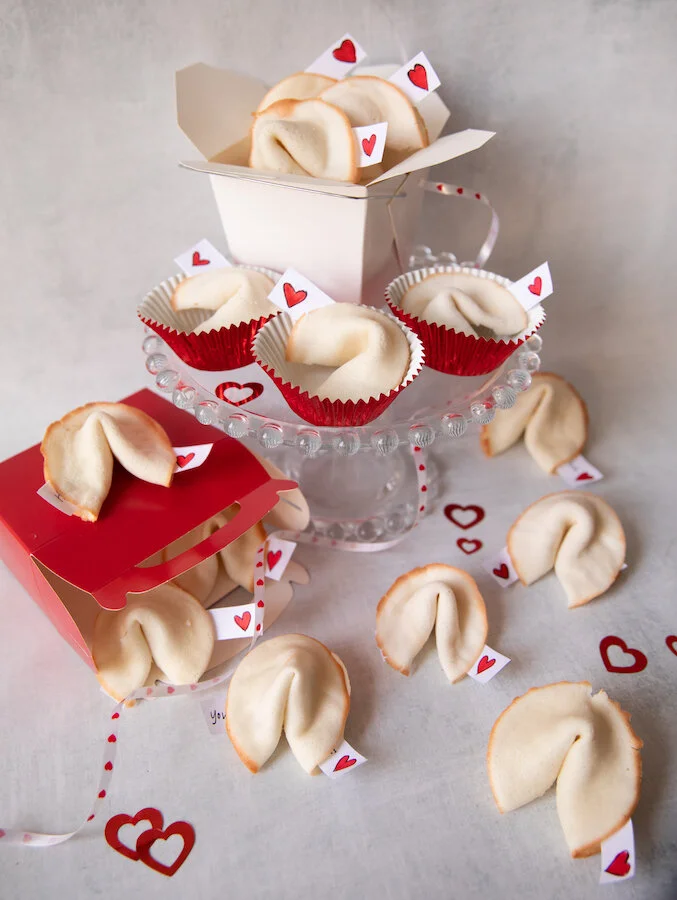
CHECK OUT THESE OTHER FUN VALENTINE’S DAY RECIPES


DIRECTIONS:

In a large sauce pan melt the butter on medium heat.

Once melted add in 4 cups of marshmallows and reduce heat to low. Continue stirring until completely melted.

Next, remove melted marshmallow and butter mixture from heat and add to large bowl with the Rice Krispie cereal, remaining marshmallows and vanilla extract. Mix until well incorporated.

Using wax paper, line a baking tray and press the rice crispy into the baking tray creating an even thickness all round. Place the baking tray in the fridge for 20 min to cool before removing and cutting out heart shapes using a heart shaped cookie cutter. Place the hearts on a wax paper lined baking sheet. NOTE: You can take the remainder of the mixture that you were not able to use and press it into the heart shaped cookie cutter to create 1 or 2 more heart shapes so you don’t have to waste any of the precious mixture.

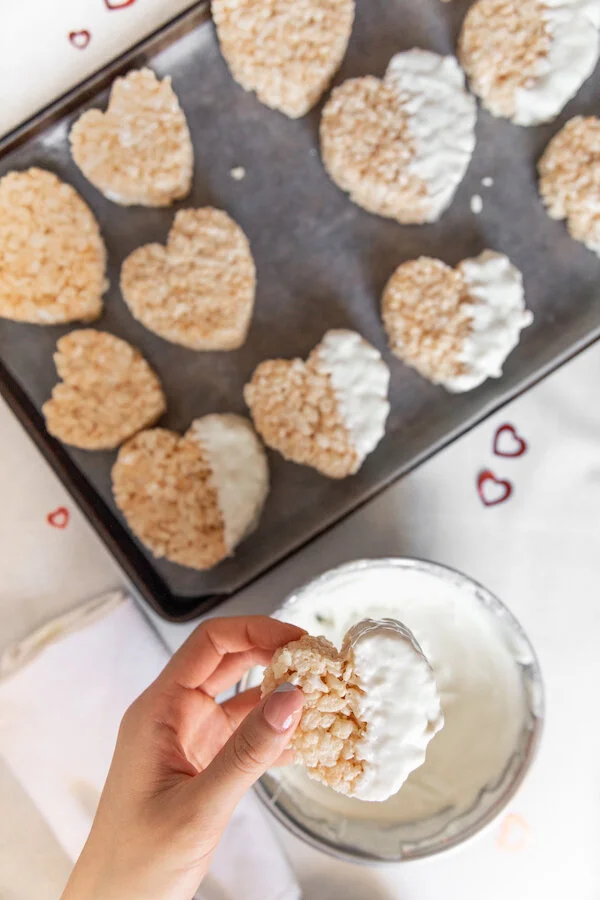
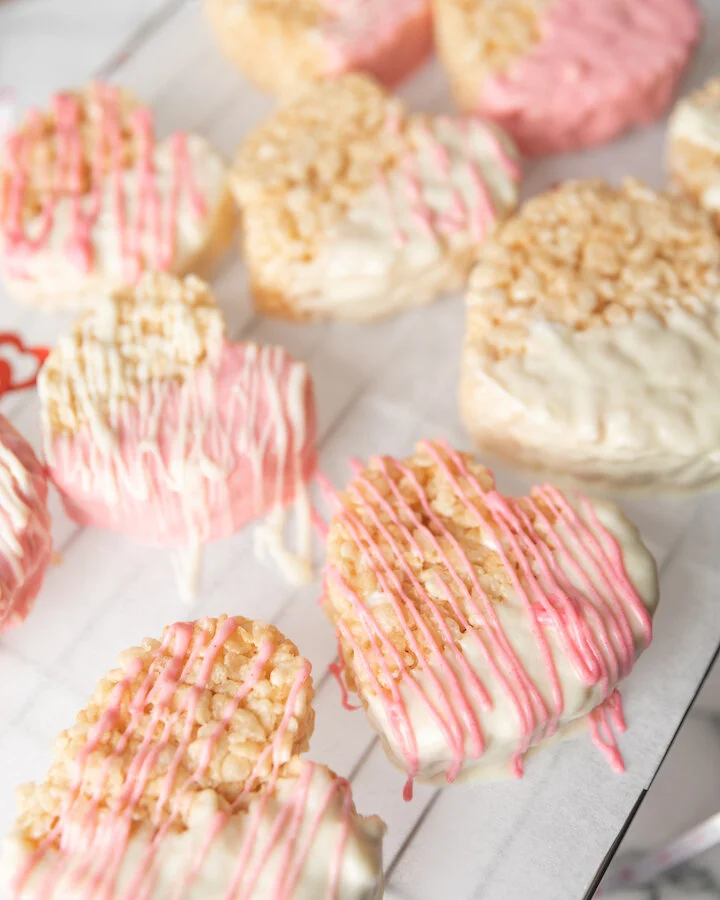
Using the ‘double boil’ method, melt the white chocolate wafers. Set 1/2 aside and add a ladybug size amount of pink food colouring to it. Stir well to turn the chocolate pink.

Dip each heart into either the white or pink chocolate until half the heart is submerged before placing it back on the baking sheet to dry. You can also use a fork or piping bag to create decorative patterns on top using alternating chocolate colours.

Store hearts in cool place until you are you are ready to enjoy.

chocolate rice crispy treats
)

FOLLOW ME ON INSTAGRAM @ISTHATSOH


I hope you enjoyed this chocolate rice krispie treats recipe as much as I do. If you have any comments or suggestions about how to make rice krispy treats please leave them below and I'll be happy to answer them as soon as I can! Happy baking!!!


PIN THIS POST

chocolate rice crispy treats

THC RED VELVET 'TRUFFLES' FOR VALENTINE'S DAY

Since it has been almost a year since I have had the chance to hang out with all my girlfriends, I thought it would be nice to send them something for Valentine’s Day that will not only spark joy in their life but also let them know that I am thinking of them.

I have never made THC edibles or THC candy or recipes with cannabis before, but after learning how easy it can be to incorporate them into desserts without having to worry about measuring out dosages and making them myself, it got a whole lot easier to imagine ways to use them when baking.

Since Valentine’s Day is the holiday in question, I thought a Red Velvet Cake was fitting, and much like making cake pops, coating the ‘truffle’ with chocolate also became a great way to seal in freshness, add decorative designs, and play well into my Valentine’s Day theme.

If you are looking for a fun little surprise to leave a friend or loved one this Valentine’s Day, I highly recommend this easy to make THC Red Velvet ‘Truffle‘ recipe!

* Please Note - Some links in this post may be affiliate links *

INGREDIENTS:


Makes 12 Truffles

1 Box of Red Velvet Cake Mix (I used Duncan Hines)
1 Cup of Cream Cheese (Softened)
12 THC Chocolates (Any kind that’s small enough to fit inside your desired truffle size - I used Fireside Milk Chocolate 5MG chocolates)
3 Cup of Semi-Sweet Chocolate Baking Chips
2 Cups of Melted White Chocolate (Preferably Melting Wafers)

- Optional Garnish -
Any Heart Shaped Candy

- Cooking Instruments -
Cake Tray
Baking Sheet
Wax Paper
Electric Hand Mixer
Food Processor - optional


CHECK OUT THESE OTHER GREAT GIFT RECIPES!

DIRECTIONS:

Make a Red Velvet Cake according to the instruction on the box.

Using a bowl, beat your cream cheese until it becomes soft and easily spreadable.

Next, deconstruct the cake until it’s just crumbs either using your hands or a food processor, adding it to the bowl with the cream cheese afterwards.

Mix the cream cheese in with the cake so that it becomes doughy once again.

Flatten about 1 TBSP of the cake mixture into your hand, place the THC chocolate in the middle, and roll the sides up around the chocolate (I recommend not going too thick with the mix if you don’t want them to be huge. I thought the size of my palm was plenty big). Place the rolled balls on a baking sheet covered with wax paper.

Next, using the double boiling method, melt the semi-sweet chocolate and drizzle it over each THC cake mix ball until fully coated. You may want to use a spatula to help you. Do the same with the white chocolate wafers. You can use both chocolates together to create designs as well. Don’t forget to add the garnish before the chocolate completely hardens!

Allow chocolate coating to harden on the wax paper before using a knife to trim and remove the bottom of the truffle from the wax paper and store in the fridge. If you are giving them away to a friend remember to tell them to also store them in the fridge until they are ready to be enjoyed.


FOLLOW ME ON INSTAGRAM @ISTHATSOH


I hope you enjoyed this THC edibles recipe as much as I do. If you have any comments or want me to post more cannabis recipes please let me know below and I'll be happy to answer them as soon as I can! Happy baking!!!


PIN THIS POST

PIRI PIRI CHICKEN WITH ROASTED VEGGIES - A PORTUGESE CHICKEN RECIPE

If you’re looking for something healthy and easy to make for dinner tonight that will transport you to the beautiful country of Portugal, may I suggest trying this easy Piri Piri chicken with roasted veggies? Best marinated a day in advance, this Portuguese chicken recipe doesn’t take long to make and always comes out super juicy. I love how the vegetable roast alongside the Piri Piri chicken in the excess fat to perfection until their exterior is crunchy and their insides are soft. Since Piri Piri sauce can be a little spicy and very juicy make sure to pair the chicken and veggies with a simple side like a helping of rice for a well-rounded authentic Portuguese chicken dinner.

Want to try making your own Piri Piri Mix at home? Check out Chef Mireille’s Piri Piri Spice Blend Recipe!

* Please Note - Some links in this post may be affiliate links *

INGREDIENTS:

Serves 2 people

- Piri Piri Chicken Glaze -
4 TBSP of Olive Oil
3 Garlic Cloves - pressed
2 TBSP of Piri Piri Spice Mix - For premade I like the clubhouse Piri Piri spice mix or the Farm Boy Mix however you can also check out Chef Mireille’s Piri Piri Spice Blend Recipe and make it at home!
2 TBSP of Lemon Juice
1 TSP of Lime Zest
Salt and Pepper
Whole Chicken - butterflied (mine was about 3.5 lbs) or you can use chicken thighs or quarters

- Roasted Veggies -
2-3 Yukon Potatoes - washed and cut in large pieces. I like to put my cut potato pieces in water while I prep all my ingredients so they don’t oxidize and turn colour. Drain water before use.
2 TBSP of Olive Oil
2 TSP of Piri Piri Spice Mix
Salt and Pepper
1 Large Carrot - chopped roughly
2-3 Shallots - chopped roughly
3 Lemon Slices or Wedges

- Garnish -
Parsley

- Fun Tools -
Meat thermometer


LOOKING FOR A MAIN DISH? CHECK OUT THESE OTHER RECIPES!


DIRECTIONS:

The first thing to do is marinate the chicken, preferably for a minimum of 4 hours or better yet overnight. In order to do so you must create the glaze.

Heat up the olive oil for your chicken glaze in a sauce pan and add in pressed garlic. Once they become fragrant (about 2 minutes) add in your Piri Piri spice mix, lemon juice, lemon zest, salt and pepper. Stir and set aside to cool.

Wash and dry your chicken before coating it with the glaze. Make sure to coat both sides of the chicken well before covering with plastic wrap and storing in the fridge. Alternatively, you can also do this in a zip lock bag if you can find one big enough.

When you are ready to start cooking, preheat oven to 375F on convection roast (if you don’t have the setting, roast or bake is fine) and remove your chicken from the fridge. Place chicken and all the glaze in the middle of a sheet or roasting pan.

Next, toss your potatoes in olive oil, Piri Piri mix, and salt and pepper until evenly coated. Place potatoes in the sheet pan surrounding the chicken along with roughly chopped carrots and shallots. Garnish with lemon slices before roasting in the oven for 45-55 minutes on the middle rack or until tender.

If you have a meat thermometer the minimum for chicken is 165. You can use it to check if the chicken is done or you can check manually by cutting into it to see if it’s pink inside. If the chicken is done and the potatoes are not, feel free to take the chicken out of the sheet pan and cover it with aluminum foil to keep warm before placing the veggies back in the oven until they become tender.

When potatoes are ready, add chicken back in and serve!

Enjoy!


FOLLOW ME ON INSTAGRAM @ISTHATSOH


I hope you enjoyed this Piri Piri Chicken Portugues chicken recipe as much as I do. If you have any comments please leave them below and I'll be happy to answer them as soon as I can! Happy cooking!!!


PIN THIS POST

S'MORES COOKIES IN A JAR

Friendly reminder, you don’t need to spend a million dollars to show loved ones that you care about them this holiday season. Instead, give them a gift that is both homemade and personalized like that of some freshly baked sweets!

I for one love receiving homemade cookies or handmade gifts during the holiday season and one such gift I love to not only give but receive is ‘cookies in a jar’. This year, wow your friends with this festive s’more’s cookies recipe! No matter if you decide to bake them yourself or give a jar of cookie mix to someone as a gift, these cookies are sure to impress everyone on your list!


INGREDIENTS:


You will need 1L jars! Each jar yields approximately 9-10 cookies!

- FOR THE JAR -
1.75 CUPS of All-Purpose Flour
1 TSP of Cornstarch
1/2 TSP of Baking Soda
1/2 TSP of Salt
1/3 CUP of Brown Sugar
1/4 CUP of Granulated Sugar
1/4 CUP of Semi-Sweet Chocolate Chips
4-5 Graham Crackers
1 Cups of Mini Marshmallows
9 Hersey Pieces


- FOR BAKING -

1/2 CUP of Salted Butter
1 Egg
1/2 TSP of Vanilla


CHECK OUT THESE OTHER FESTIVE DESSERTS


DIRECTIONS:

When building the cookie mix jar, first make sure they are clean and dry inside.

Mix all-purpose flour, cornstarch, baking soda, and salt in a bowl, and then dump it into the jar using a paper funnel and packing it down.

Next dump in your Brown sugar, followed by your granulated sugar, and topped with the semi-sweet chocolate chip to create three additional layers.

Next, add a layer of cling wrap followed by your graham crackers, marshmallows, and Hershey bars. You want to do this so that they can be easily removed from the jar and separated from the mix when your recipient is ready to make the cookies.

Seal the jar and decorate as desired.

Make sure while decorating the jar to add a tag with the following instructions on how to bake the cookies:

- Preheat oven at 350
- Add 1/2 Cup of Salted Butter, 1 Eggs, and 1/2 TSP of Vanilla to a large bowl and beat until well combined.
- Open the jar and removed the top layer that is wrapped in cling wrap - set aside
- Dump the remainder of the jar in with butter and egg mixture and blend till cookie dough starts to form.
- Break graham crackers up and add 2/3 of broken crackers and 2/3 of mini marshmallows to the dough, folding it in. *You will want to save the remaining 1/3’s for garnish!
- Line a baking tray with parchment paper and create dough balls 2-3 TBSP in size and bake for 8 -10 minutes or until almost done, before removing the cookie trays from the oven, garnish with the remaining graham crackers, marshmallows, and pieces of the Hersey chocolate, and return to oven for an additional 2 minutes. (If desired, switch the oven to broil and toast the marshmallows on top. Just be sure to watch them because the small marshmallows burn quickly!)
- Cool for 2-3 minutes on a wire cooling rack before eating or storing in an airtight container.


FOLLOW ME ON INSTAGRAM @ISTHATSOH


I hope you enjoyed this recipe as much as I do. If you have any comments please leave them below and I'll be happy to answer them as soon as I can! Happy cooking!!!


PIN THIS POST

Smores.jpg

3D GINGERBREAD CHRISTMAS TREE

* Please Note - Some links in this post may be affiliate links *

Level up your dessert table this year with this 3D Gingerbread Christmas Tree! It is not only so fun to make but it is also the perfect centerpiece at Christmas dinner. If you are looking for something to do that not only fill the house with the best smell (HELLO GINGERBREAD COOKIES!!) but is also a great activity the whole family can get involved in, this is it!

Happy Holidays my friends!


FOLLOW ME ON INSTAGRAM @ISTHATSOH!


INGREDIENTS:

Makes 1 Christmas Tree

- Gingerbread Cookie Recipe -
2/3 of a CUPS of Butter (unsalted) - softened
2 CUPS of Granulated Sugar
2 Large Egg - at room temperature
2/3 of a CUP of Fancy Molasses
5.5 CUPS of Flour (All Purpose)
3 TSP of Ginger
2 TSP of Cinnamon
1 TSP Baking Soda
1/2 TSP Ground Cloves
Large Pinch of Salt

- Decorations -
Cookie Icing - White, Green, Red are traditionally used
Sprinkles
Icing Sugar

- Tools -
10 PC Christmas Star Cookie Cutter - I found mine on Amazon and it arrived in 2 days! *Please note I did not use all 10 stars, I started from the smallest and worked my way larger. If you want to use all 10 stars (and have a massive tree) you will need to double your gingerbread cookie ingredients)
Wax Paper
Parchment Paper
Baking Tray
Icing Piping Bag and Decorative Tips


CHECK OUT THESE OTHER FESTIVE RECIPES

DIRECTIONS:

Blend softened butter and sugar together until fluffy. Add in your egg and fancy molasses.

In a separate bowl mix your flour, ginger, cinnamon, baking soda, ground cloves, and salt. Whisk until well mixed.

Slowly start to add your flour mixture into your butter mixture until a dough starts to form. You may want to finish it off with your hands.

Make two dough balls from the mixture and wrap them in plastic wrap before placing them in the fridge for an hour.

After an hour, remove the dough balls from the fridge and let them rest for 10 minutes before rolling them out to 1/4 inch thickness. I used my clean countertop to roll the dough out and placed wax paper on top of the dough for easy rolling.

Preheat oven to 350.

Cut out 2-3 cookies of each size (starting from smallest and working your way larger) of the Christmas Star and place them on a baking tray lined with parchment paper. Place each shape 1/2 - 1 inch apart because the cookies do spread out and puff up a little. I didn’t use all 10 of my stars (I think I stopped at 7) as I didn’t want my tree to be too big.

Bake for 11 minutes.

Remove from oven and allow to cool down before stacking them from the largest size to the smallest size. Use a little bit of icing when stacking to help hold them in place and level them out.

When you get to the final star cookie use icing to stick it to the top standing up to create a Christmas tree star!

Decorate as desired.

Allow to dry/harden in a safe place and store at room temperature.


I hope you enjoyed this recipe as much as I do. If you have any comments please leave them below and I'll be happy to answer them as soon as I can! Happy cooking!!!


PIN THIS POST