UPCYCLED DIY FAUX CERAMIC VASES


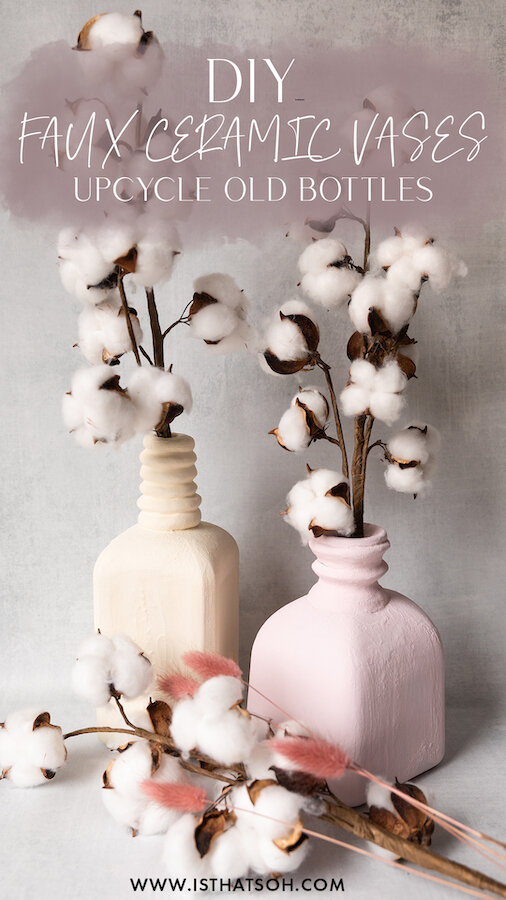
Oops I did it again! I’m back with another awesome DIY tutorial that has been trending on Tik Tok - DIY painted vases using upcycled old wine and alcohol bottles! I love the look of these DIY ceramic vases and the way they dress up a space. Doing this DIY honestly made me so excited to decorate my new place (whenever we find it) and when topped off with some dried flowers, a tapered candle or fresh flowers, they bring a whole new level of cuteness to home decor. Creating the DIY ceramic coating is so easy and only requires one ingredient other than your paint to achieve. Not to mention it adheres so well to glass so you really only need two coats to get the full effect. If you want to create a beautiful but cheap vase centerpiece for your home I highly recommend giving this little DIY of mine a go!

* Please Note - Some links in this post may be affiliate links *

MATERIALS:

Makes 1 Vase

A Up-Cycled Bottle - I used a Don Julio and Cointreau bottle
Air Dry Clay
Wax Paper
Acrylic Paint - mix to colour of choice
Baking Powder
Paint Brushes
A Mixing Utensil - I used the end of a plastic fork

Extras:
Goo Gone
A Takeout Container - to be used as base that you can easily rotate


CHECK OUT THESE OTHER FUN DIY’S


INSTRUCTIONS:

Remove labels from bottle and any additional stickers. If you have trouble I recommend using Goo Gone. Allow to air dry until completely dry.

Next, we will create the clay rings for the neck of the bottle. Roll out clay until you reach a uniform width and cut desired amount of pieces into equal lengths making sure that they are long enough to go around the neck of the bottle.

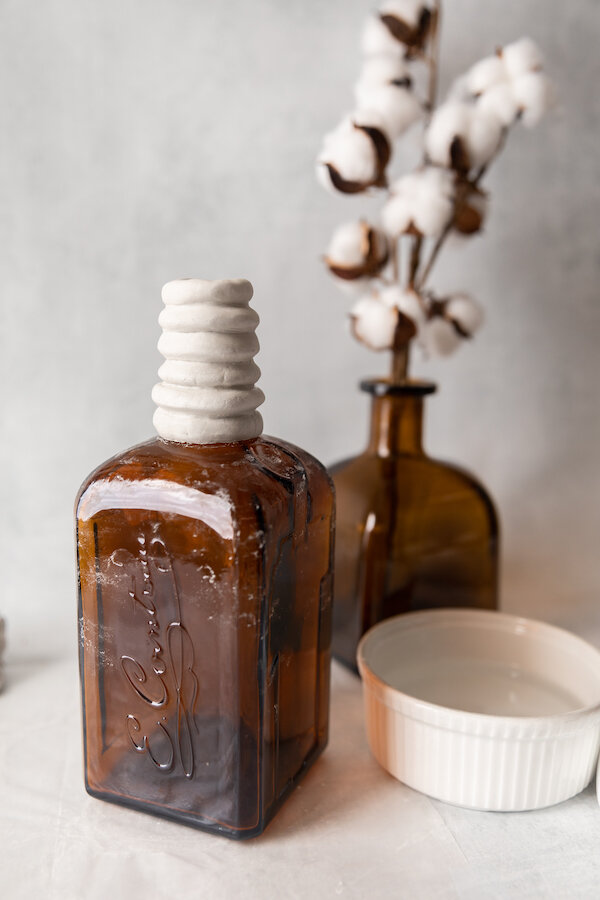
Grab one piece of clay at a time and wrap it around the neck of the bottle sealing the ends together with a little water. Continue this process the whole way up the neck. Once finished, set aside to dry for minimum 1 hour.

Once the clay has dried, place it on a pedestal (I used a takeout container). This will make it easier to rotate when painting so you dont have to touch the bottle.

On a palette (I used a paper plate), mix your acrylic paint to desired colour using a mixing utensil (I used a fork). Make sure you have enough for the entire bottle (better to have more than not enough as it will be difficult to get the same colour). Add in baking powder, 1/2 a teaspoon at a time until you reach your desired consistency. I used 2 tablespoons of paint to 1 Teaspoon of baking powder. Mix until baking powder is well incorporated.

Using a brush, paint the bottles with your paint mixture. Paint as many coats as necessary until necessary until the bottle is fully coated. Set aside to dry for 24 hours before use.

Happy Crafting!


FOLLOW ME ON INSTAGRAM @ISTHATSOH


I hope you enjoyed this DIY as much as I do. If you have any comments please leave them below and I'll be happy to answer them as soon as I can! Happy crafting!!!


PIN THIS POST

GEOMETRIC PHOTO WALL

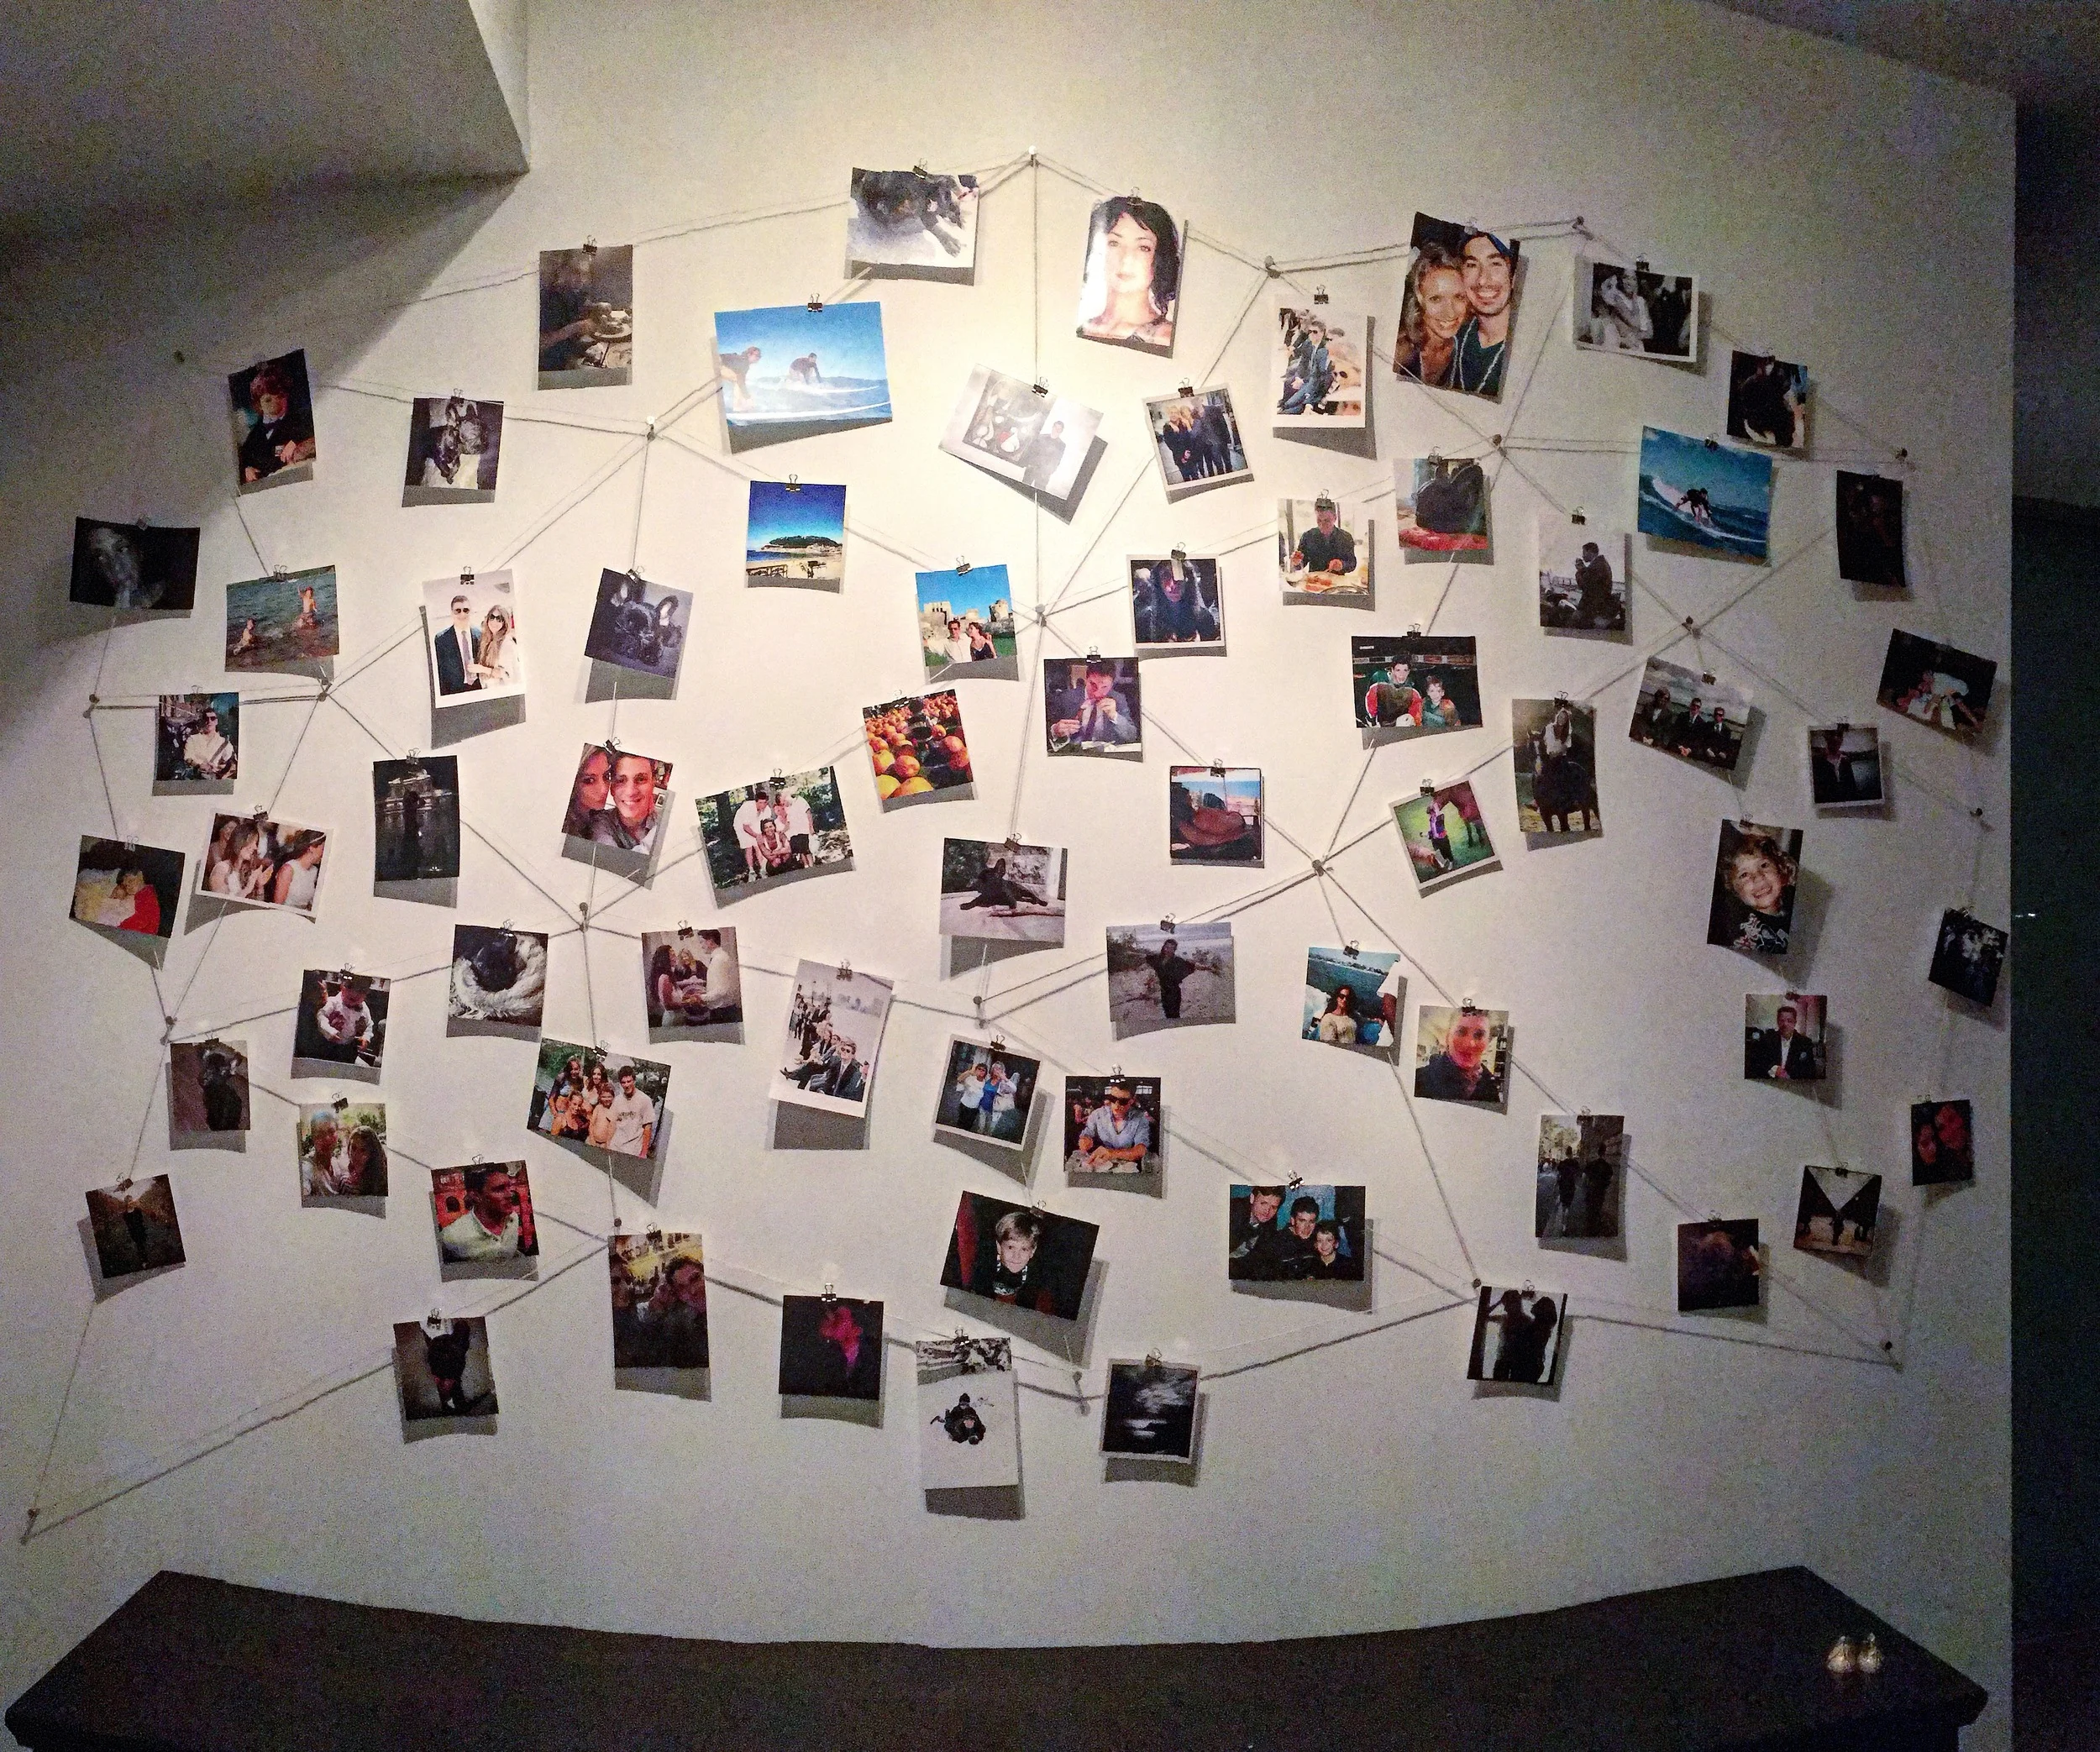
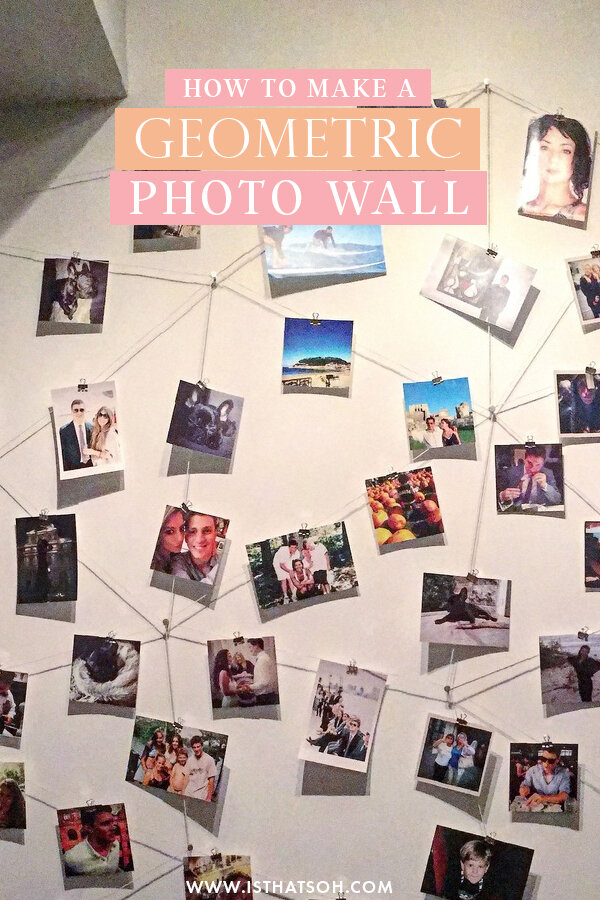
So having just moved into a new apartment, I am desperate to make it feel like home. I know from my friends who are interior decor experts that "feature walls" are trending and can really bring life to any room. This geometric photo wall is like hitting two birds with one stone. I get my feature wall and also personalize my new home sweet home. It took me about an hour to actually make the wall but there is a bit of preparing that needs to be done like printing out your photos. If you are a student or are just looking for an inexpensive way to jazz up a room this is it!

MATERIALS:

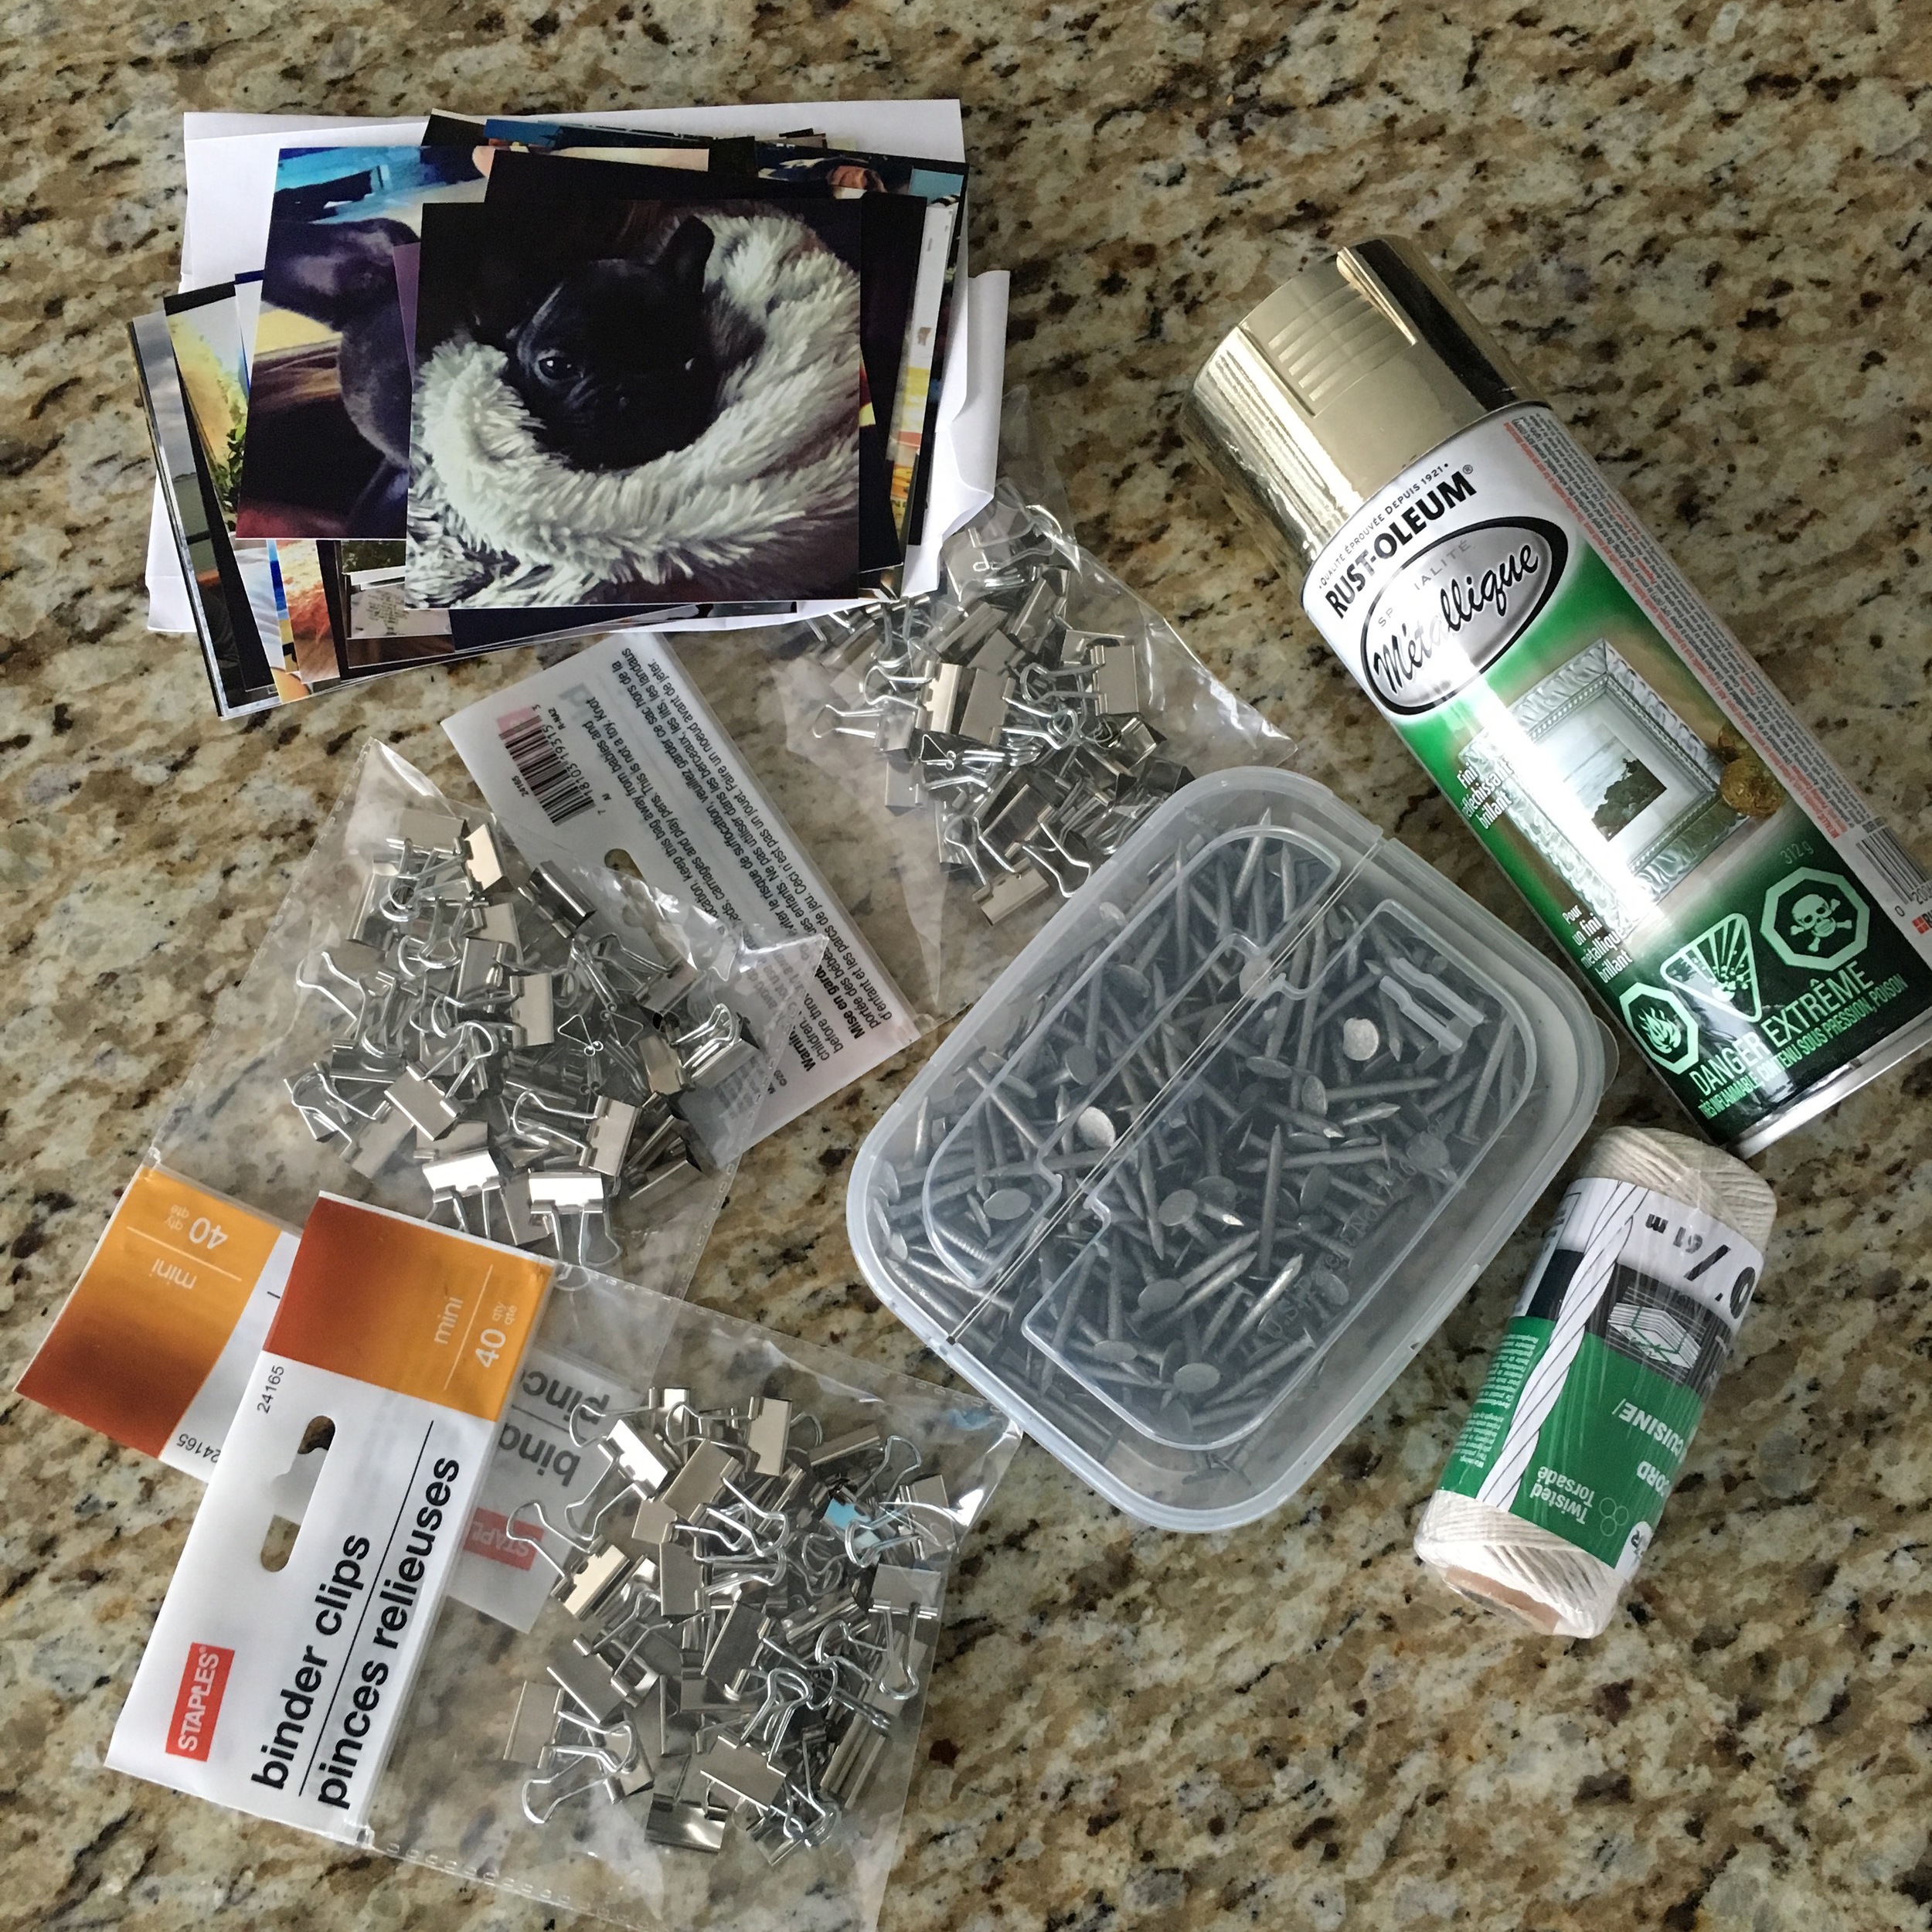
Nails - I used Roofing nails because the heads are wide and the string wont slip off.
Spray Paint- So you can spray paint the nails if you want them to be a different colour
Binder Clips
String
Printed Photos
Shoe Box or any box

TOOLS:

Hammer
Drop Sheet - if you are spray painting
 

PREP:

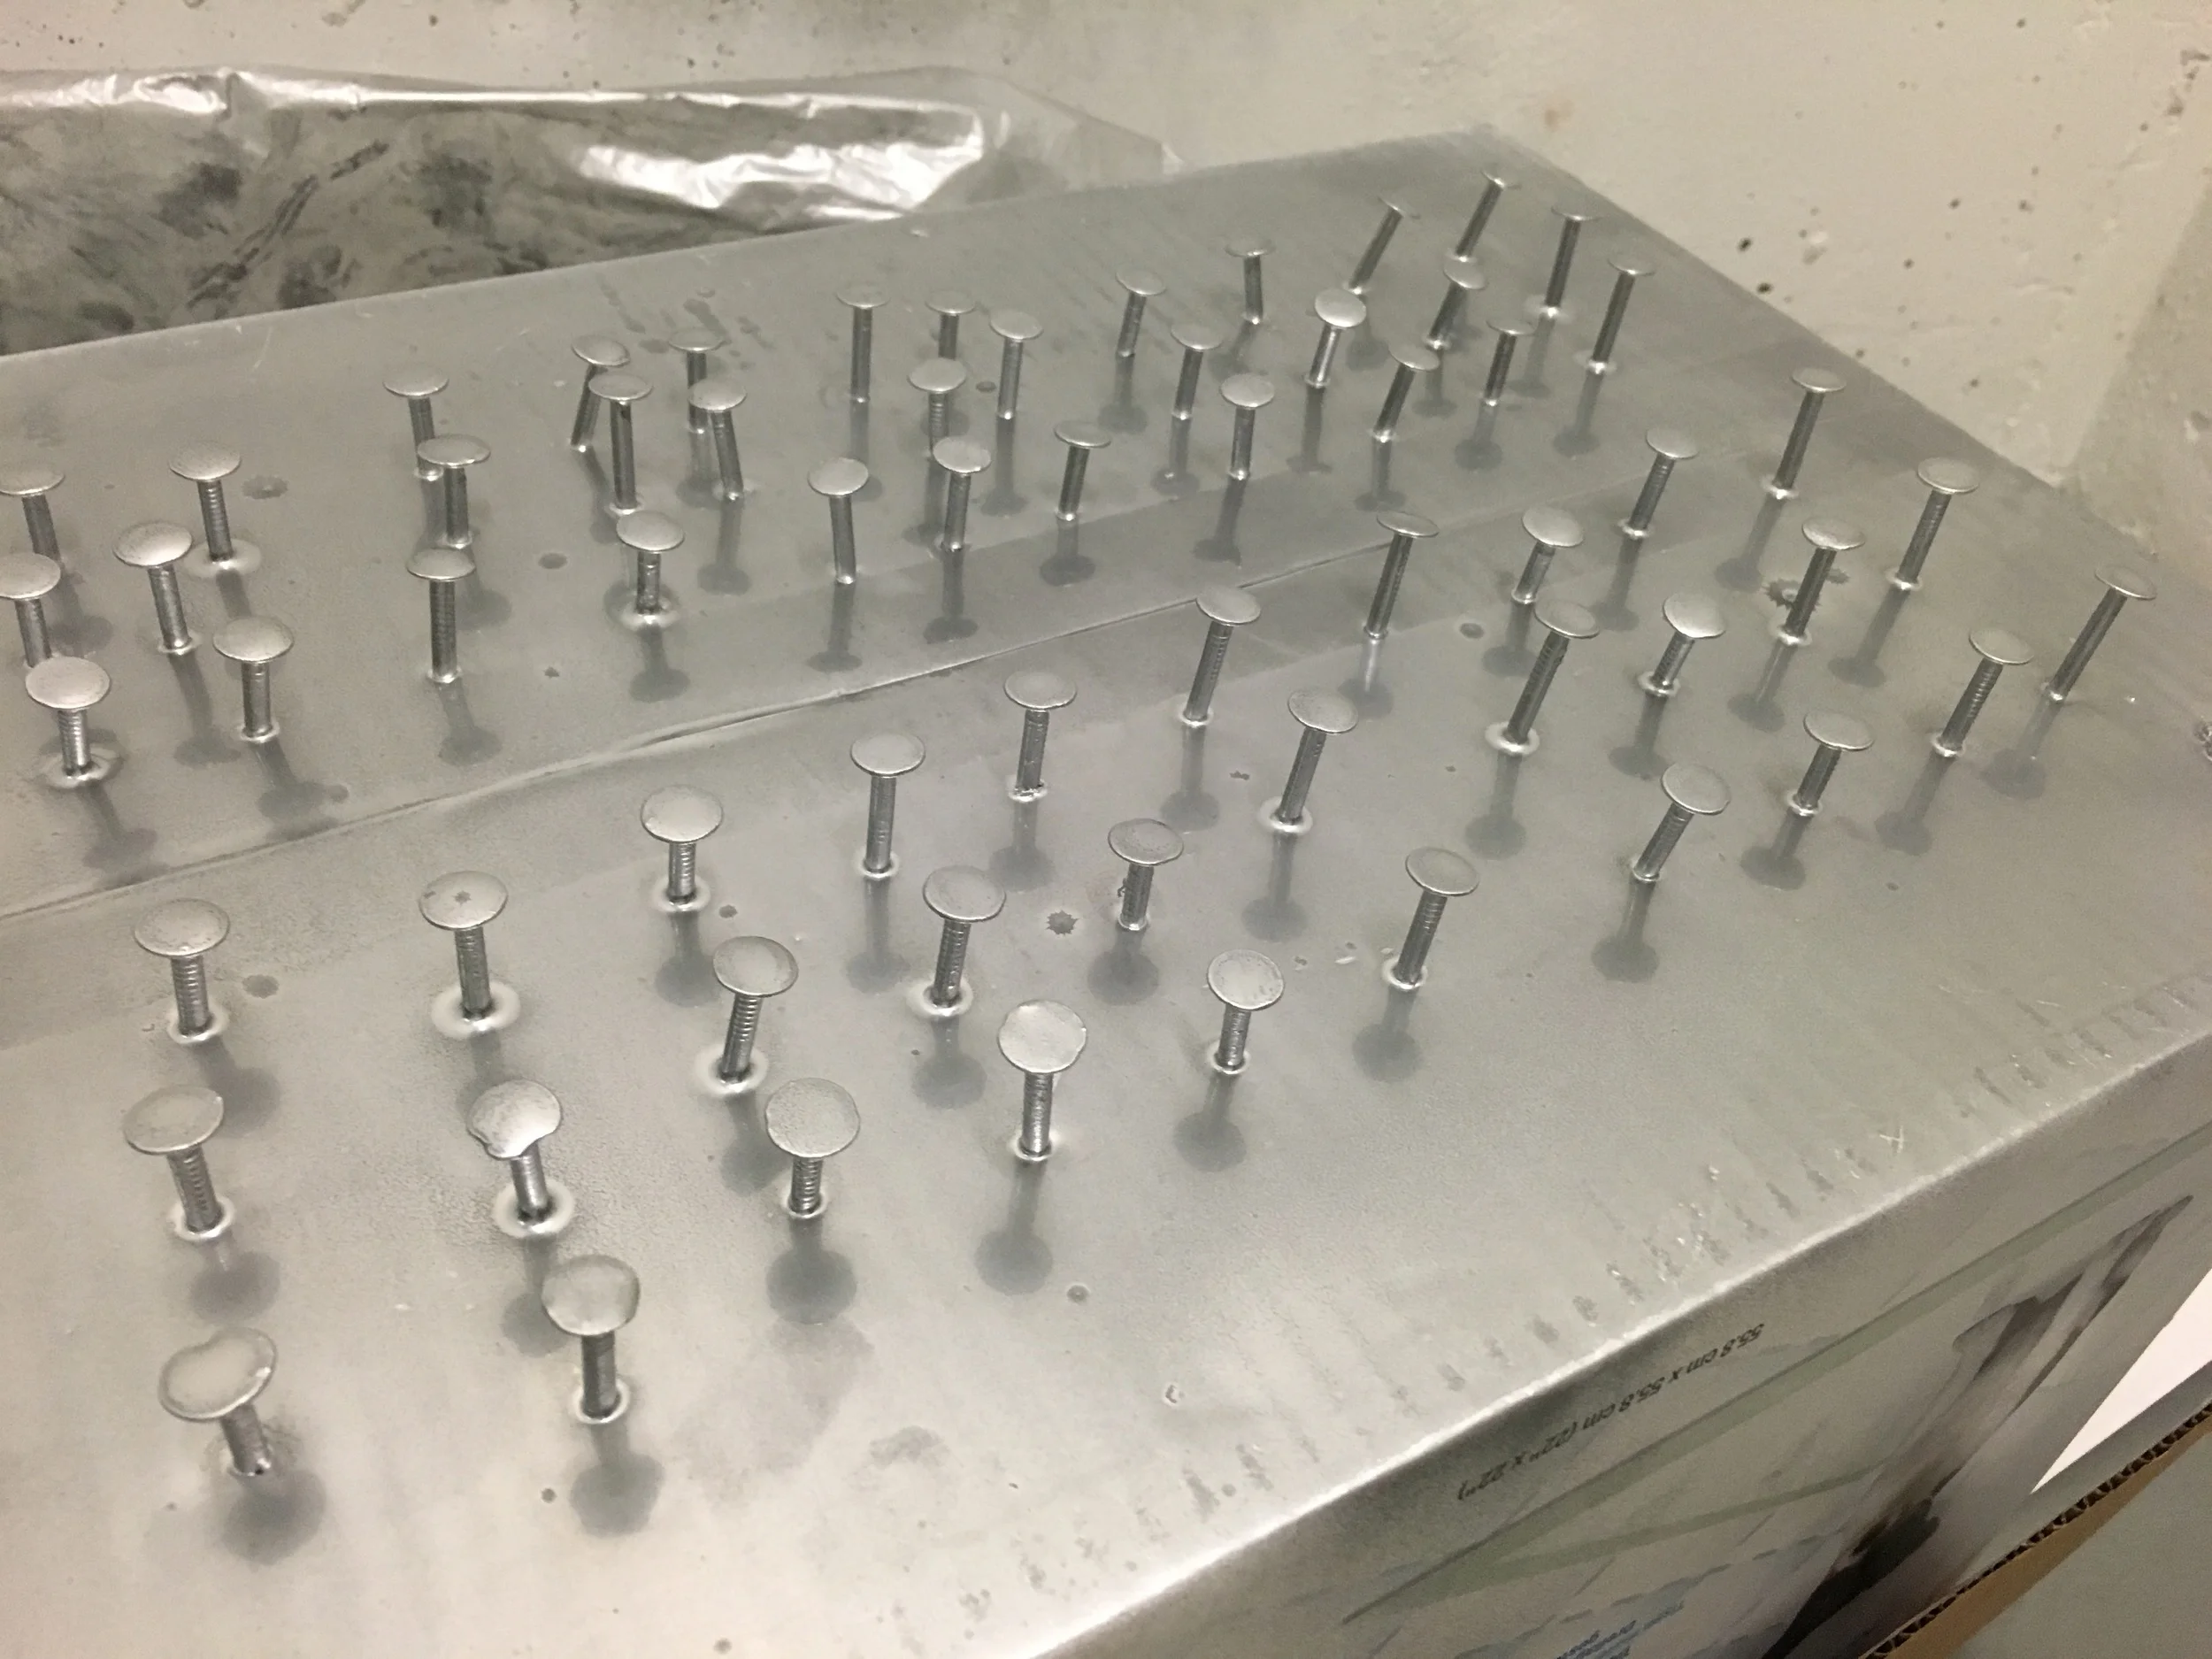
Take the nails and place them into the box so they are half standing out. Place the drop sheet below the box and spray the box and nails with the spray paint. Leave them to dry for a couple hours.

Print of your photos.

DIRECTIONS:

Use the dry spray painted nails and start nailing them into the wall, placing them so they make the outer geometric shape you want.

Take the string and tie it around one nail and then wrap it once around the next nail and move on continuing to wrap around the nails until the whole wall is outlined the way you want.

Next start adding nails on the inside forming triangular shapes.

Take the string and close off all the triangles by wrapping it around the inner nails you just added until you are satisfied with the geometric shapes. When you are done crating your triangular shapes just tie off the string with a knot.

Next take the binder clips and photos and start placing them along the strings so they hang secured to the string.


What do you think? Would you try this approach??? If you have any questions or comments just leave them below and Ill get back to you.


PIN THE POST

CHRISTMAS WREATH

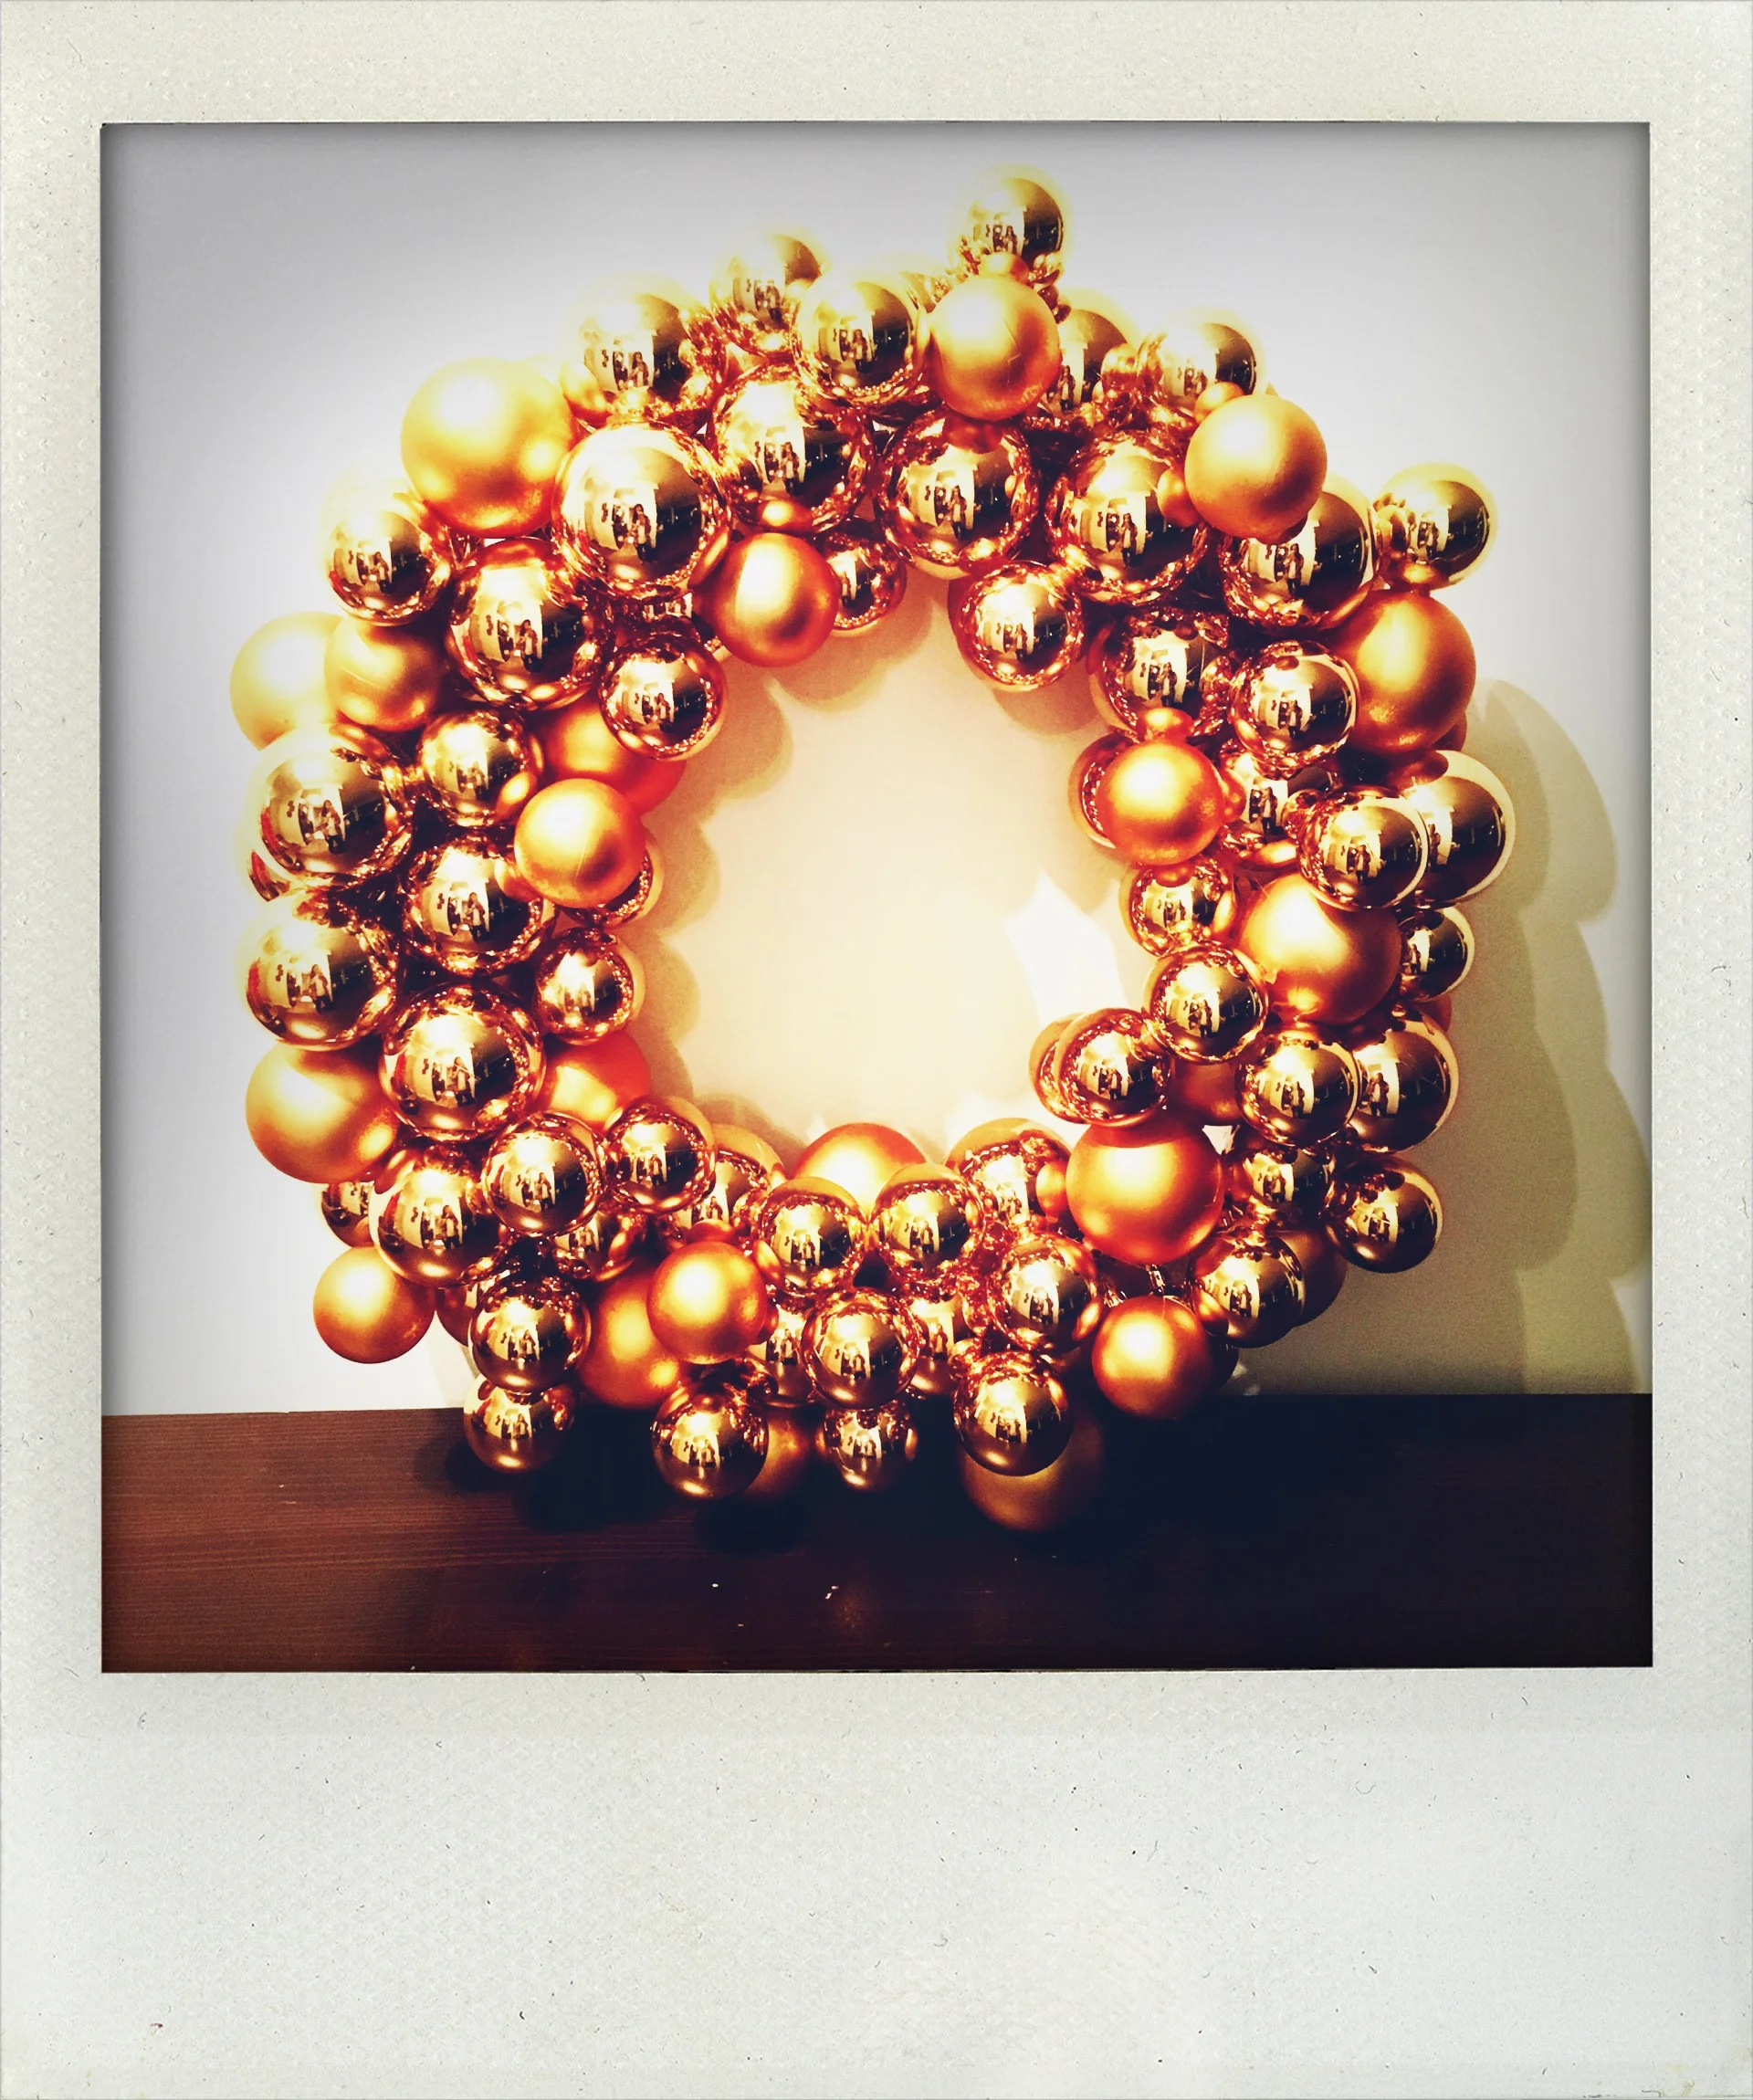
I was feeling kind of festive this year and wanted to make something for my new apartment. I've seen people make wreaths before but I knew I wanted mine to be different, exciting, and bright. On my recent trip to Spain, I was reacquainted with an artist's work at the Guggenheim in Bilbao by the name of Jeff Koons. If you have ever been to the Wynn/Encore in Vegas you have probably seen his work. He makes these giant sculptures that look like they are light as a feather but are actually made of steel and weigh a ton. His subject matter consists of balloon animals, tulips, and even cartoon characters. Inspired by these shiny objects I decided to make this wreath. If you want to know how to make it yourself keep reading!

MATERIALS:

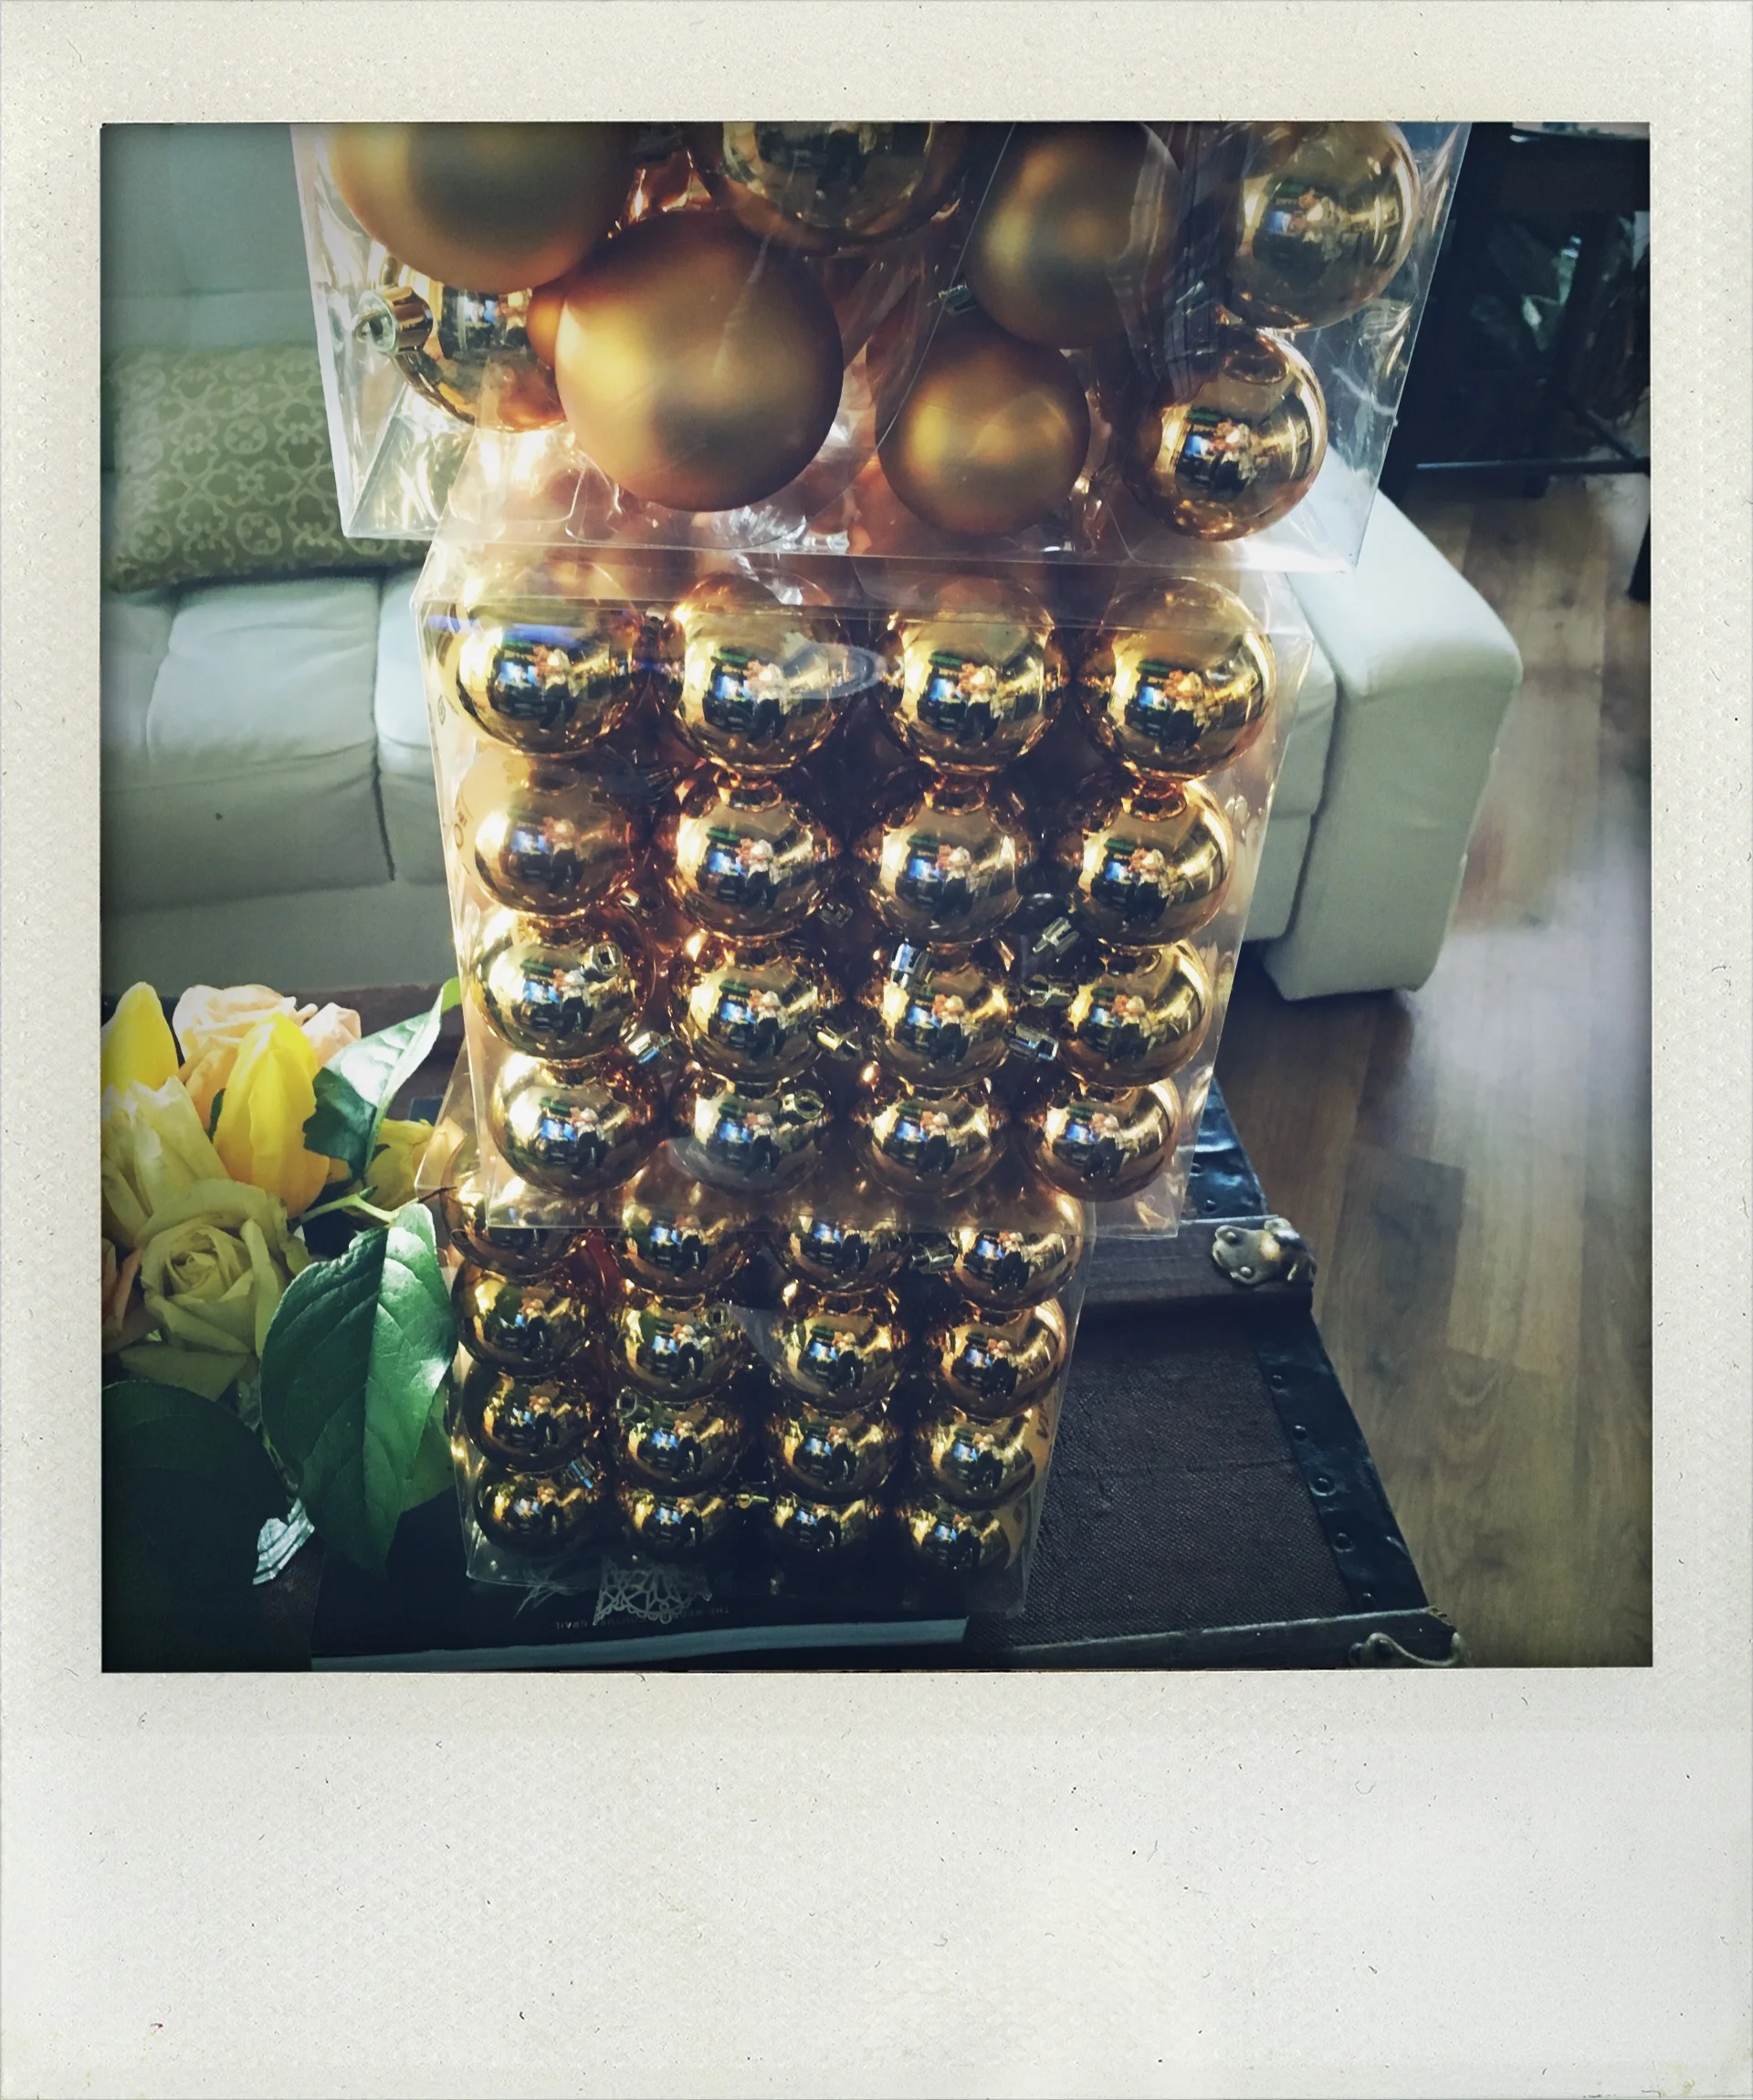
Christmas Ornaments - I got 3 boxes of these plastic balls from IKEA each were $14.99 CAD.
Grape Vine
Wire - To wrap the grape fine together and give it more stability
Glue Gun
Glue Sticks

DIRECTIONS:

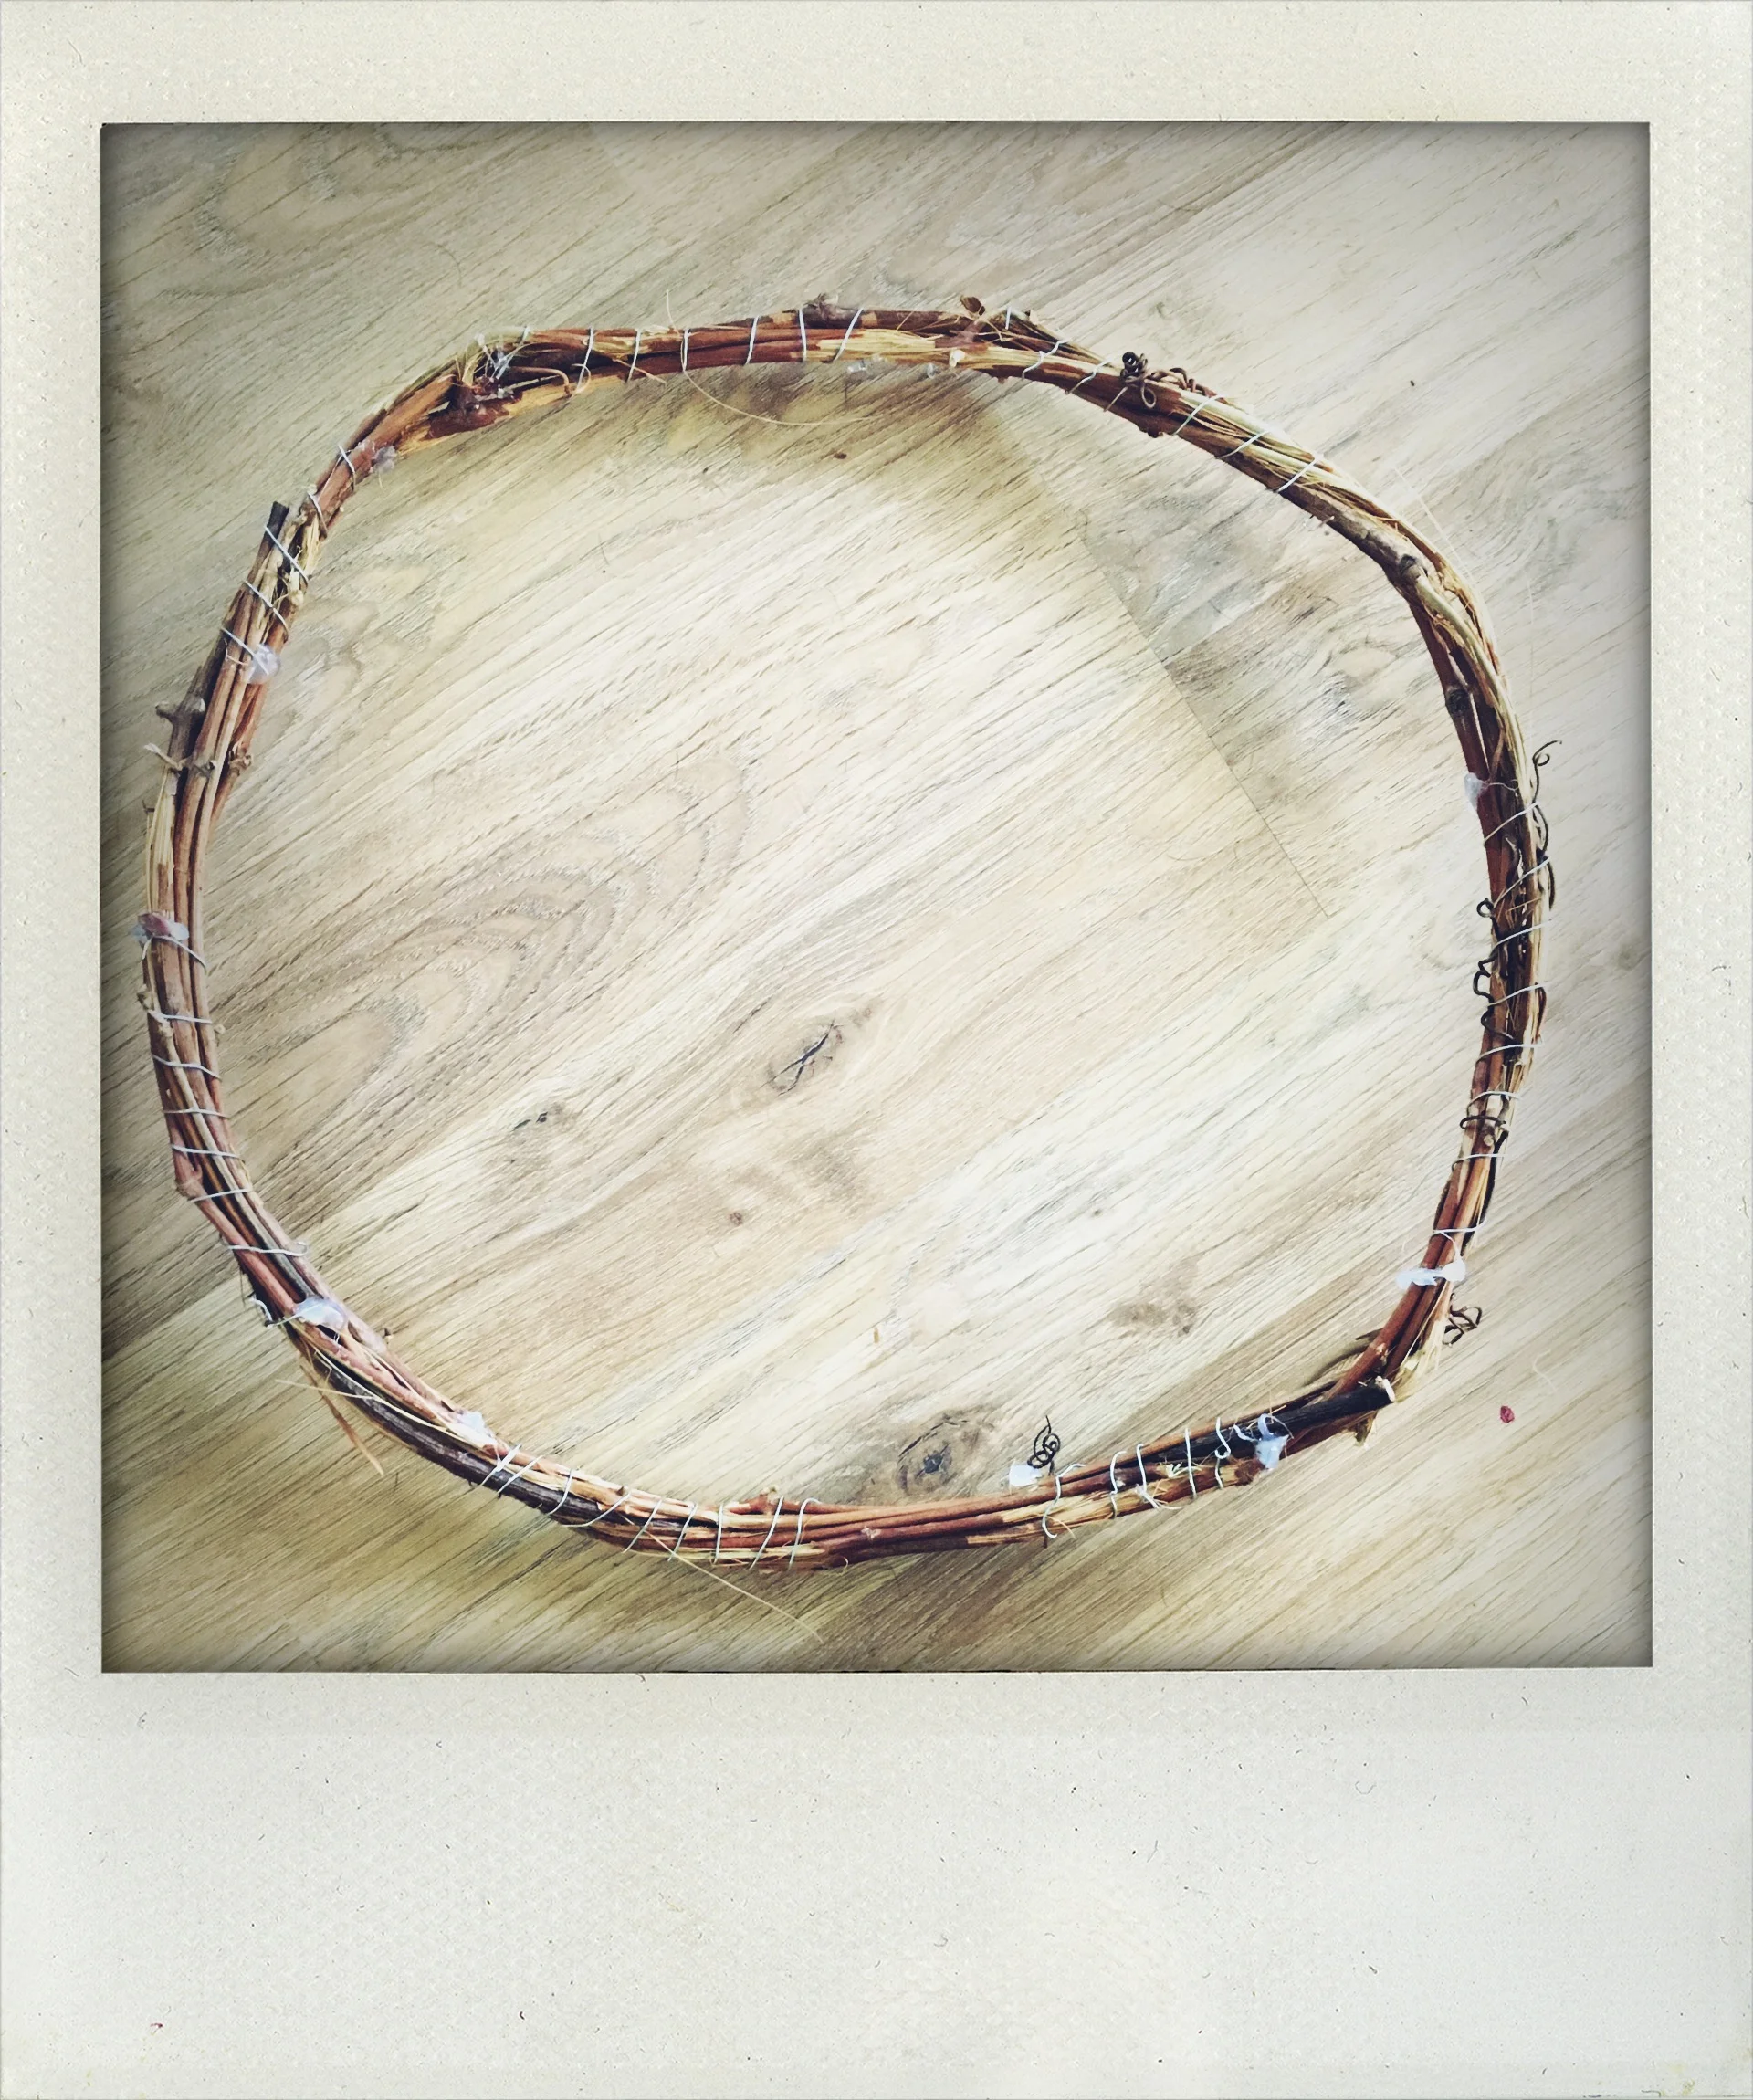
Take your grapevine and wrap it around to approximately the size of the wreath you want.

Next, take some wire and wrap it around the grapevine so that it secures it together and makes a sturdy base.

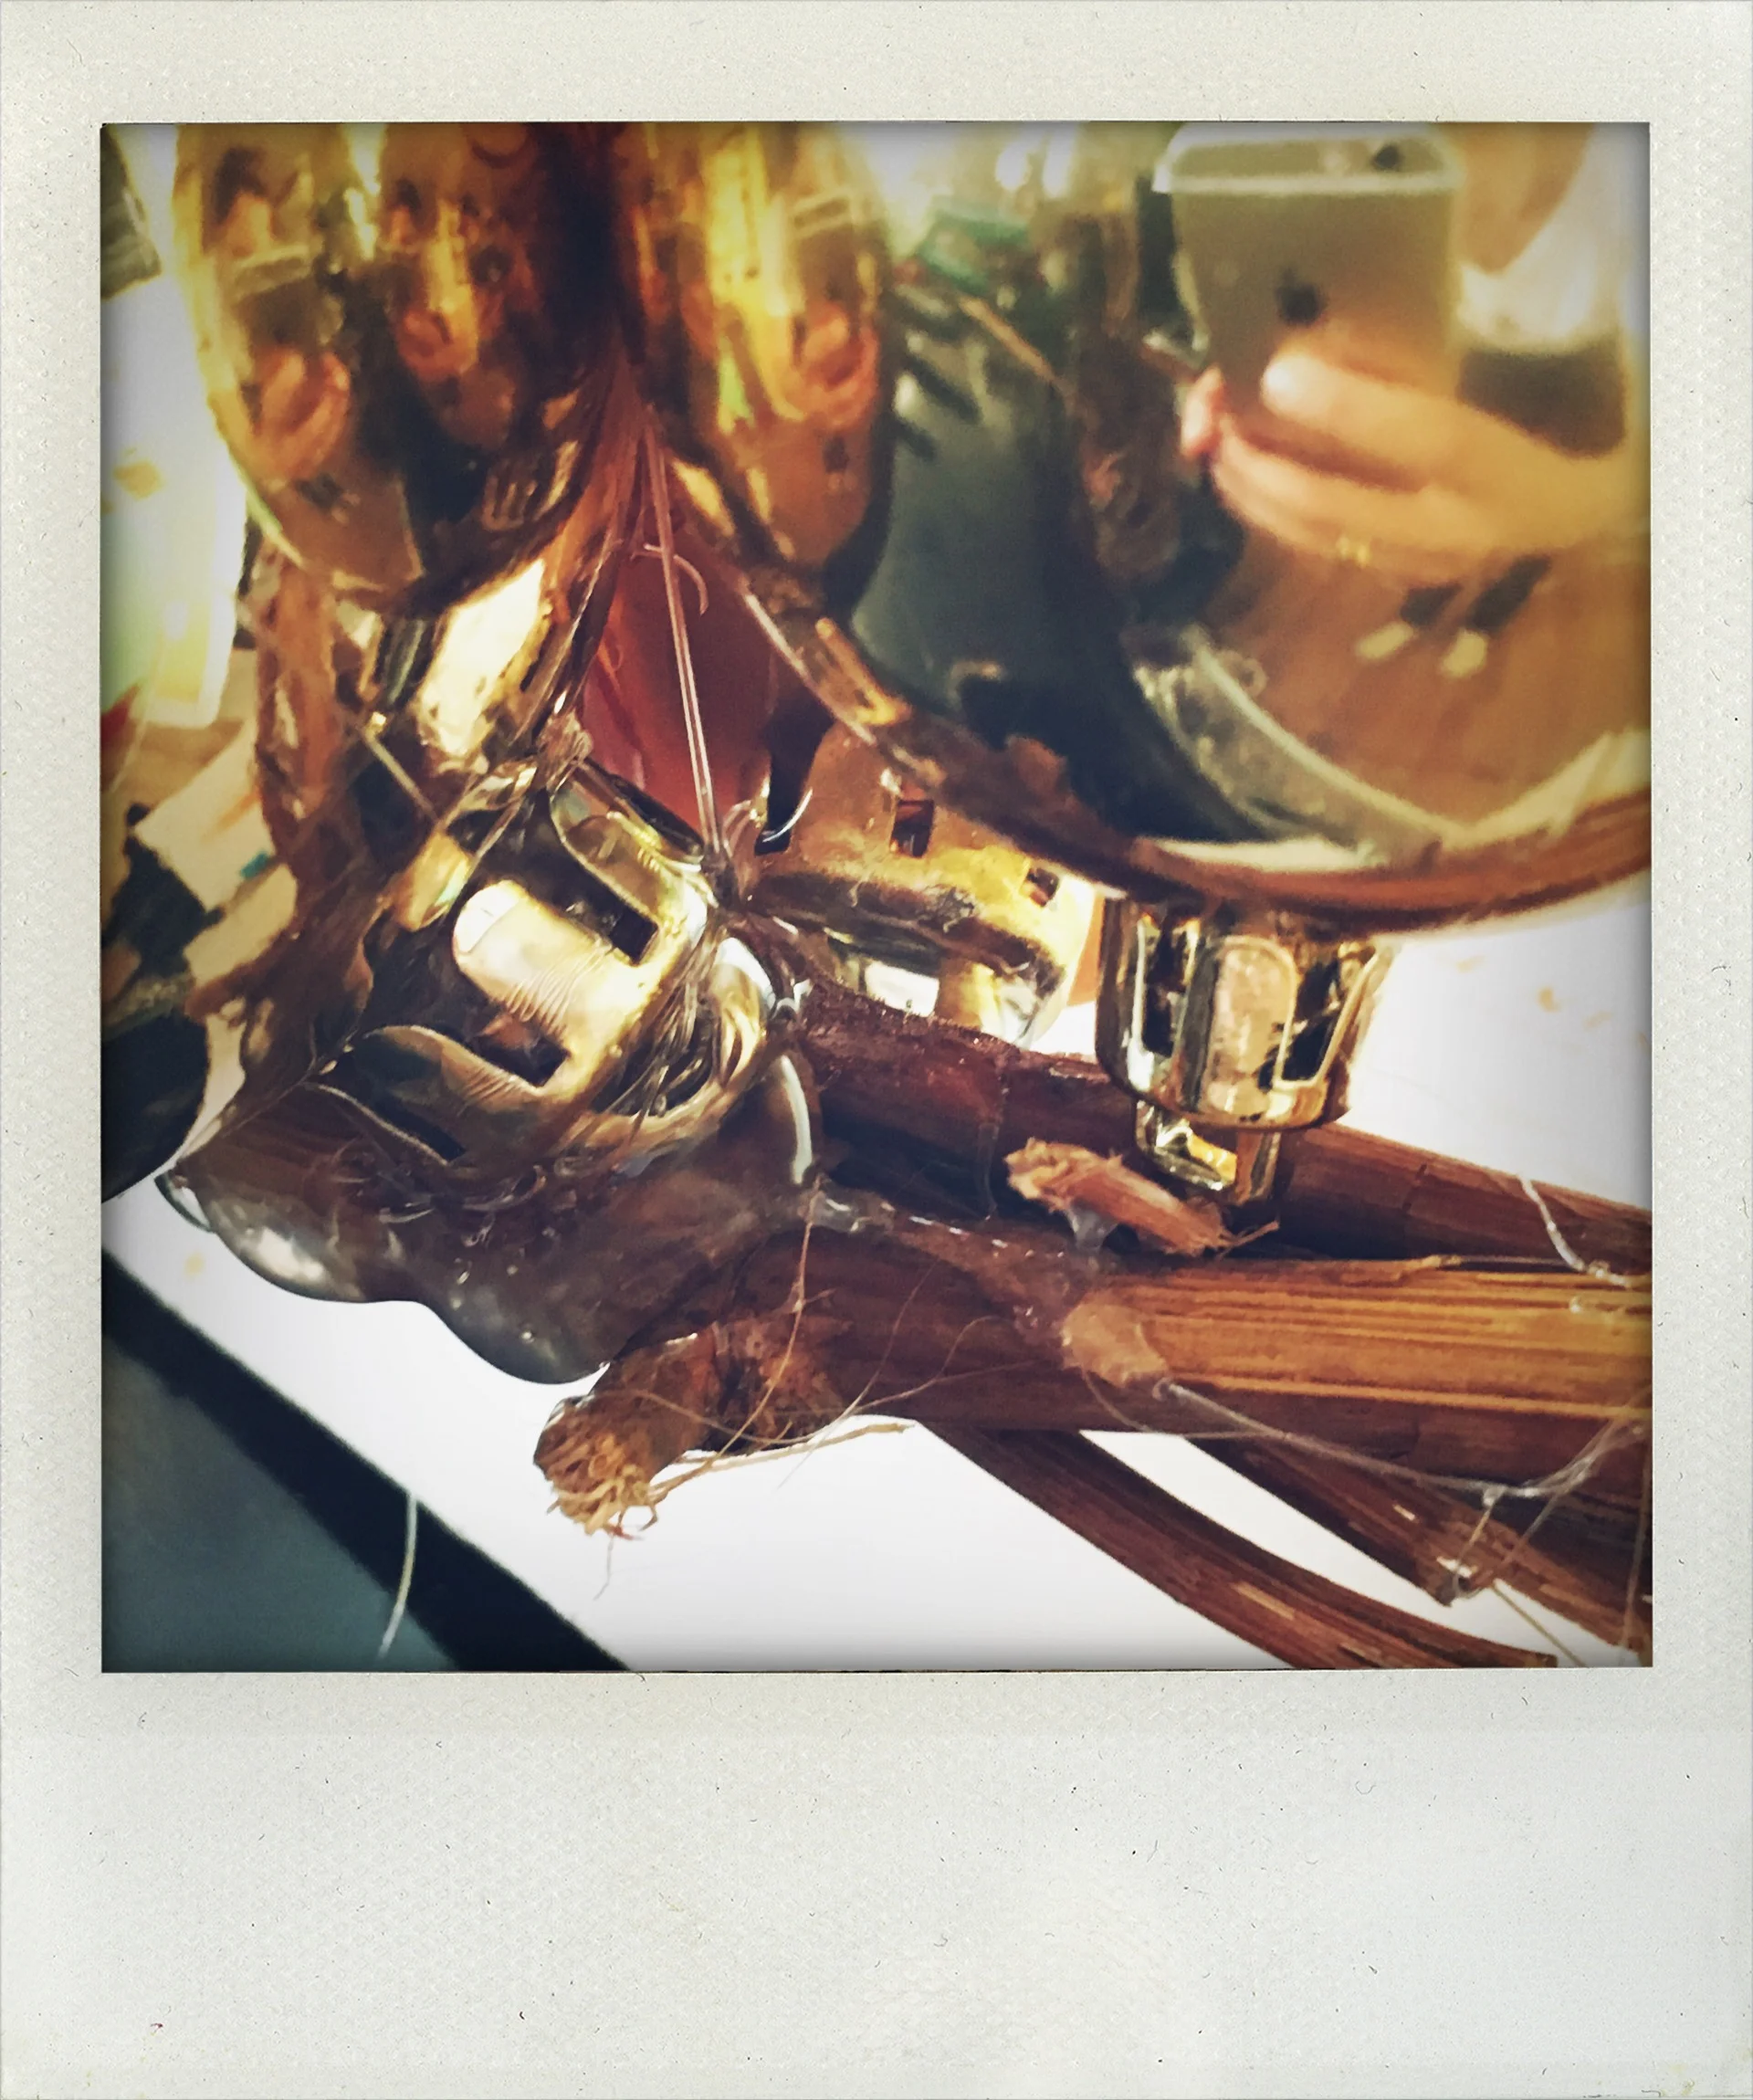
Glue gun the edges of the wire down so that they do not poke out!

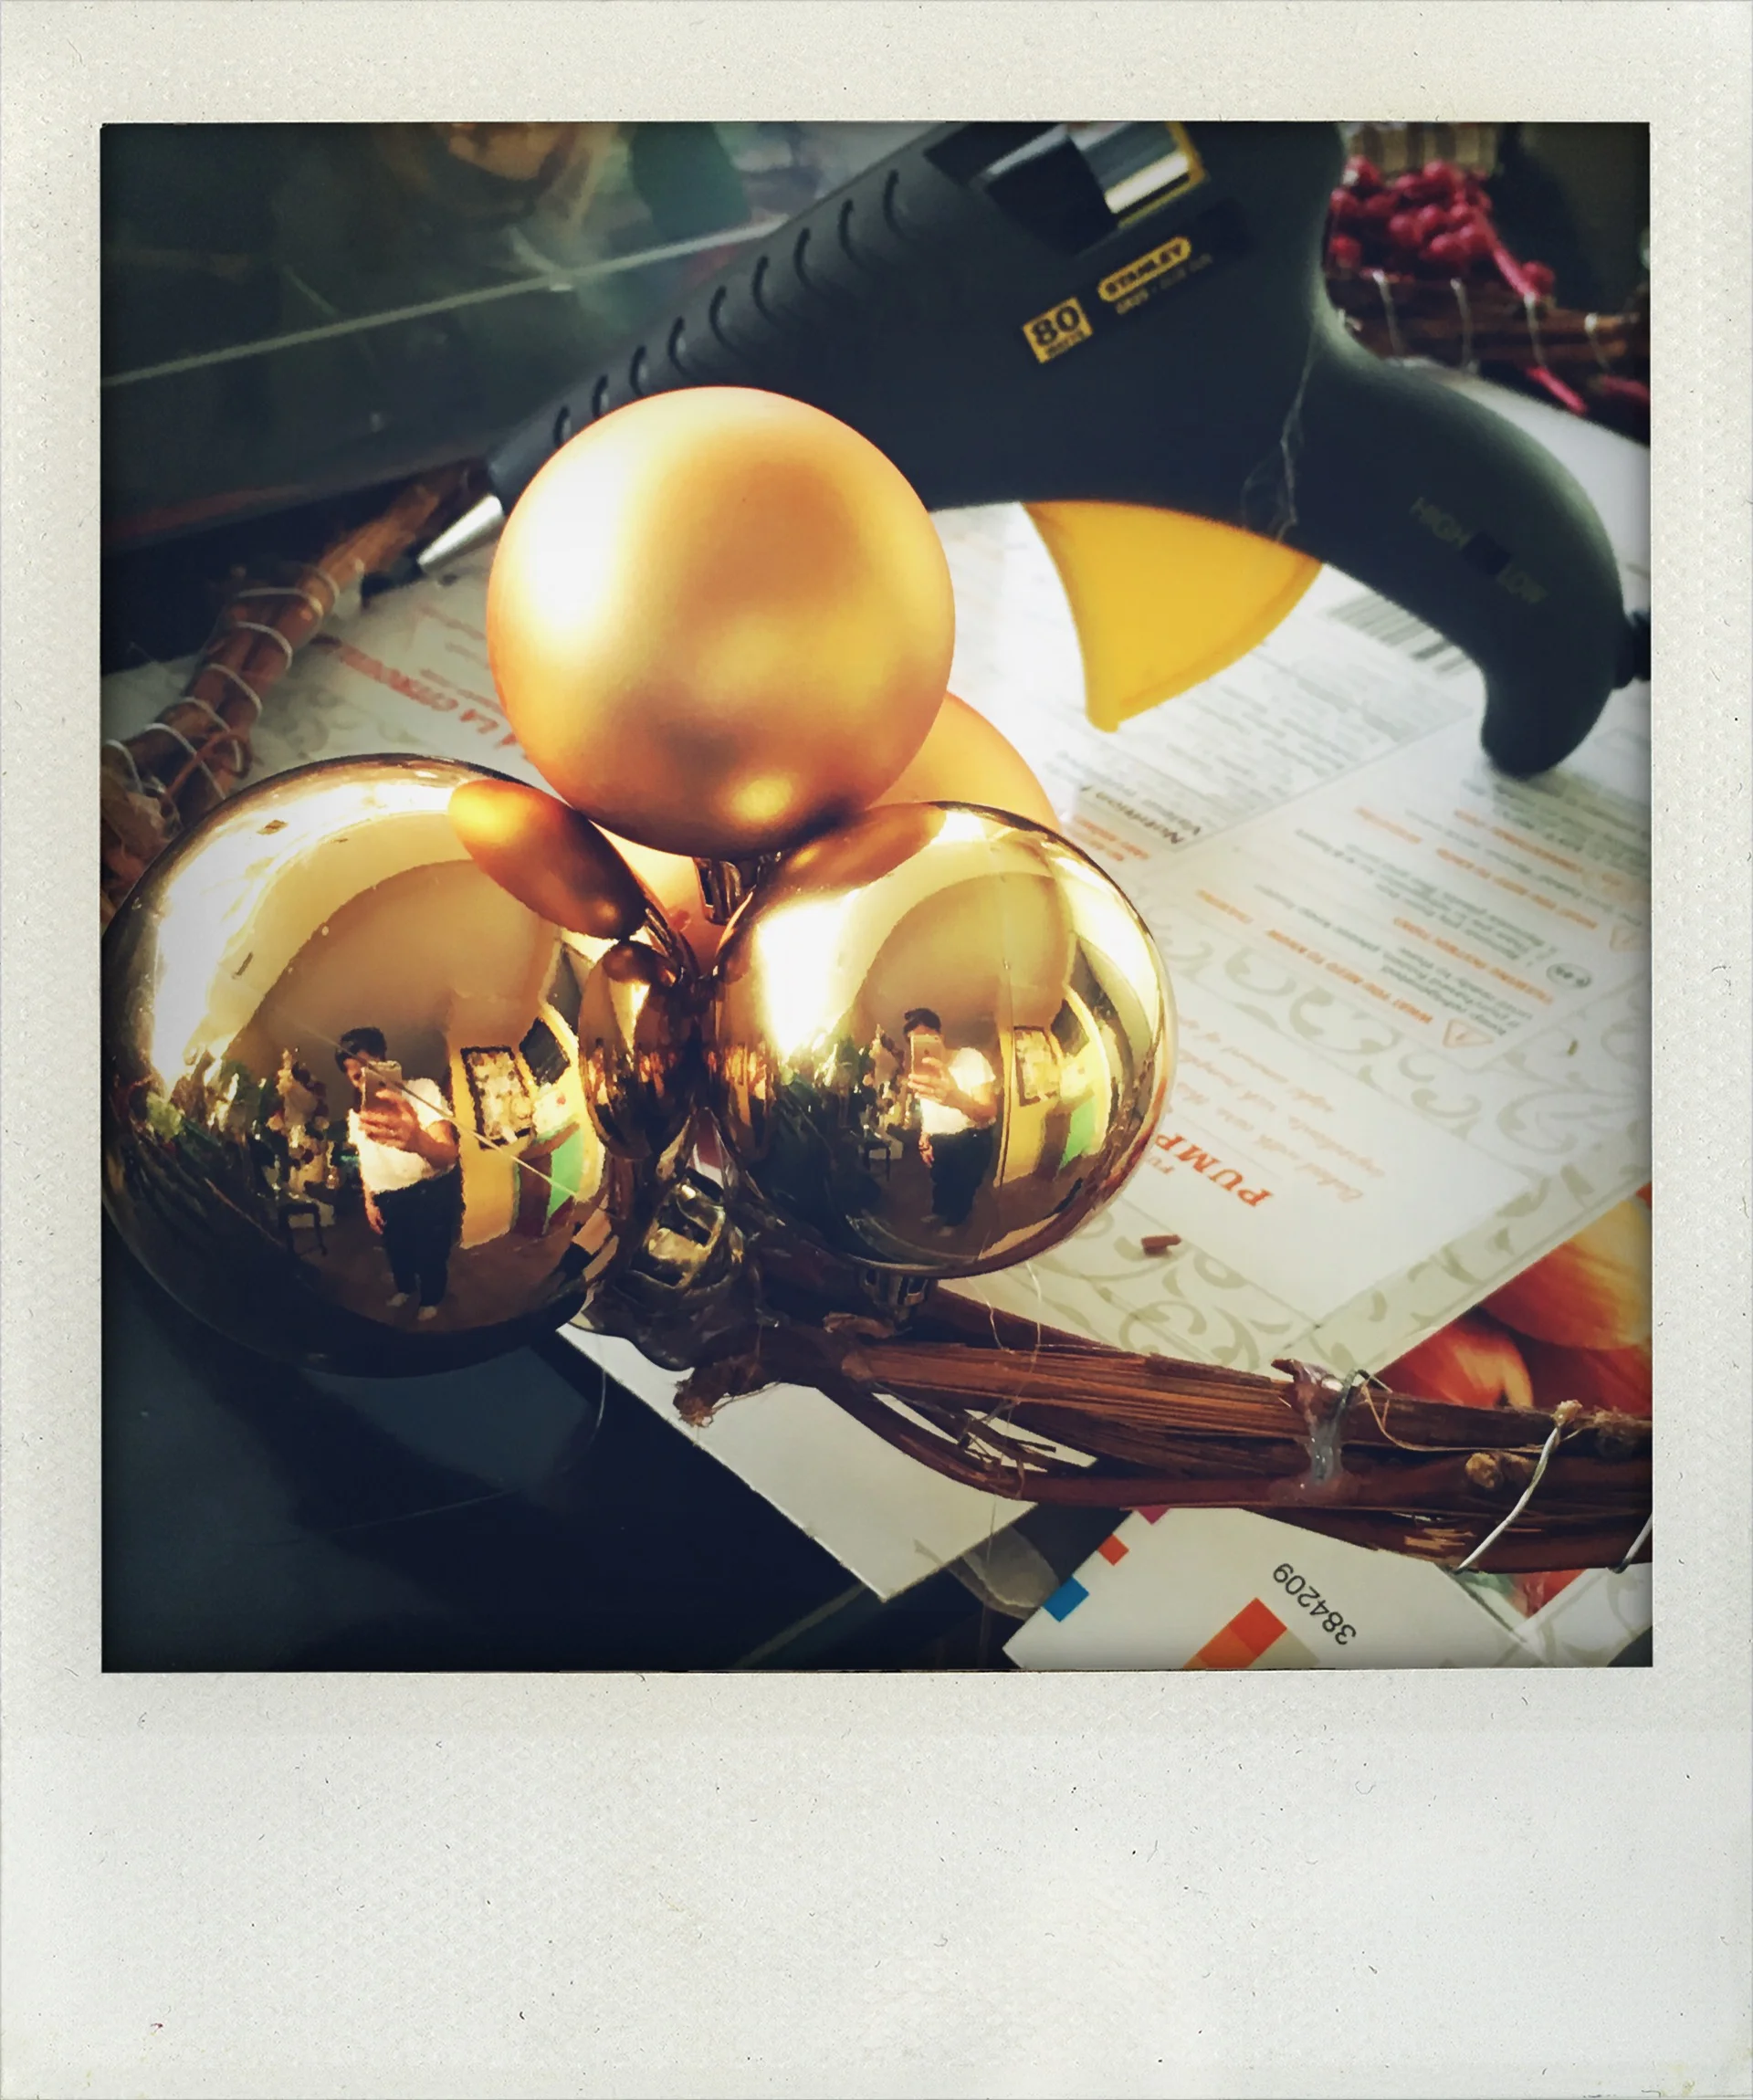
Next start taking your ornaments and gluing them to the grapevine. Keep gluing and make your way around the wreath. Once you are all the way around the wreath start to build up to give it more dimension.

Keep adding until you are satisfied with your results.

If you want to hang the wreath you can always use a nail and hook it into the grapevine base at the back or you can use a ribbon and tie it up.


If you have any questions or want to know more feel free to leave your comments and questions below in the message box! Did you like this activity? Do you want to see more of them? I’m always happy to hear from my visitors!!!


PIN THIS POST