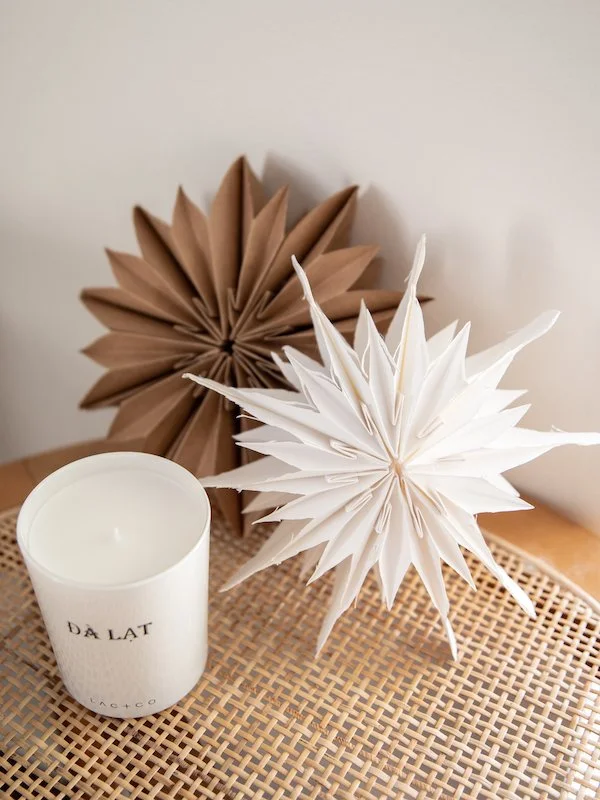
DIY CHRISTMAS DECORATIONS: PAPER SNOWFLAKES!
There is nothing like a little Christmas crafting to get you and your space into the holiday spirit! Am I right?!
Since moving into our new Toronto Victorian home a few months ago, I have been so focused on getting our first floor renovations started that I didn’t expect to be able to celebrate Christmas in our new home. Perhaps overly ambitious on my part, I expected to be in the throws of renovations, unable to host festive soirees this year with friends and family but instead, I was given the gift of time. Time to slow down, settle in and savour the season.
So yesterday, I popped out to the store to grab some crafty materials to create these super cute paper snowflake to jazz up my space for the holiday season. I love how each paper snowflake has its own unique shape and look, and how impactful this inexpensive Christmas decor DIY can have on your space!
If you are looking for a fun and craft way to get into the holiday spirit, you are going to love this simple DIY Christmas decoration and new paper snowflake hack!
FOLLOW ME ON INSTAGRAM @ISTHATSOH


ITEMS YOU WILL NEED FOR THIS SIMPLE CHRISTMAS DECOR TUTORIAL
Makes 1 Snowflake
MATERIALS:
8-10 Paper Lunch Bags - I purchased a variety of colours and sizes from the store
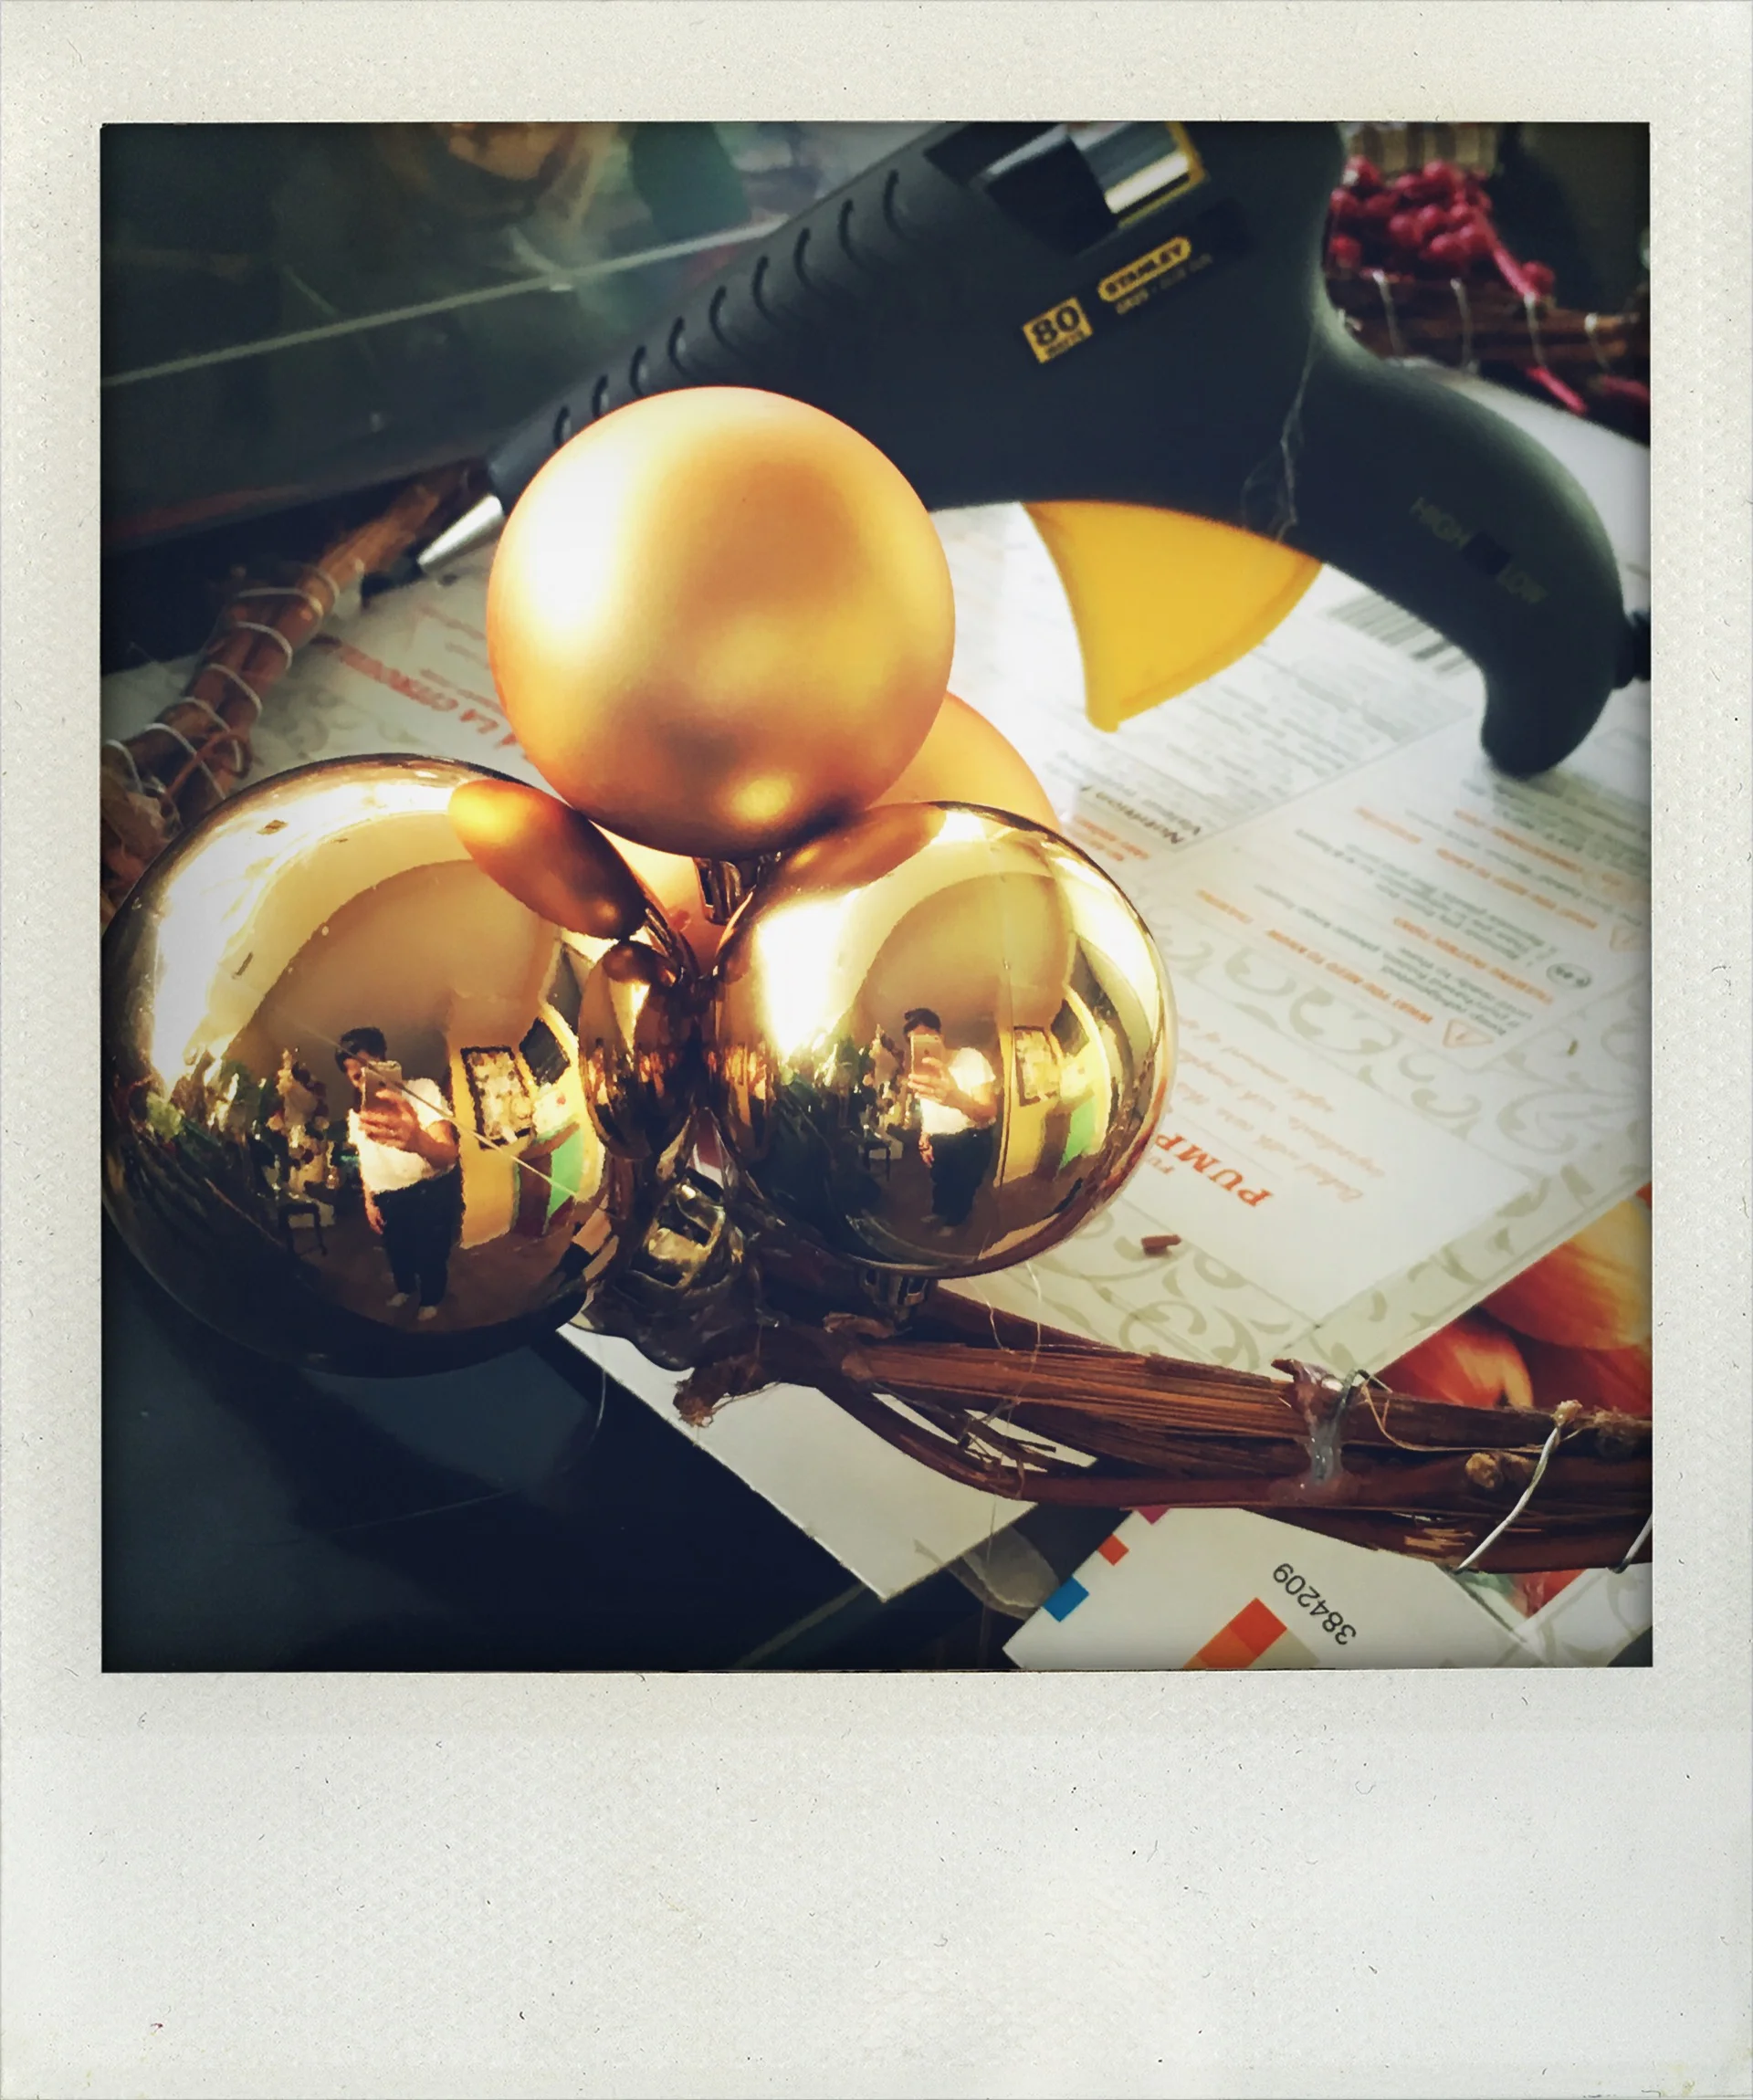
A Hot Glue Gun
1 Glue Sticks - this is plenty and more then enough for making one paper snowflake
Scissors
Tape or String to use for hanging/fastening the snowflake to the wall
Additional Optional Fun Materials:
Spray Paint - I spray painted some of mine silver and it looked really cute
Glitter
Adhesive Pearl Stickers
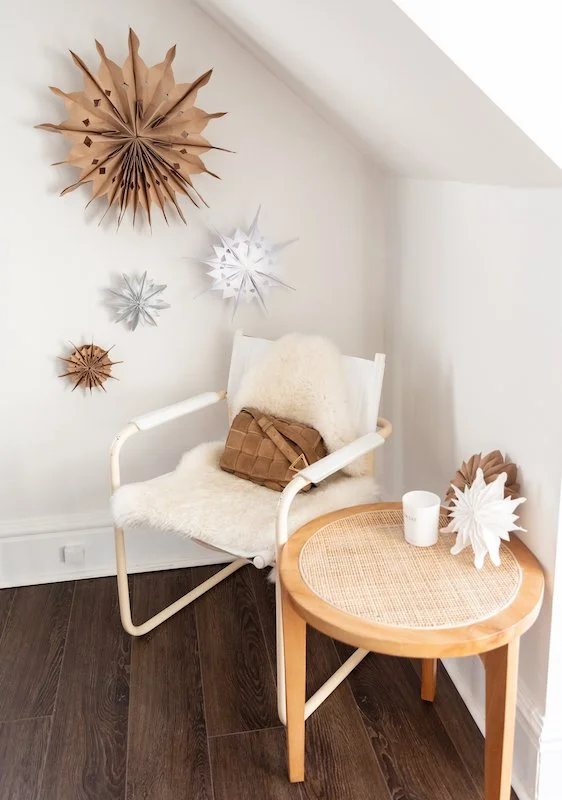
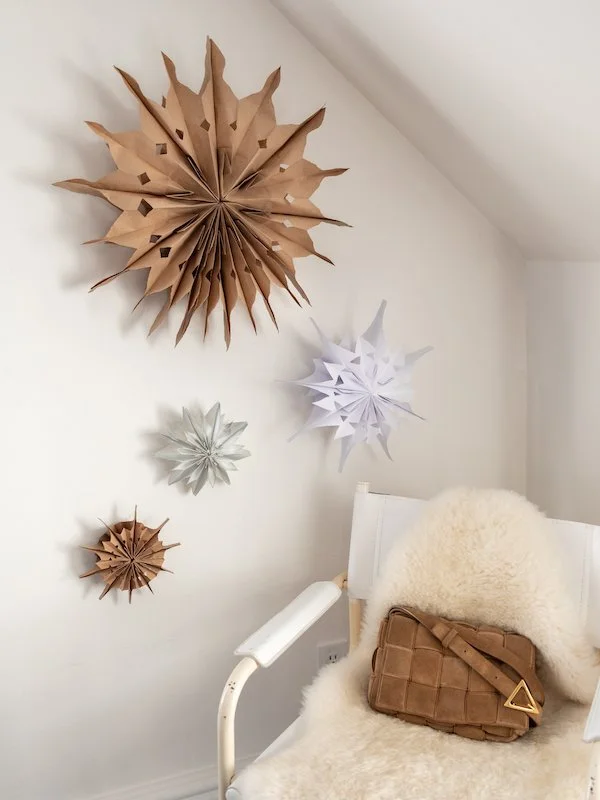
SIMPLE CHRISTMAS DECOR THAT MAKE A BIG IMPACT!
In the shape of a ‘T’, add hot glue to the backside of a paper bag before sticking another paper bag on top.
Repeat until you have done this for all 8-10 bags.
Using your scissors, cut a unique shape into the bag - it doesn’t have to be even or symmetrical.
Open and glue ends together to reveal your unique snowflake which is now ready to be taped to the wall, or added to your space!
Check out this video below for further clarification!
CHECK OUT THESE OTHER FUN DIY HOME DECOR IDEAS
I hope you enjoyed making these super cute DIY Christmas decorations as much a did. If you have any questions about this simple, paper snowflakes Christmas decor hack, feel free to share them in the comment sections below.
Happy crafting!