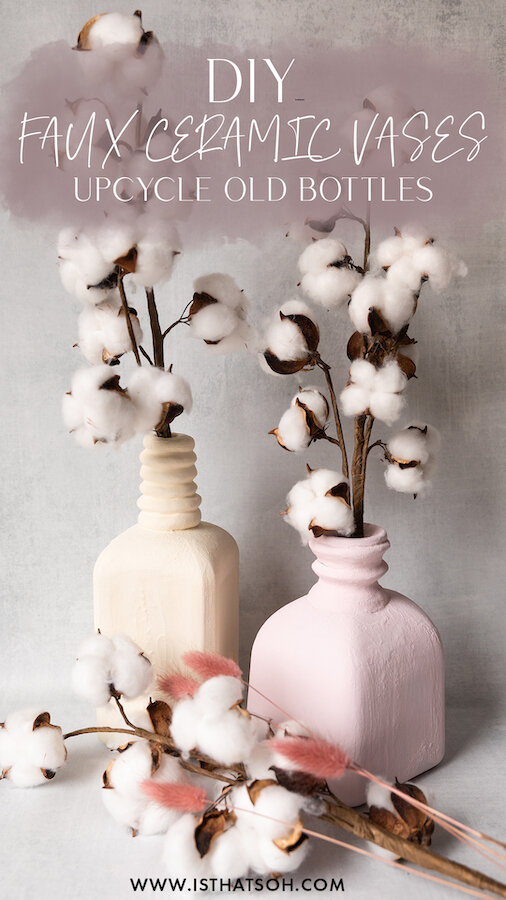
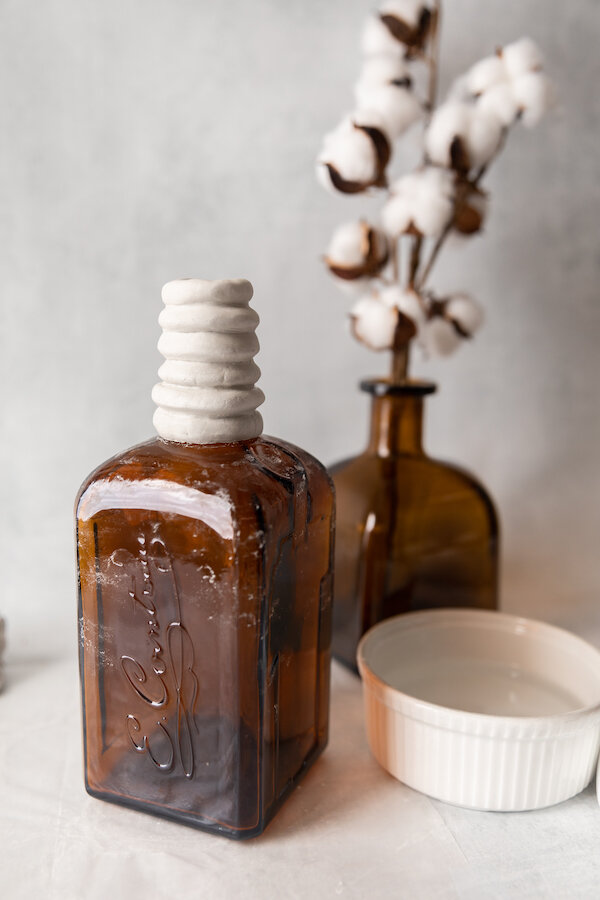
Oops I did it again! I’m back with another awesome DIY tutorial that has been trending on Tik Tok - DIY painted vases using upcycled old wine and alcohol bottles! I love the look of these DIY ceramic vases and the way they dress up a space. Doing this DIY honestly made me so excited to decorate my new place (whenever we find it) and when topped off with some dried flowers, a tapered candle or fresh flowers, they bring a whole new level of cuteness to home decor. Creating the DIY ceramic coating is so easy and only requires one ingredient other than your paint to achieve. Not to mention it adheres so well to glass so you really only need two coats to get the full effect. If you want to create a beautiful but cheap vase centerpiece for your home I highly recommend giving this little DIY of mine a go!
* Please Note - Some links in this post may be affiliate links *
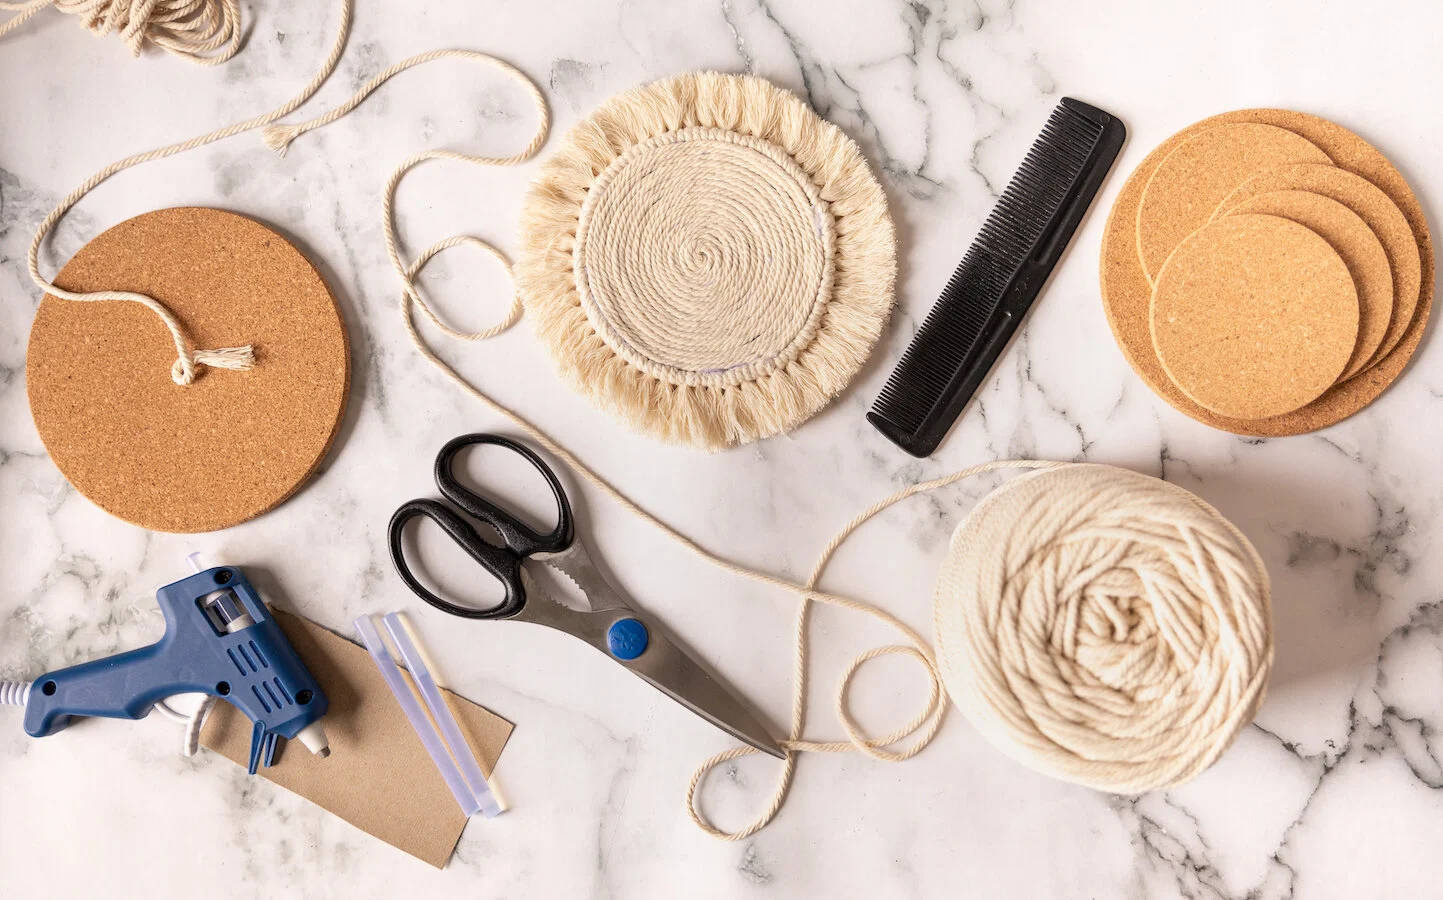
MATERIALS:
Makes 1 Vase
A Up-Cycled Bottle - I used a Don Julio and Cointreau bottle
Air Dry Clay
Wax Paper
Acrylic Paint - mix to colour of choice
Baking Powder
Paint Brushes
A Mixing Utensil - I used the end of a plastic fork
Extras:
Goo Gone
A Takeout Container - to be used as base that you can easily rotate
CHECK OUT THESE OTHER FUN DIY’S


INSTRUCTIONS:

Remove labels from bottle and any additional stickers. If you have trouble I recommend using Goo Gone. Allow to air dry until completely dry.
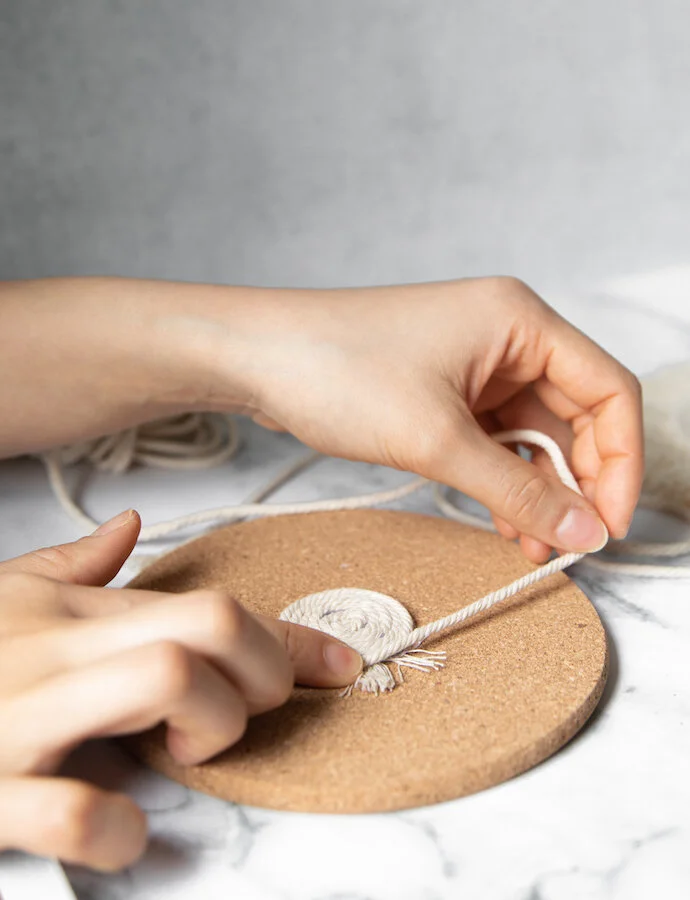
Next, we will create the clay rings for the neck of the bottle. Roll out clay until you reach a uniform width and cut desired amount of pieces into equal lengths making sure that they are long enough to go around the neck of the bottle.

Grab one piece of clay at a time and wrap it around the neck of the bottle sealing the ends together with a little water. Continue this process the whole way up the neck. Once finished, set aside to dry for minimum 1 hour.
Once the clay has dried, place it on a pedestal (I used a takeout container). This will make it easier to rotate when painting so you dont have to touch the bottle.
On a palette (I used a paper plate), mix your acrylic paint to desired colour using a mixing utensil (I used a fork). Make sure you have enough for the entire bottle (better to have more than not enough as it will be difficult to get the same colour). Add in baking powder, 1/2 a teaspoon at a time until you reach your desired consistency. I used 2 tablespoons of paint to 1 Teaspoon of baking powder. Mix until baking powder is well incorporated.

Using a brush, paint the bottles with your paint mixture. Paint as many coats as necessary until necessary until the bottle is fully coated. Set aside to dry for 24 hours before use.
Happy Crafting!
FOLLOW ME ON INSTAGRAM @ISTHATSOH


I hope you enjoyed this DIY as much as I do. If you have any comments please leave them below and I'll be happy to answer them as soon as I can! Happy crafting!!!