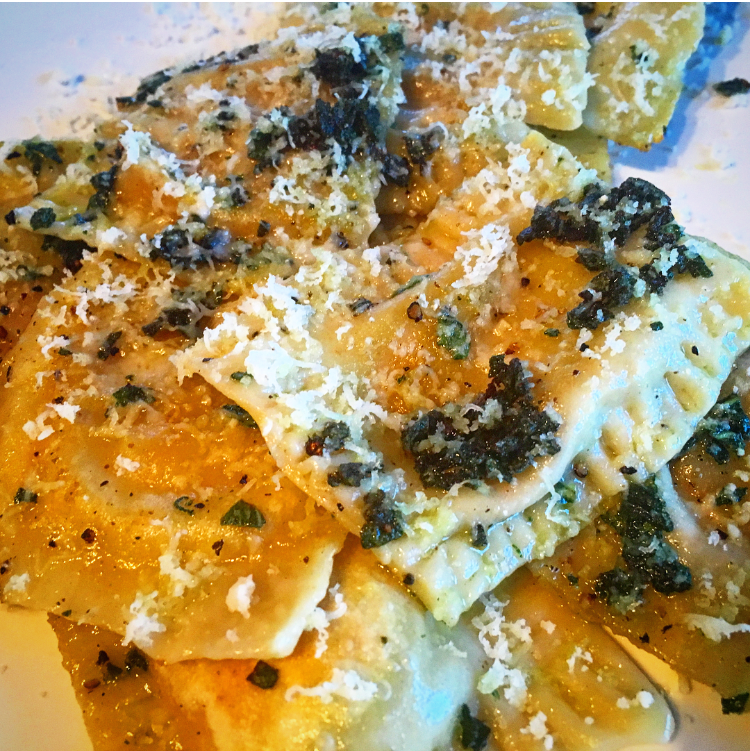

I love me some pasta and this is one of my easiest recipes. If you are hungry or dealing with some 'hangry' company/kids this is the fastest and easiest meal to get on the table. The longest part of this recipe is waiting for the water to boil, after that it's done in 10 minutes. I'm not celiac but I like using gluten free pasta whenever I can. In this case I used qunioa pasta (my fav gluten free kind of noodle) because it is easier to digest plus its a complex carb (1 part protein to 2 part carbs) making your noodles that much healthier for you. I also find that taste and texture wise it's the closest to regular aldente wheat pasta from a box. Enjoy!
Serves 2 Adults
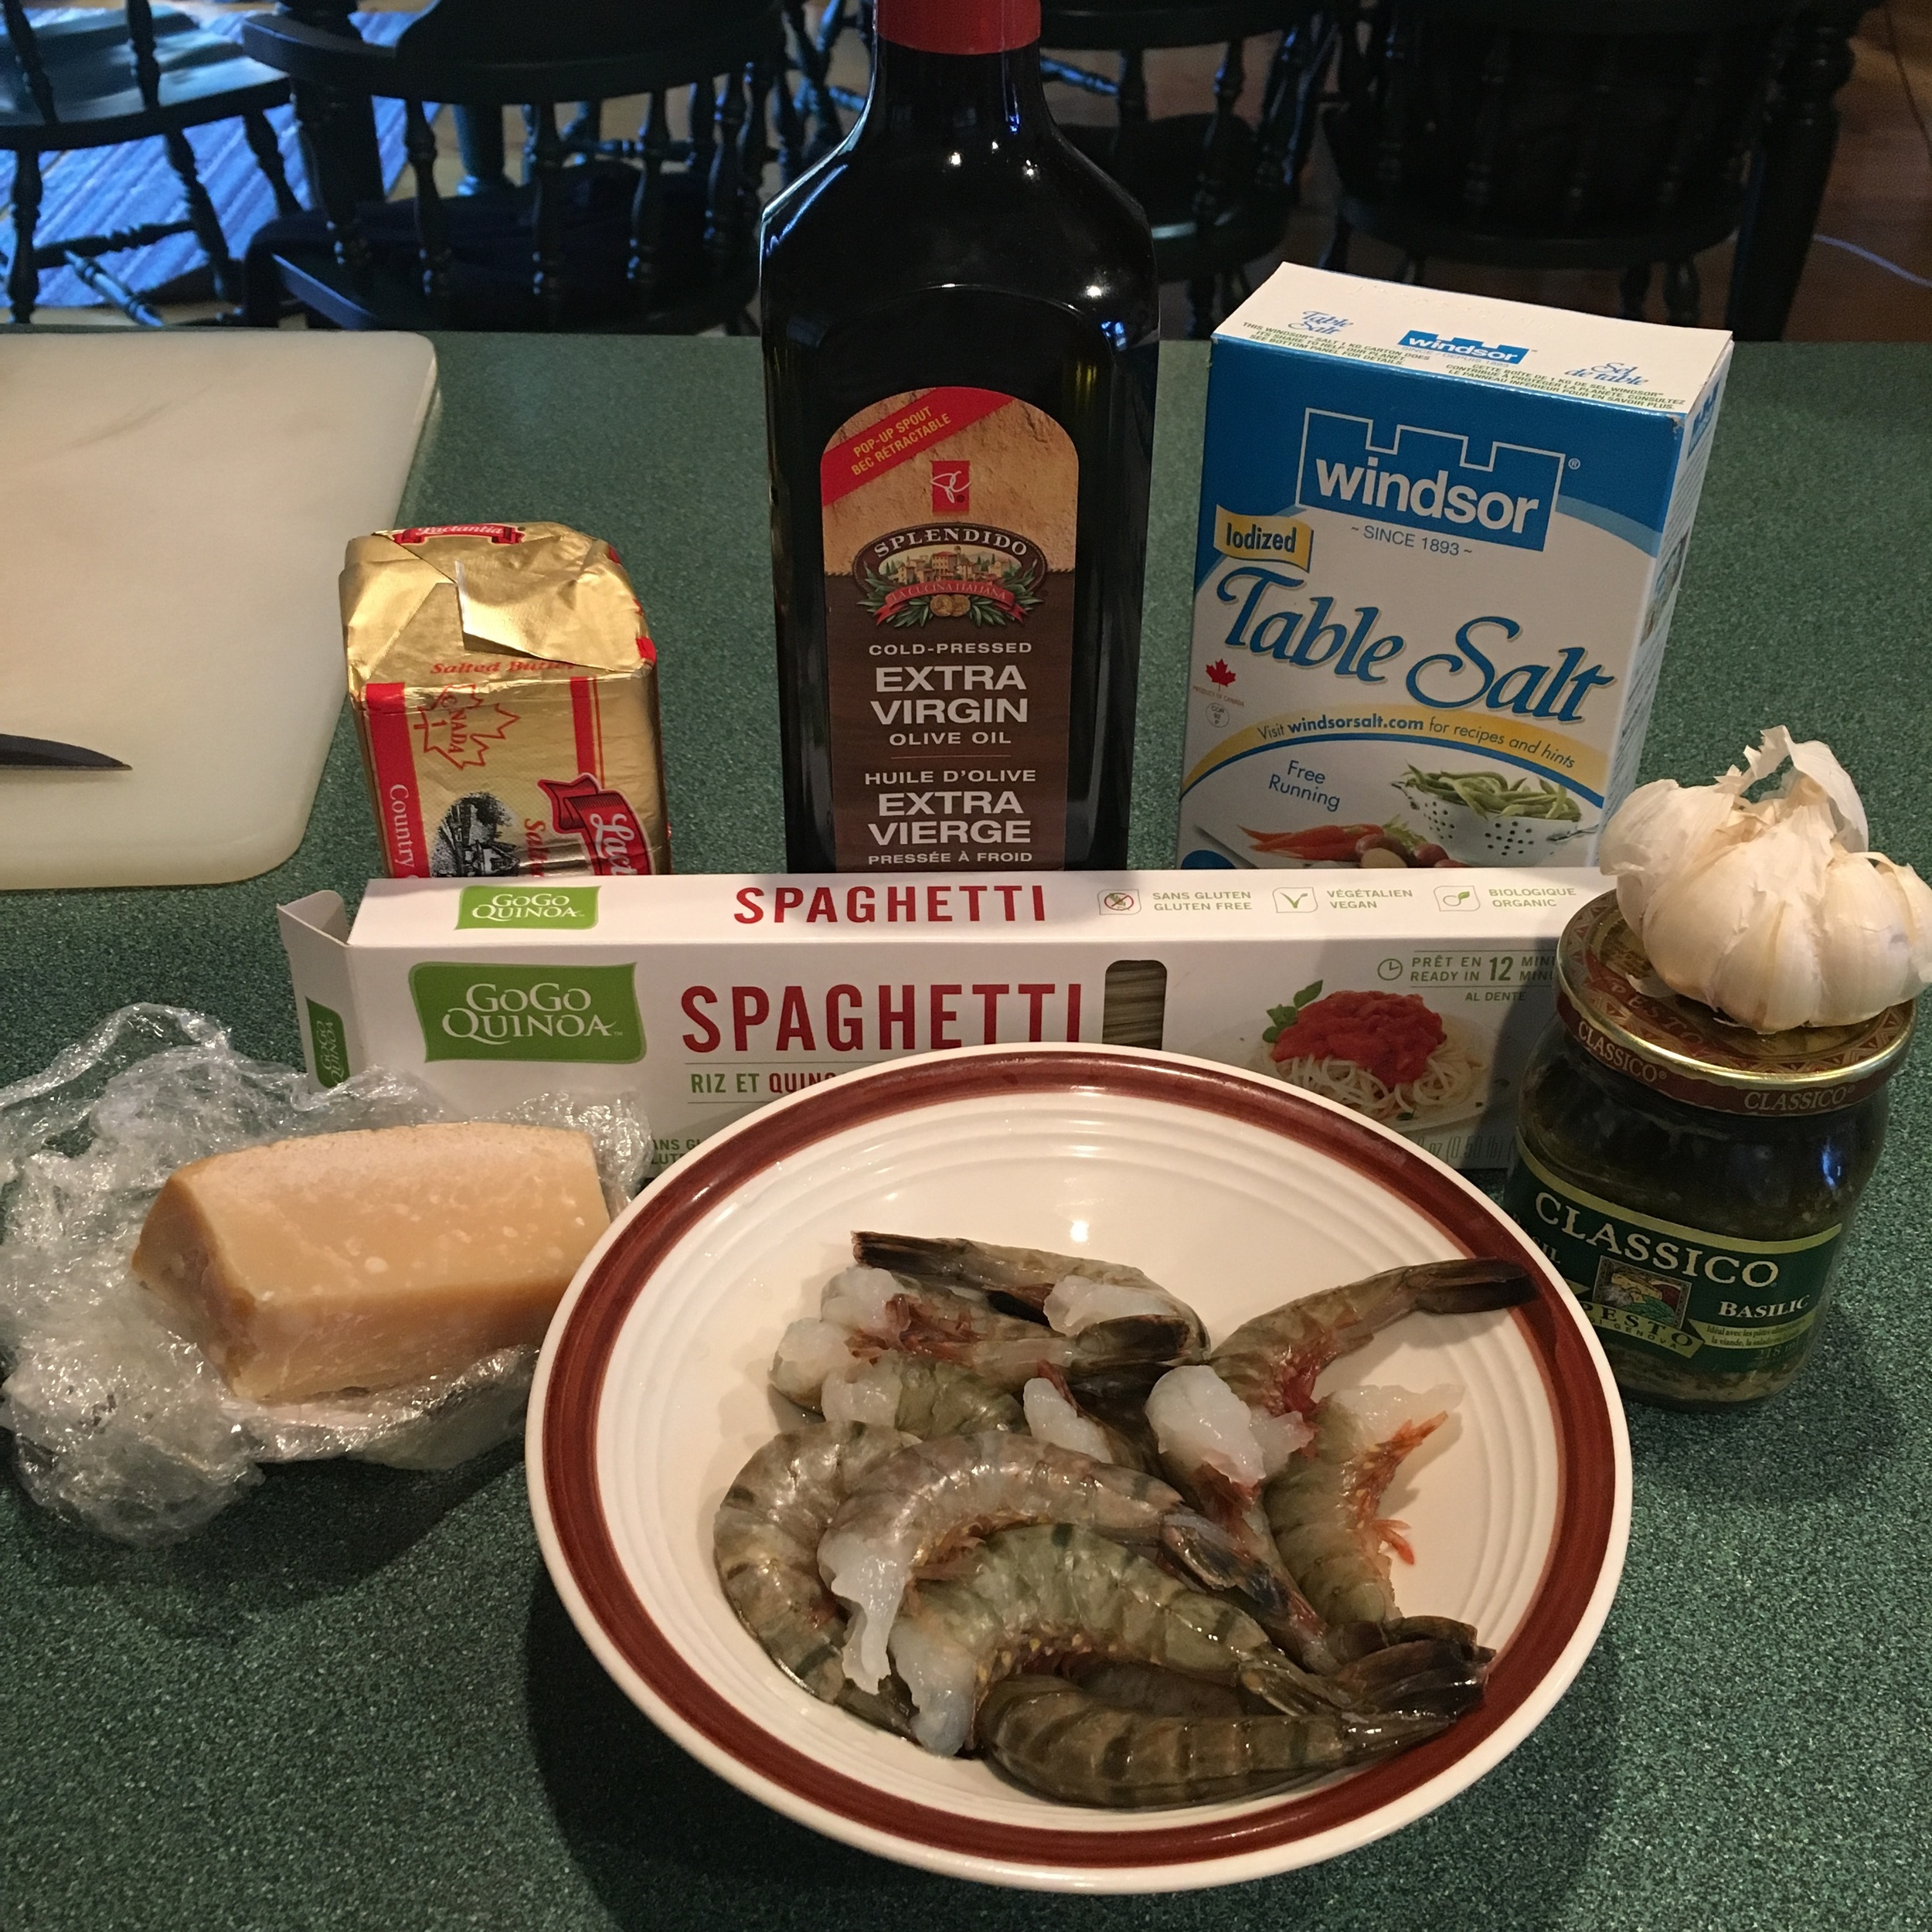
INGREDIENTS:
2-3 TBSP of Olive Oil
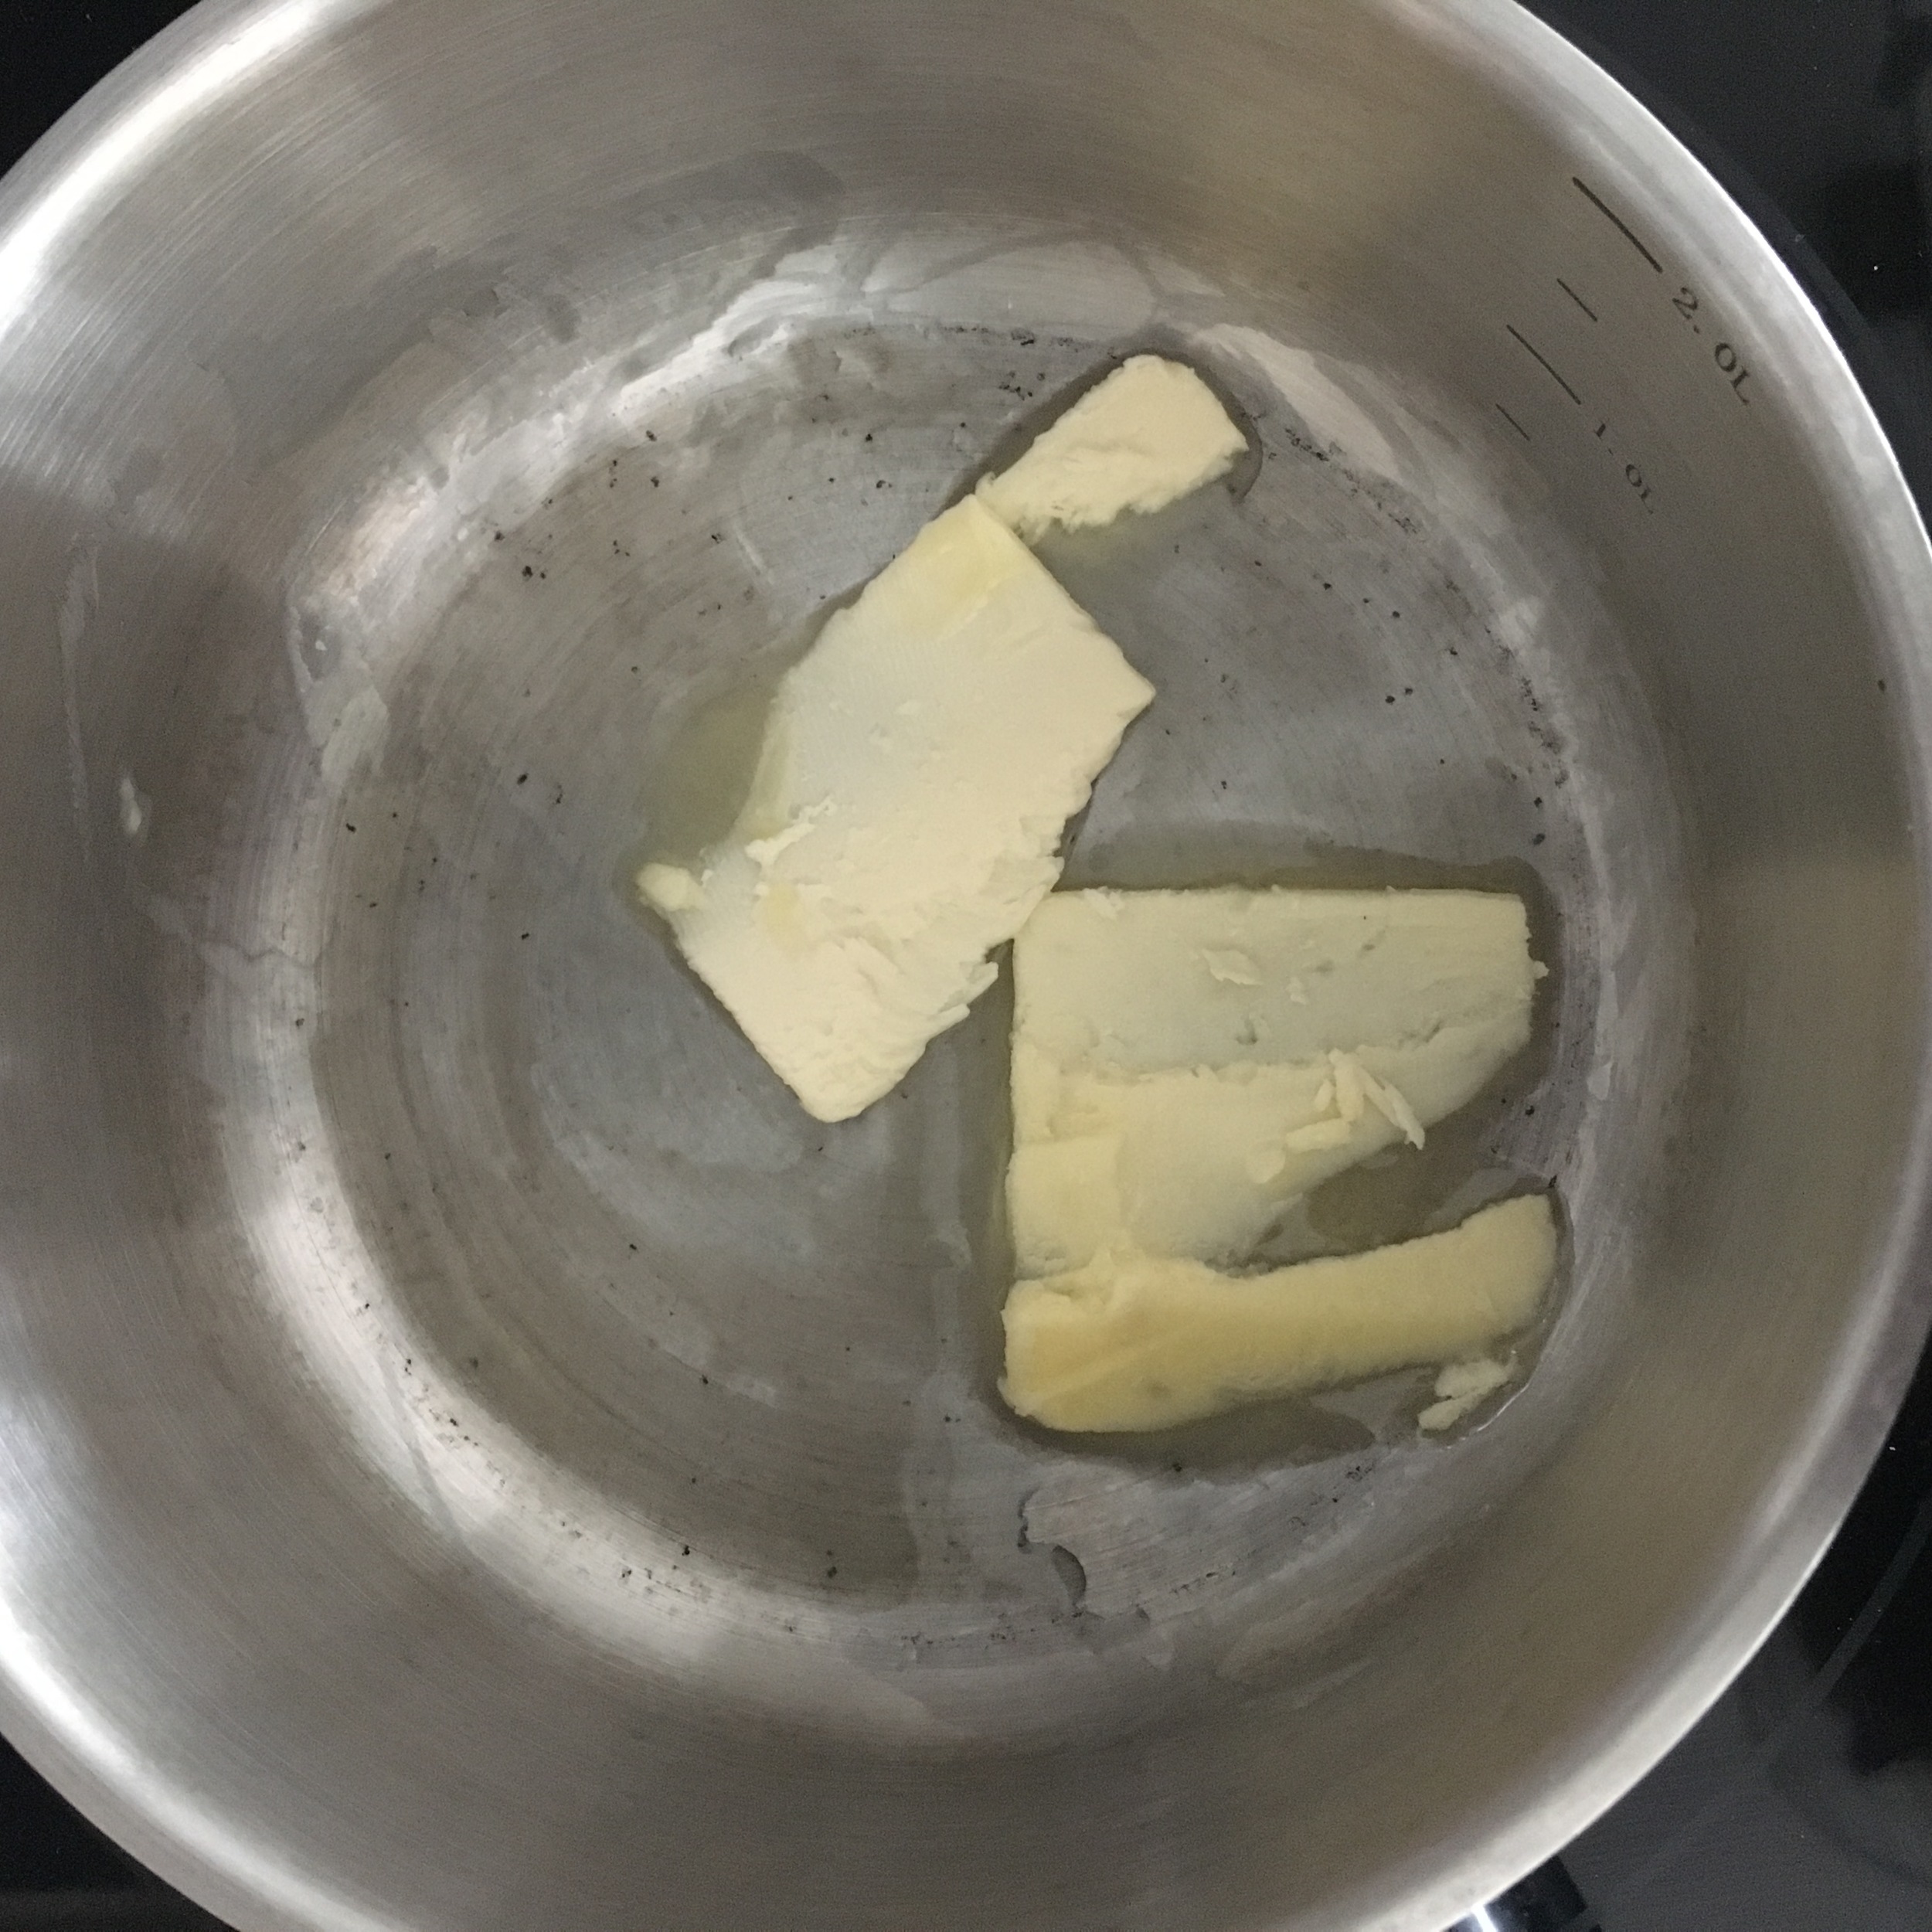
2 TBSP of Butter
1 Clove of Garlic (minced)
1 Shallot (Finely chopped)
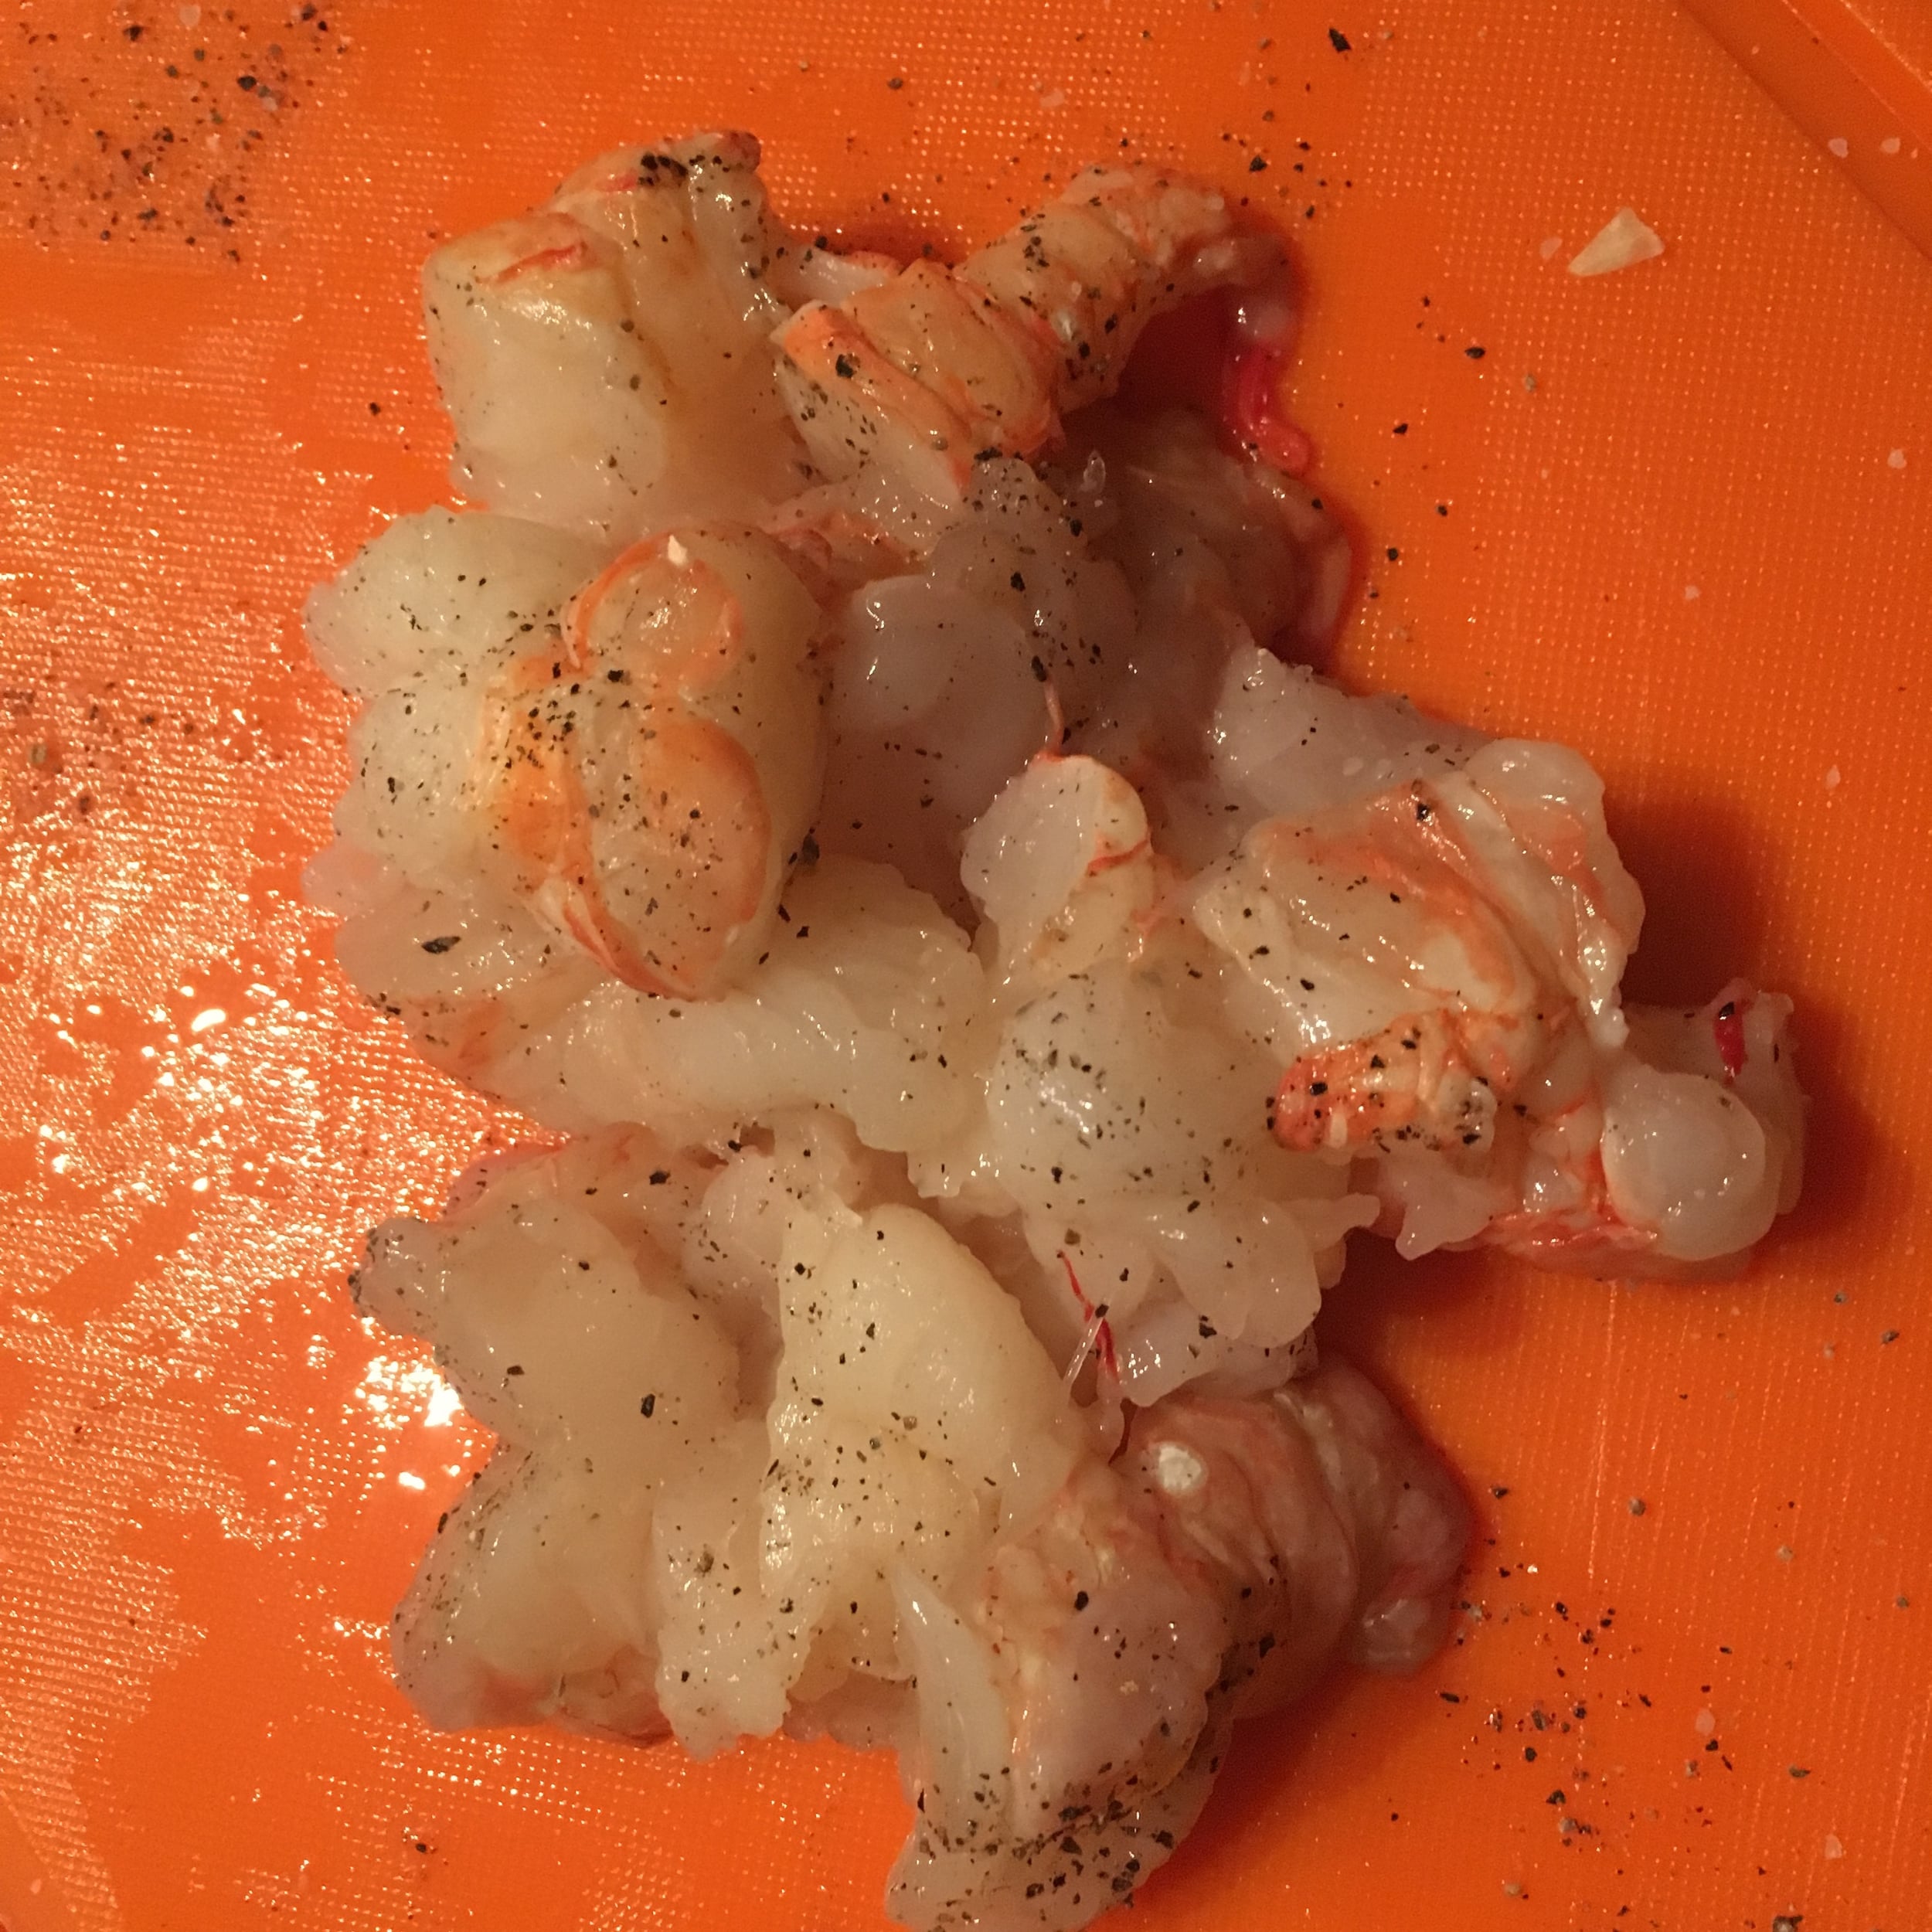
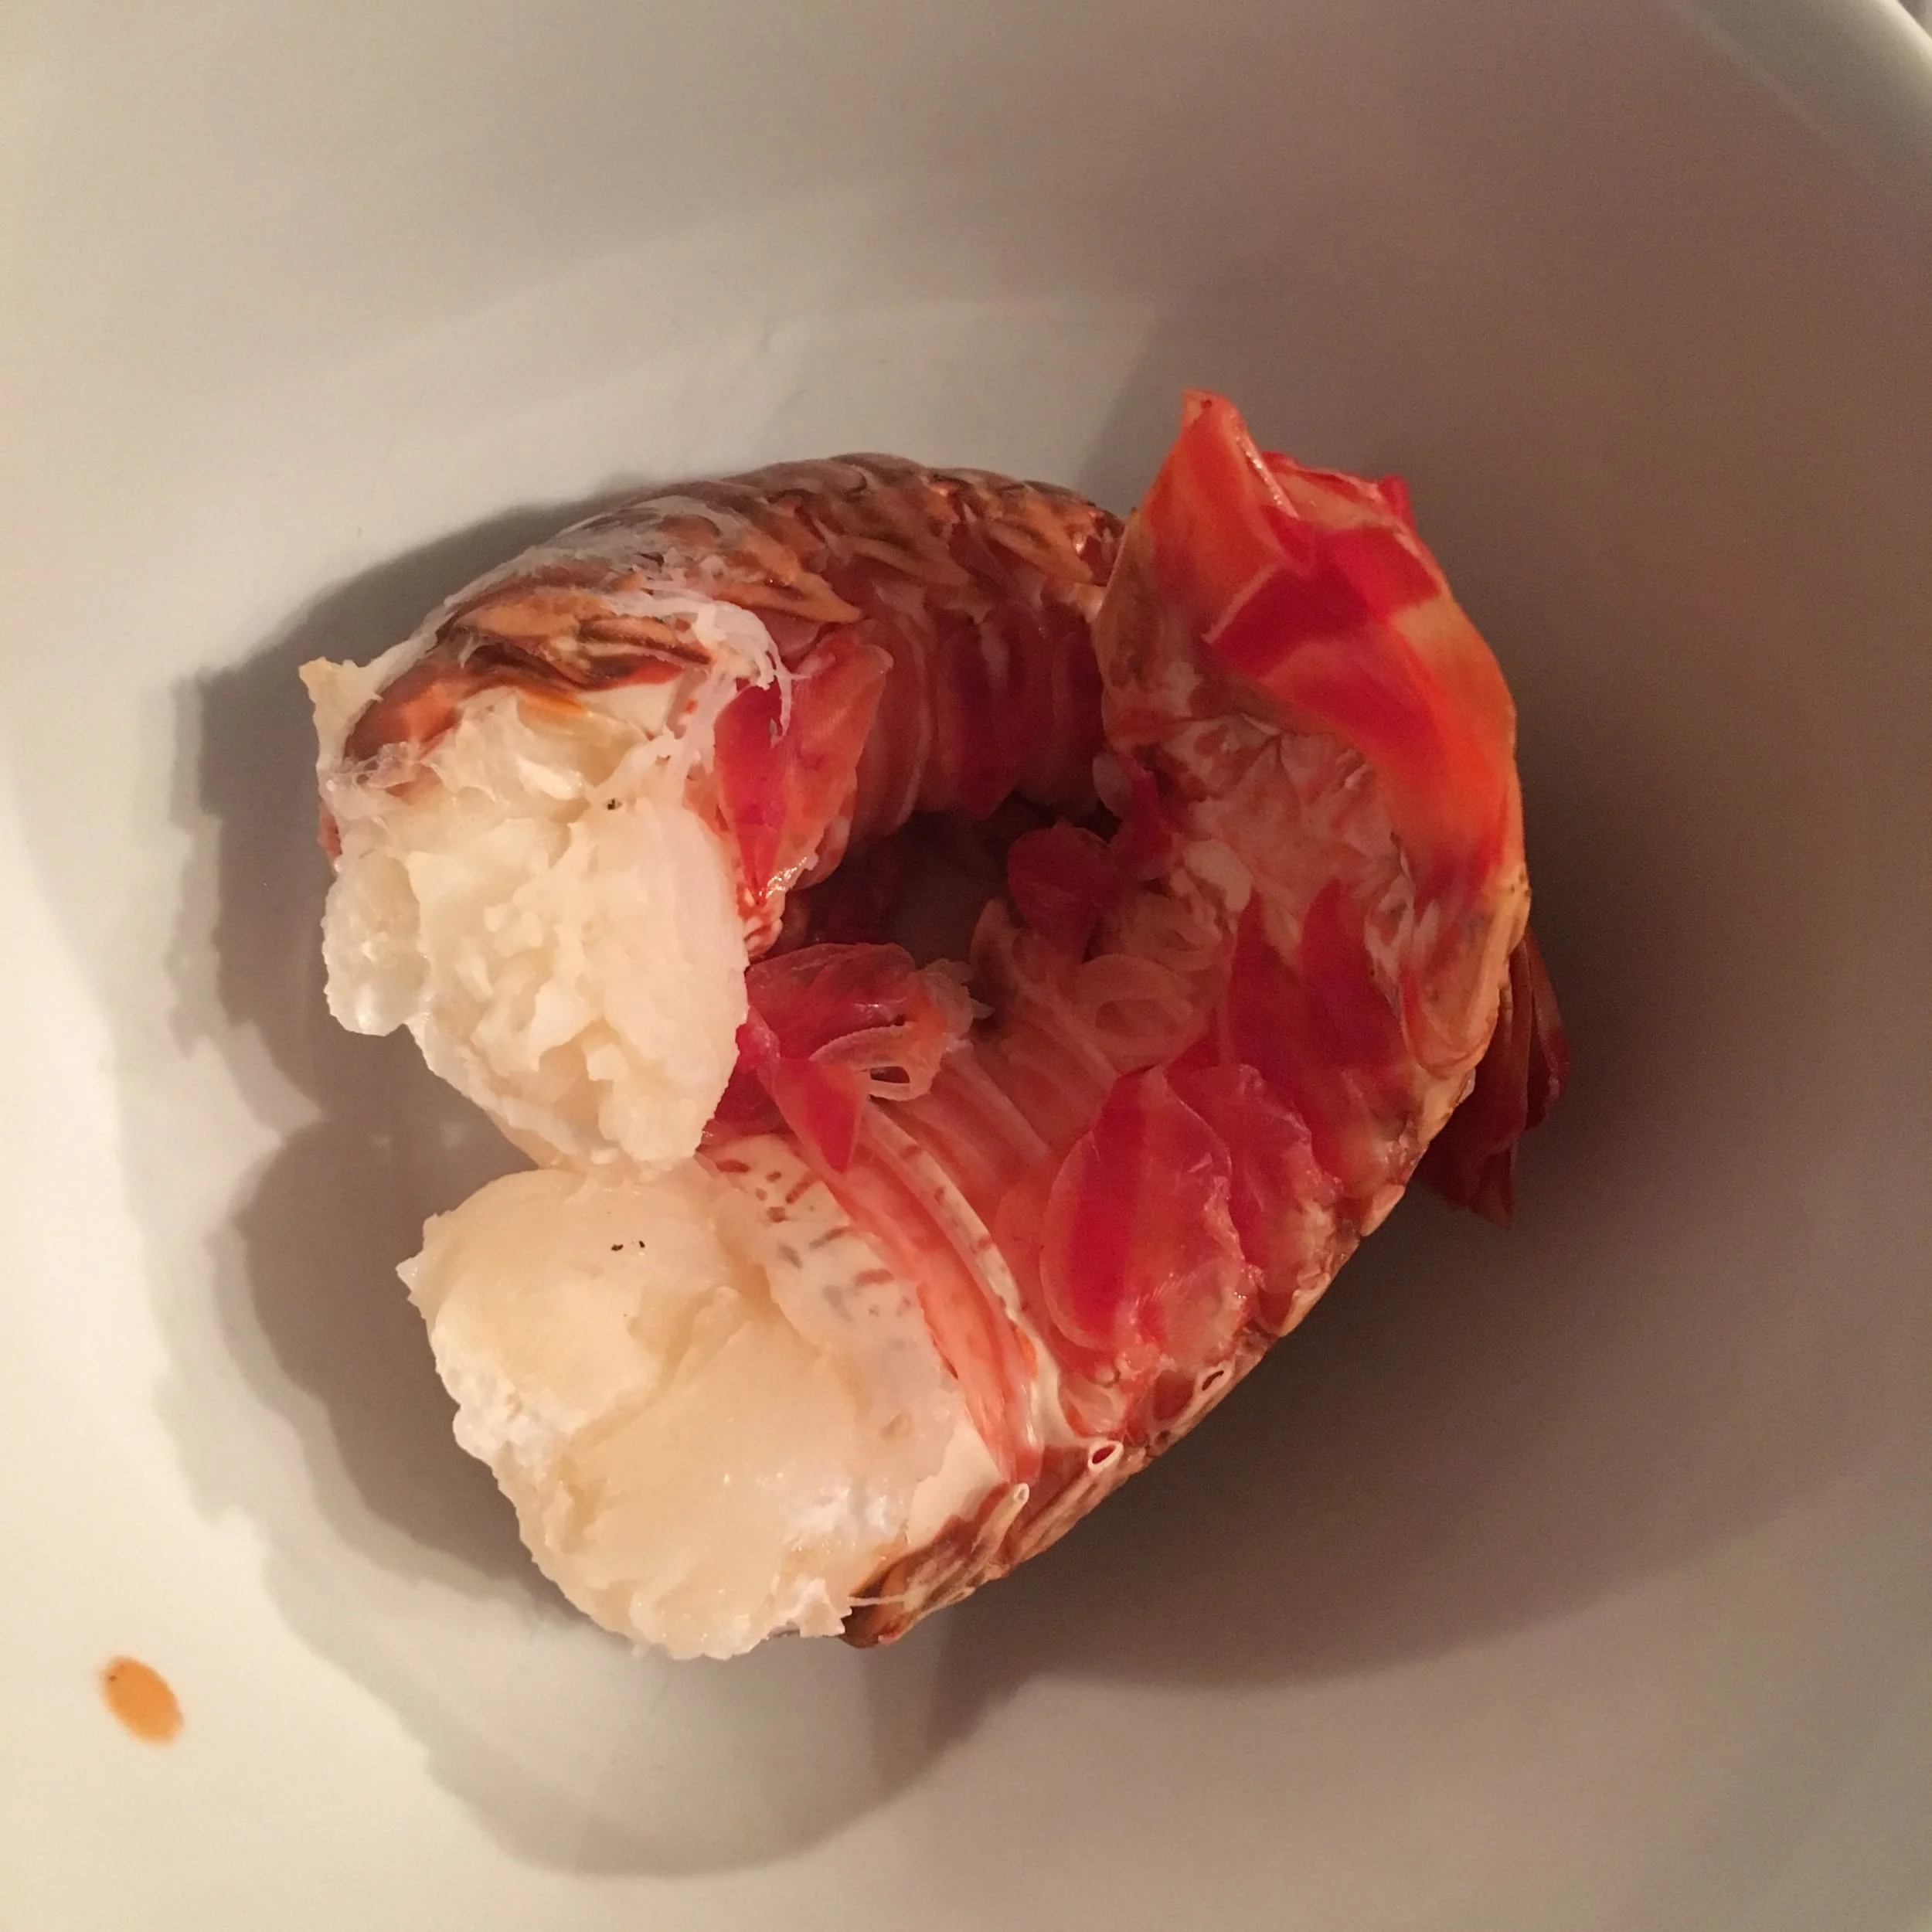
15-20 Shrimp (de-vained and shell removed)
Pre-made Pesto*
Quinoa Pasta
Salt to taste
Parmesan Cheese (garnish)
*make sure it's gluten free
DIRECTIONS:
Bring a pot of water to a boil add 1-2 TSP of salt and your quinoa pasta. You have to stir quinoa pasta for the first two minutes so that it doesn't stick together. Continue to cook for another 8-10 minutes for aldente.
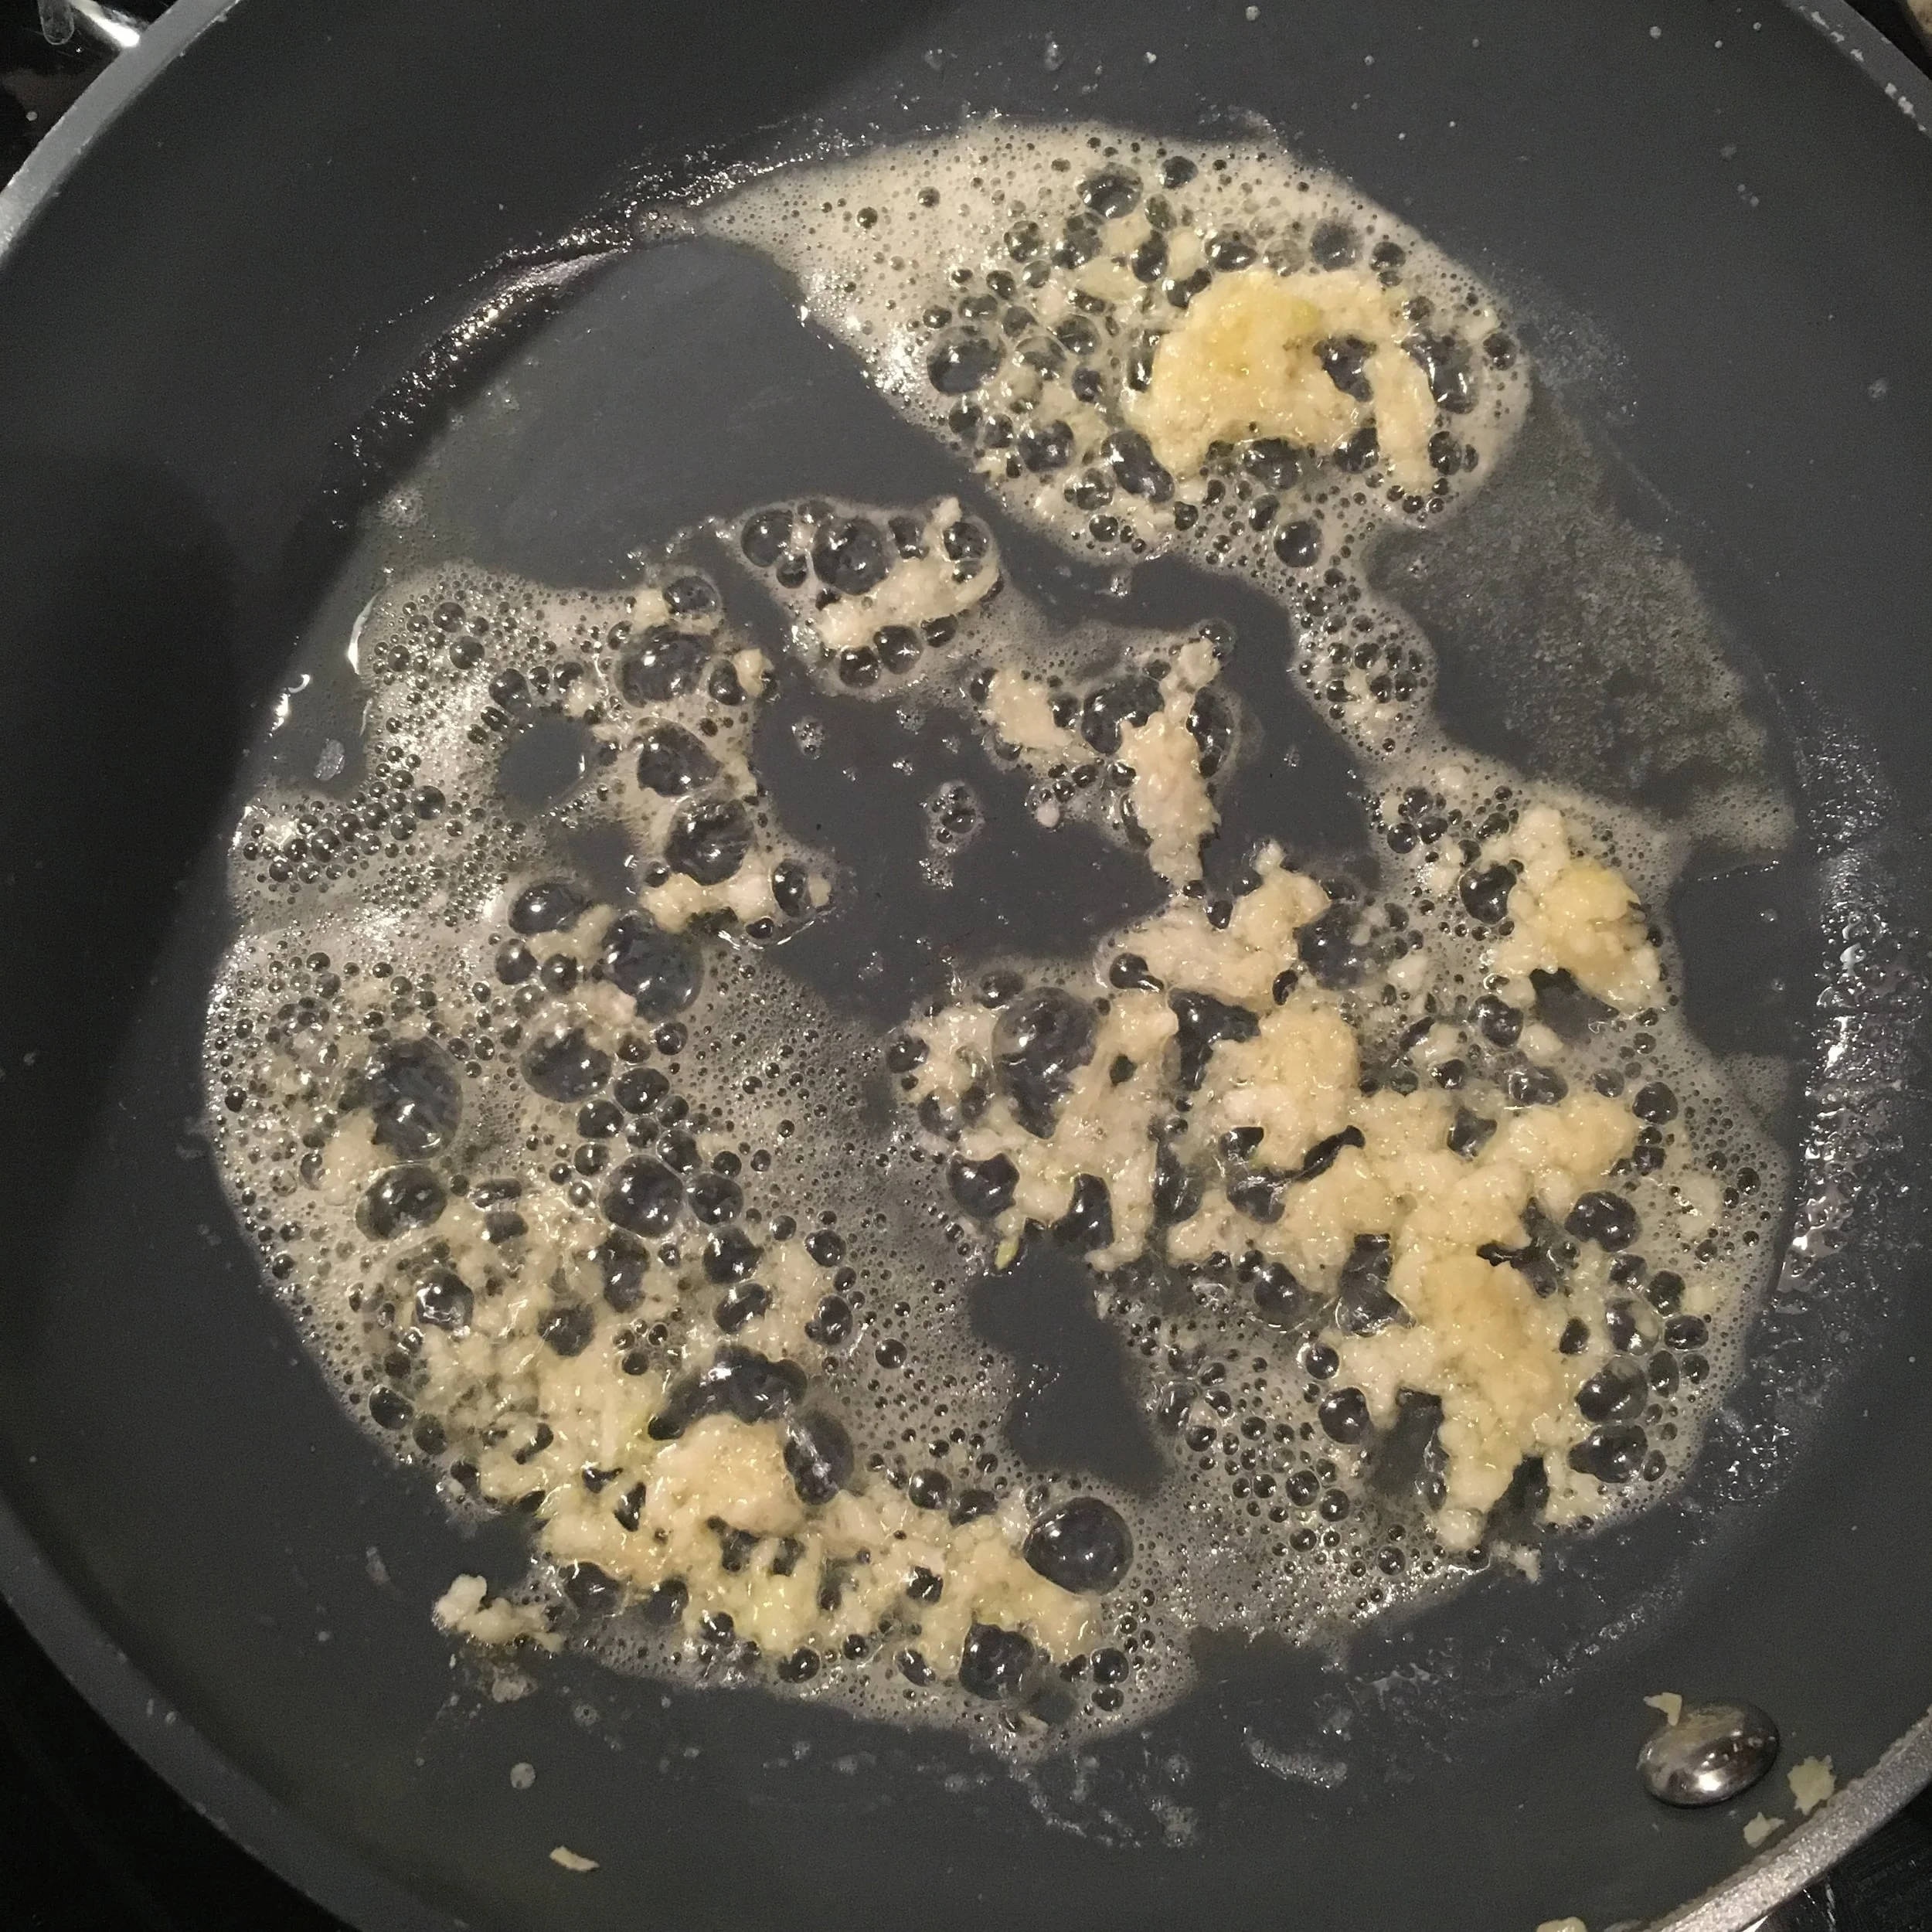
Add olive oil and butter to a skillet and allow to heat up on medium heat before adding in your garlic and shallots.
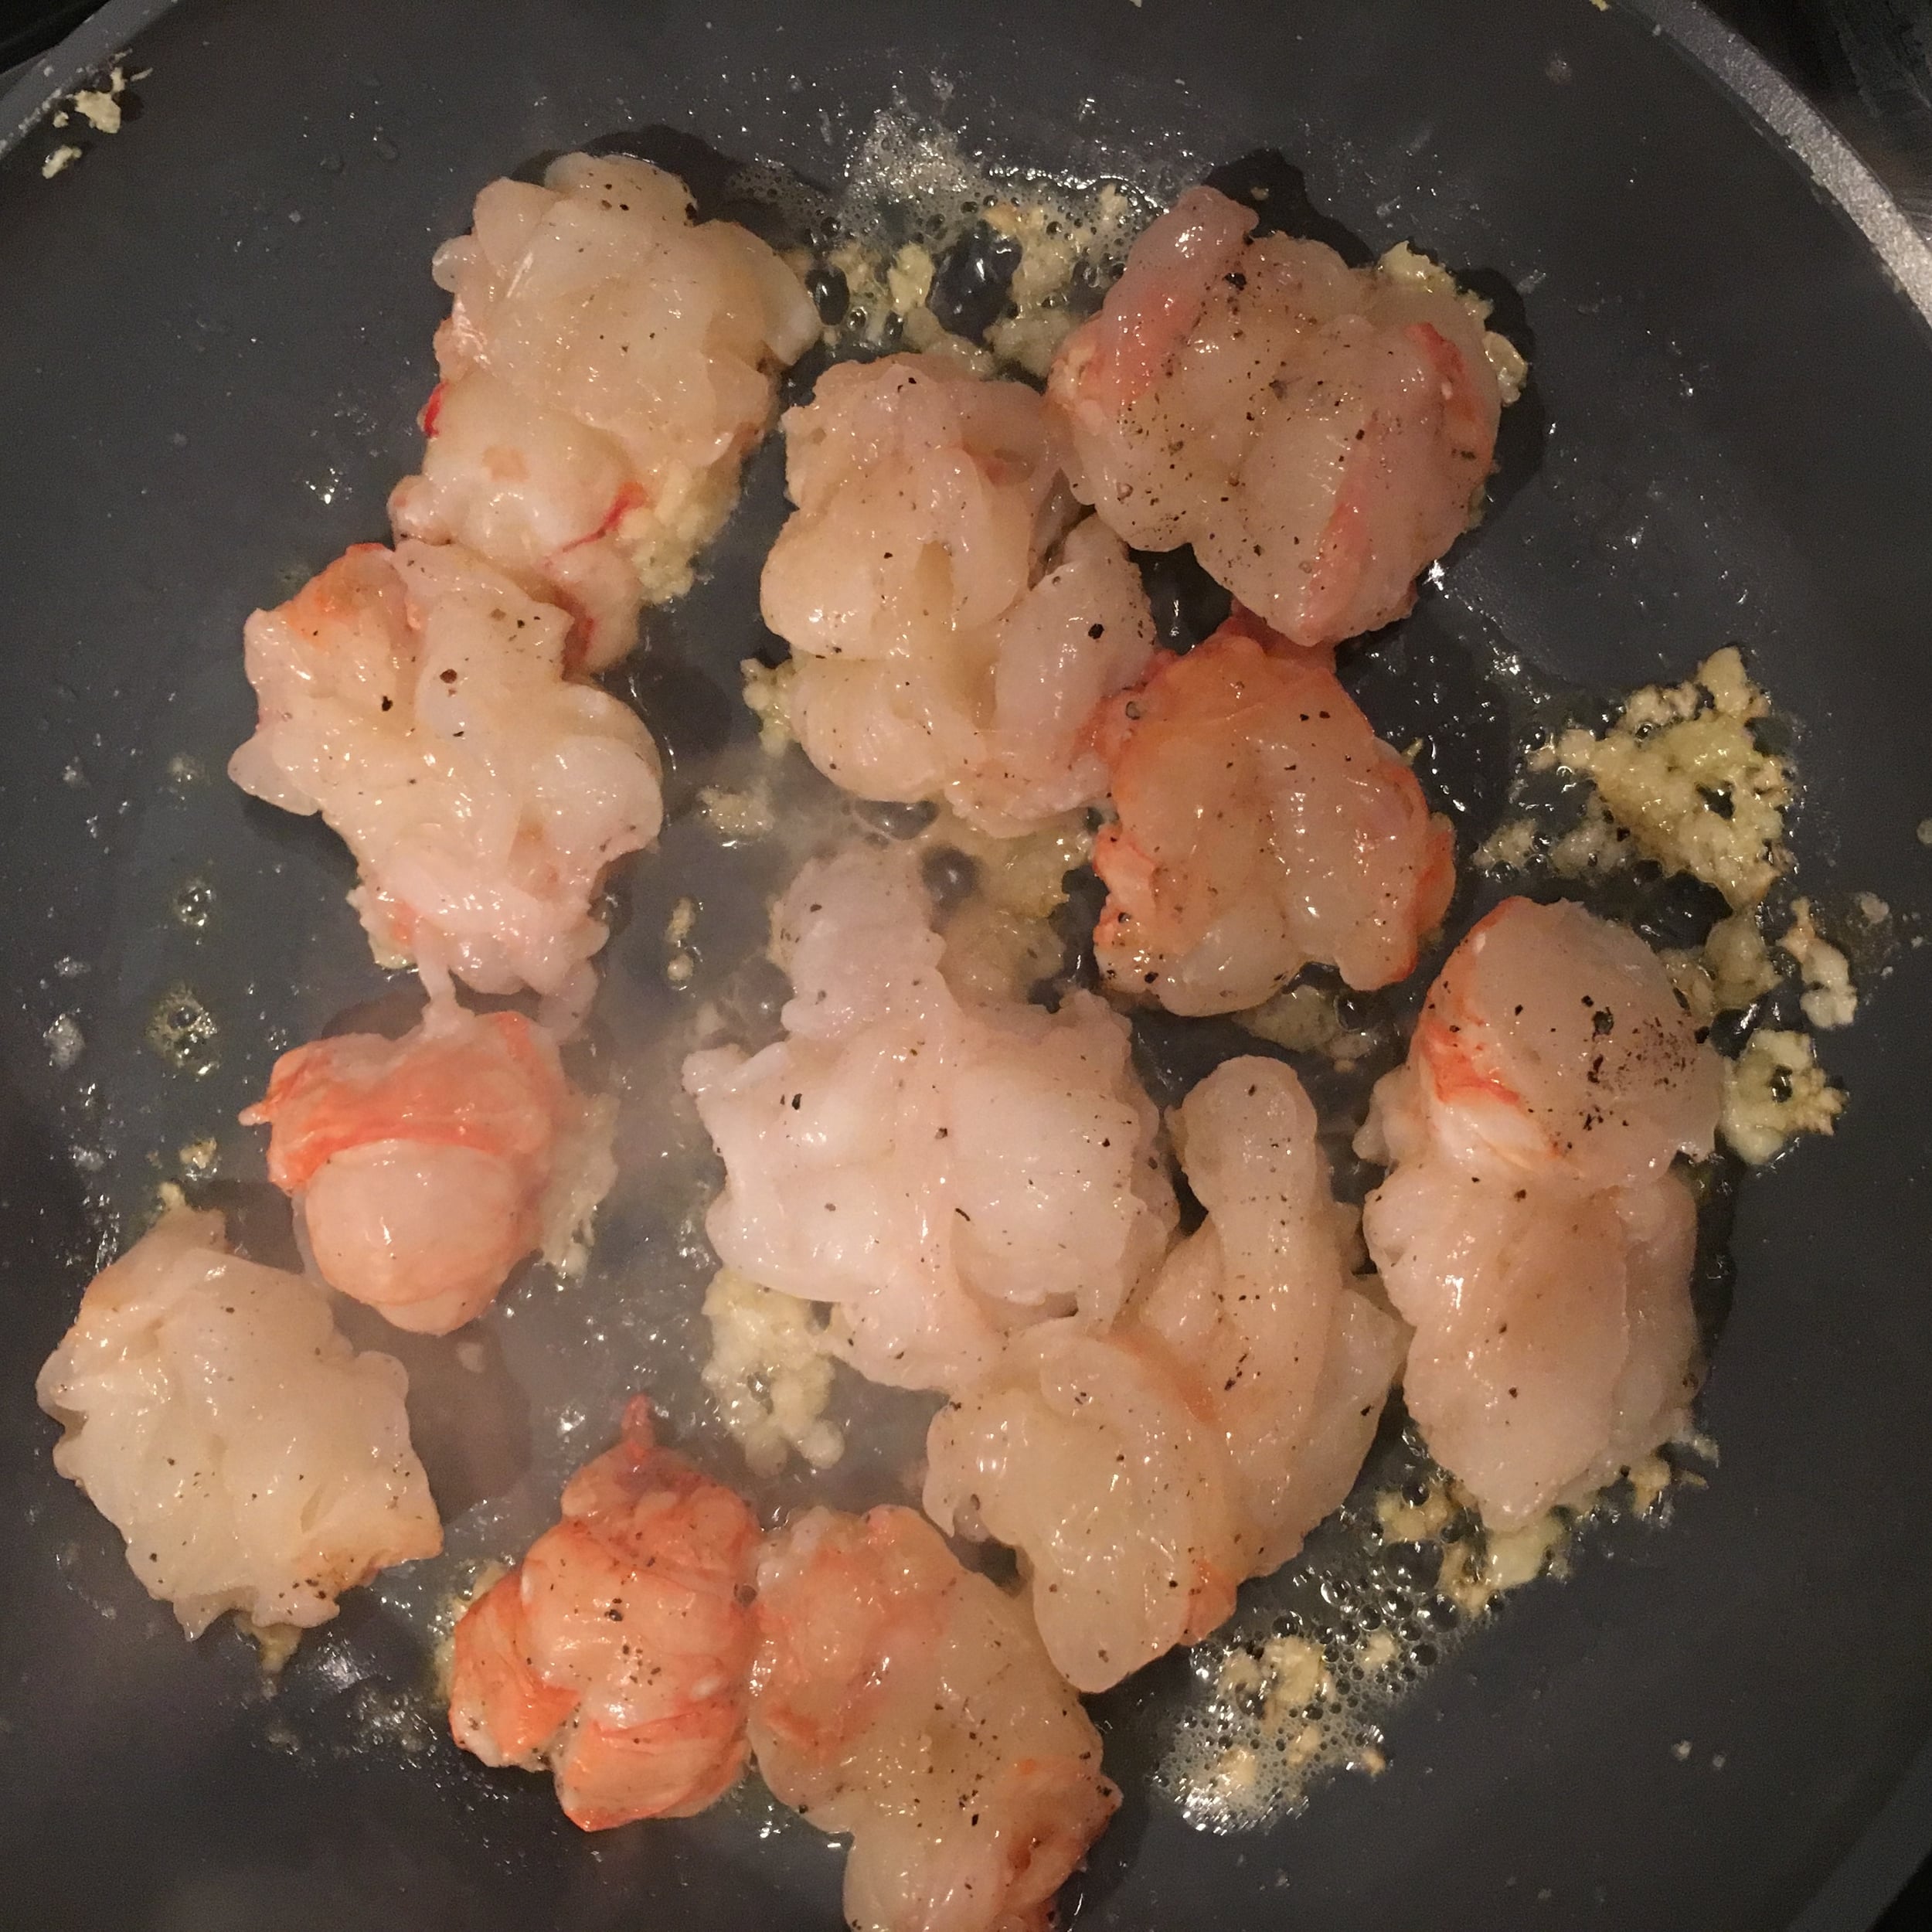
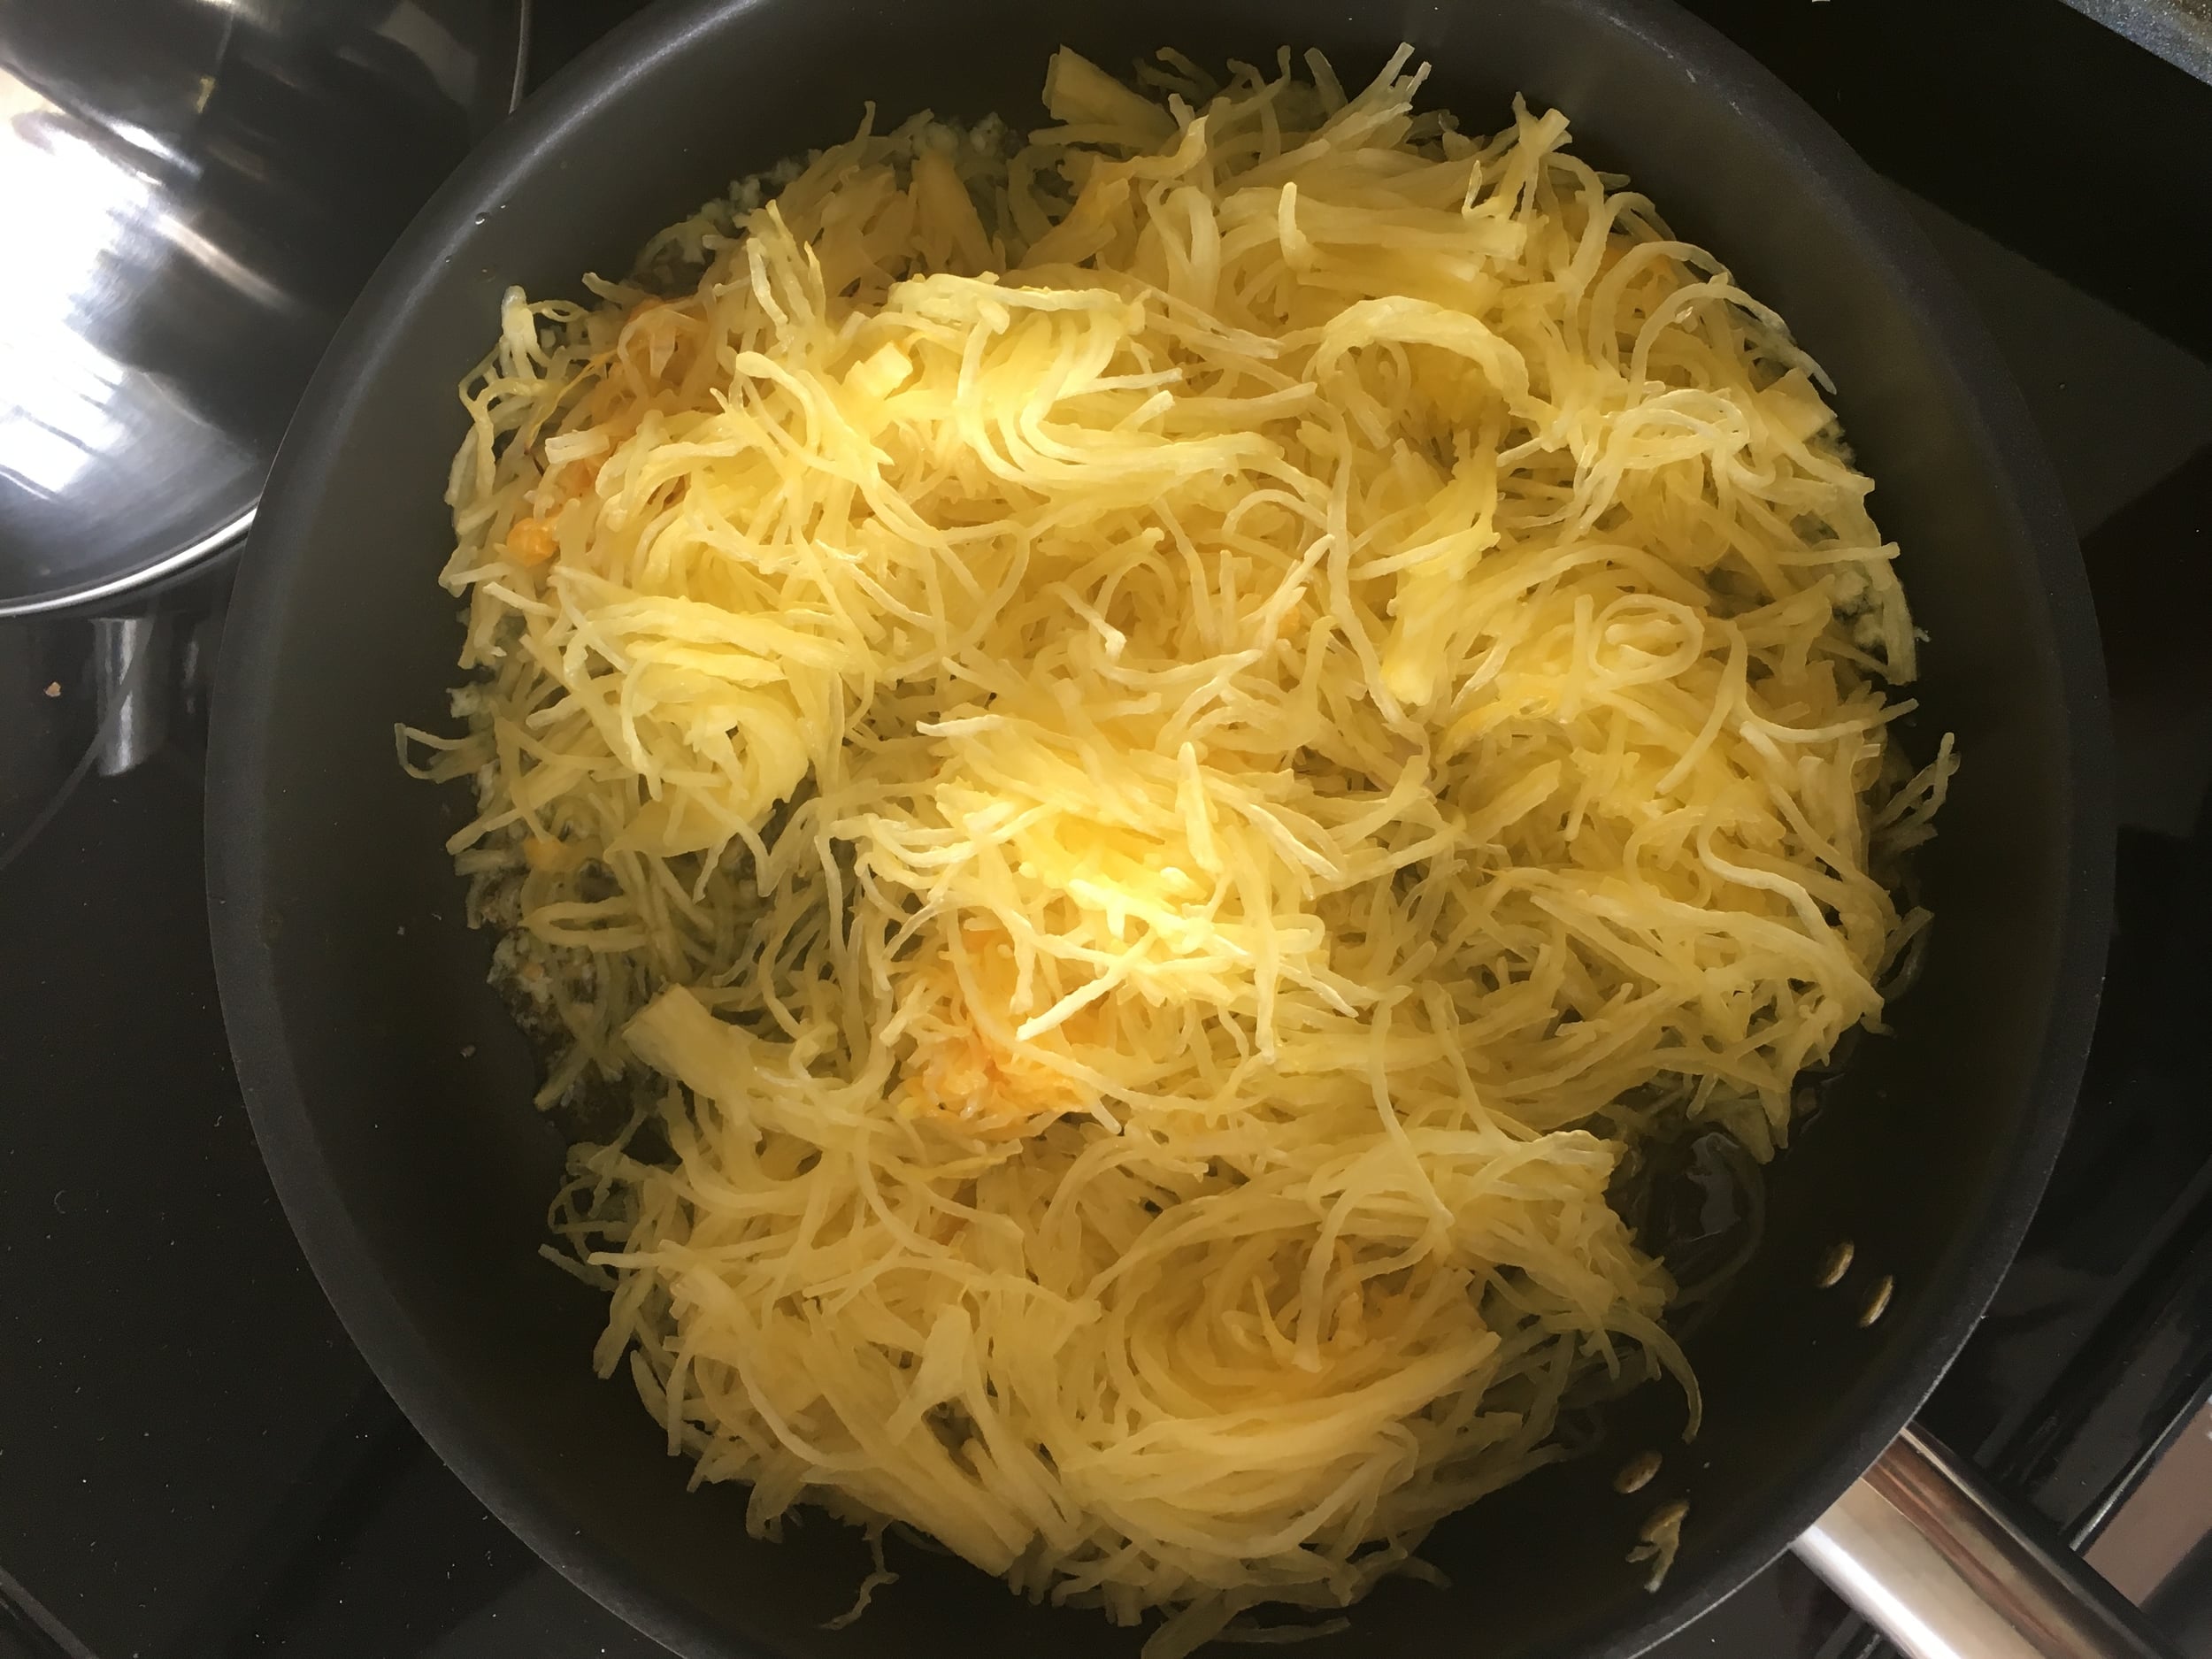
Once shallots become transparent add in your shrimp and pesto. Mix and allow the shrimp to cook until pink.
Once pasta is aldente remove 3-4 TBSP of water from the pot and set aside. Drain the remaining pasta water and add the pasta into the skillet with the shrimp and pesto. Mix well so that the pasta is well coated.
If you need a little more liquid to cook the pasta a little more add in the pasta water you set aside now. This will also help remove anything stuck to the bottom of the skillet.
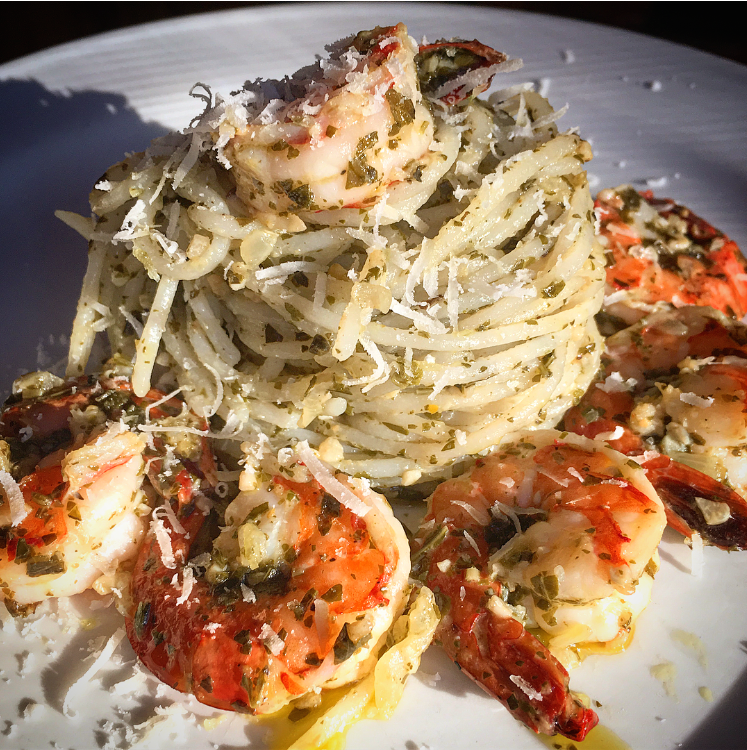
Twirl pasta and plate. Add shrimps from the skillet and garnish is pesto sauce and freshly grated Parmesan cheese.
I hope you enjoyed this recipe as much as I do. If you have any comments please leave them below and I'll be happy to answer them as soon as I can! Bon Appetite!!!