Since I am already a huge fan of activated charcoal and all its detoxifying benefits, I thought I’d share one of my favorite ways to use it with you, in a face mask! Both my boyfriend (that’s right, this charcoal face mask works for men too) and I use this mask to get all the guck off our faces that build up both in our pores and on the surface of our skin throughout the week. The addition of coffee and coconut to this charcoal face mask DIY also adds a smell to the mix that awakens the sense and leaves your skin hydrated. Sounds pretty good, right?! If you are curious as to how to make this charcoal face mask DIY at home too, keep reading!
COFFEE AND ACTIVATED CHARCOAL FACE MASK BENEFITS
This all-natural face mask exfoliates, hydrates, and purifies your skin leaving it soft, smooth, and fresh. Activated Charcoal pulls impurities and toxins out of the skin while coffee grinds exfoliate dead skin cells away and coconut oil moisturizes. I recommend leaving this activated charcoal face mask DIY on for about 10-15 minutes before exfoliating and washing it off gently with warm water. For glowing skin, follow with vitamin C serums and your favorite moisturizer! ♥
* Please Note - Some links in this post may be affiliate links *
SHOPPING LIST:
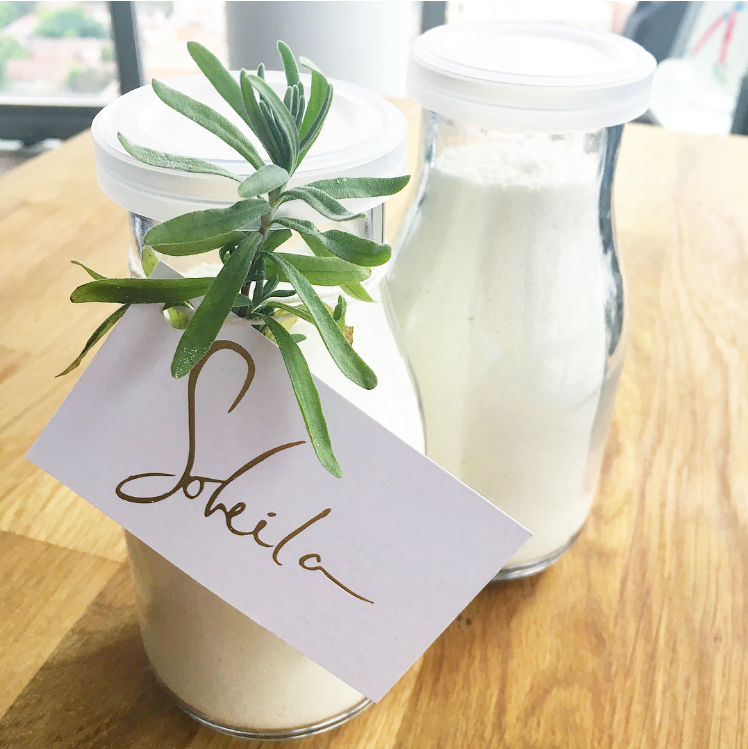
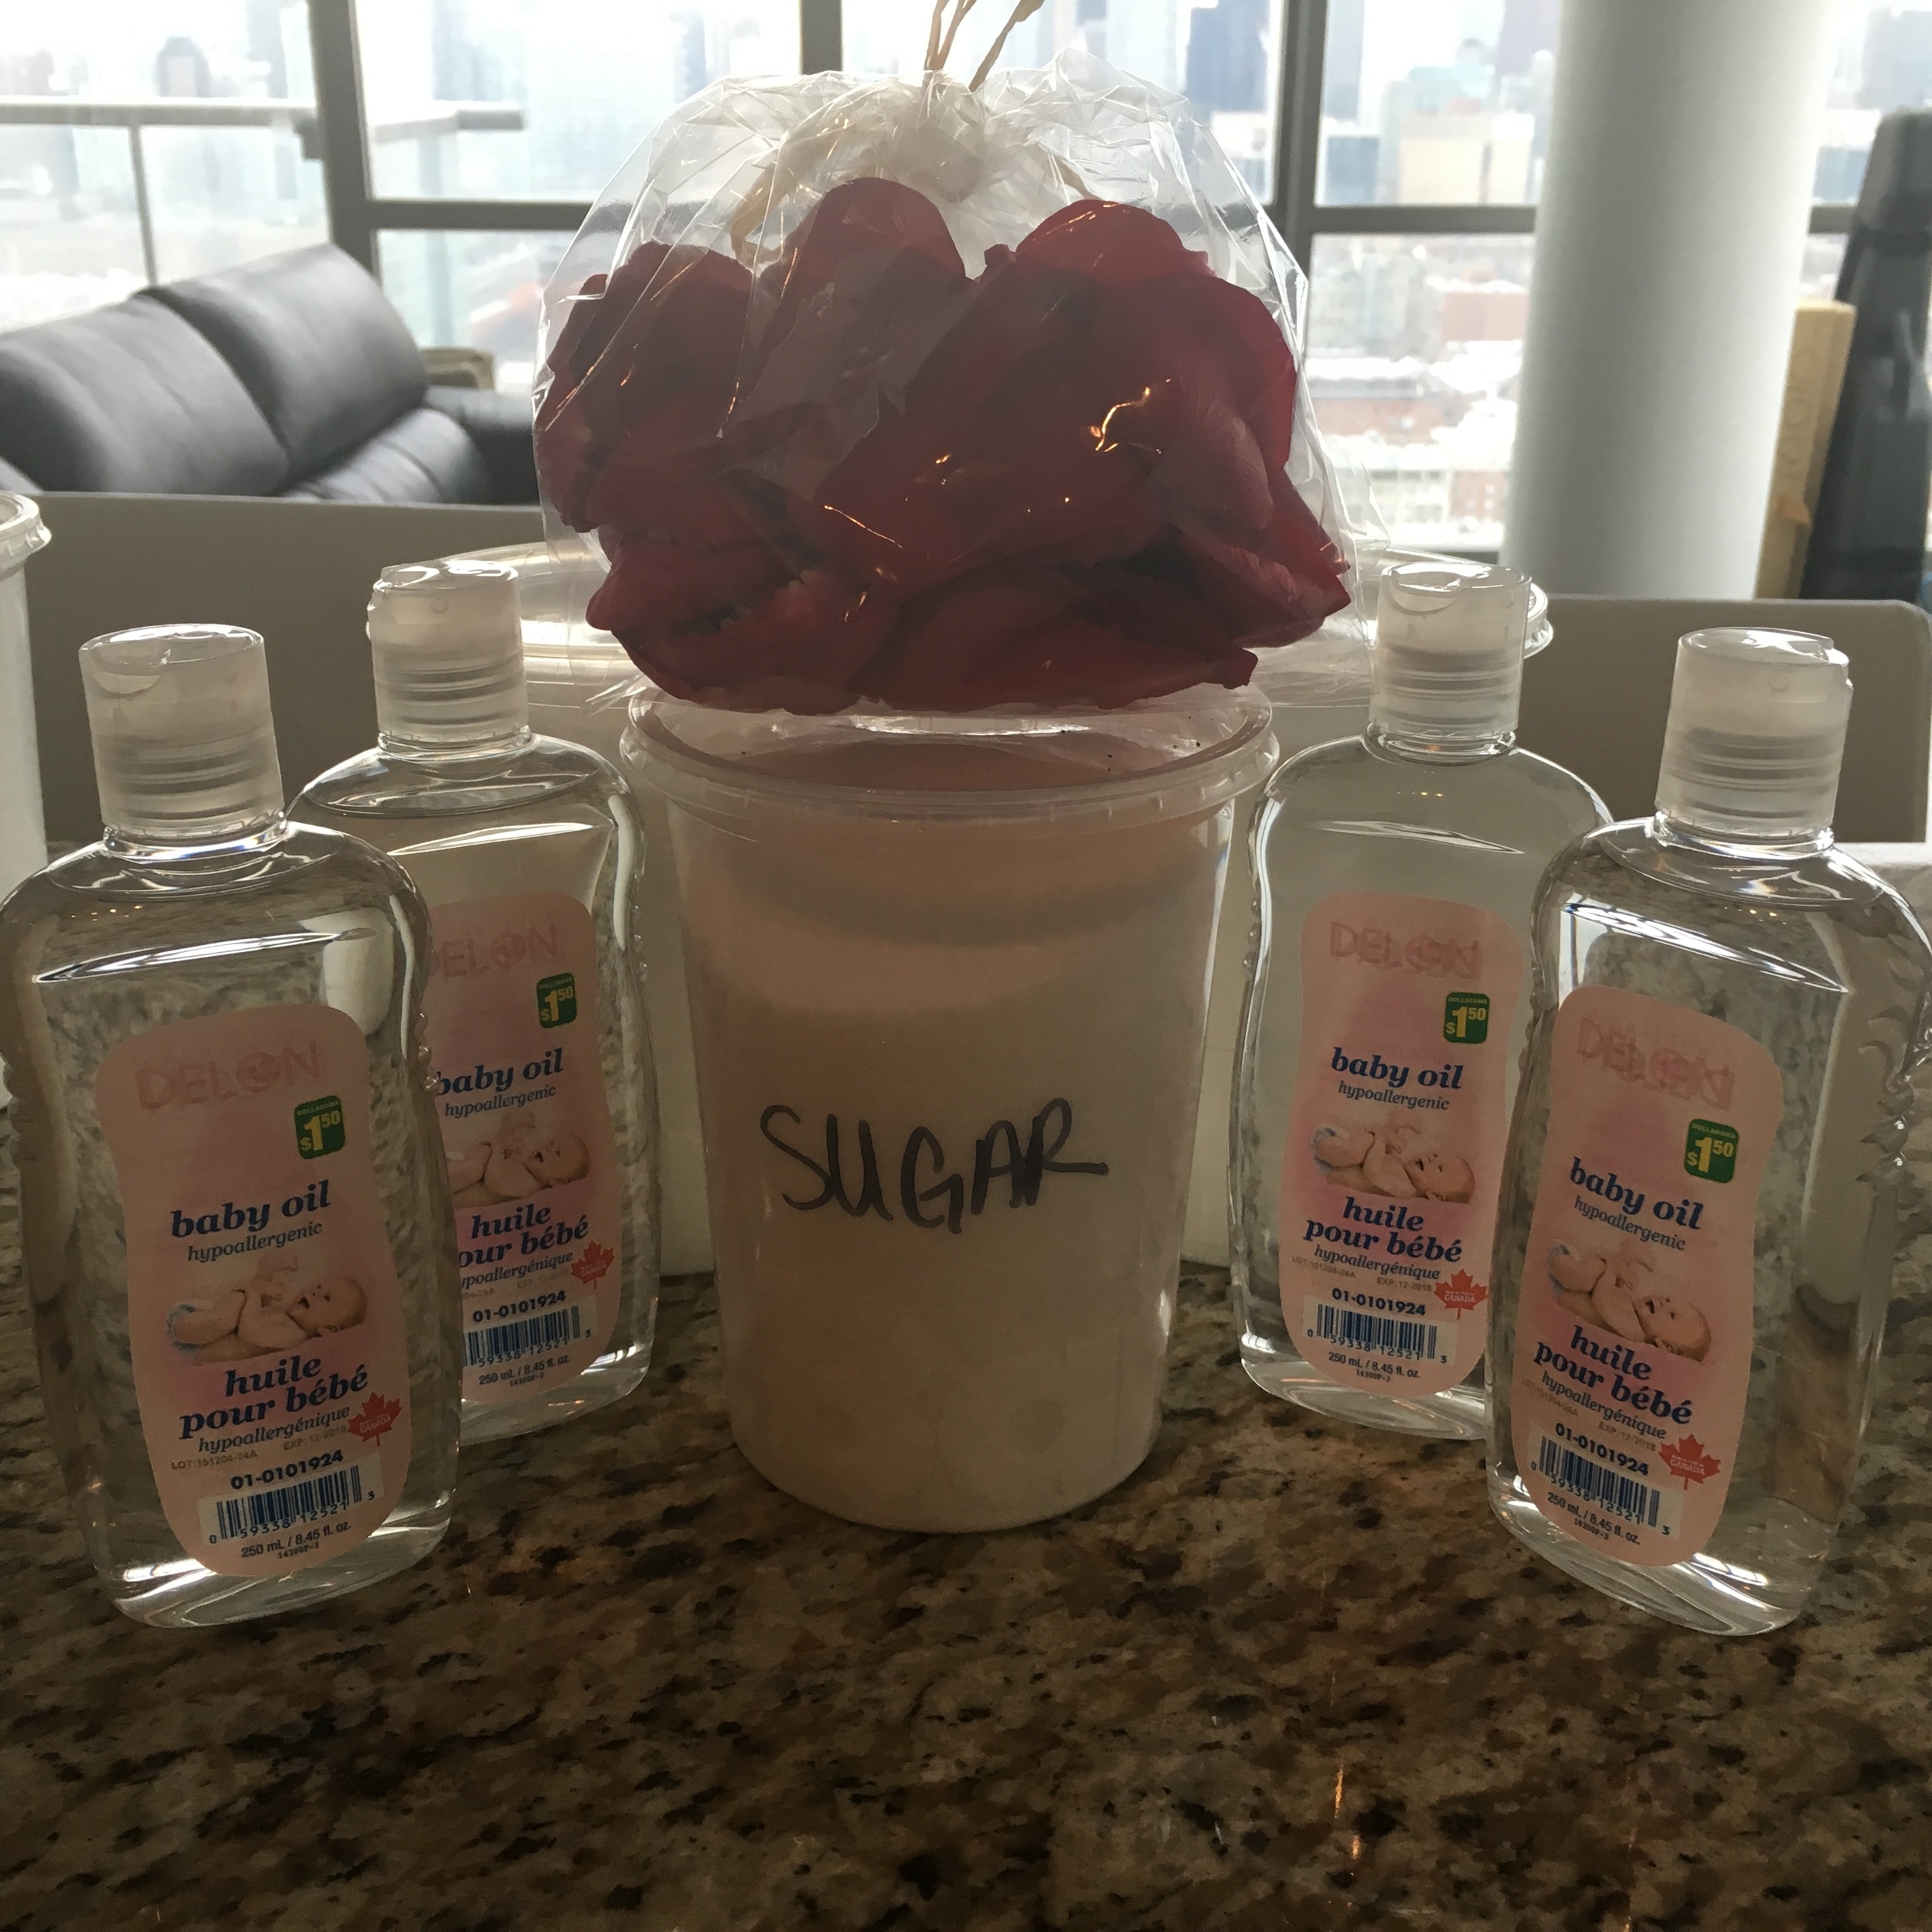
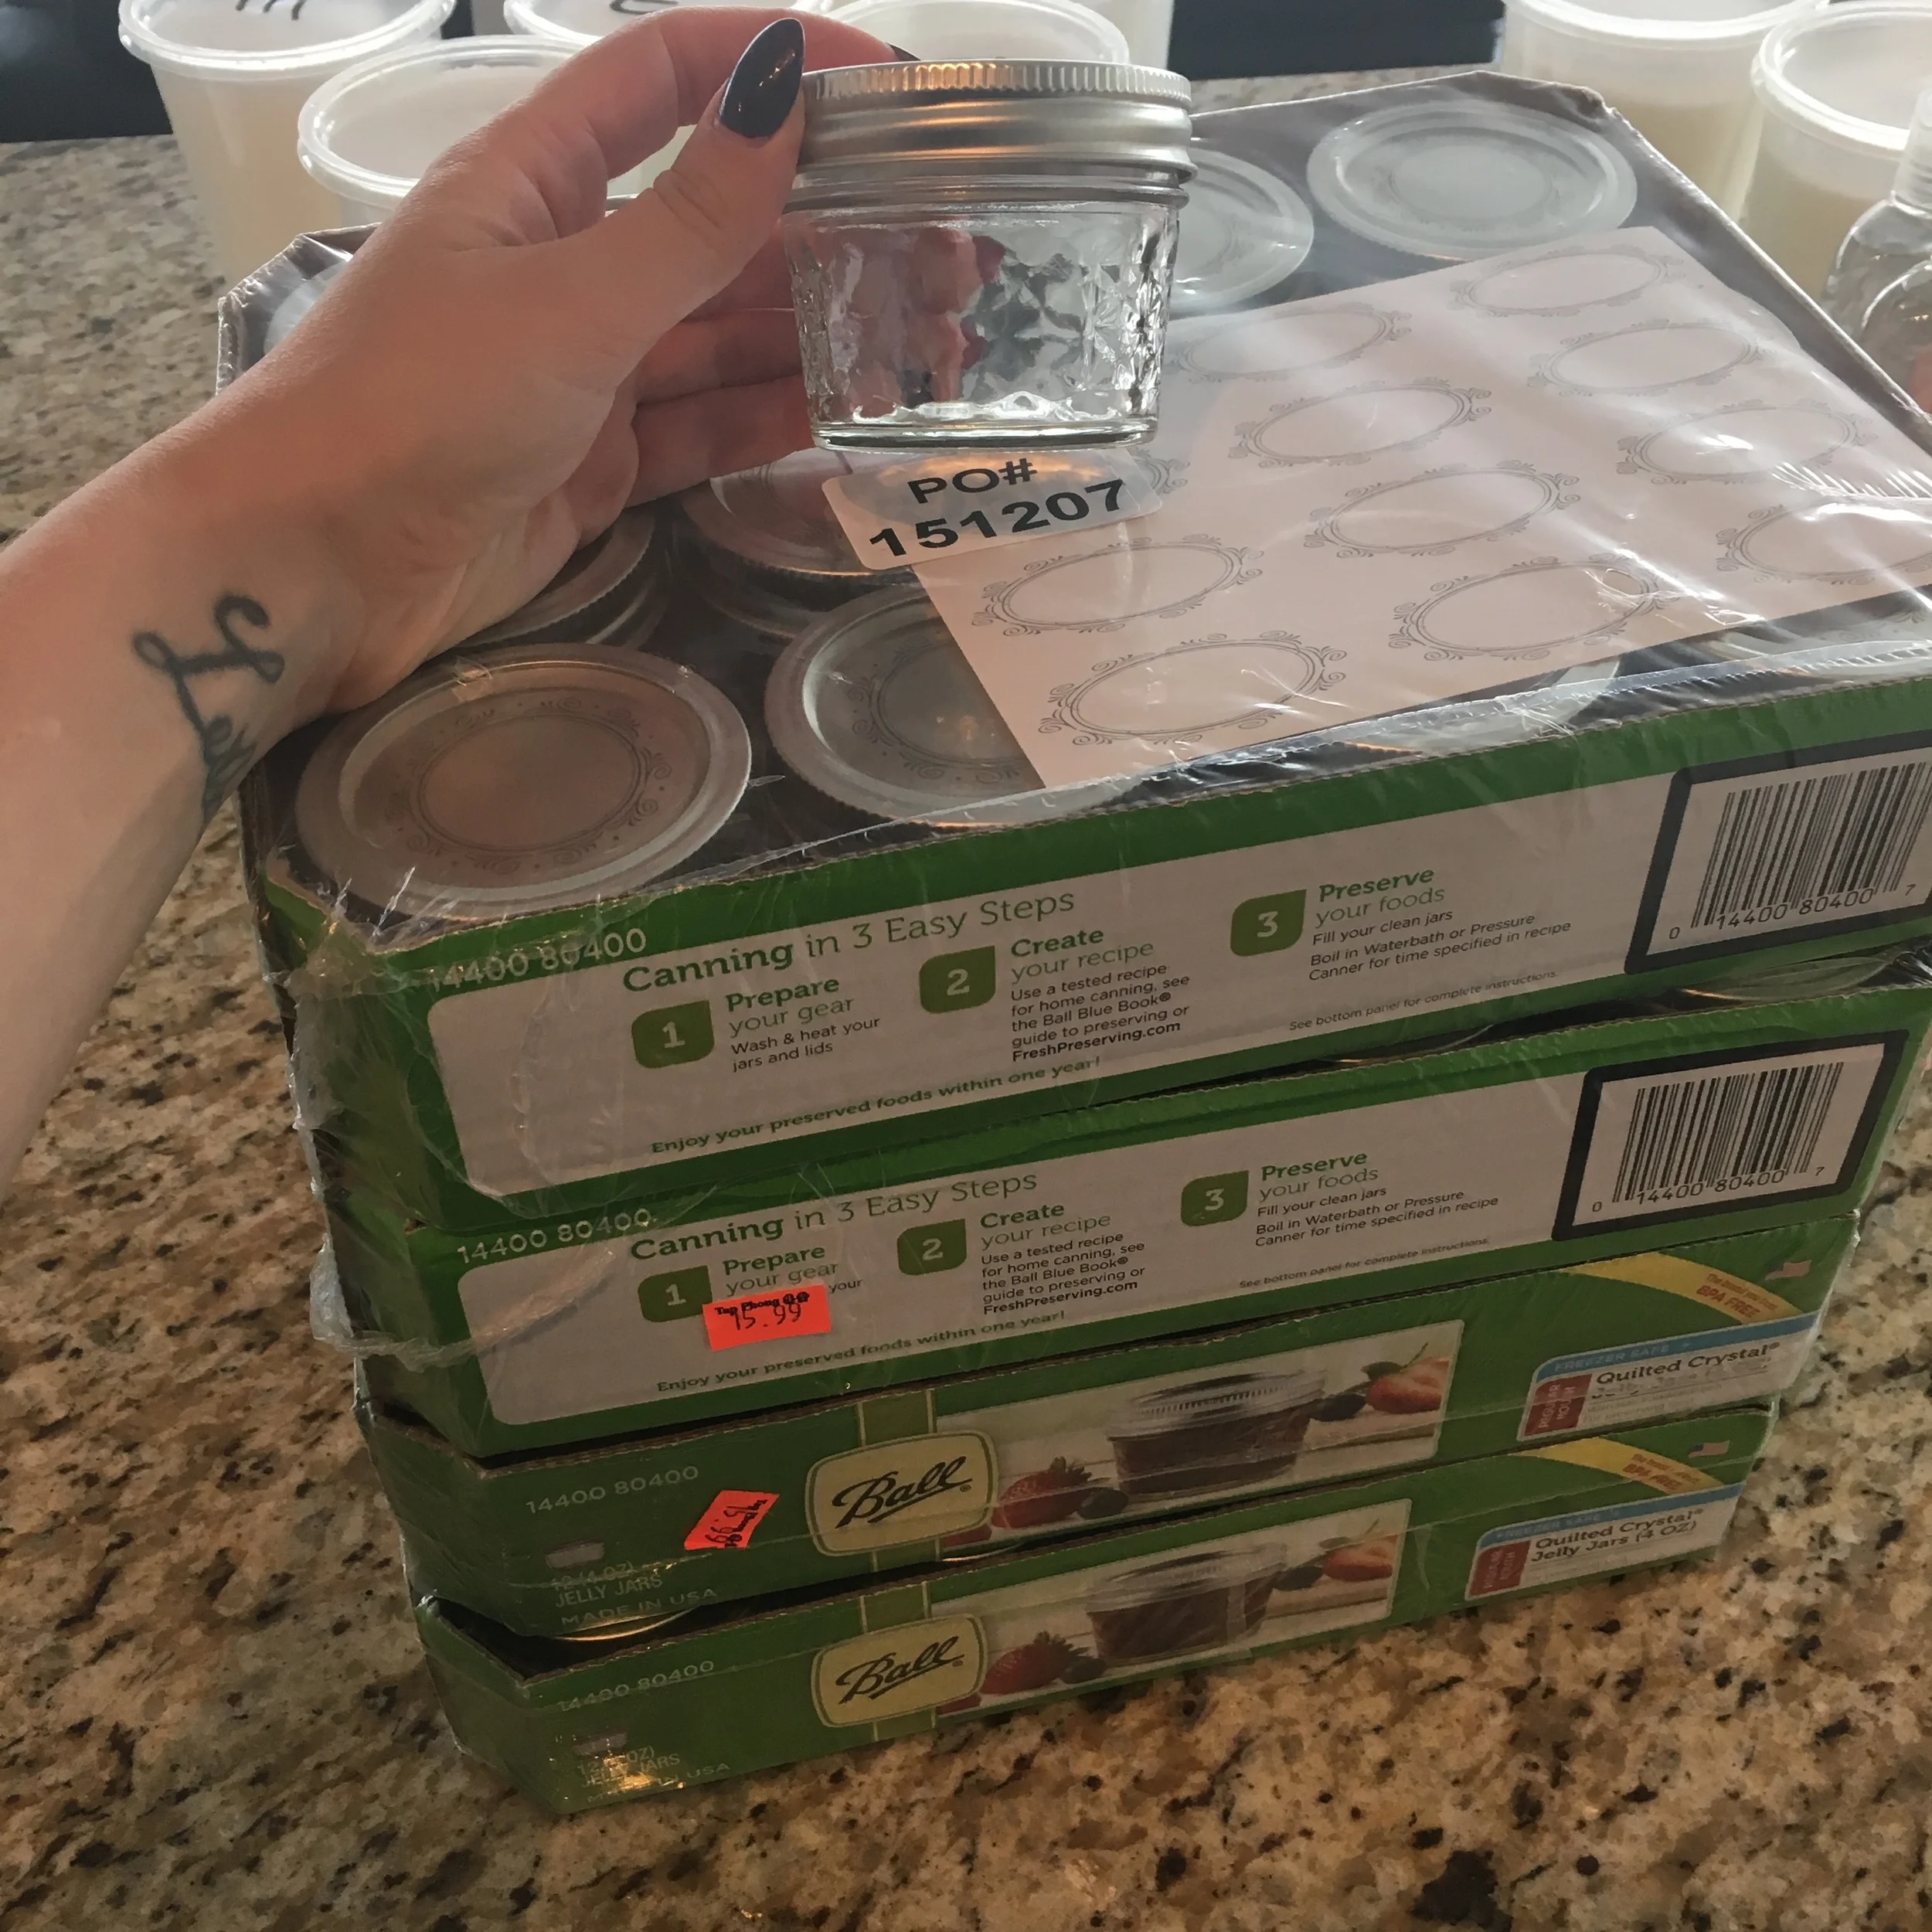
Small Containers - I used 4 oz Glass Jam Jars
2.5 oz Organic Coffee Grinds (fine) - per jars you want to end up with so (2.5 x # of jars = how much you will need)
1.5 oz Coconut Oil***- per jars you want to end up with
Activated Charcoal - I got capsuled ones and removed the charcoal from the capsules, 1-2 for each 4oz jar
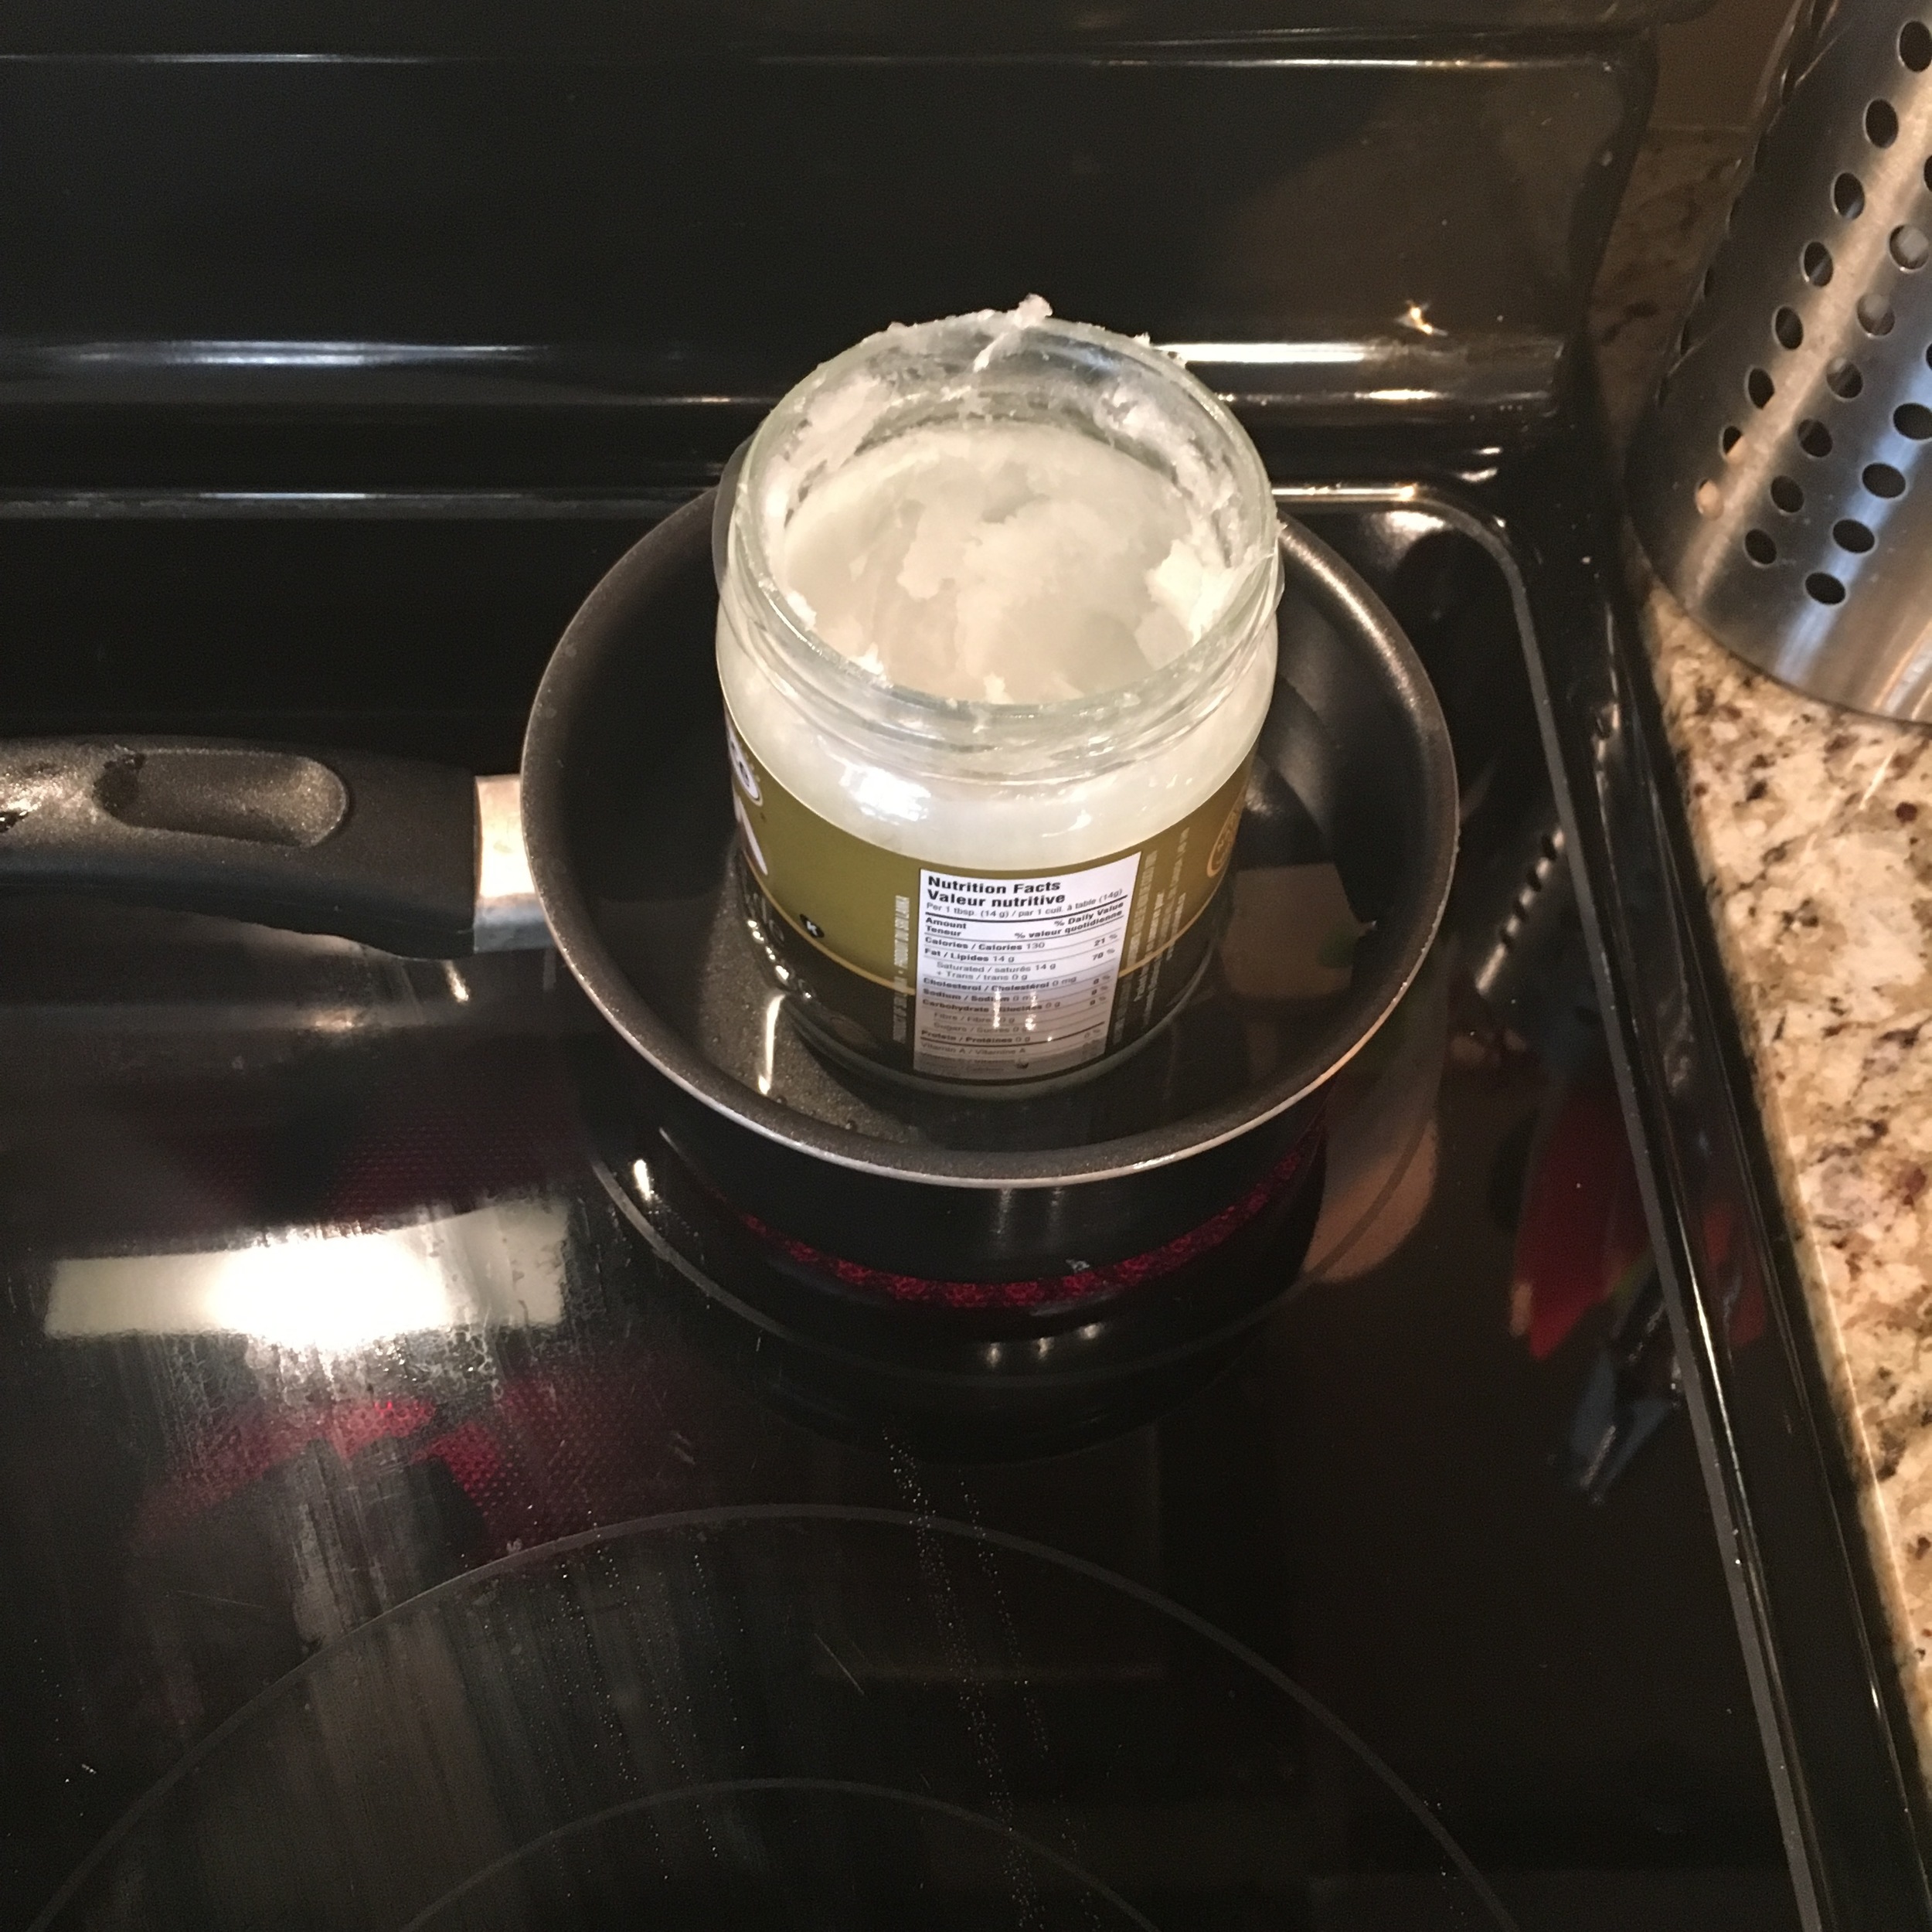
*** If you have a problem getting the coconut oil out of the container like I did I recommend using a technique called "sous-vide". Please note that the container has to be made of glass to do this. To do this, placing the glass jar of coconut oil in a bath of water and heat the water up slowly in order to melt the coconut oil. Use a cloth when removing the glass jar from the bath as it will be hot. Pictures included below!
CHECK OUT THESE OTHER EASY DIY’S


DIRECTIONS:
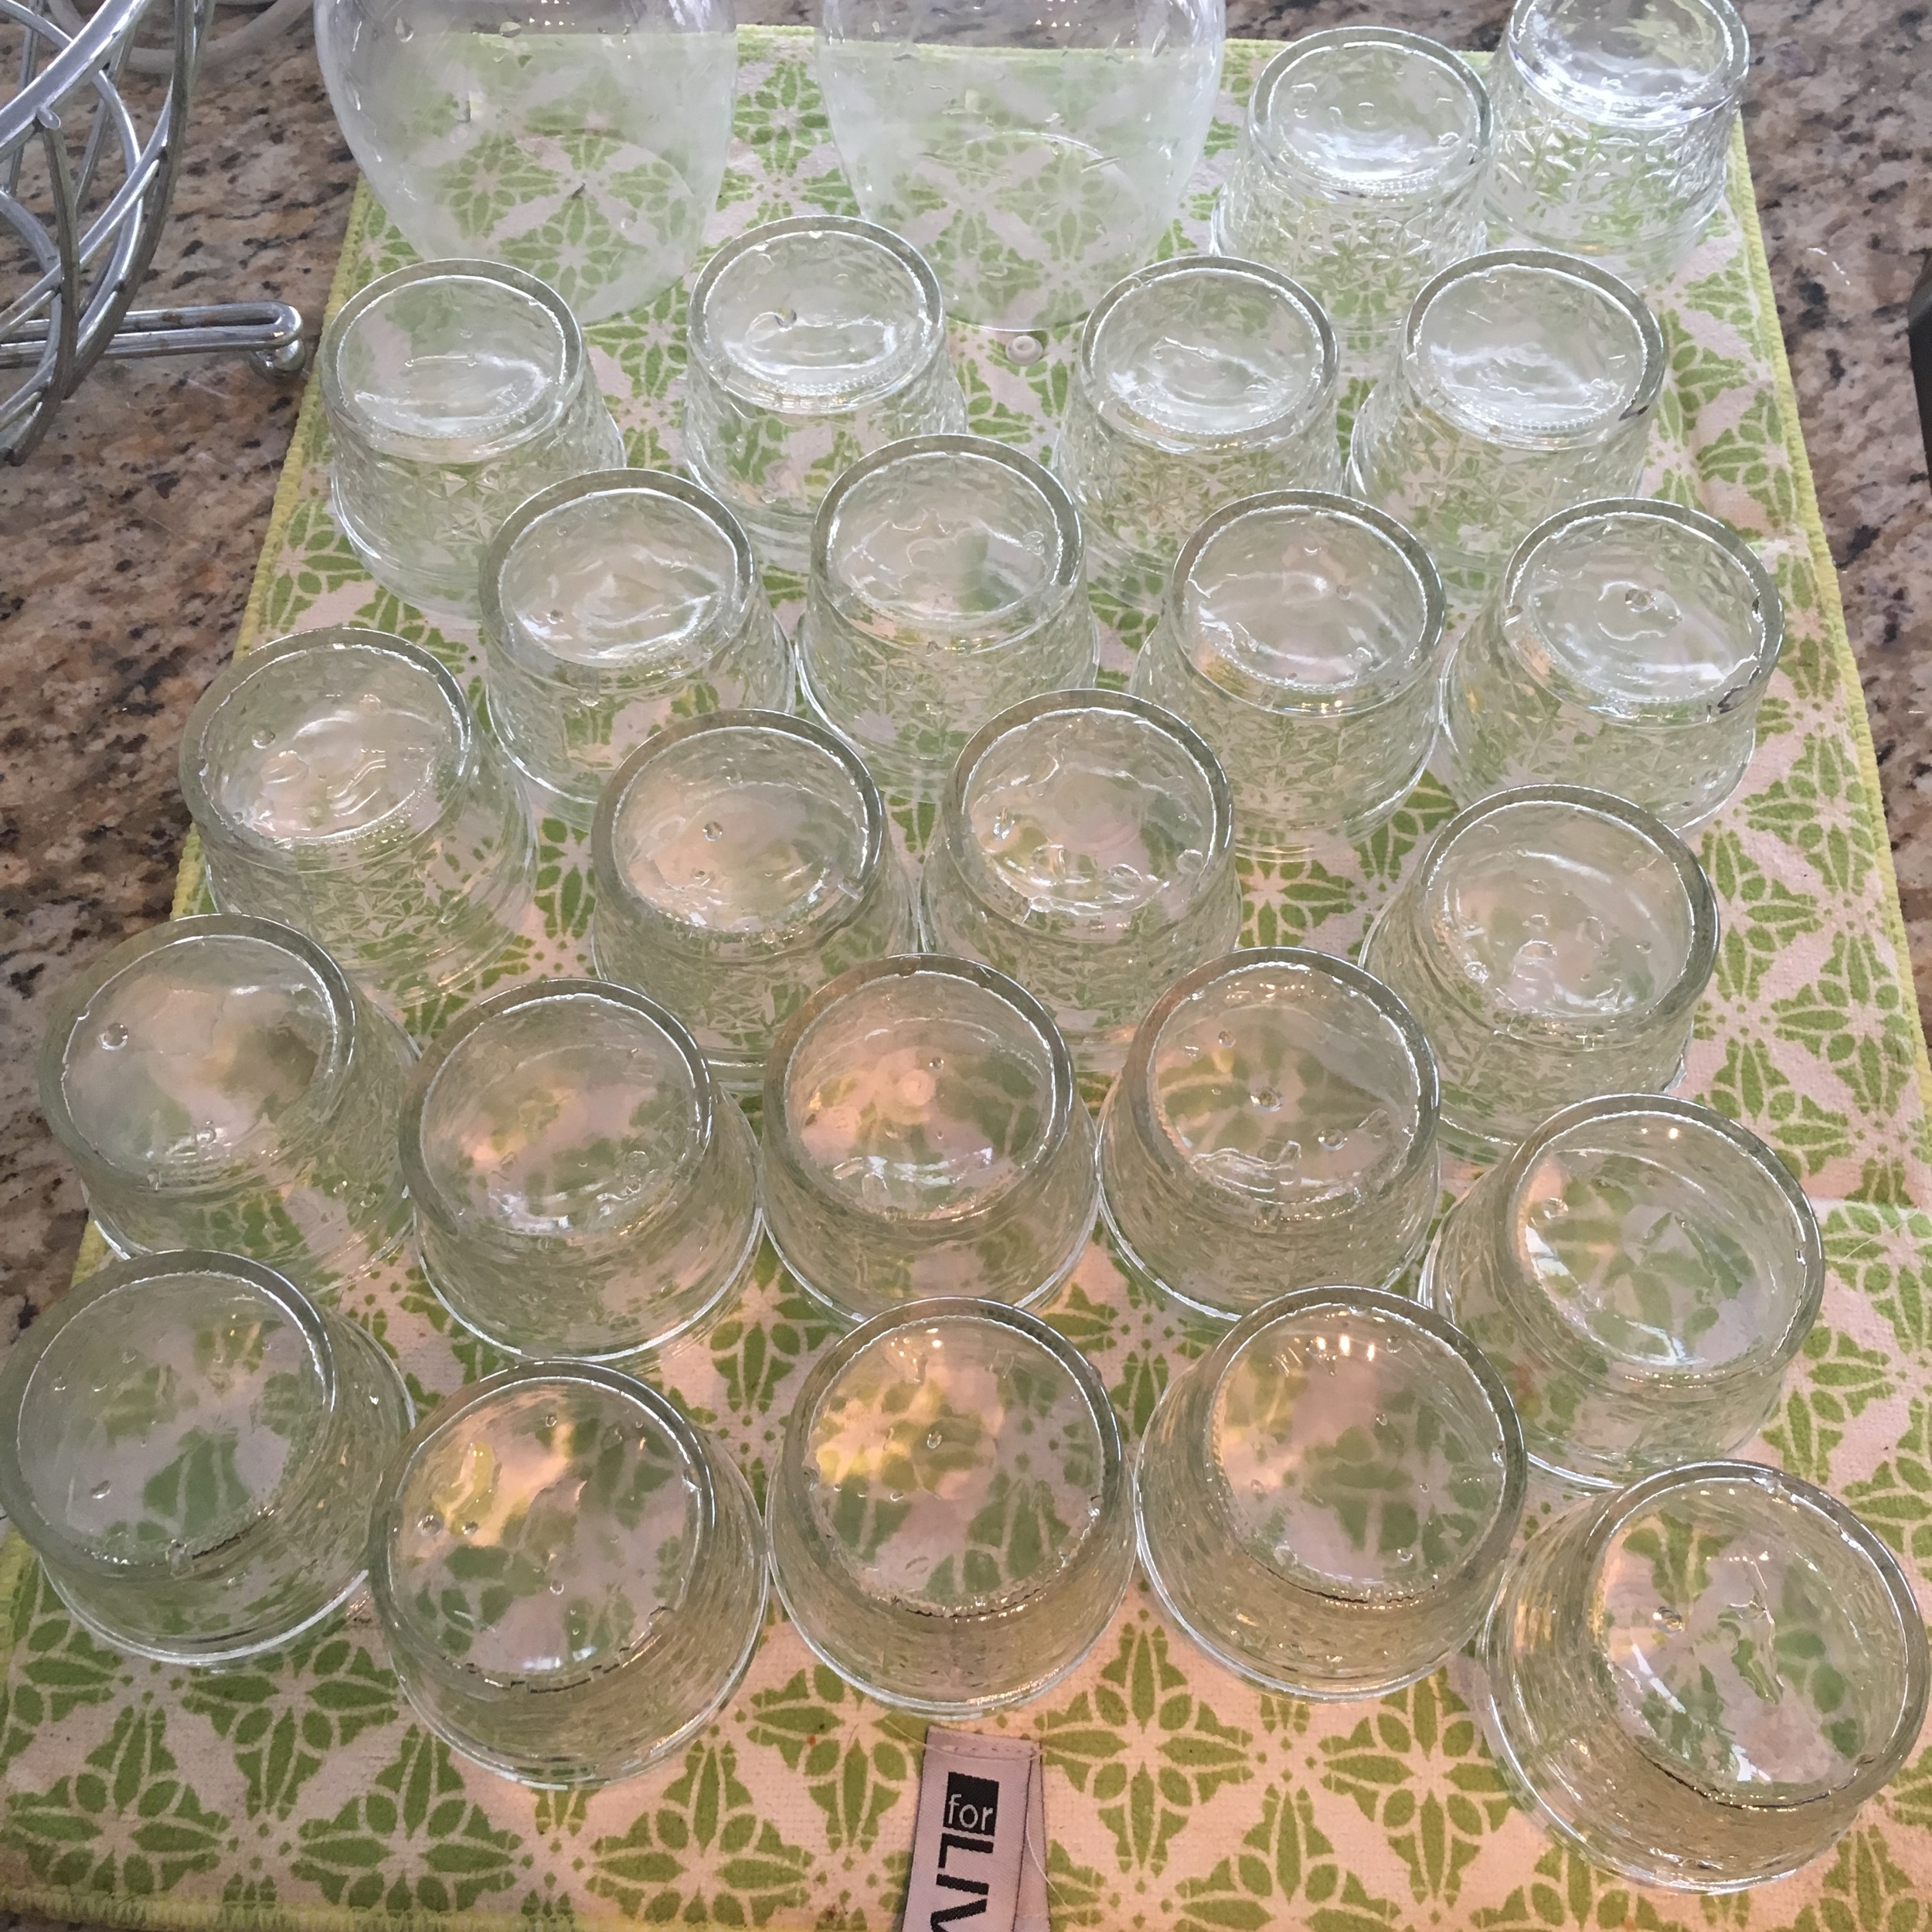

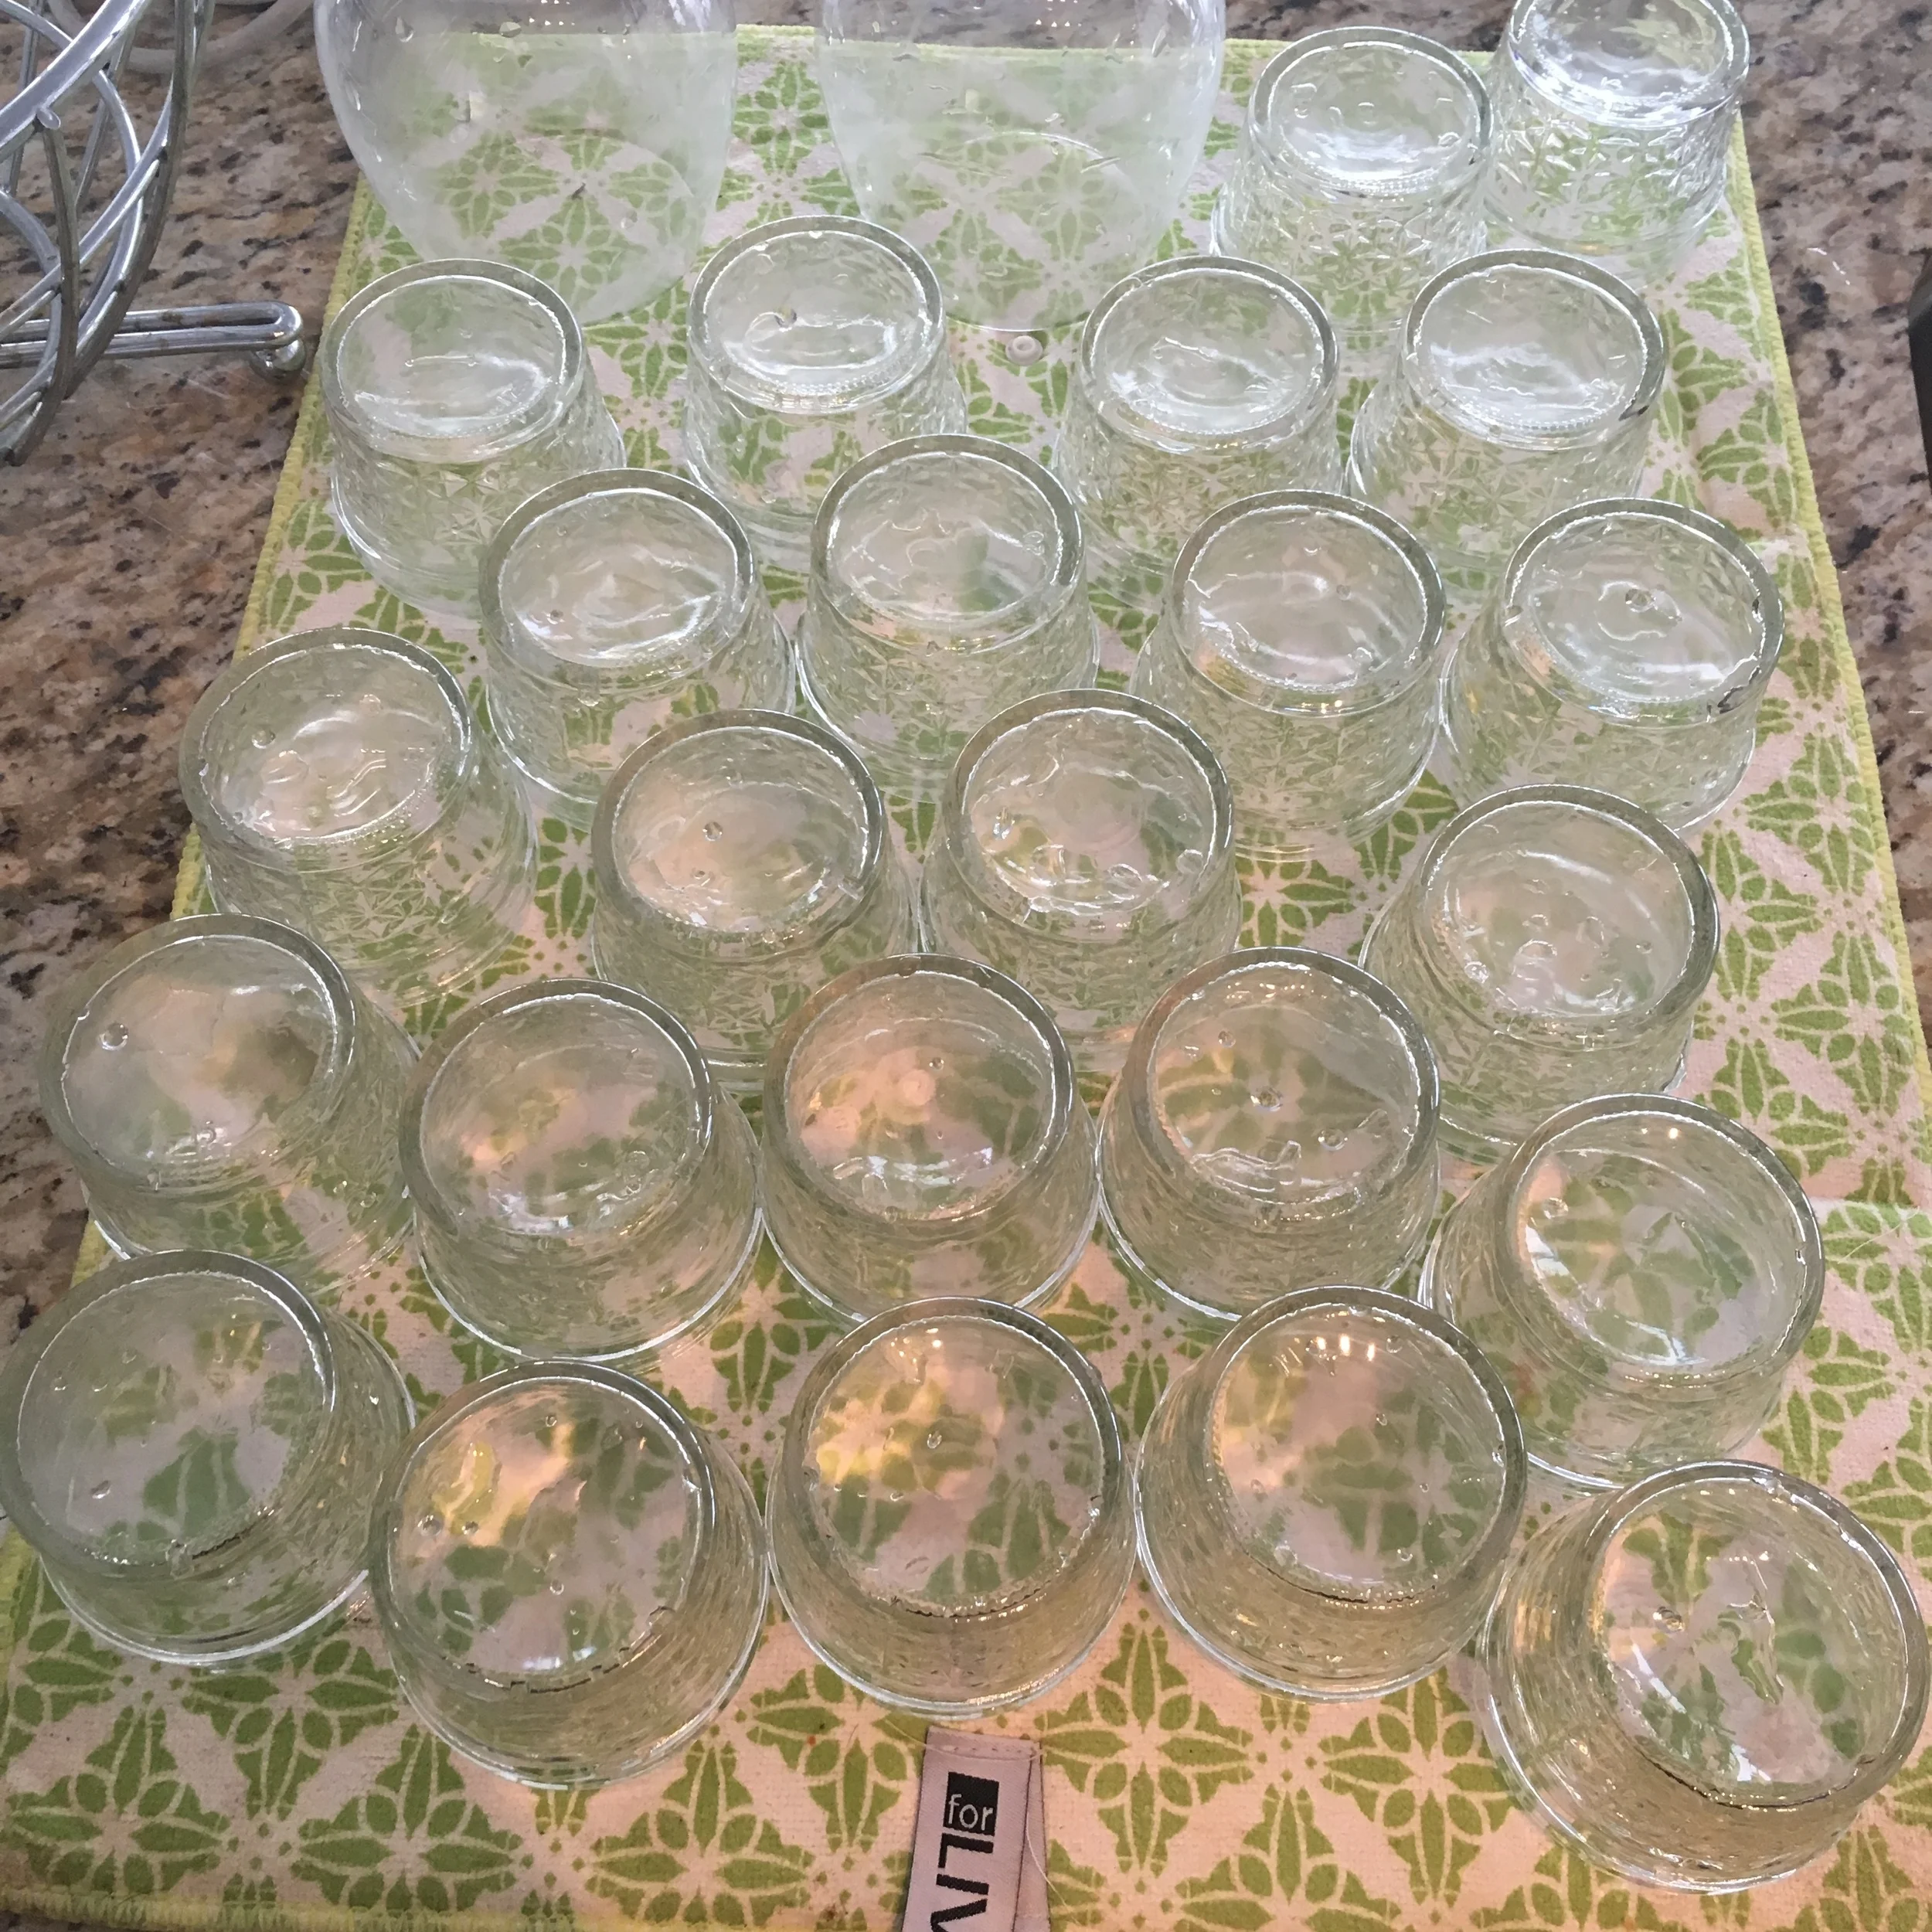
Wash and dry your jars fully
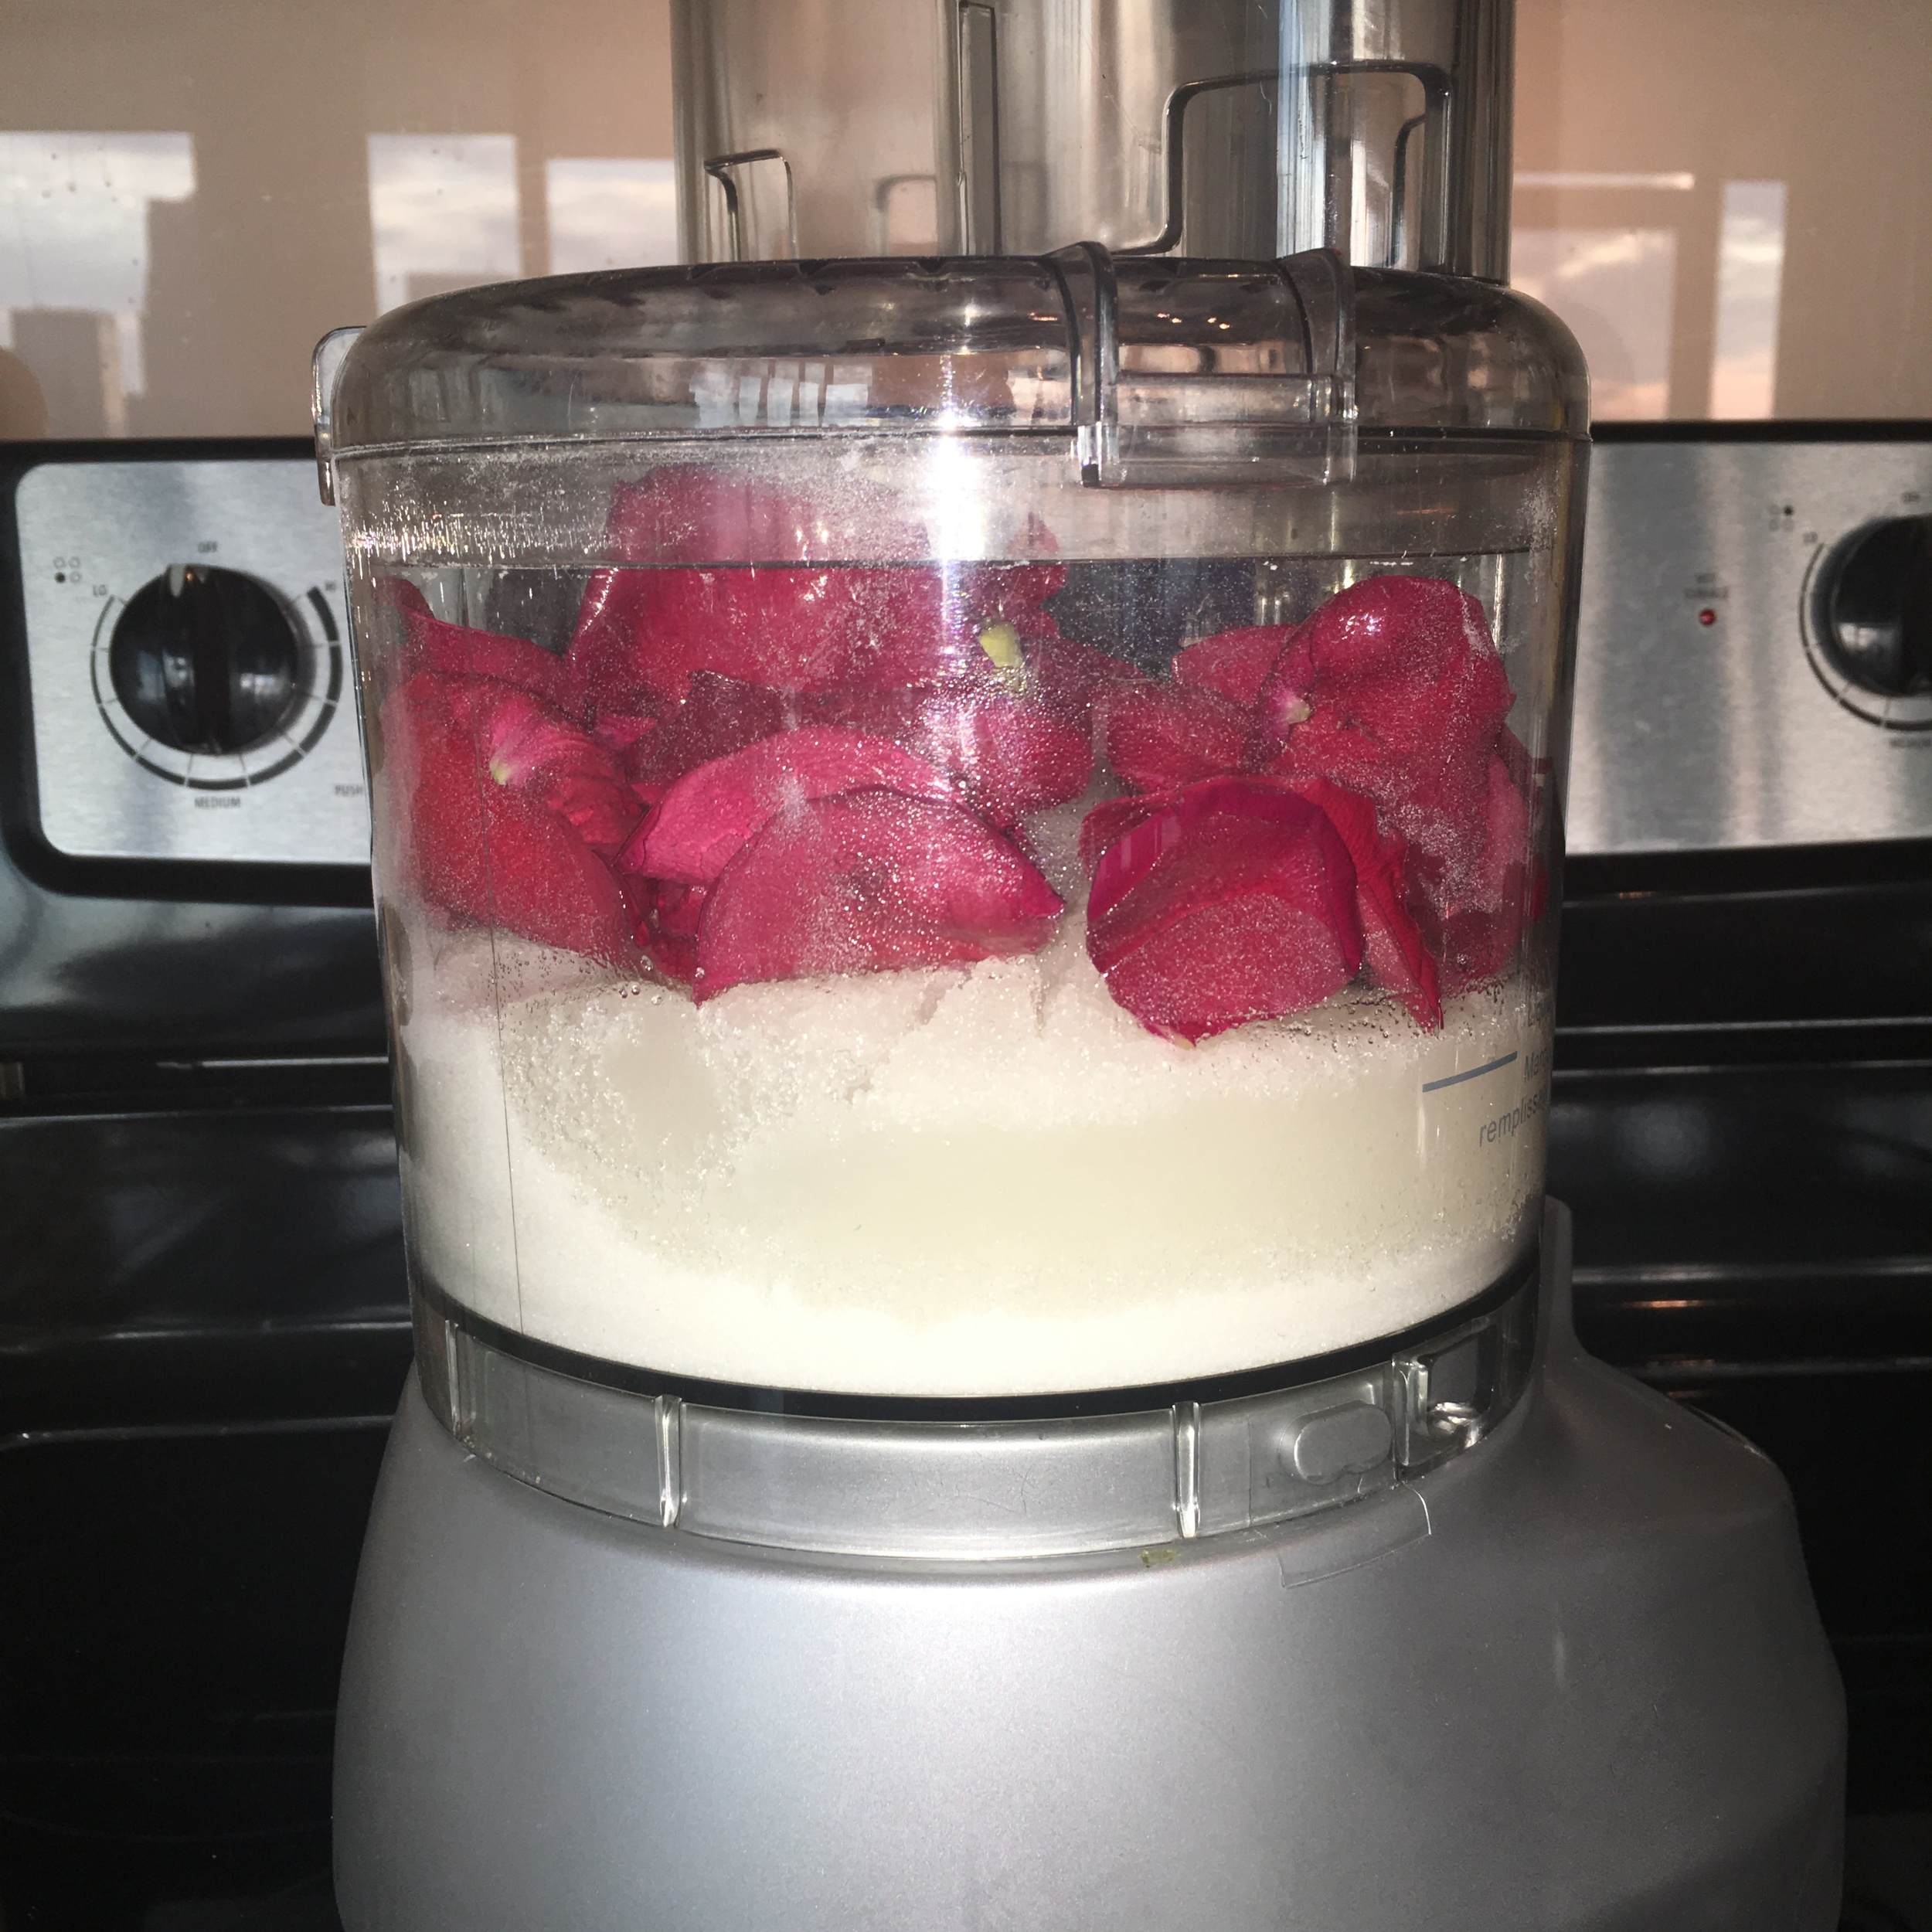
Place the coffee grinds in the food processor (you may have to do this in parts!) , add in your coconut oil and activated charcoal. Blend until well mixed well together.
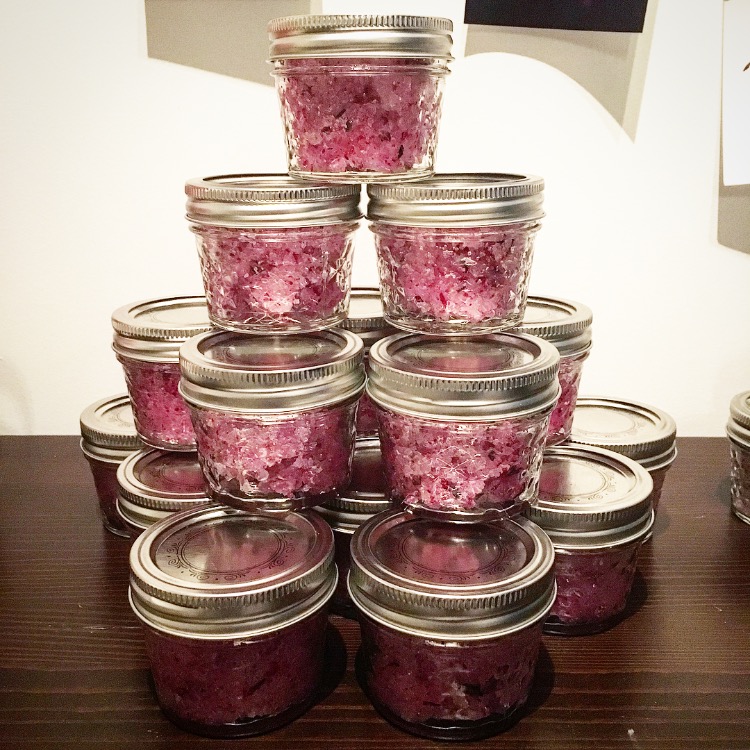
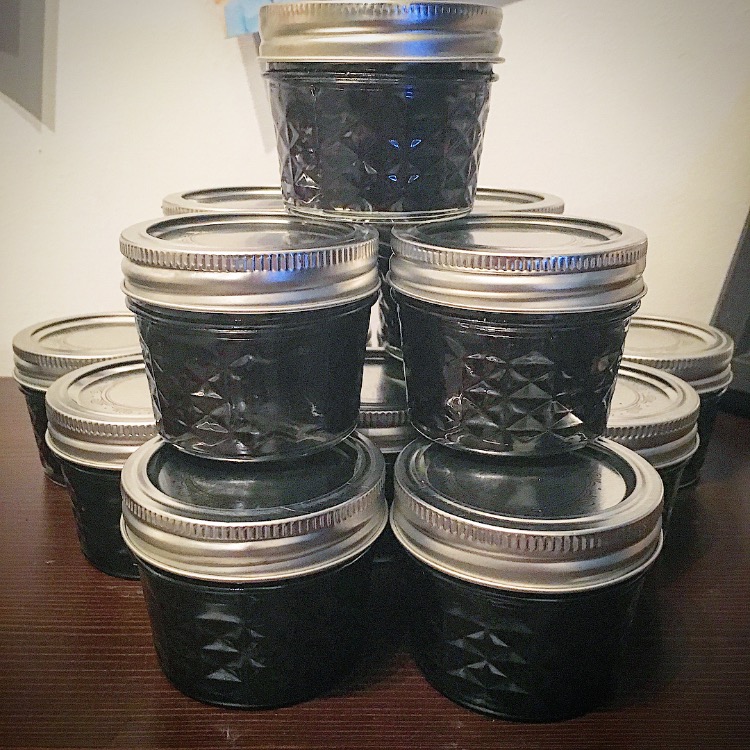
If you did this in parts transfer food processor contents to a large bowl and repeat coffee, coconut oil, and charcoal mixture until everything is done. Mix large bowl contents together one last time with a whisk. The mask should look black and have a thick grainy consistency!
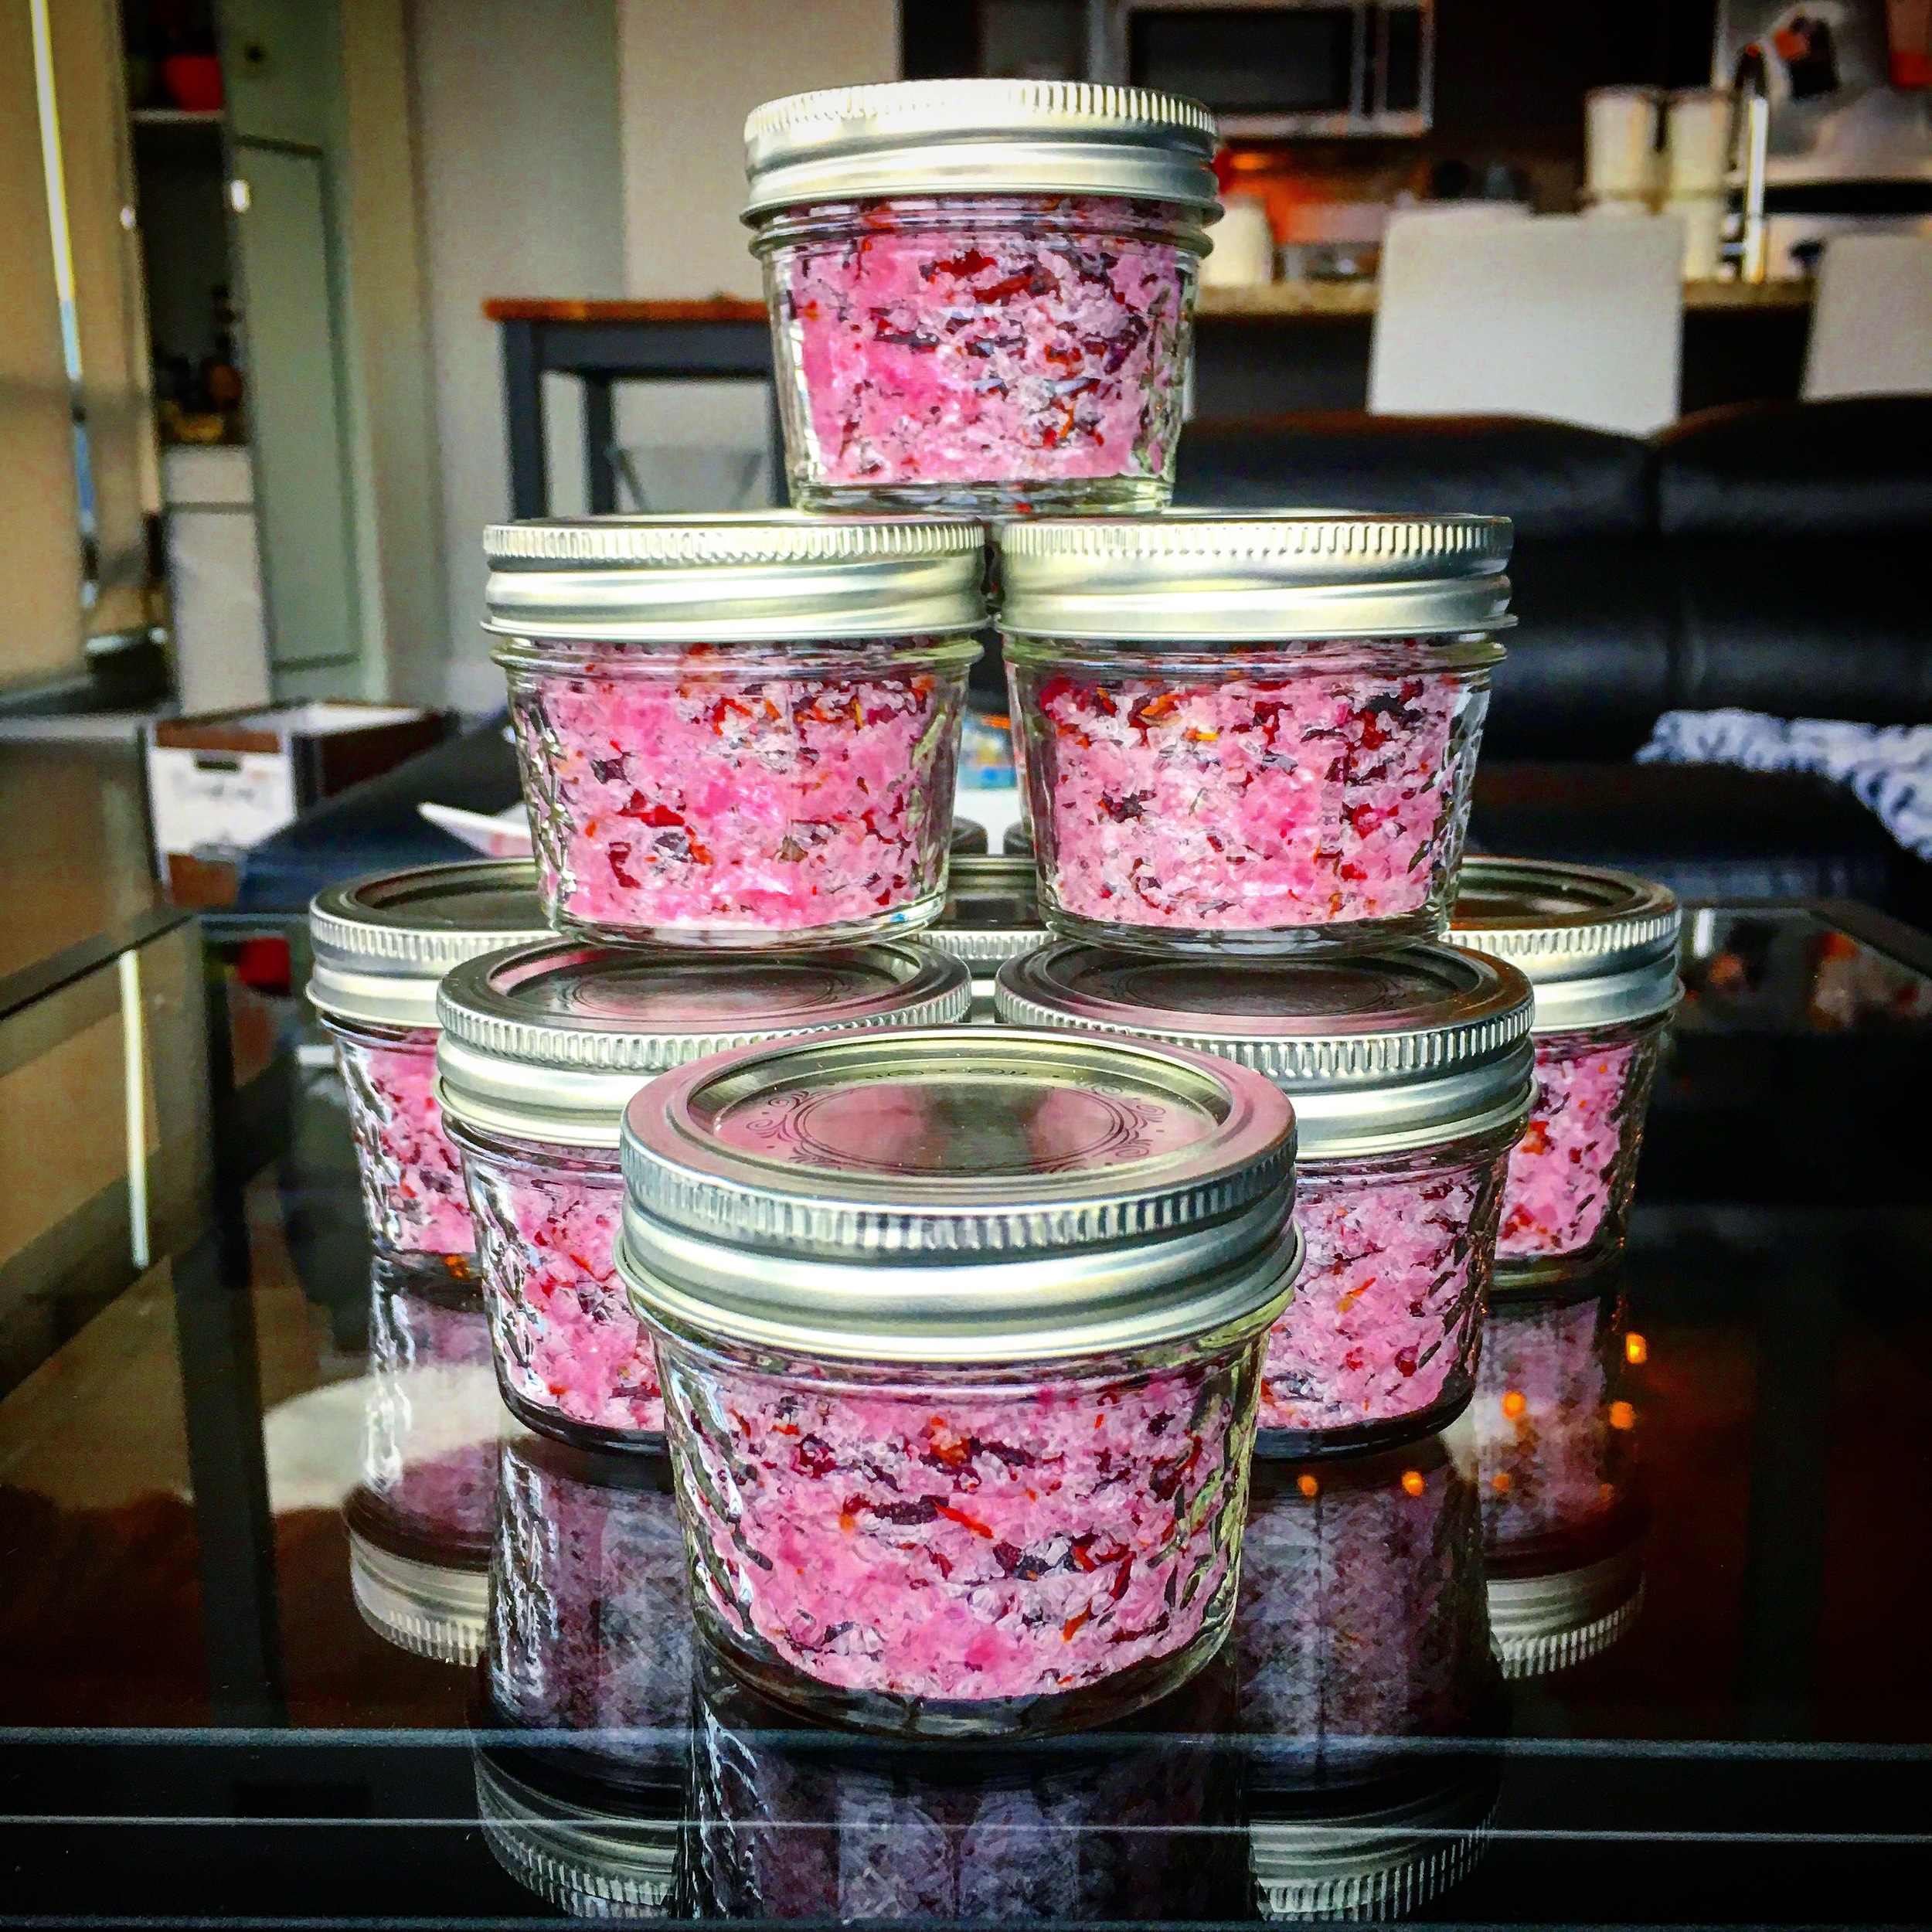
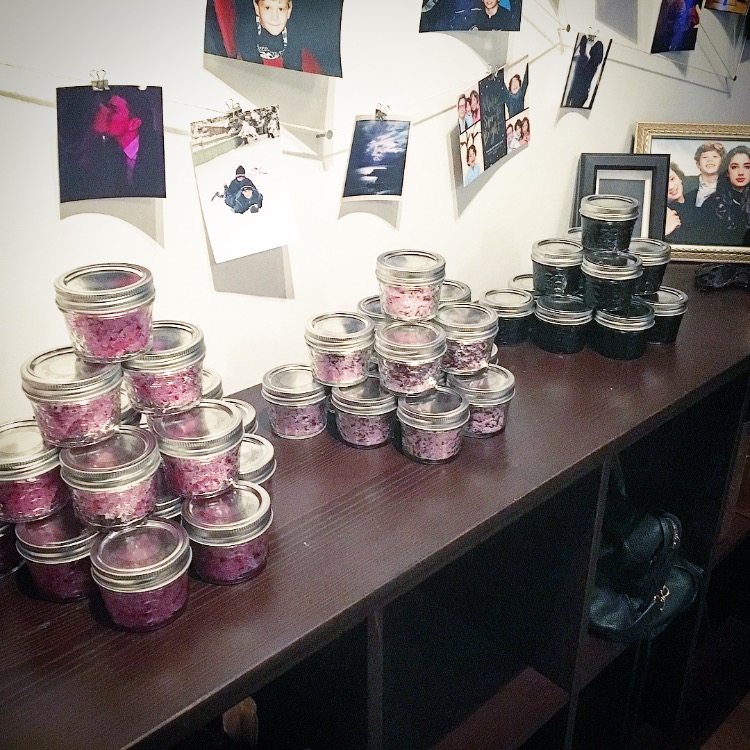
Scoop out and fill jars!
FOLLOW ME ON INSTAGRAM @ISTHATSOH


I hope you had as much fun making this easy charcoal face mask DIY as I did! Please let me know your comments below or if you have any special requests!!!!! I would love to hear from you ♥ ♥ ♥