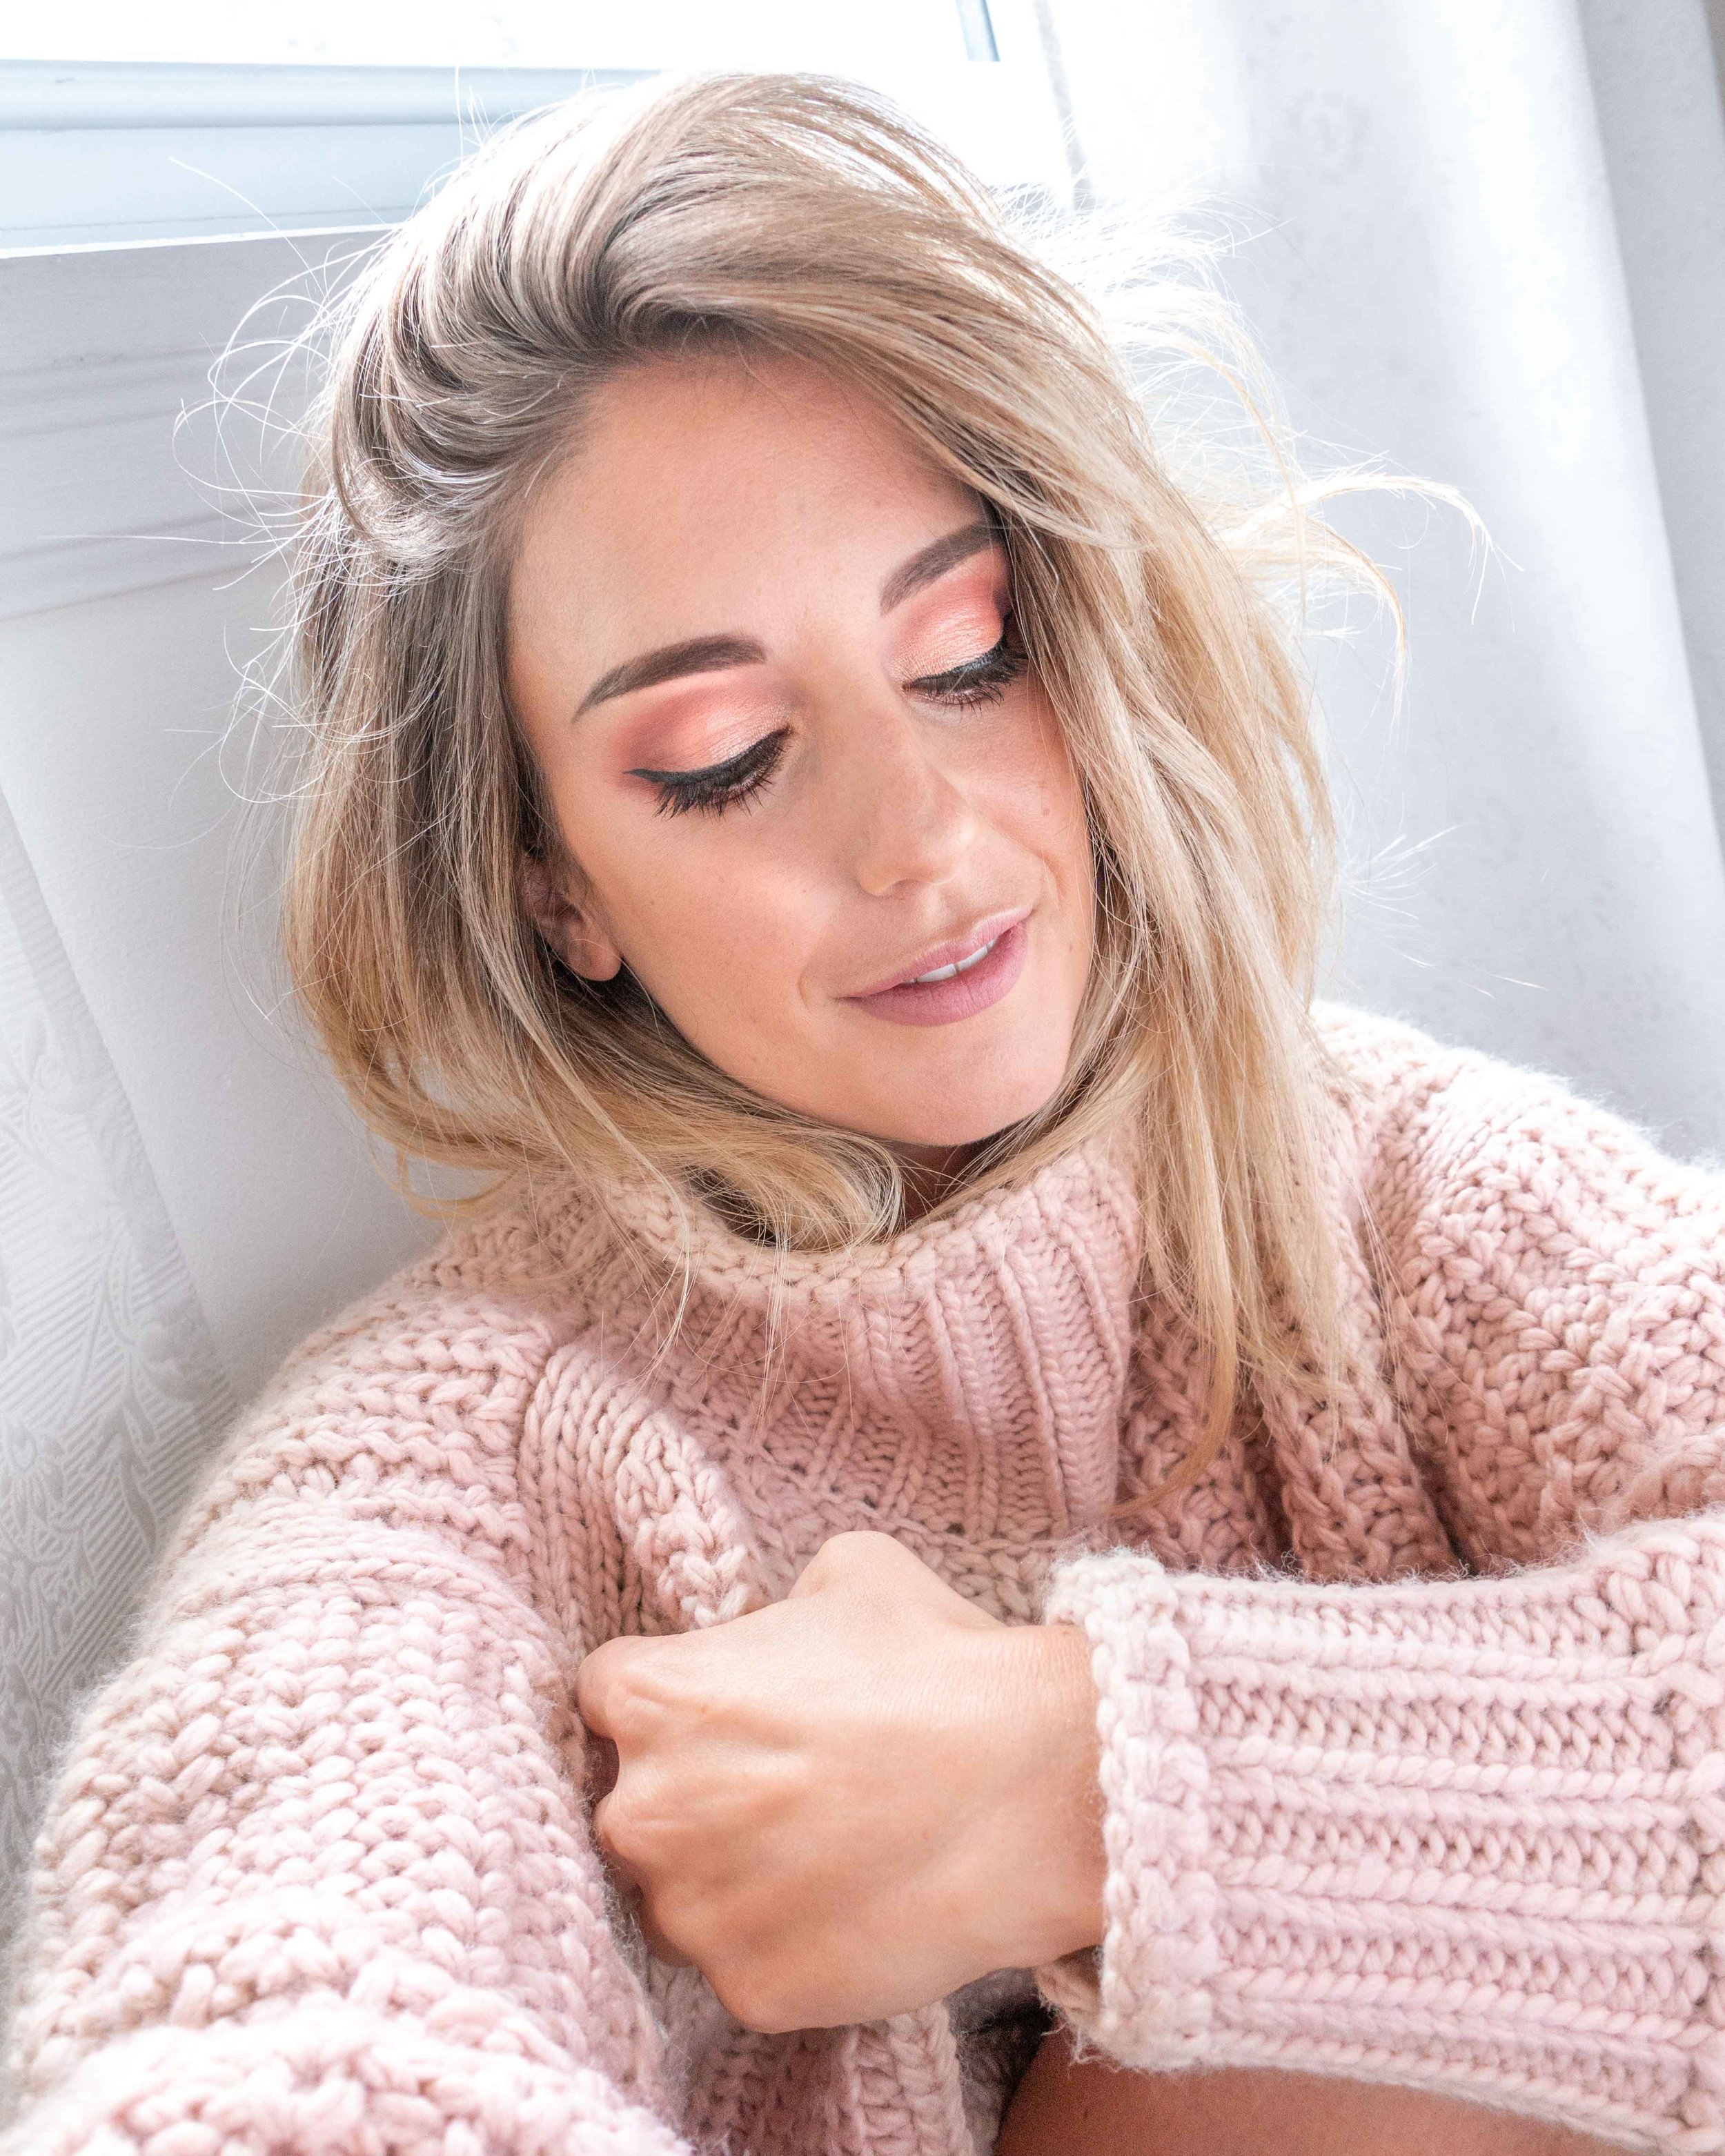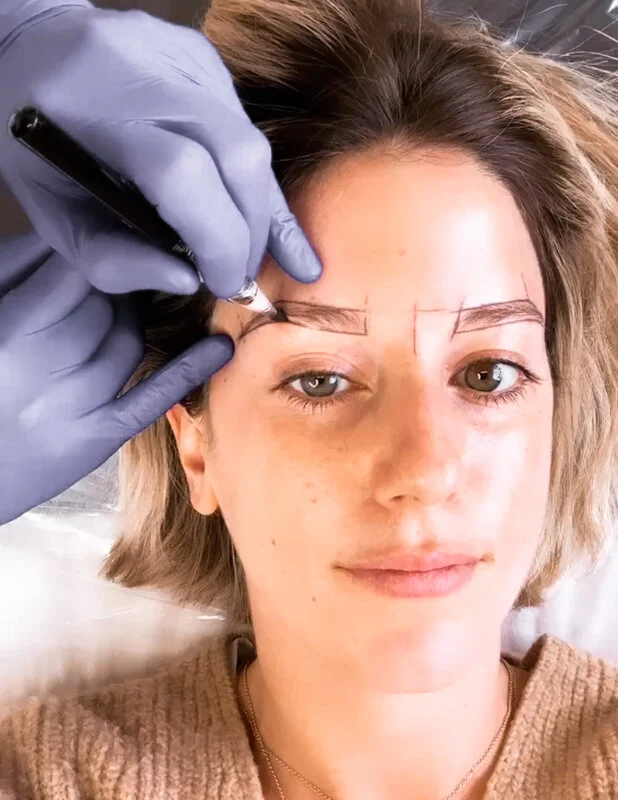
Last week it happened! I did it! I finally pulled the trigger and got my eyebrows microbladed, well actually I did a hybrid which is part microblading part powder brows!
Is Microblading Permanant? How Long Does Microblading Last?
I am sure many people would agree with me when I say that microblading brows, although an old and popular practice in Asia, feels like a new beauty phenomenon that only recently started to grow in popularity here in North America. This craze of ‘semi-permanent tattooed eyebrows’ first caught my attention about two years ago when a couple of girls I follow on Instagram started talking about it in videos and stories. Right off the bat, I was curious. The whole idea of being able to wake up and have sharp, beautiful brows was very appealing to me. As someone who naturally doesn’t really have an eyebrow tail and is constantly filling them in every day, I knew this could be the solution I was looking for. It is important to keep in mind however that both microbladed eyebrows and powder eyebrows will fade over time especially as skin cells turn over and they are exposed to the sun (another reason to wear sunscreen) so you can expect to need to get touch-ups every 6 months - 1 years.
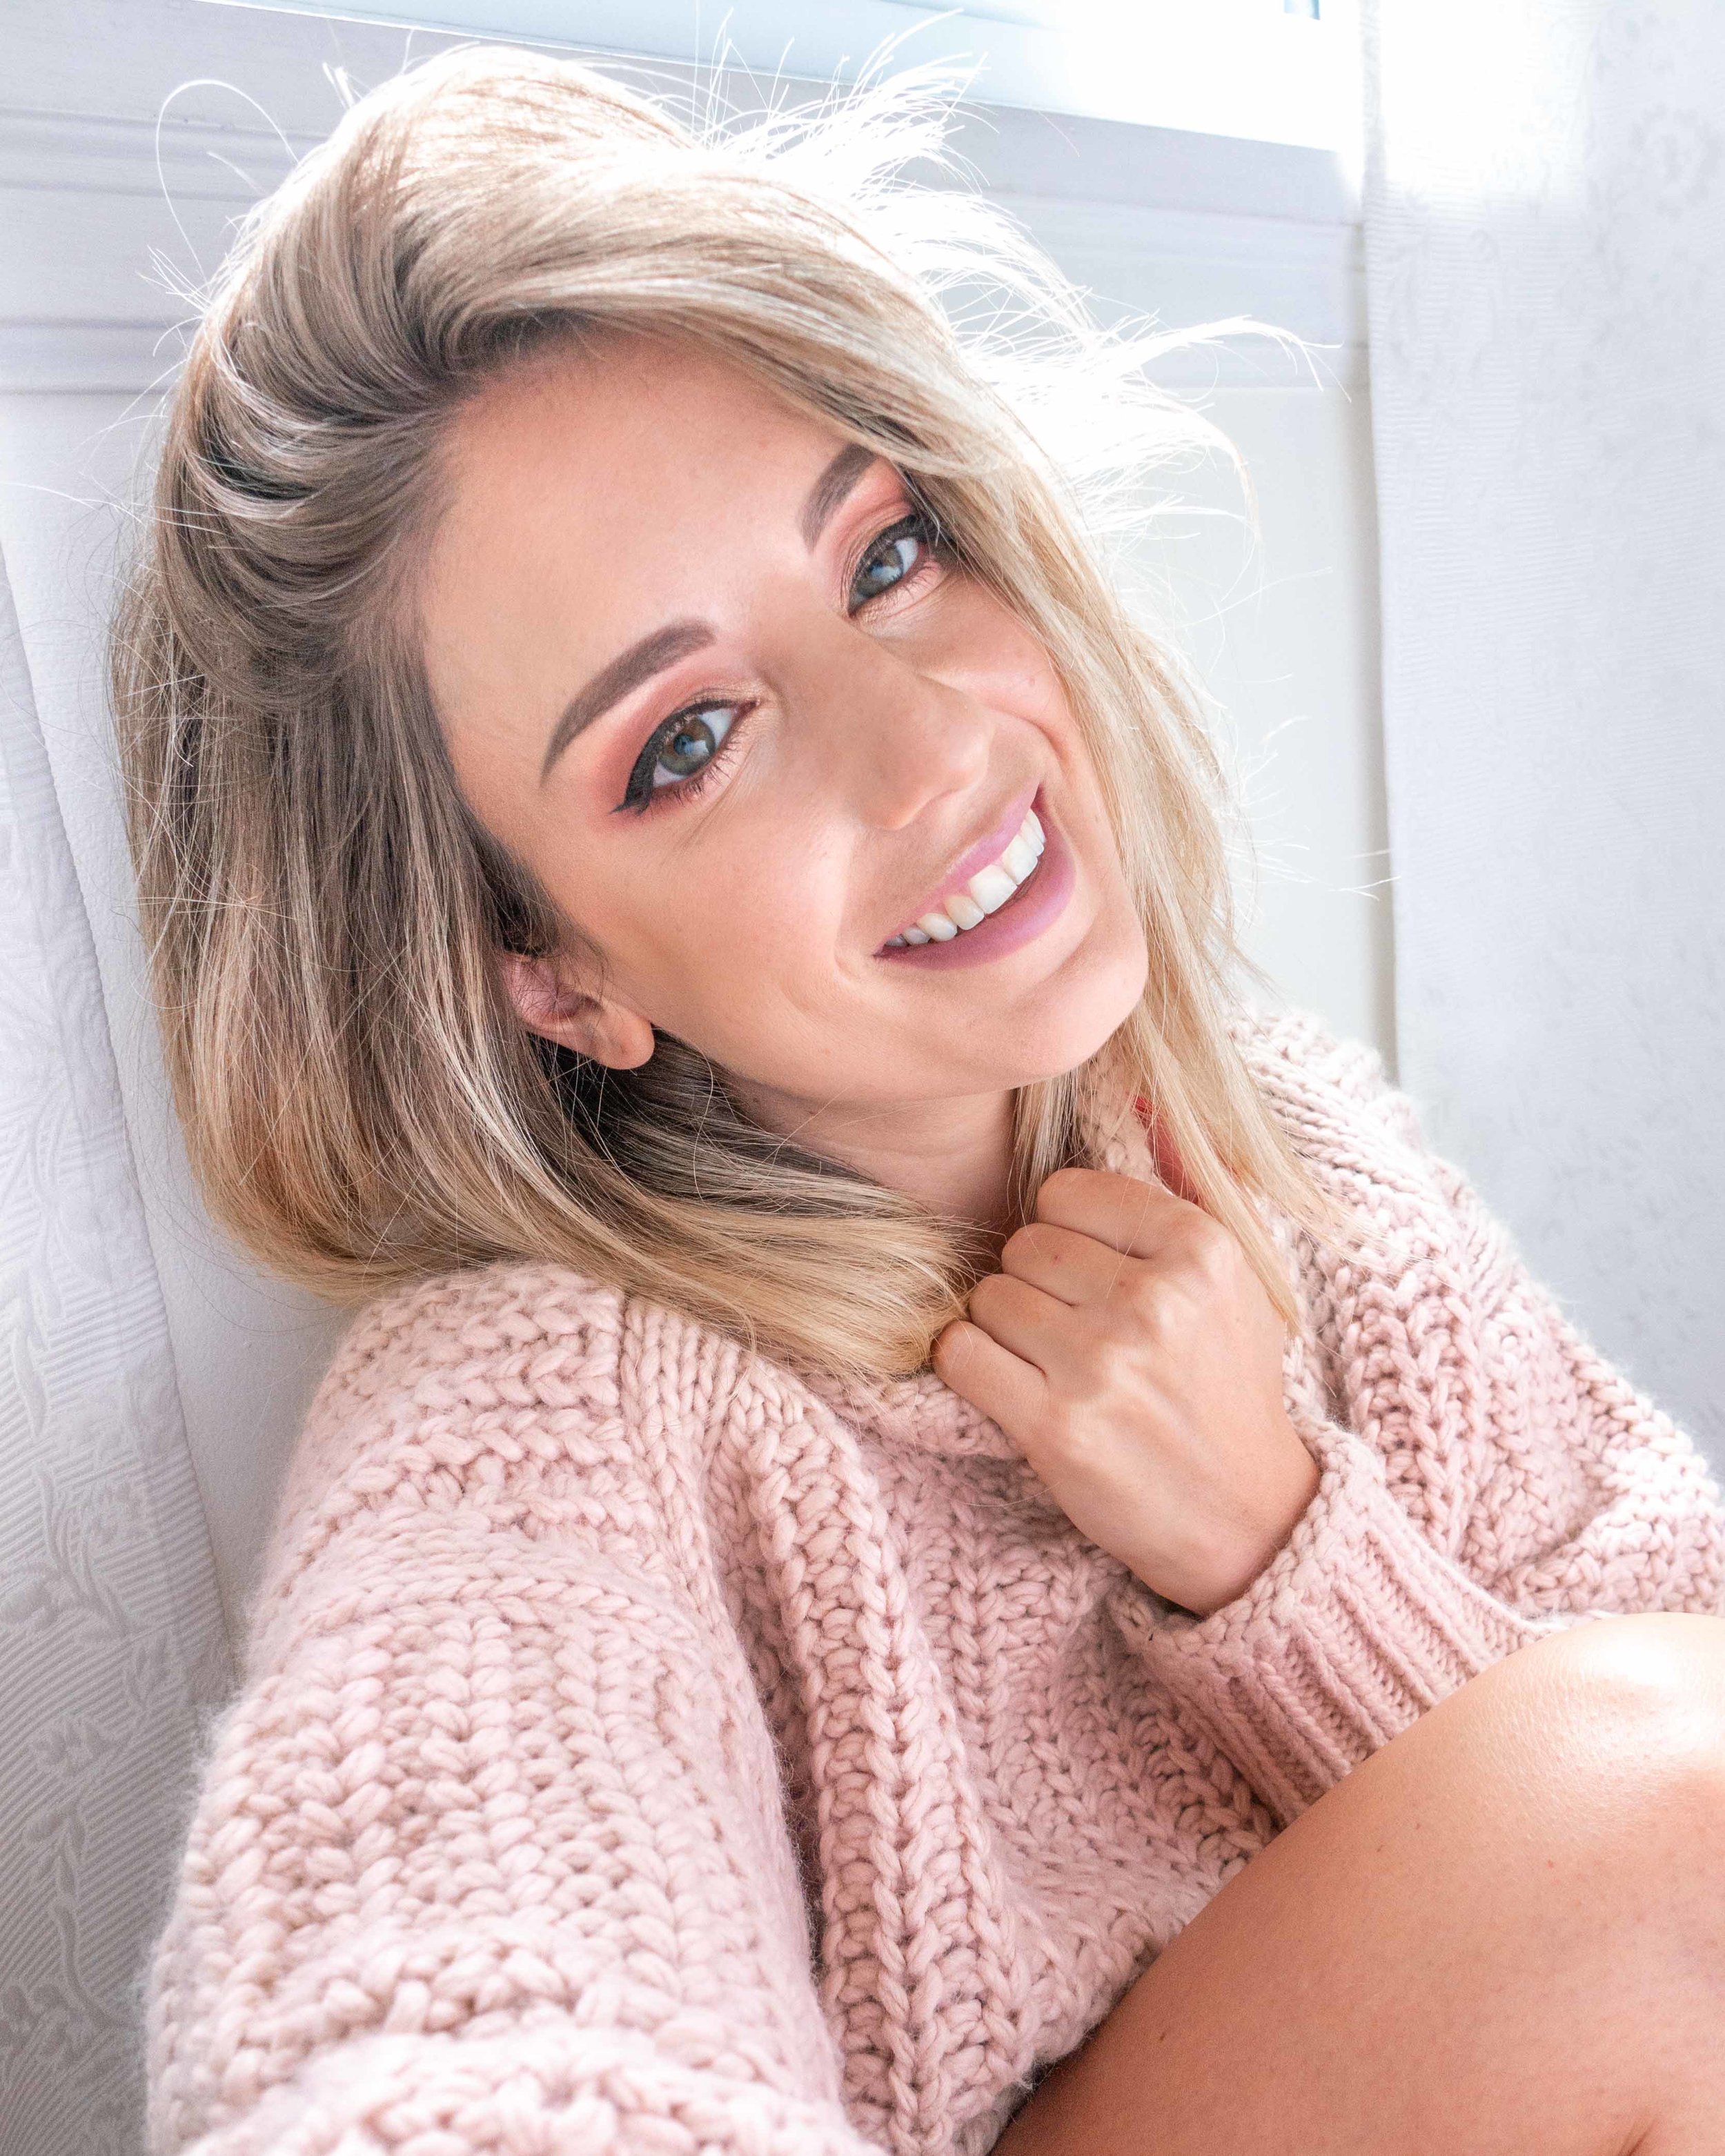
*** UPDATE *** Just wanted to drop in here quick and update you as it has been over a year and a half now since I had my eyebrows microbladed / powder brows done and although the shape is not as sharp and defined as it used to be (some fading at the top of the arch has occurred and at the tail as predicted) they still look great and I can still get away with not having to fill them in every morning.
So what took me so long? I know when it comes to things like travel or food I can often be a person of impulse, but when it comes to getting a tattoo on my face, it’s a totally different story. Before diving headfirst into getting my eyebrows microbladed / powder brows, I wanted to be completely aware of what I was doing, who I would be going with, and that what I am seeing on IG wasn’t all smoke and mirrors (because let’s be honest you never REALLY know). I wanted to be diligent. I wanted to find someone I could trust. I wanted to make sure they had a good reputation with many happy clients who gave raving reviews.
FOLLOW ME ON INSTAGRAM @ISTHATSOH


But How Much Does Microblading Cost?
Microblading isn’t cheap and neither is tattoo removal so it’s very important to be confident with who you are going to go with when getting your eyebrows microbladed / powder brows as well as feel comfortable with the cost! With that being said I paid $650 CAD!
So, fast forwarding to a little over a month ago when I finally decided to pull the trigger. I had been following the journey of this brow artist named Nicole (@browsxbianca) for a while and loved her work. I knew she had professional training, had a studio in Toronto, and did pop-ups in Halifax. She had also already microbladed eyebrows on a couple of girls that I knew and they were all very excited and happy with her work. I was elated to hear how thorough she was at explaining everything and making you feel comfortable; how she personalized the brows to suit your face shape, preference and colouring; and how she talks you through the healing process. It all felt very genuine and natural, and I felt so confident she would do a great job that even when she threw me a curveball and suggested that I don’t fully microblade my brows but instead actually do half-soft powder eyebrows (which I had never heard of before), I already had so much confidence about my decision to go with her I didn’t second guess it. She’s the expert after all!
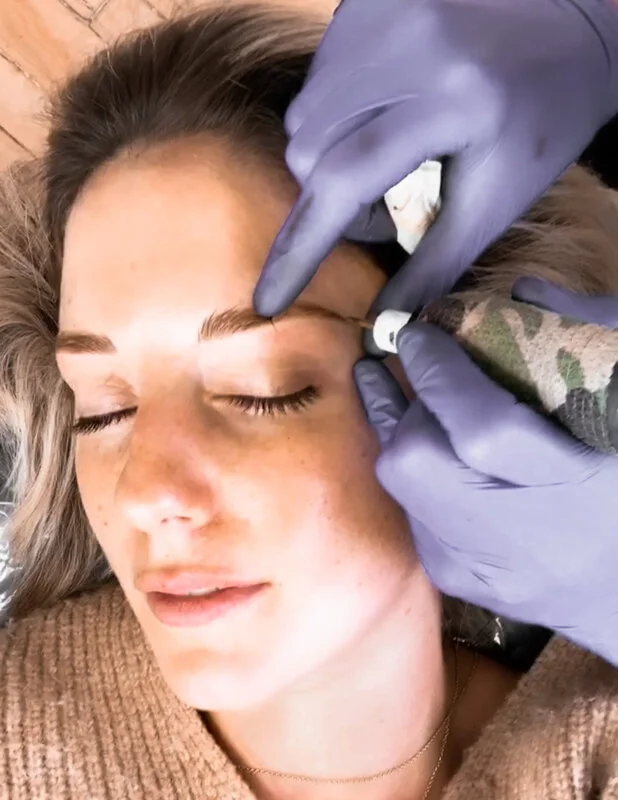
Does Microblading Hurt?
Surprisingly, not really… with that being said Nicole did use a numbing cream on me after the first pass of microblading which was like a 4-6 out of 10 in terms of what I can handle (I have a tattoo as well so I'm no stranger to this kind of pain) so it wasn’t so bad. I did sneeze a lot though and start to get teary eye but not because of pain, more so because the whole area is connected - kind of like allergies when you rub your eyes and it makes you sneeze.

Microblading Healing Process
Going into my appointment, I knew that I would receive tons of questions about the procedure and the microblading healing process so I decided to make it easy and film the whole thing. I have broken up the whole program into three parts because although the process of getting microbladed eyebrows / powder brows usually only takes 1.5-2 hours, the entire healing process of microblading can take up to a month and you have to go back for touch-ups in 6 weeks’ time.
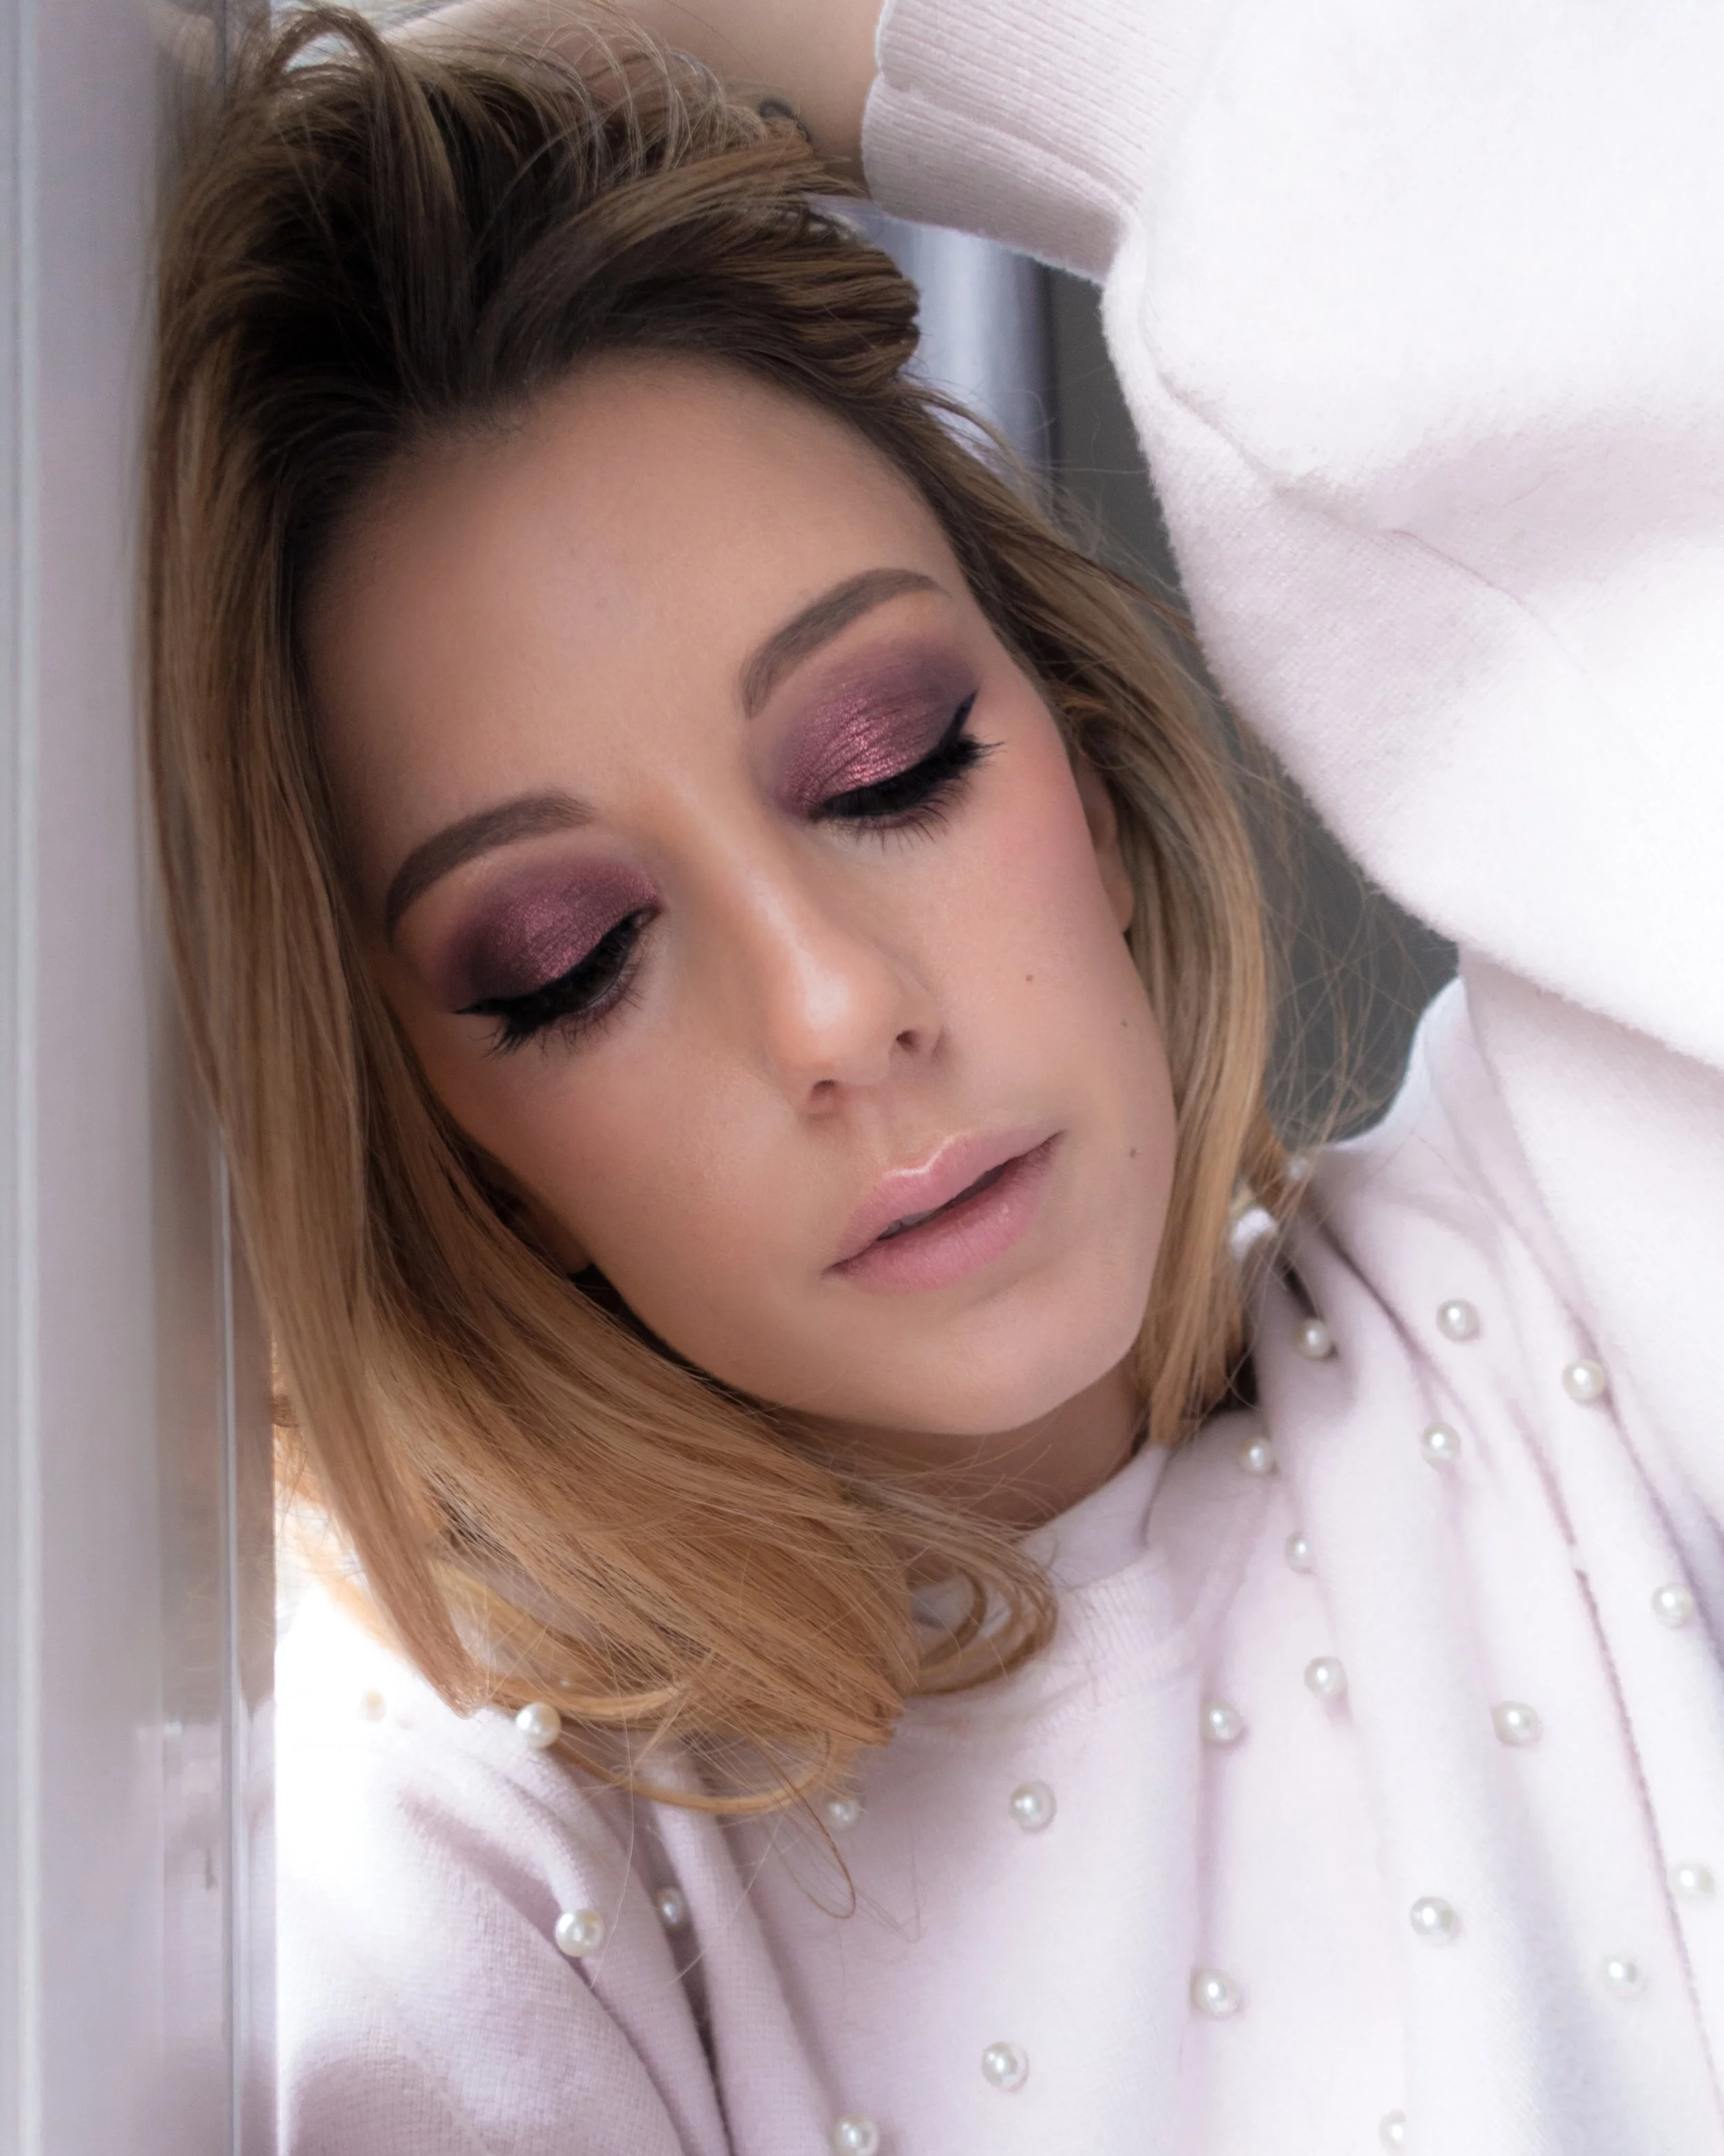
So here is part one of my three-part ‘Microblading Brows Series’. A little behind the scenes of my journey if you will. I even made sure to share clips of my brows before and after microblading so you can really see the difference it makes! Nicole also does talk about the microblading healing stages and microblading aftercare so if you’re curious to know what that looks like make sure to watch it! Hope you enjoy it!
I will be updating this blog post with two more videos, one documenting the stages of microblading healing and another when I go for my touchups so you can get a real look into what getting your eyebrows microbladed /powder brows really means.
MICROBLADING BROWS PART 2 - THE HEALING PROCESS OF MICROBLADING
As promised, I am back with part 2 of my powder brow / microbladed eyebrow journey. This time we are talking all about the healing process of microblading. Over the course of three and a half weeks, I documented every big milestone in my microblading healing process so that you can get a clear understanding of what you are in for. I have compiled all of the clips into a simple, straightforward video for a perfect ‘behind the scenes' post microblading / powder brow experience to give you a full understanding of all the stages of microblading healing. Hope you like it!
MICROBLADING / POWDER BROWS PART 3 - TOUCH UPS
Hello Friends! I am back with the final video/part 3 of my microblading / powder brows journey. This time I will be going in for my touch ups and making a few adjustments to my shape and intensity. One thing I learned through my microblading journey is that the process is not a wham-bam, thank you mame thing! Touch-ups after your first session are necessary to achieve the perfect microbladed eyebrow or powder brow. Anyways, today I am taking you back to Brows By Bianca Studio here in Toronto for a behind the scenes look at how we achieved my perfect brow! In this video Nicole also explains the benefits of going for powder brows over microbladed brows and why she recommends powder eyebrows or hybrid brows to the majority of her clients like me.
To learn more about Nicole you can check out her website at www.browsbybianca.com
If you have any questions about my microbladed eyebrows / powder brow journey or my microblading healing process / questions about aftercare for microblading, please feel free to leave them in the comments below, otherwise don’t forget to check back for updates or follow me on Instagram @IsThatSoh for video releases and announcements!
Xo
-Soheila
DON’T FORGET TO ALSO CHECK OUT MY LATEST FASHION & BEAUTY POSTS!