PEEK-A-BOO SHORTBREAD LINZER COOKIES

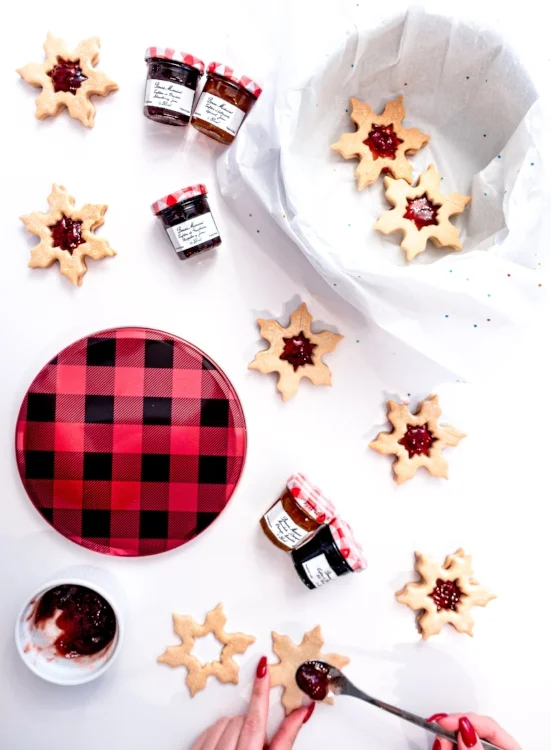
The Best Shortbread Linzer Cookie Recipe

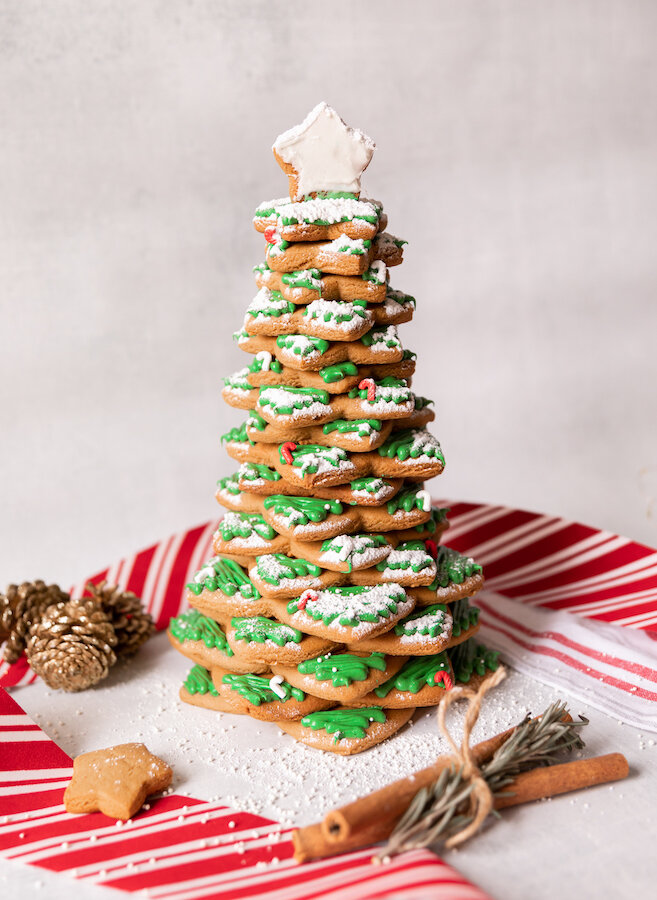
It's not always easy to keep up financially with the holidays. Although I love giving people gifts and putting a smile on my friends and family members faces, my thoughtful nature can get quiet expensive if I'm buying everyone gifts. That is why during the holidays I love to bake! Putting your efforts towards spreading holiday cheer through making something can often be the perfect gift to share with loved ones. One of my go - to holiday gifts this year are these super cute peek-a-boo shortbread snowflakes. I filled mine with my favourite jam, Bonne Maman but you can use Nutella, Dulce De Leche, or whatever filling you like! Enjoy!


FOLLOW ME ON INSTAGRAM @ISTHATSOH


Peek a boo jam filled shortbread snowflakes

INGREDIENTS FOR SHORTBREAD LINZER COOKIES:

1 CUP of unsalted softened butter
3/4 Cup of Icing Sugar
1/2 TSP of Vanilla Extract
1/4 TSP of Salt
2 Cups of All Purpose Flour
1/2 Cup of your favorite jam!

*you can dust the cookies with icing sugar at the end for extra effect!

STRAWBERRY JAM

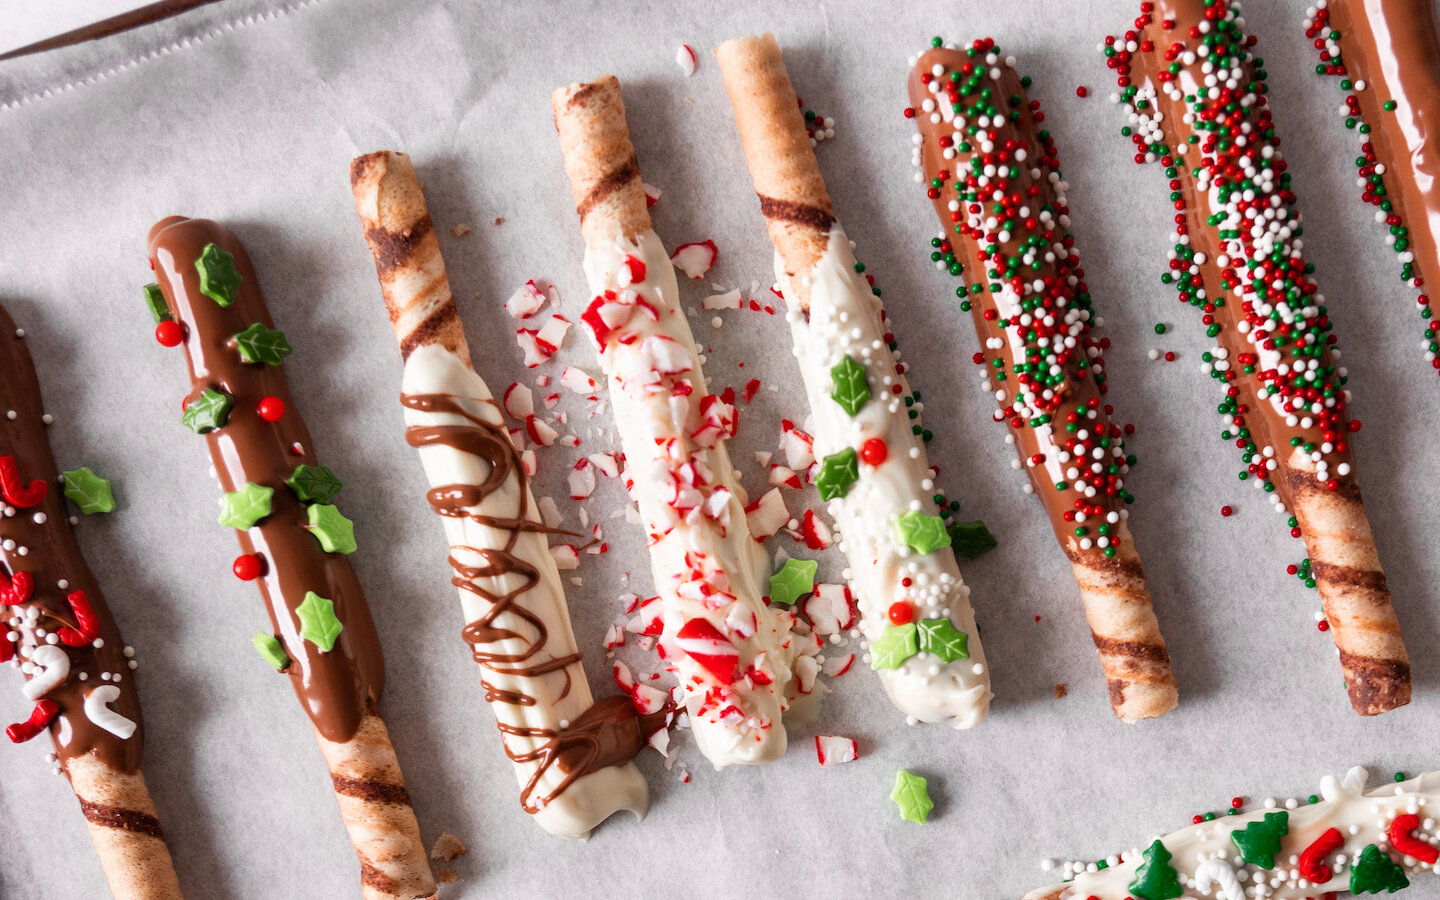
LOOKING TO DO SOME HOLIDAY BAKING? CHECK OUT THESE OTHER FUN RECIPES!


HOW TO MAKE SHORTBREAD LINZER COOKIES:

In a mixer or by hand place softened butter, sugar, vanilla, and salt in a bowl and mix until well incorporated. 

Add in your all-purpose flour bit by bit till a dough starts to form. (TIP: If it is too sticky you can always add a little bit more flour at the end)

Once the dough is formed wrap in plastic wrap and place in the fridge for 20 minutes.

Once ready, preheat oven to 325 degrees.

Roll out dough between two pieces of wax paper! Use snowflake cut out to make your desired shape and place on a baking tray lined with a cookie sheet or wax paper. Half of these will become 'Peek-A-Boo' tops to the cookie (TIP: Once on the baking tray it is easier to make the smaller inside 'Peek-A-Boo' cut-outs using a smaller snowflake and extracting the inside cut out with a toothpick!)

When ready place in the oven for 20 minutes or until cookies become golden on the edges. Rotate the trays halfway (about 10 minutes).

Let cool before sandwiching a layer of jam between the bottom full shortbread cookie and the 'peek-a-boo' cut out top shortbread cookie!

Enjoy!


If you like this Shortbread Linzer Cookie recipe or have any comments/questions, feel free to leave them in the comment section below!


PIN THIS POST

HOLIDAY GINGERBREAD COOKIES

THE BEST GINGERBREAD COOKIE RECIPE!

Queue the Christmas music, ......"It's beginning to look a lot like Christmas!"
The holidays are a great excuse to get together with family and celebrate. With all the parties and gatherings you are going to this year perhaps a little baking session is needed. Here's an easy and fun gingerbread cookie recipe that is not only delicious but great for any party. This year I was even thinking I could write people’s names on them and use them as place cards on a dinner table! Or keep some blank cookies for my nephew and nieces to decorate as a pre-dinner activity. I recently made a 3D gingerbread Christmas tree which turned out amazing! The creative opportunities are endless! Enjoy!

Makes about 30 cookies


FOLLOW ME ON INSTAGRAM @ISTHATSOH


INGREDIENTS FOR GINGERBREAD COOKIES:

1/3 of a Cup Butter (unsalted) - softened
1 Cup Granulated Sugar
1 Large Egg - at room temperature
1/3 of a Cup of Fancy Molasses
2 and 3/4 Cups of Flour (All Purpose)
1 1/2 TSP of Ginger
1 TSP of Cinnamon
1/2 TSP Baking Soda
1/4 TSP Ground Cloves
Pinch of Salt

*You will also need cookie cutters and icing!


LOOKING FOR SOME FUN HOLIDAY BAKING? CHECK OUT THESE OTHER RECIPES!


HOW TO MAKE GINGERBREAD COOKIES:

Blend softened butter and sugar together until fluffy. Add in your egg and fancy molasses.

In a separate bowl mix your flour, ginger, cinnamon, baking soda, ground cloves, and salt. Whisk until well mixed.

Slowly start to add your flour mixture into your butter mixture until a dough starts to form. You may want to finish it off with your hands.

Make two dough balls from the mixture and wrap in plastic wrap before placing them in the fridge for an hour.

After an hour, remove the dough balls from the fridge and let them rest for 10 minutes before rolling them out to 1/4 inch thickness. I used my clean countertop to roll the dough out and placed wax parchment paper on top of the dough for easy rolling.

Cut out your shapes and place them on a baking tray lined with parchment paper. Place each shape 1/2 - 1 inch apart because the cookies do spread out and puff up a little.

Bake 350 degrees for 10-12 minutes. 10 if you want them soft and 12 if you want them crunchy.

Remove from oven and allow to cool down before decorating.


If you like this gingerbread cookie recipe or have any comments/questions about how to make gingerbread cookies, feel free to leave them in the comment section below!


PIN THIS POST

A GOOD CUP OF COFFEE - MY INSPIRATION FOR A TIRAMISU RECIPE #SPONSORED

Having recently witnessed my first Japanese tea ceremony I learned that the beauty behind the  ceremony is not only drinking tea and sharing the tea with others, but the consciousness of every action, movement in preparation, presentation, and enjoyment. The ceremony in fact is much more about reflection, meditation, and living in the moment than just drinking tea.

Although I am not much of a tea drinker I too am a creature of routine and morning meditation. Much like the Japanese tea ceremony, I have a series of actions, movements, and preparations I do to get ready for my day. One such action that must always occur is my morning coffee. When all is still dark and silent I sneak downstairs quietly to my kitchen, turn my stove on until I hear the familiar clicks of my gas stove and wait for the kettle to boil. During this time of patiently waiting for the water to boil I meditate and reflect on how I am feeling, how I slept, and let both my body and mind consciously connect while taking deep breaths and listening to the background sounds of slowly bubbling water.

With the whistles of my kettle I am brought back to the moment and like a dance I have performed hundreds of thousands of times previously, a series of moments I can practically do with my eyes closed, I gather all the instruments and ingredients I need to make my first cup of coffee. With each deliberate movement I am now focused and have only one goal - to achieve the perfect cup of coffee.

With the help of my Melitta ‘Pour Over Coffee Brewing Cone’, I am in control of how much coffee I want to make and how strong I want to make it. Usually for my morning coffee I use 4 tablespoons of coffee and make two cups - one I like to drink when it’s fresh and hot and the second I let cool for an ice coffee later. No matter what your coffee preference, weather you like your coffee flavoured, bold, dark roast, organic or even on the go - you can make coffee your way every morning with Melitta Pour Over Coffee.  

Once ready and when the rich aroma of my perfect cup of coffee hits my nose I like to move to the couch, cuddle up to my little Frenchie who is often still snoozing and take a moment to enjoy what I have created. With each sip my mind turns on and I am able to reflect and focus on what I want to accomplish in my day ahead. Believe it or not sometimes great inspiration is born in these still moments of reflection. Today as I was sipping my morning coffee I reflected on a cooking class I did on my recent trip to Italy. Inspired by both the memory and my morning cup of coffee I decided to turn that second cup of coffee into a delicious Tiramisu dessert I learned. And with that memory and inspiration I here leave you with a recipe for creating your own delicious Tiramisu and encourage you to find the joy and inspiration hiding in your own perfect cup of coffee. Enjoy.

Tiramisu Recipe

Good for 4 people

INGREDIENTS:

4 Egg Yolks
4 TBSP of granulated sugar
400g or 1 3/4 Cups of Mascarpone cheese
1 Box of Ladyfingers Biscuits
Coco Powder
1 Cup of Melitta Pour Over Coffee - room temperature
*Optional - Add some almond extract or rum (just a few drops) to the cream to add another layer of aroma

DIRECTIONS:

Making the Cream

Mix the egg yolks with the sugar using a whisk until a soft cream starts to form.

Add the Mascapone cheese in bit by bit being careful not to dissolve the texture.

Once a nice cream base is formed if you want, you can now add in a couple drops of your almond extract or rum for additional aroma.

Making the Tiramisu

Fill the bottom of an individual sized mason jar, teacup or if you only want to make one large one for a group, cake pan with a layer of cream.

Next dip the lady finger (you may need to break it in half depending on what you are using to hold your tiramisu) into the coffee quickly so it gets submerged but doesn’t crumble from holding to much liquid. Place a lady finger layer on top of cream layer.

Repeat alternating these two processes of cream and ladyfinger until individual mason jar, teacup or cake pan is full. Add final layer of cream to the top if you did not end with cream and sprinkle sifted coco powder over top. Store in fridge until ready to serve.


If you like this recipe or have any comments/questions, feel free to leave them in the comment section below!


Although this post has been generously sponsored by Melitta Canada, the opinions and language are my own, and do not reflect Melitta Canada.


Find out more about Melitta at Melitta.ca

ITALIAN CROSTATA RECIPE - MEMORIES FROM ITALY

Having recently received a package of Bonne Maman jams (best surprise ever!) I decided that I would put them to good use and make some delicious Italian breakfast tarts known as Crostatas. If you ever find that you have lots of jam in your fridge and you are looking for ways to use them up this is a great idea. The recipe is really easy and forgiving, and can be a fun activity to do with kids. Although Italians typically serve this tart with breakfast it can easily transition to an after dinner dessert with the help of a scoop of ice cream. Buon appetito!!

INGREDIENTS:

2 Cups of flour
1/2 Cup of granulated sugar
1/2 Teaspoon of baking powder
1 Egg + 1 Egg yoke (throw out whites for just one egg)
1/2 Cup of butter (softened!)
3/4 Cup of jam of your choice

DIRECTIONS:

Using a large bowl add in your flour, sugar, and baking powder - whisk until fully incorporated together.

Make a well and add in your eggs and butter, and start to incorporate it all together. I like to start with my whisk and then move to using my hands as it gets more clumpy.

Kneed the clumps together until they form a dough (this may take some time but the butter will eventually spread and help form the dough).

Once dough is formed wrap in plastic wrap and place in fridge for 30 minutes.

Preheat oven to 350 degrees

Take dough out of fridge after 30 minutes and roll out using a rolling pin to about 1/8 of an inch thickness.

Spread the dough out over your pie dish and get rid of any excess dough. You can kneed the excess dough together again and roll it out again to create strips of dough which are equal in thickness to decorate the top of the crostata with a lattice later if you want.

Add in your jam and spread out evenly. You want just enough jam where you don't see the crust below.

Add your decorative stripes of dough to the top now. I like to form a lattice but some people cut out shapes instead. You can turn down the edges of the pie to hold the lattice strips in place.

Place in oven for 30 - 35 minutes or until top is golden.

Once ready remove and let cool for 10 minutes before serving. Enjoy!


If you like this recipe or have any comments/questions, feel free to leave them in the comment section below!


PIN THIS POST


BLACK FIG & OLIVE TAPENADE

Is it just me or does the combination of sweet back fig and savoury black olives sound like the perfect pairing! I love this recipe for that exact taste profile and spread across a crisp or accompanied with Parmesan cheese it is a perfect appetizer. If you're looking for something to serve at your next dinner party that's both quick to whip up and as easy as throwing everything into a food process - this tapenade is perfect! Enjoy!

INGREDIENTS:

Yields 1.5 Cups of Tapenade

1 Cup of Black Fig - Rinsed and Cut Up
1/2 Cup of Pitted Black Olives
1 Clove of Garlic Clove - peeled and chopped
2 Tsp of Capers - drained and rinsed
1 Tsp of Fresh Rosemary
Squeeze of lemon
1/4 Cup of Olive Oil
Salt and Pepper to taste

DIRECTIONS:

Place figs, pitted olives, garlic, capers, and rosemary in the food processor and blend until pureed.

Add a good squeeze of lemon juice and continue to mix.

While the motor is running add the olive oil. Season with salt and pepper as per your taste (I usually add a little salt no pepper but to each their own).

Black Fig and Olive Tapenade

I hope you enjoyed this recipe as much as I do. If you have any comments please leave them below and I'll be happy to answer them as soon as I can! Bon Appetite!!!


PIN THIS POST